
This melt and pour soap pairs burnt amber with icy blue, and the color combo is stunning. I used the press-and-pour method: pour the colors onto a silicone mat, mash them into the mold, then pour white soap over the top. I poured the final layer too hot, around 180°F, so the colors muddied a bit. Here’s how to make it and what I’d change.
As an Amazon Associate I earn from qualifying purchases. Some links in this post are affiliate links. They cost you nothing extra and help support Koala Soap.
Materials & Tools
Soap Base
- 8 oz of clear melt and pour soap base (two 4 oz cups)
- 8 oz of shea butter melt and pour soap base (two 4 oz cups), plus about 13 oz more for the final pour
Color & Scent
- Bronze/burnt amber mica and Blue Ice mica from a Stardust mica set, also sold individually
- Fragrance oil of your choice
Tools
- Silicone cake pan
- Square soap mold (holds about 20–24 oz)
- Skewers
- Soap cutter
- Spray bottle of 91% isopropyl alcohol
- Thermometer
- Pour cups
Fragrance Amount
Use up to 5 ml of fragrance oil per 16 oz (1 lb) of soap base. You can always use less if you like a lighter scent, but don’t go over 5 ml per 16 oz.
How to Make Amber and Blue Soap
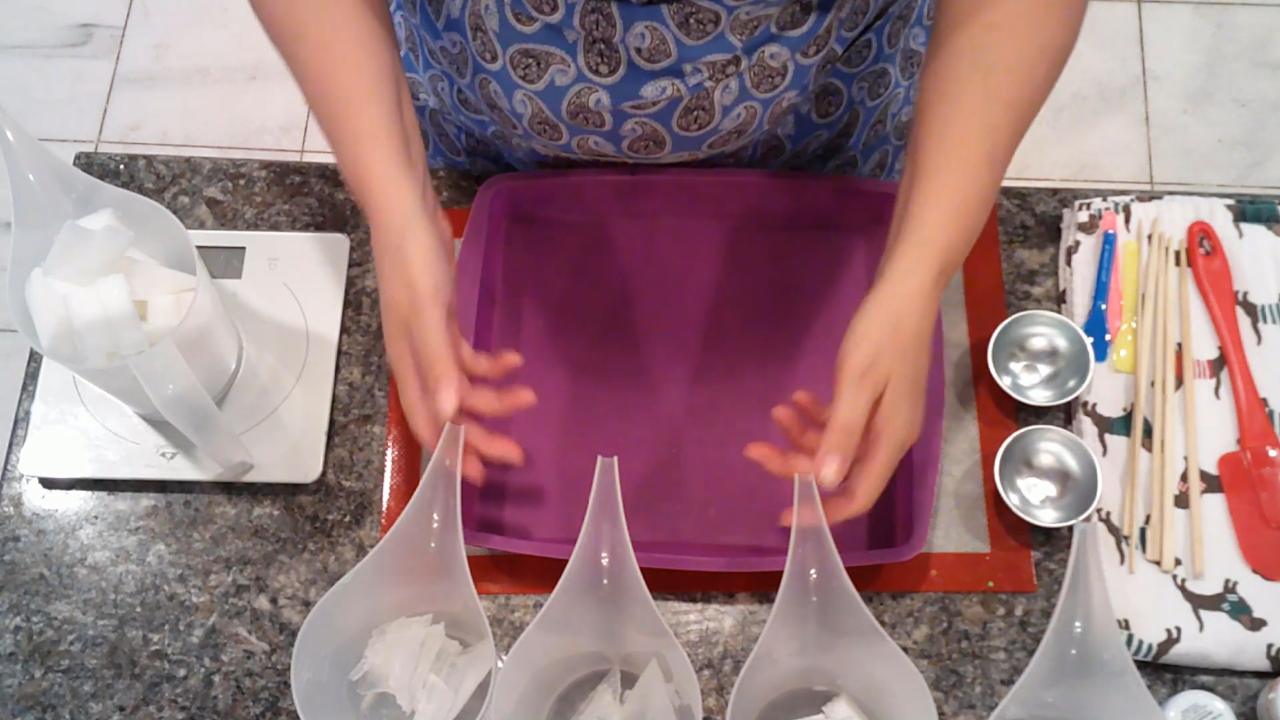
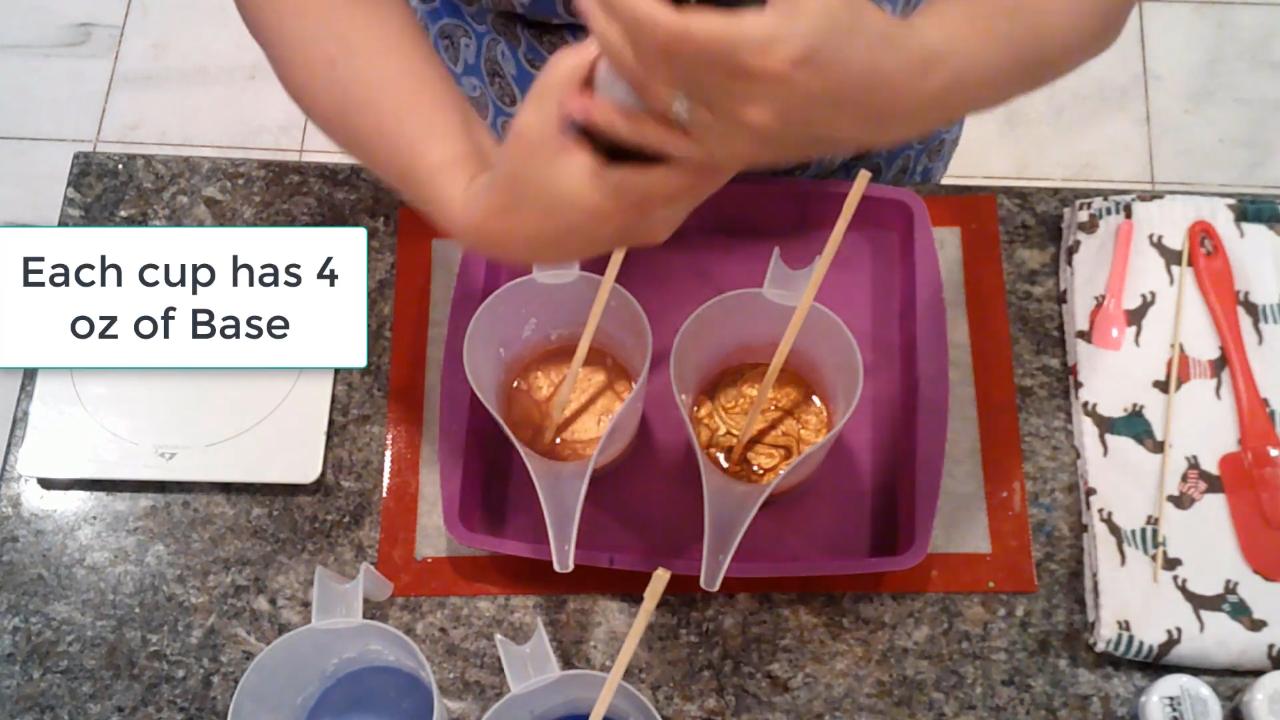
1. Set Up Four Cups
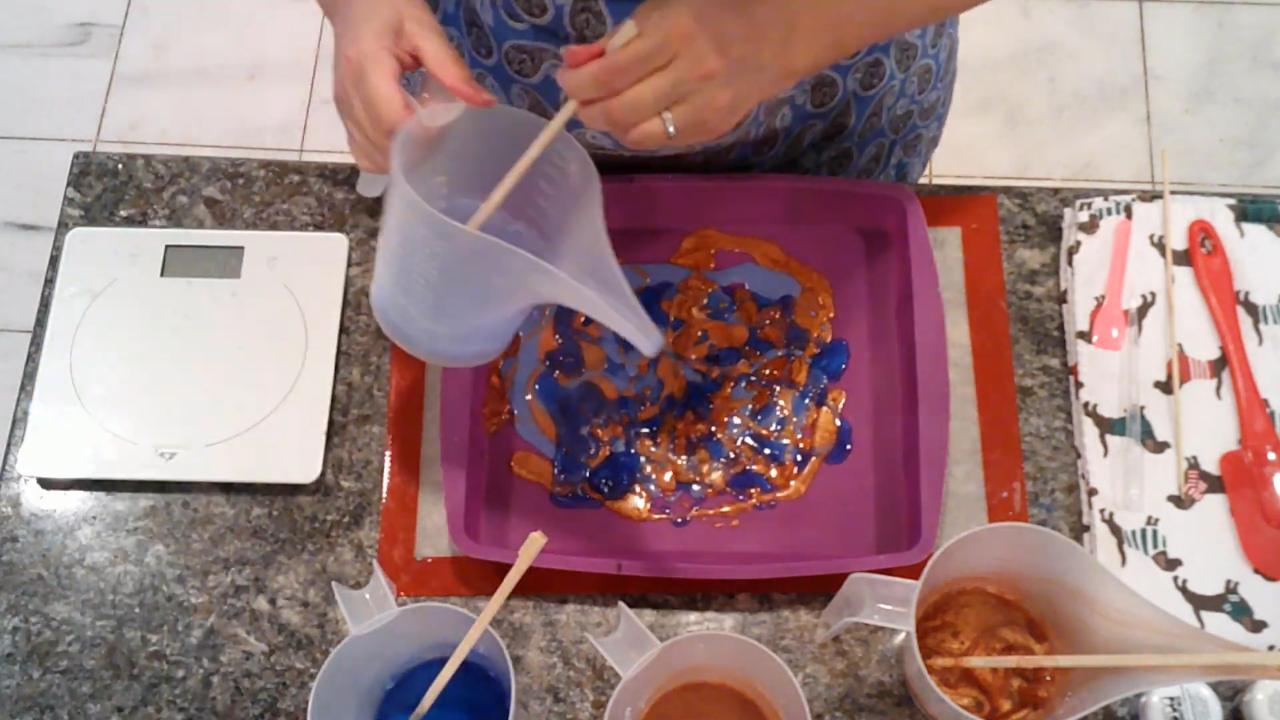
Measure 4 oz of base into each of four pour cups: two clear and two shea butter. Color one clear and one shea butter with amber first, so you don’t mix up which is which. Then color the other two with Blue Ice. Amber looks different in clear and opaque base, which adds depth.
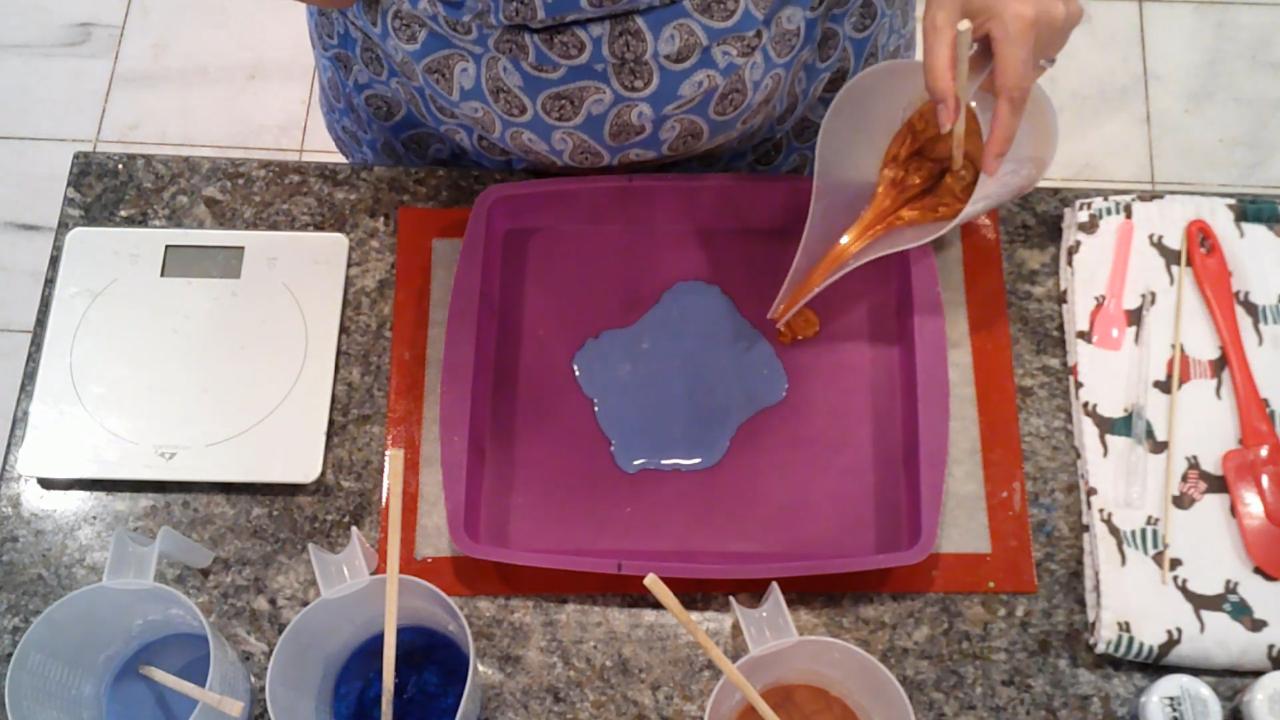
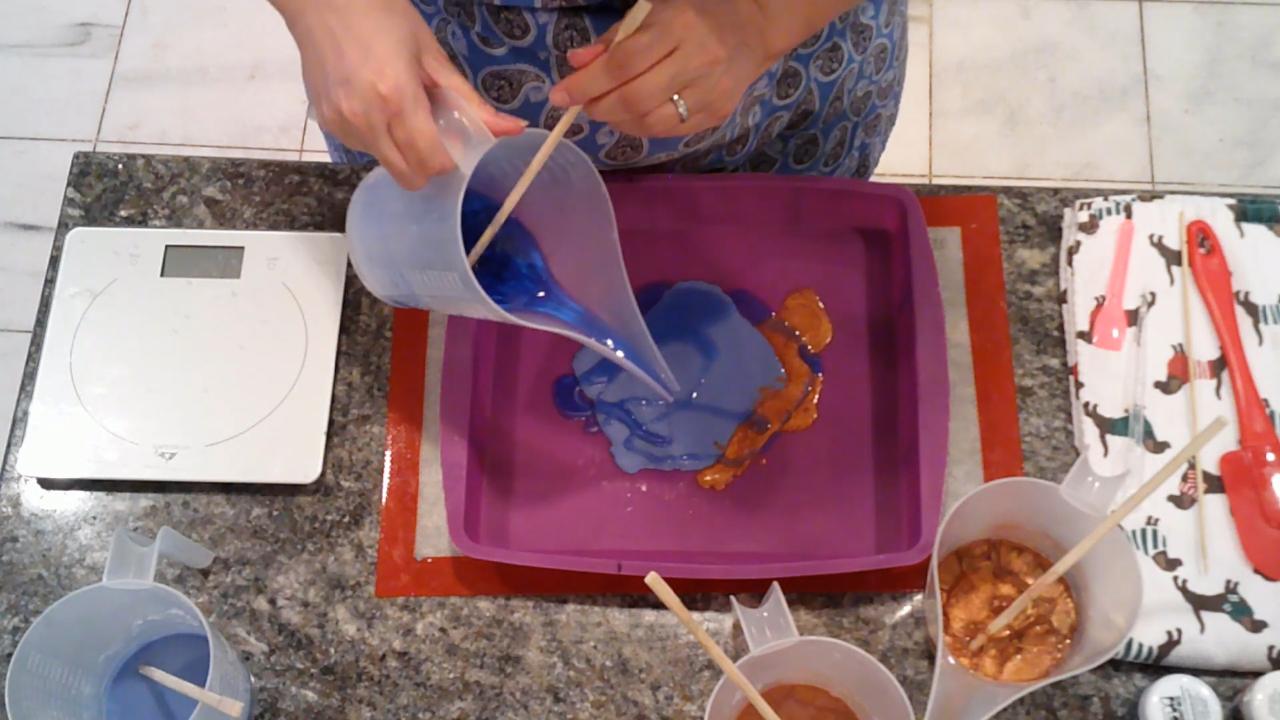
2. Pour onto the Silicone Pan
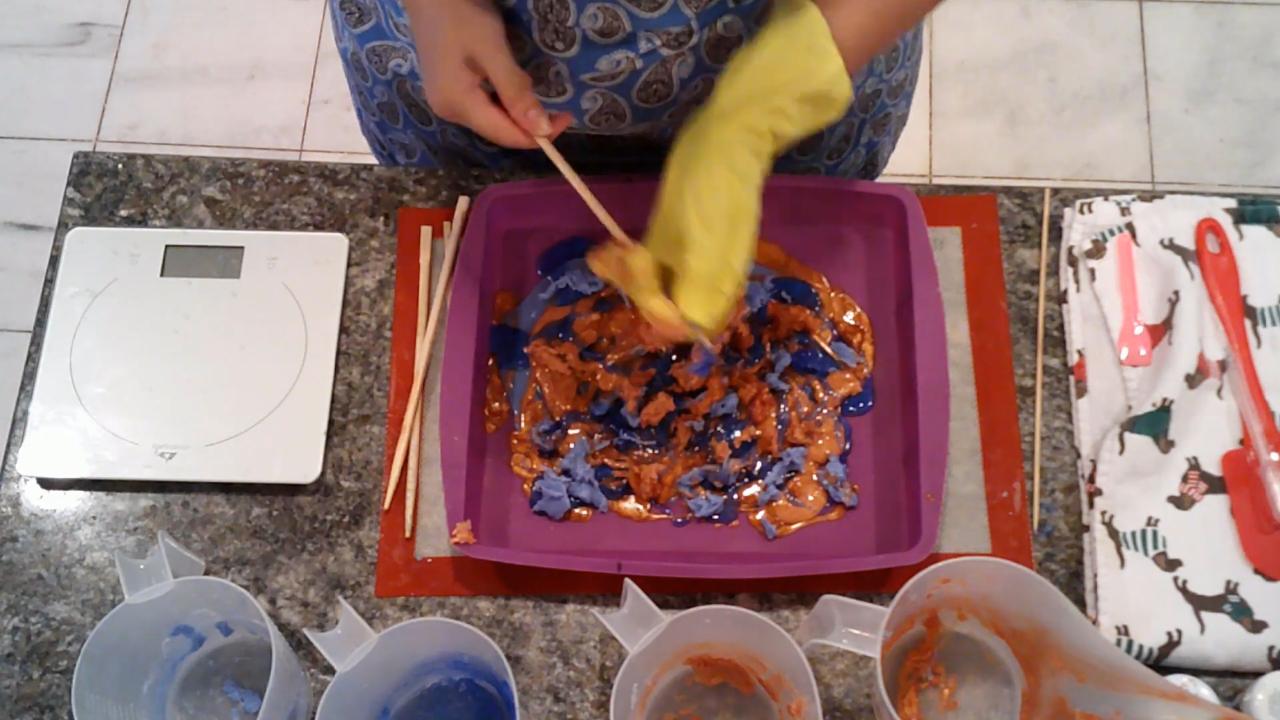
Pour the colors into the silicone pan in puddles and drizzles, letting them overlap.
3. Press into the Mold
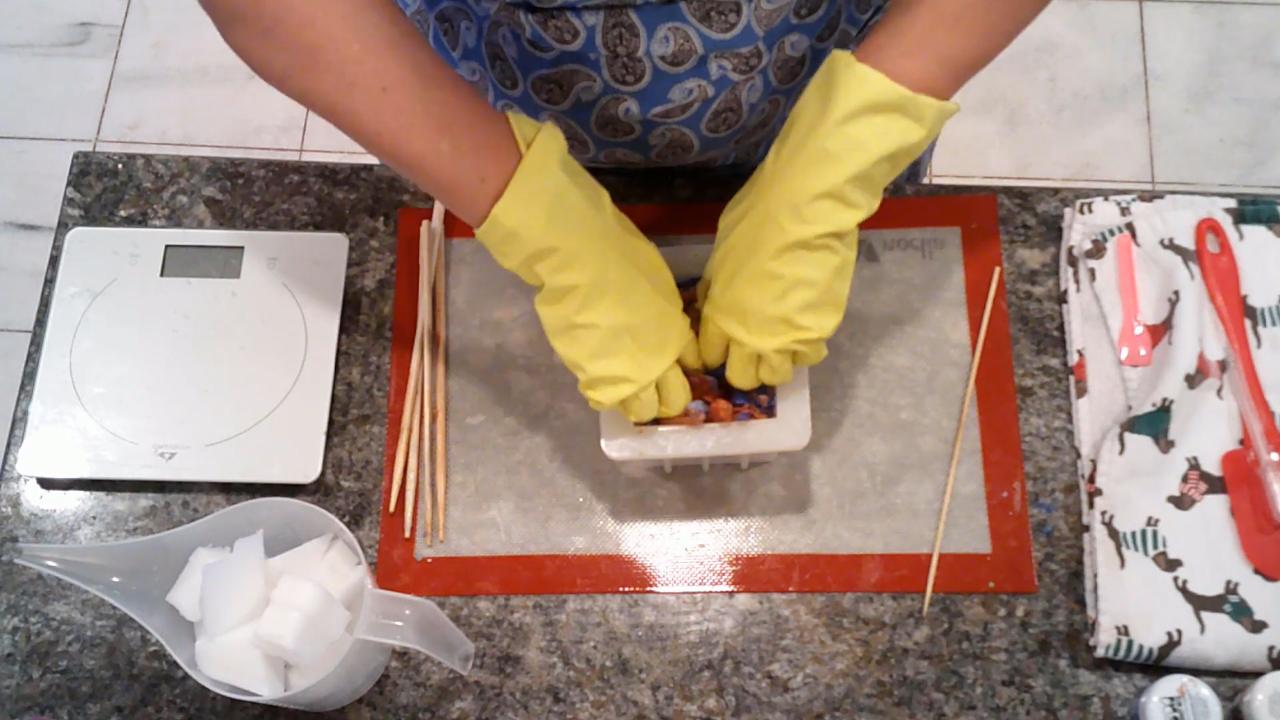
Once the slab is set, peel it up, mash it together and press it into the square mold. Poke holes with a skewer so the final pour can get down into the gaps and push out air.
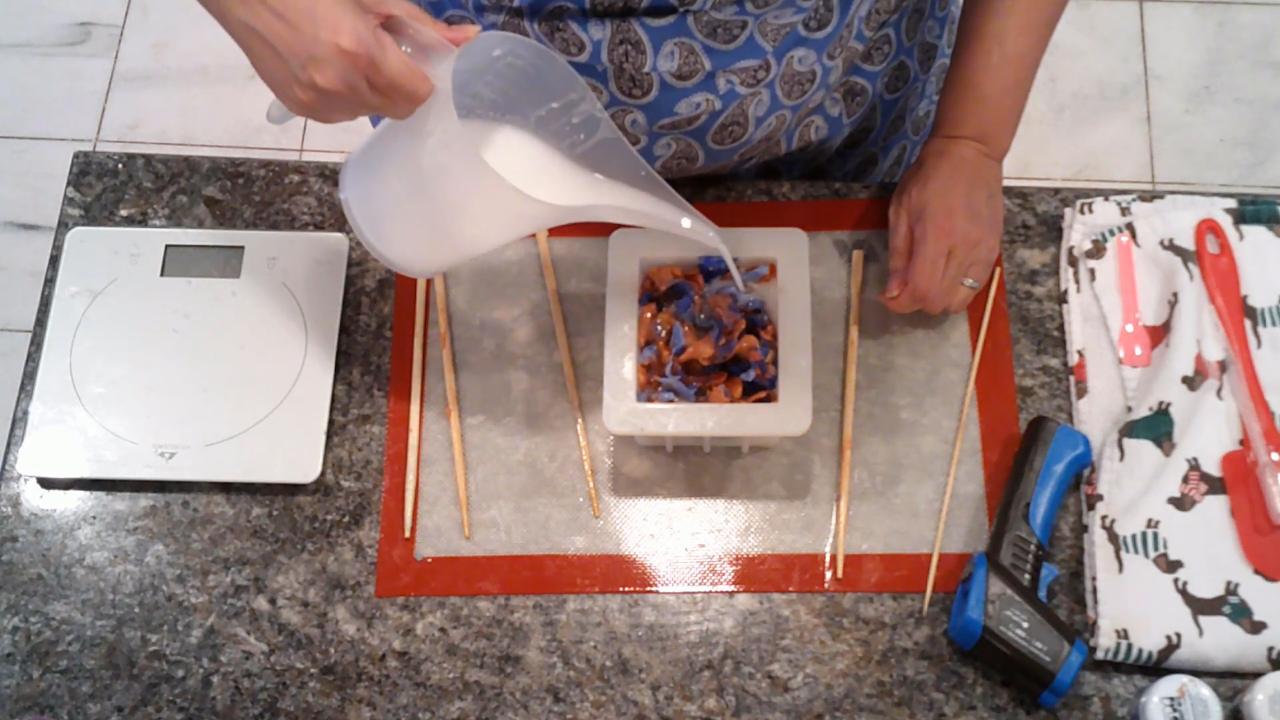
4. Pour the White Soap
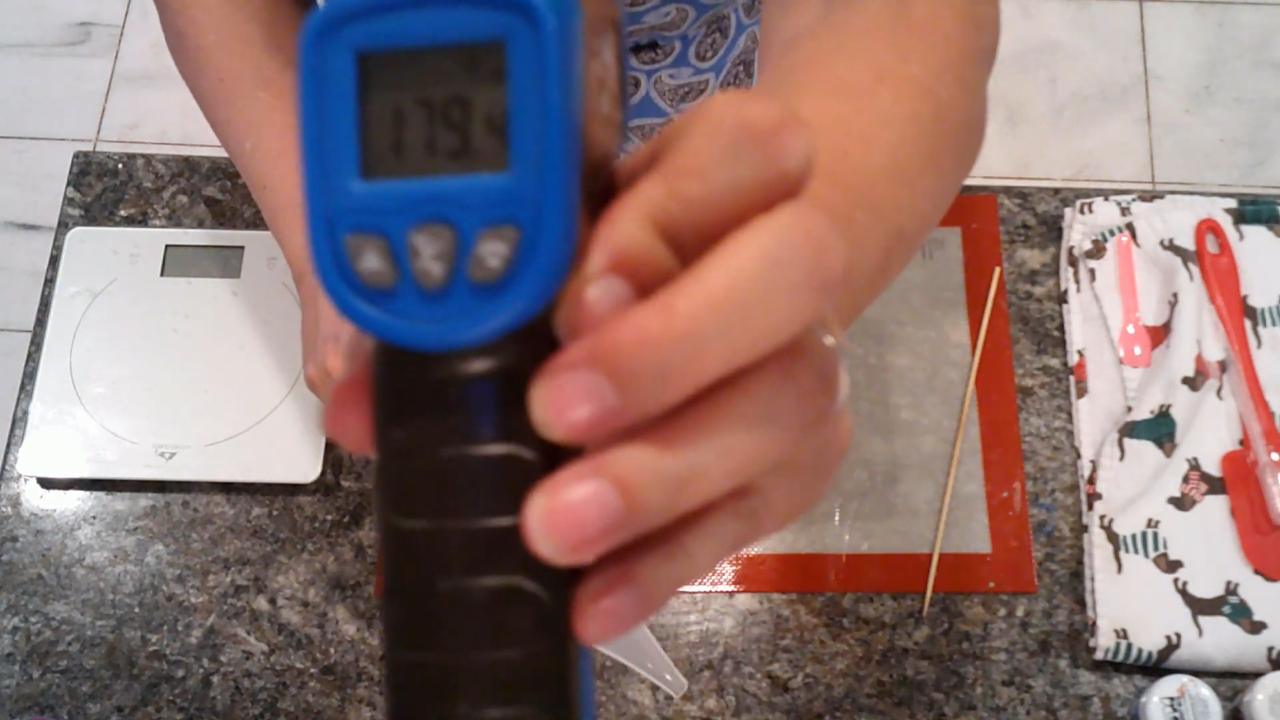
Melt about 13 oz of shea butter and add fragrance. I poured mine at about 179°F, which was too hot. Aim for about 165–170°F. Pour slowly so it fills all the holes.
5. Unmold and Cut
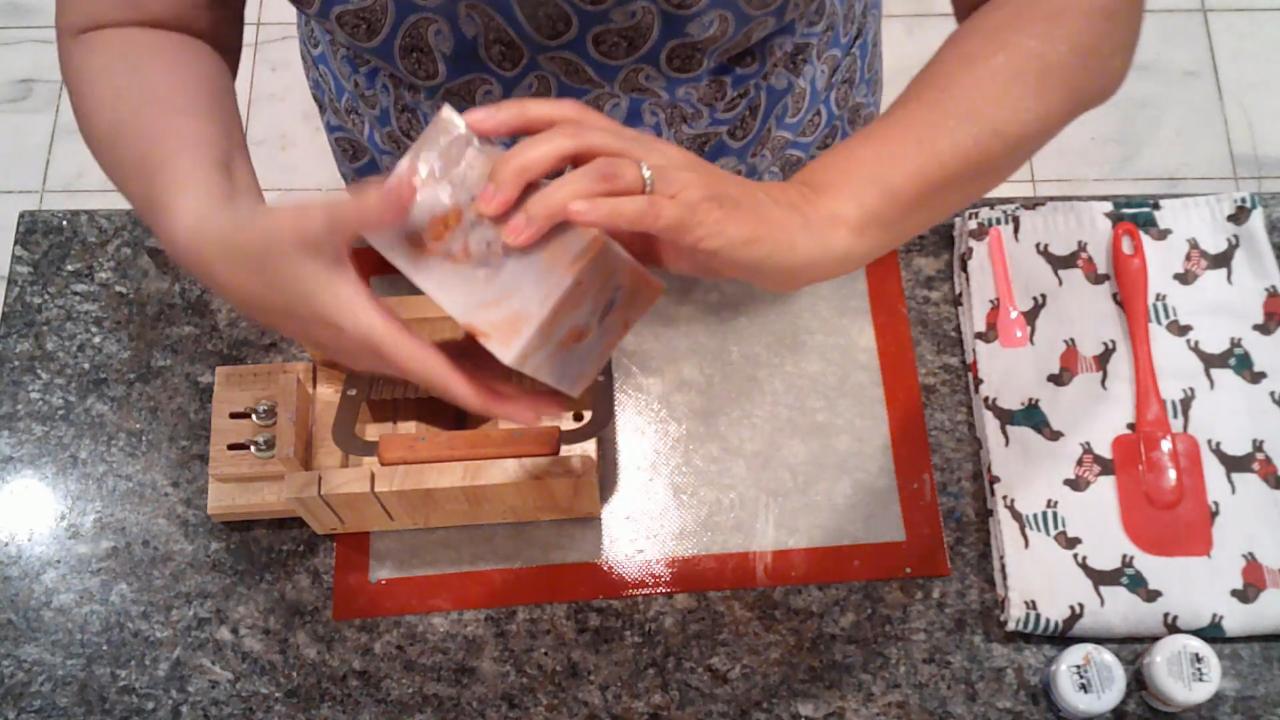
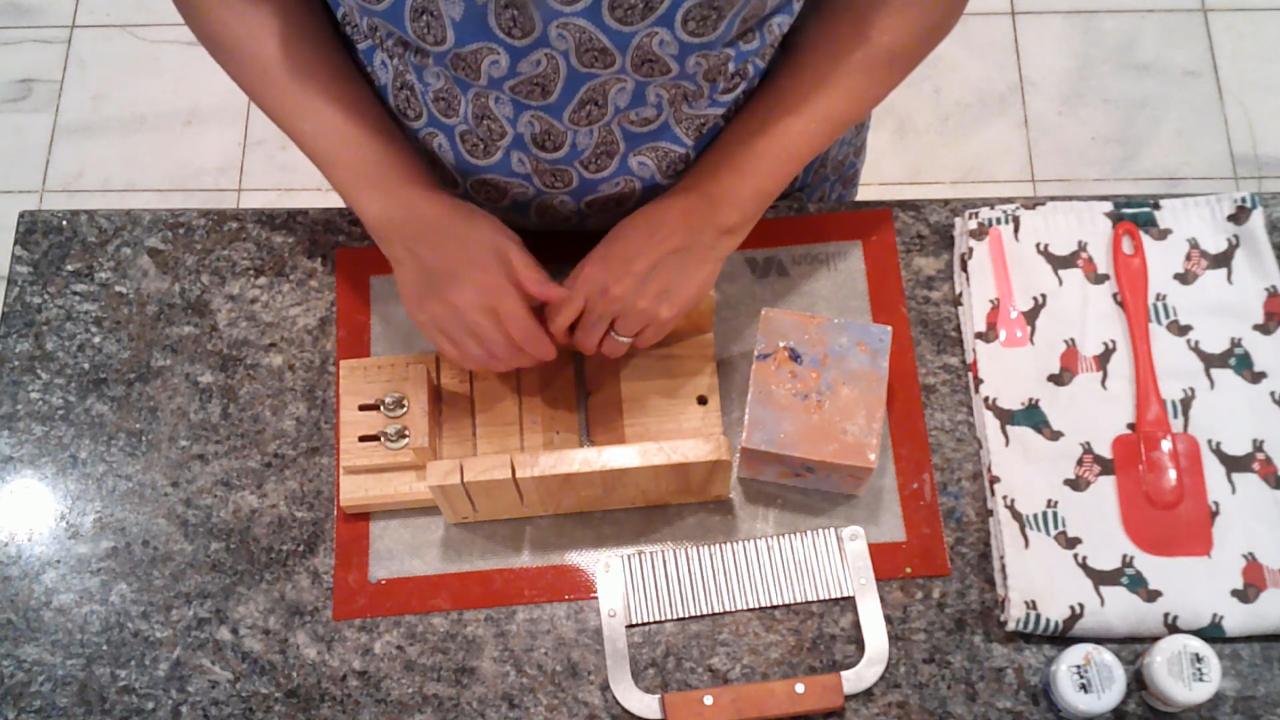
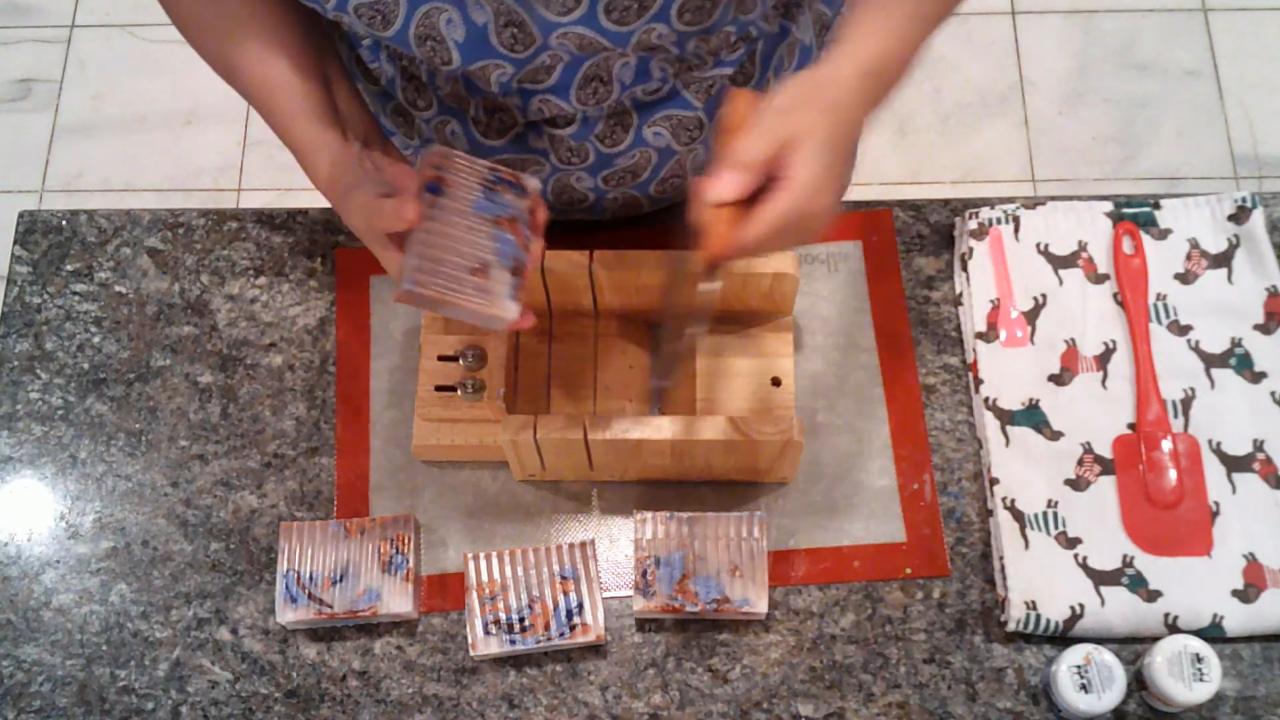
Let it set, then unmold and cut. If your cutter shifts, adding a couple of washers can help steady it.
What I’d Do Differently
- Let the slab cool completely. I pressed it in while it was still warm, so it melted more easily.
- Pour cooler. About 165–170°F instead of nearly 180°F.
Tips & What I Learned
- Amber and blue are a great pair. The contrast is bold and summery.
- Mix clear and opaque. The same color looks different in each base.
- Color one of each base first. It avoids mix-ups.
- Poke holes before pouring. It helps the soap fill the gaps.
Troubleshooting
The colors look muddy. The final pour was too hot, or the slab was still warm. Cool the slab and pour at 165–170°F.
There are air pockets. Poke more holes and pour slowly.
The cutter slides. Add washers or switch to a sturdier cutter.
FAQ
What is the press-and-pour method?
You pour colors onto a silicone mat, let them set, press them into a mold, and pour more soap over the top to bind them together.
Can I recycle this soap if I don’t like it?
Yes. Shred it into confetti. See my confetti in clear soap post.
More Soap Ideas
- Activated Charcoal Swirl Melt and Pour Soap
- Twisted Marble Swirl Melt and Pour Soap
- Blue Waves Melt and Pour Soap
- Melt and Pour Soap Fail and Fix
- All my melt and pour soap tutorials on YouTube
If you make this, I’d love to see it! Tag me on Instagram or Pinterest, and subscribe on YouTube for new soap tutorials.
