
This Blue Waves melt and pour soap swirls glittery icy blue, soft neon pink and white together with a rough textured top. I was nervous the colors would muddle, but it turned out much better than I expected. I also tested when each base forms a skin, which really helps with timing your pours.
As an Amazon Associate I earn from qualifying purchases. Some links in this post are affiliate links. They cost you nothing extra and help support Koala Soap.
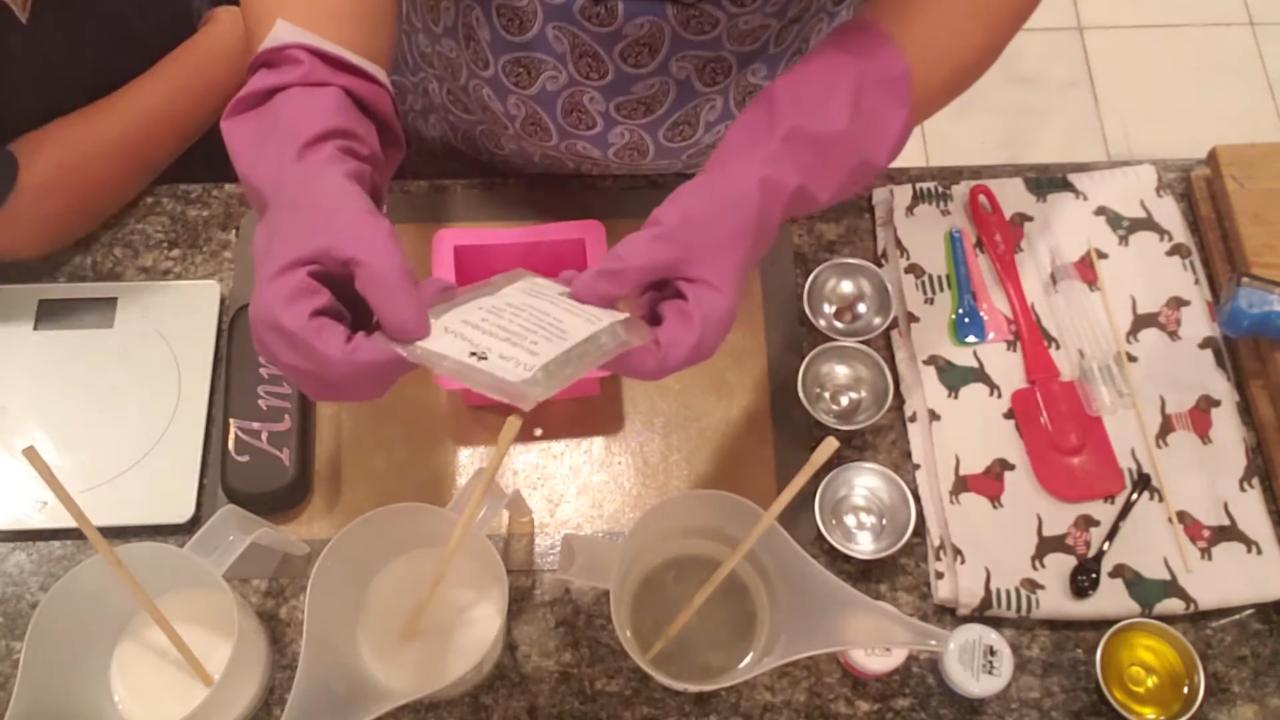
Materials & Tools
Soap Base
- About 7 oz of clear melt and pour soap base for the blue
- About 13–14 oz of shea butter melt and pour soap base for the pink and white, split into two cups
- A little extra clear base for the top
Color & Scent
- Blue Ice and neon Poppin Pink mica from a Stardust mica set, also sold individually
- Bio glitter
- A fresh fragrance oil (I used Energy)
Tools
- Square silicone soap mold (18–20 oz)
- Soap cutter
- Skewer
- Spray bottle of 91% isopropyl alcohol
- Thermometer
- Pour cups
Fragrance Amount
Use up to 5 ml of fragrance oil per 16 oz (1 lb) of soap base. You can always use less if you like a lighter scent, but don’t go over 5 ml per 16 oz. My fragrance has a yellow tint, so I kept most of it out of the clear soap.
How to Make Blue Waves Soap
1. Melt the Bases
Melt the clear base and two cups of shea butter base. This mold holds about 19 oz of water, but soap needs a little more, so plan on about 20 oz total.
2. Color the Soap
Mix Blue Ice into the clear base. Put the neon pink into one cup of shea butter. The opaque base softens the neon a bit. Leave the last cup white. Add fragrance.
3. Add Glitter to the Blue
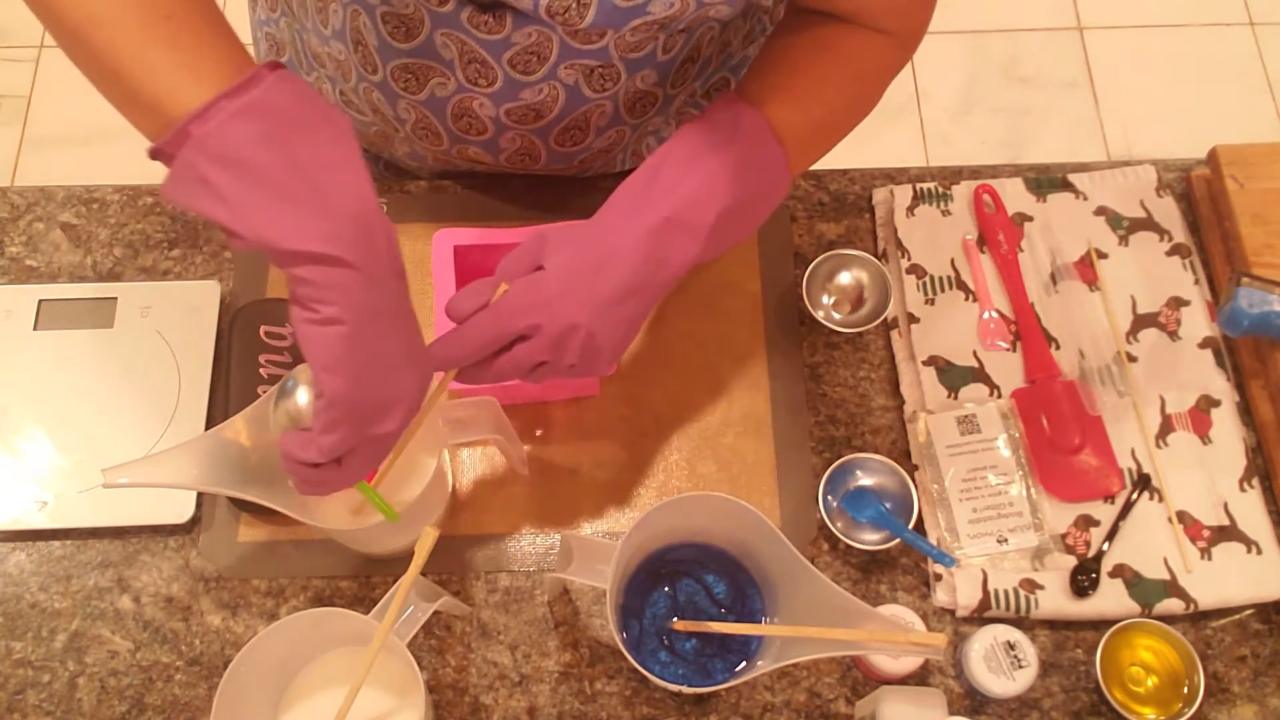
Stir bio glitter into the blue clear soap. Glitter shows up best in clear base and barely shows in opaque base.
4. Wait for the Right Temperature
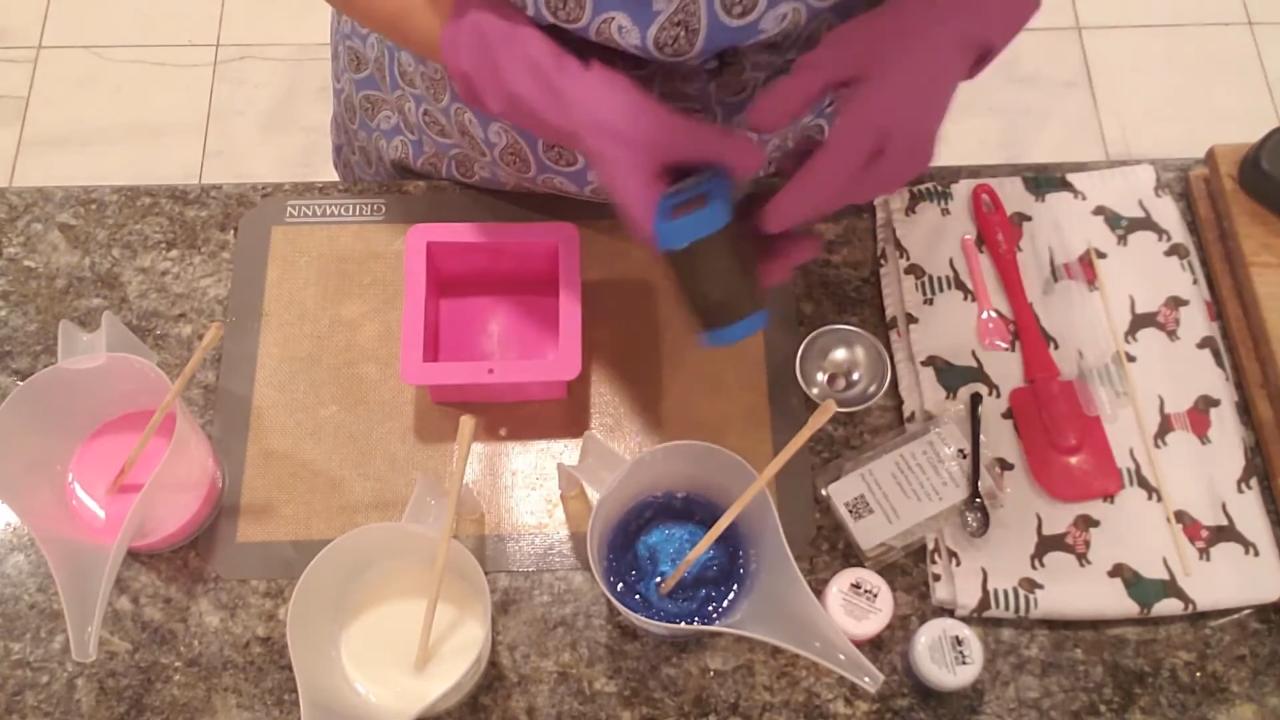
Clear base forms a skin early. Mine had a good skin at about 122°F. My shea butter base was still skin-free at about 104–109°F. Pour as cool as you can so the colors stay separate without clumping. Stir the blue right before pouring to keep the glitter suspended.
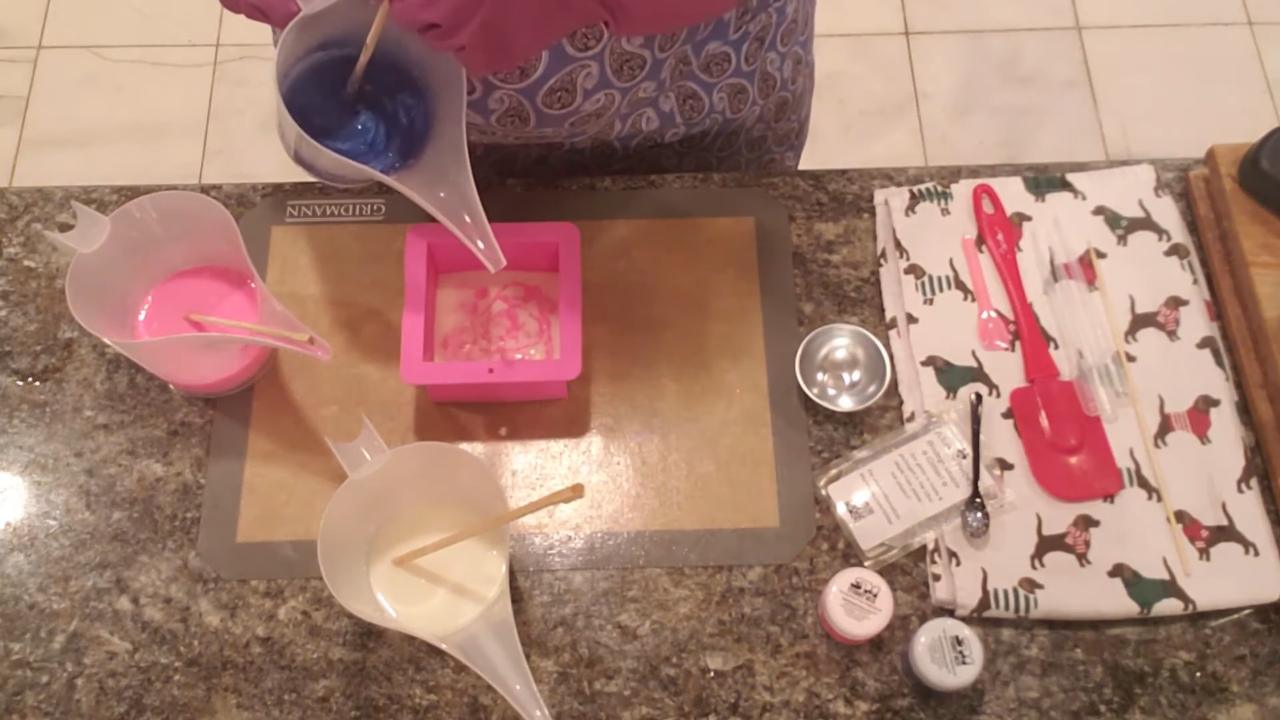
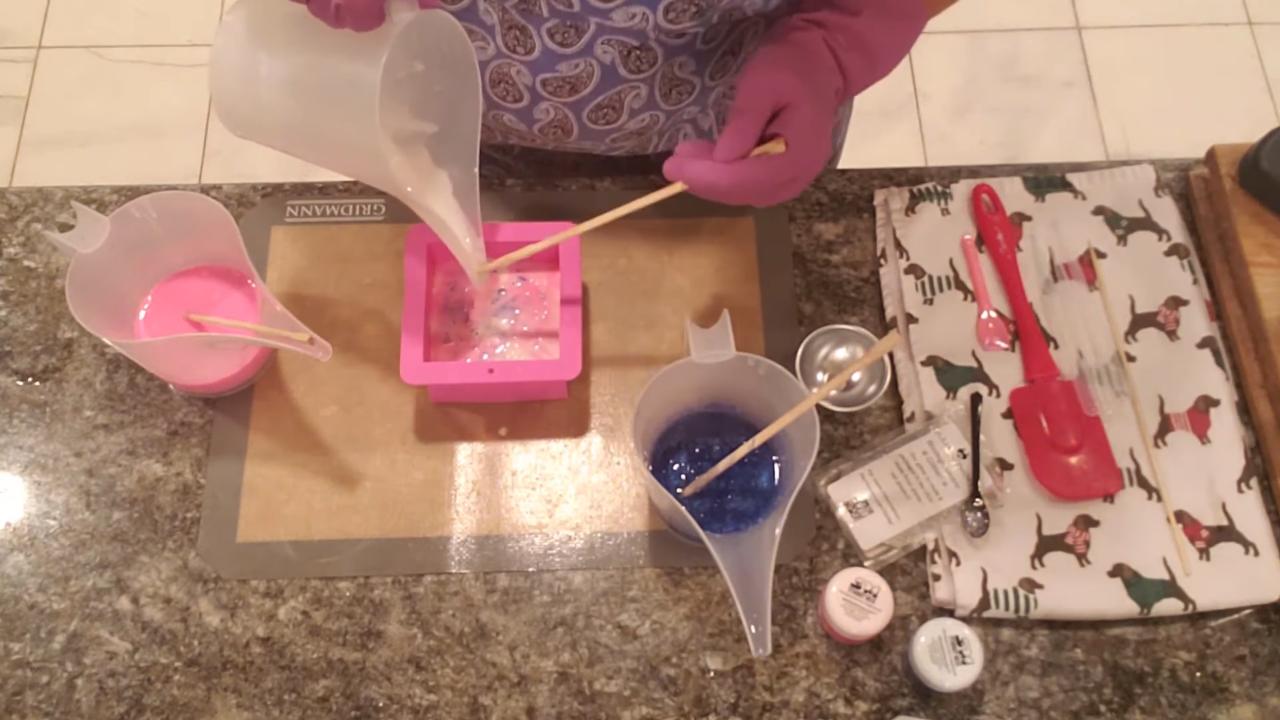
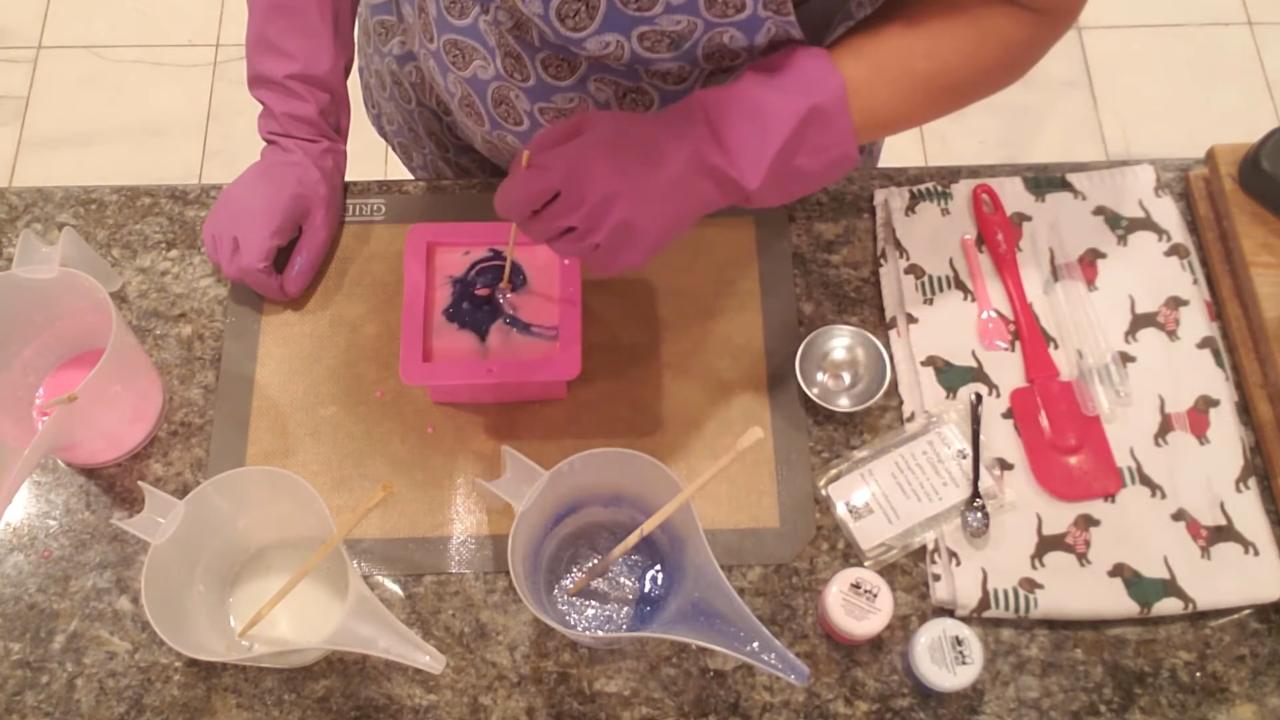
5. Pour the Layers
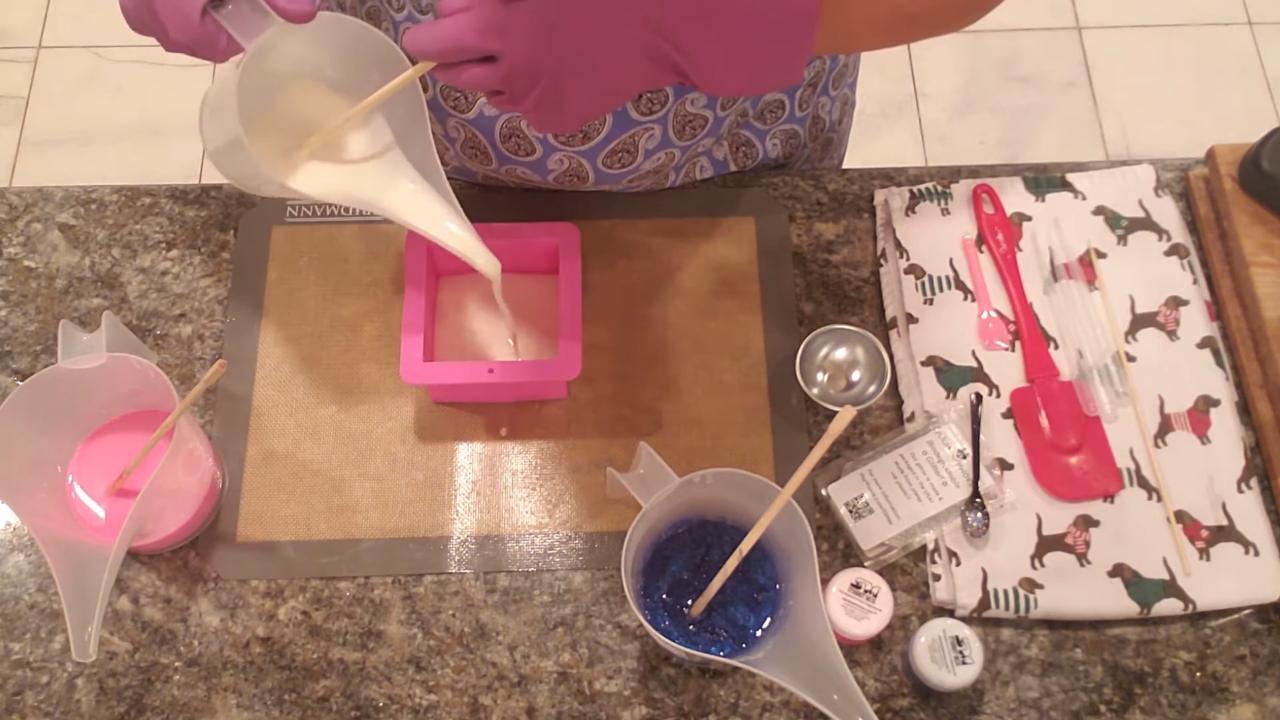
Clear base is heavier and sinks, so start with the white and pink. Alternate small pours of white, pink and blue, pouring the blue from up high last.
6. Texture the Top
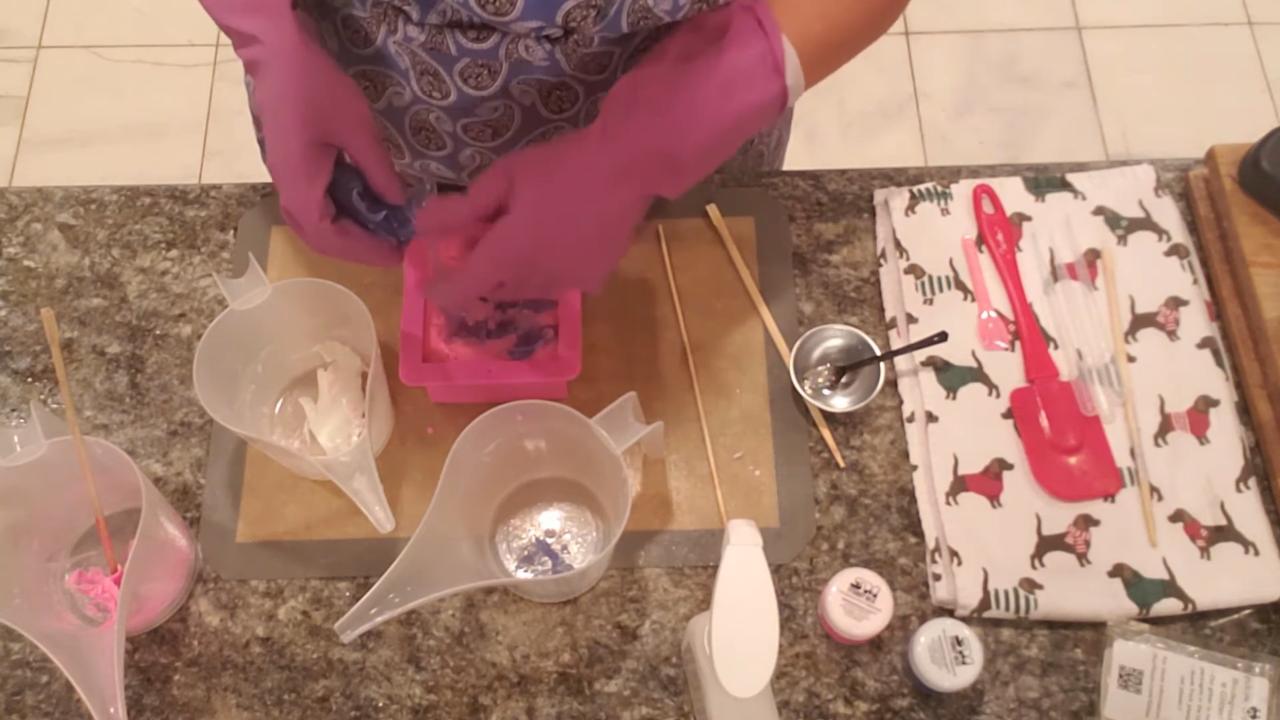
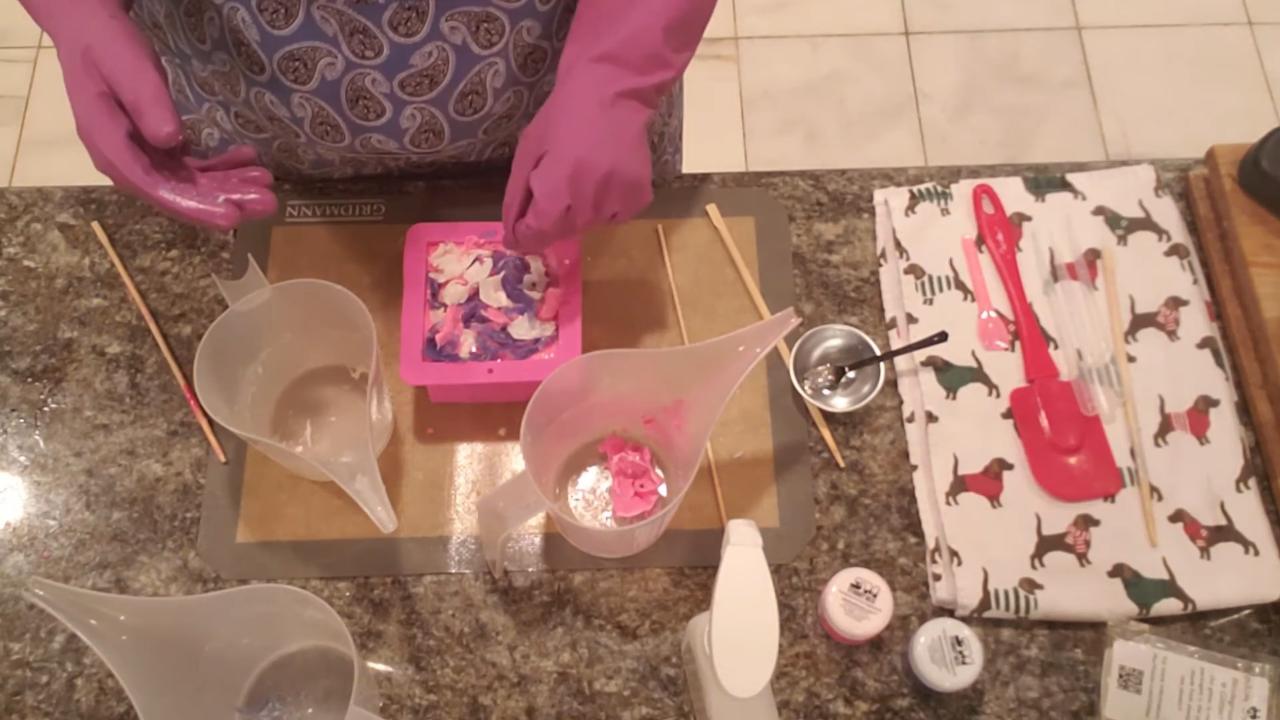
Once the top has set a little, scuff it up with a skewer. Peel the skins from your cups, break them into pieces and set them on top.
7. Seal with Clear
Spray with alcohol and pour a thin layer of clear base over the top to hold the pieces in place. Shea butter base takes longer to set, so give it several hours.
8. Unmold and Cut
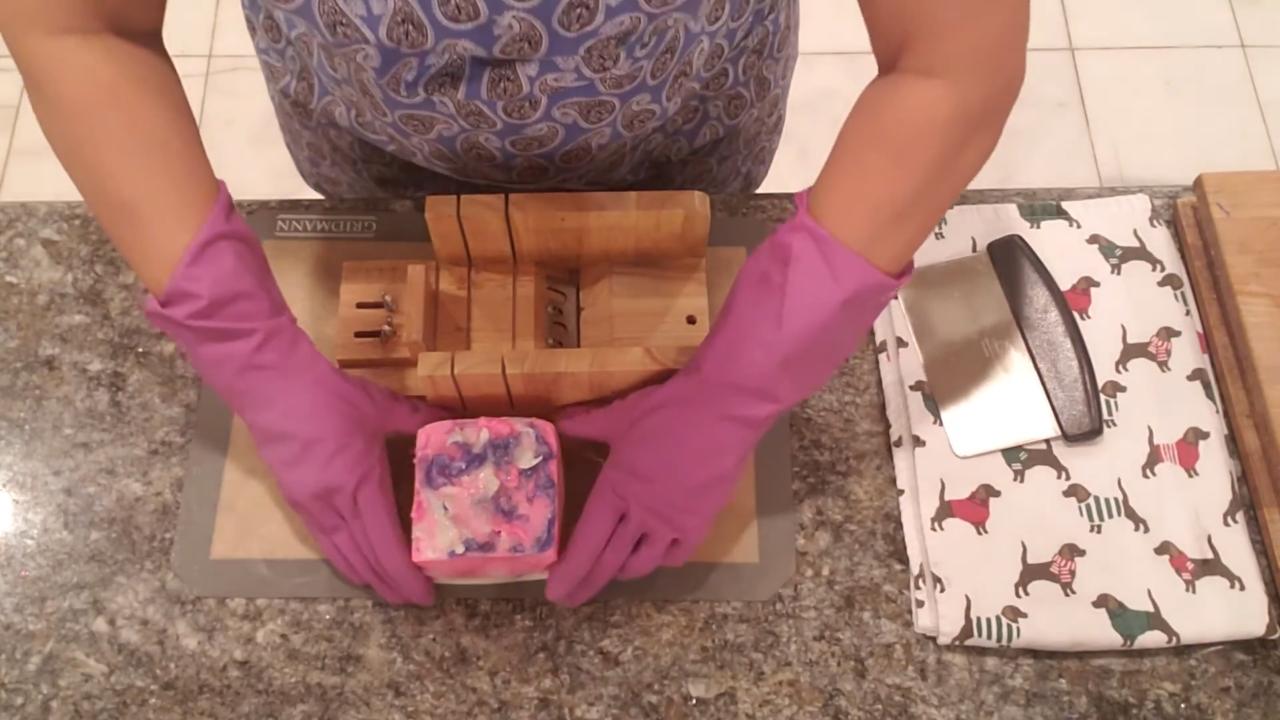
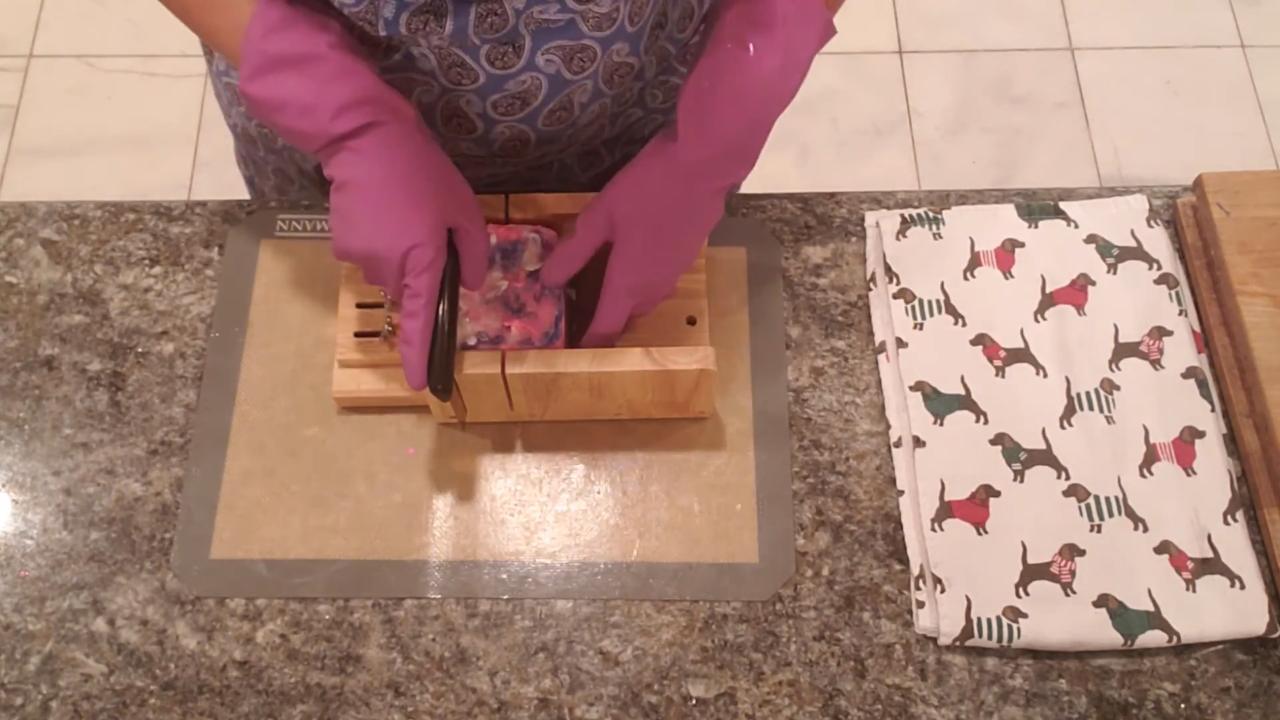
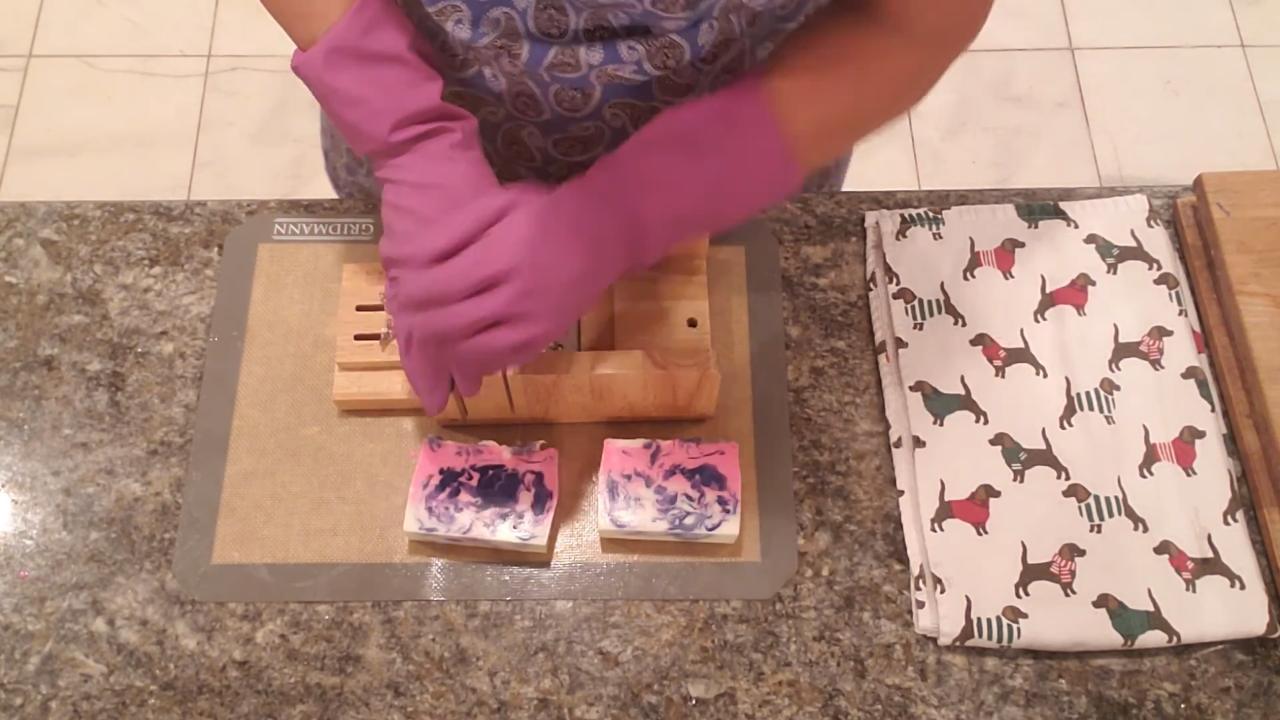
Unmold the loaf and cut it into bars. This mold gives about 3½ one-inch bars plus a little tester.
Tips & What I Learned
- Know when your base skins over. Clear base skins sooner. Opaque base can go much cooler.
- Pour opaque first. Clear base is heavier and sinks.
- Glitter goes in clear soap. It barely shows in opaque base.
- Soften neons with opaque base. It tones down very bright colors.
- Seal textured tops with clear. A thin pour keeps everything in place.
Troubleshooting
The colors muddled. Pour cooler and stir less once the soap is in the mold.
The glitter sank. Stir right before pouring, and pour when the soap is thicker.
The top pieces fell off. Spray with alcohol and pour a thin layer of clear over them.
FAQ
Why does clear base sink?
Clear base is heavier than opaque base, so it sinks when poured on top while still fluid.
How much soap does this mold need?
About 20 oz. Measure your mold with water and add a little extra.
More Wave Soap Ideas
- Avocado Butter Blue Ice Melt and Pour Soap
- Wave Embed Melt and Pour Soap
- Cloud Wave Melt and Pour Soap
- Pink Fun Melt and Pour Soap
- All my melt and pour soap tutorials on YouTube
If you make this, I’d love to see it! Tag me on Instagram or Pinterest, and subscribe on YouTube for new soap tutorials.
