
Which clear melt and pour soap base is actually the clearest? I tested Crafters Choice Premium Clear against Stephenson Crystal Clear side by side, with no blue tint added. To make it fun, I suspended little neon pink and green bead embeds in both. The result surprised me, and these bead soaps turned out really cute.
As an Amazon Associate I earn from qualifying purchases. Some links in this post are affiliate links. They cost you nothing extra and help support Koala Soap.
The Result
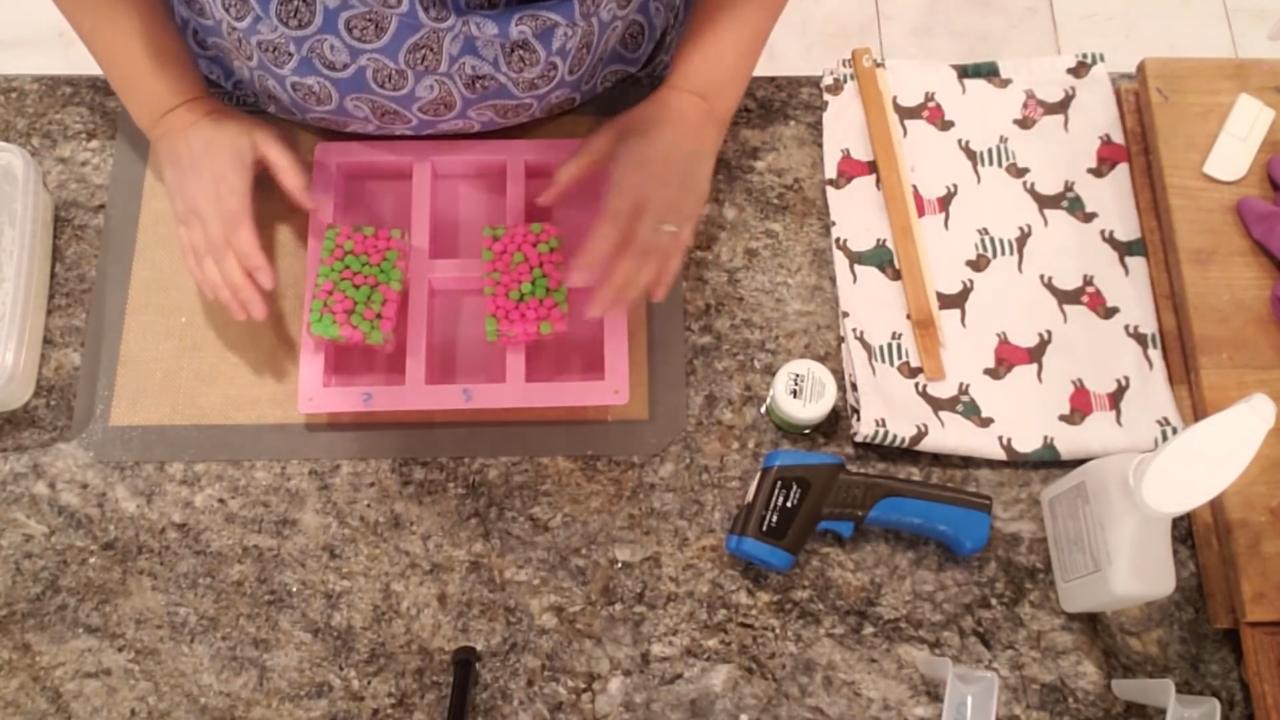
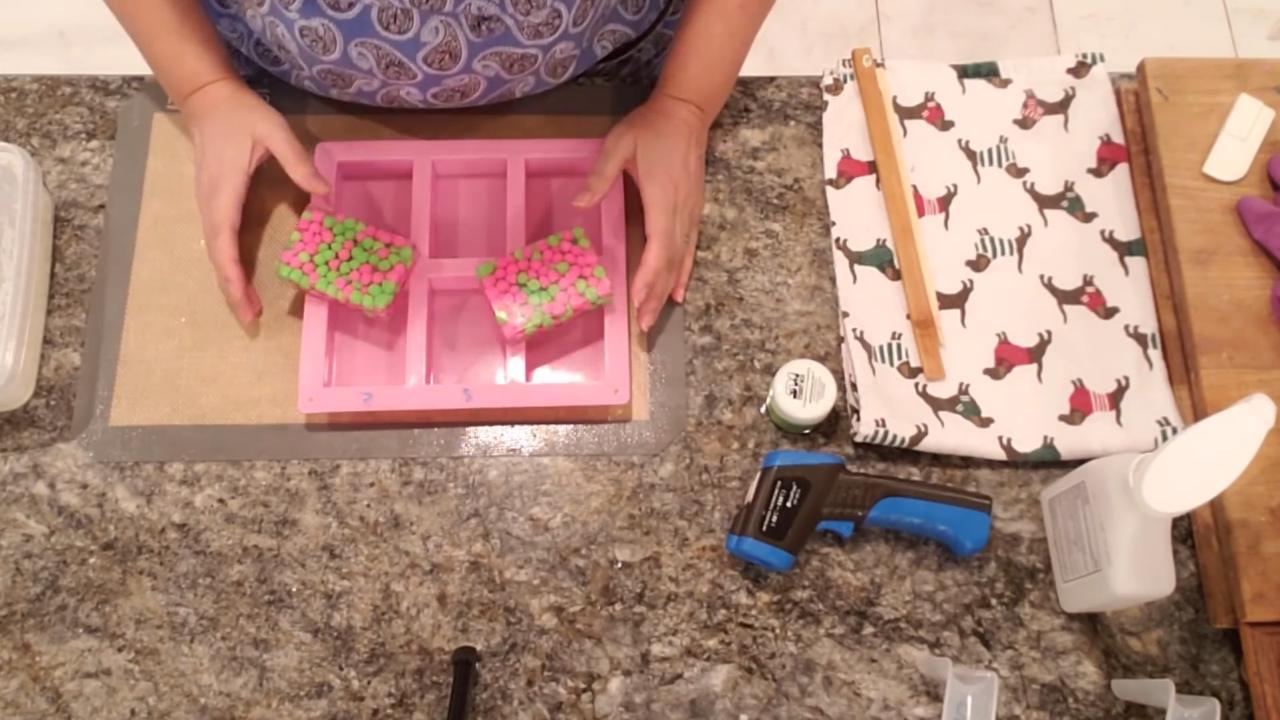
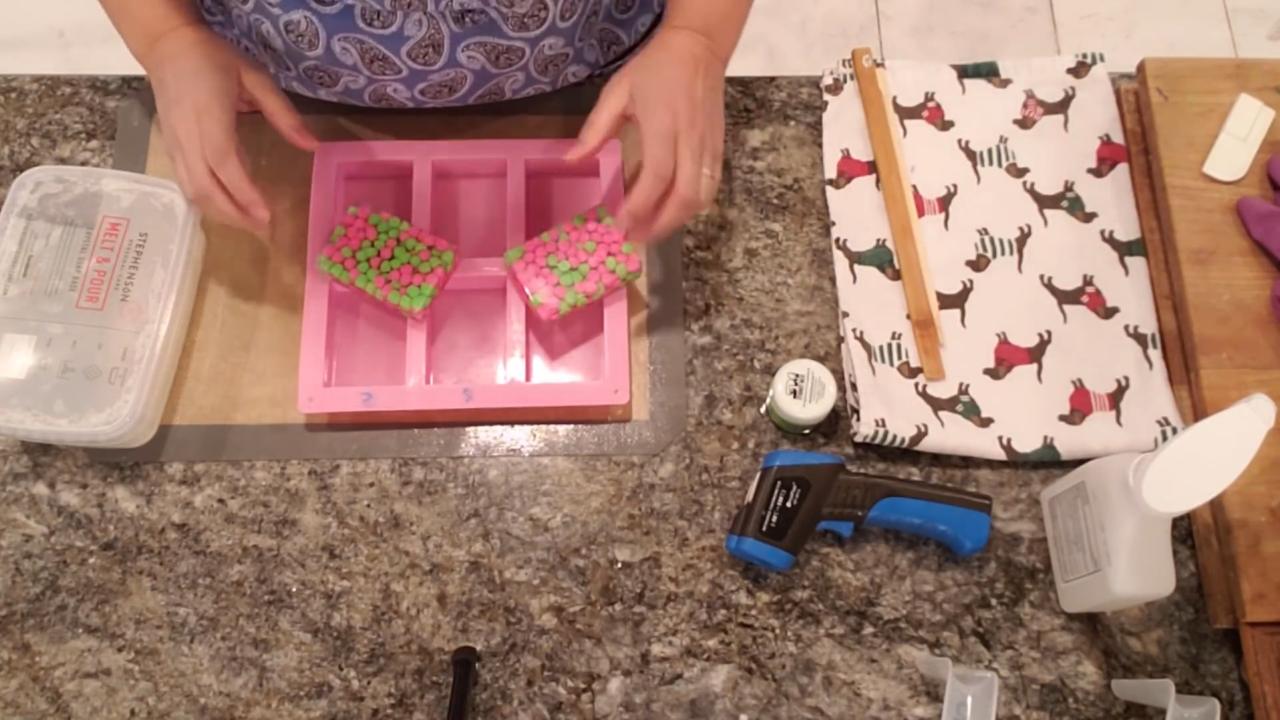
Once both soaps set, I honestly couldn’t see a difference. While the soap was still liquid, the Stephenson looked a tiny bit clearer, but the finished bars looked the same from every side. Either base works well for embed soaps.
- Melt time (15-second bursts): Crafters Choice about 30 seconds, Stephenson about 1 minute
- Skin forms: Crafters Choice early, around 133°F. Stephenson around 143°F.
- Clarity when set: both very clear
Materials & Tools
Soap Base
- Crafters Choice Premium Clear melt and pour
- Stephenson Crystal Clear melt and pour
- Shea butter melt and pour soap base for the embeds
Color & Scent
- Neon pink and neon green mica (I used Stardust Poppin Pink and Lightning Green from a Stardust mica set)
- Optional fragrance oil, added to the embed soap only so the clear stays clear
Tools
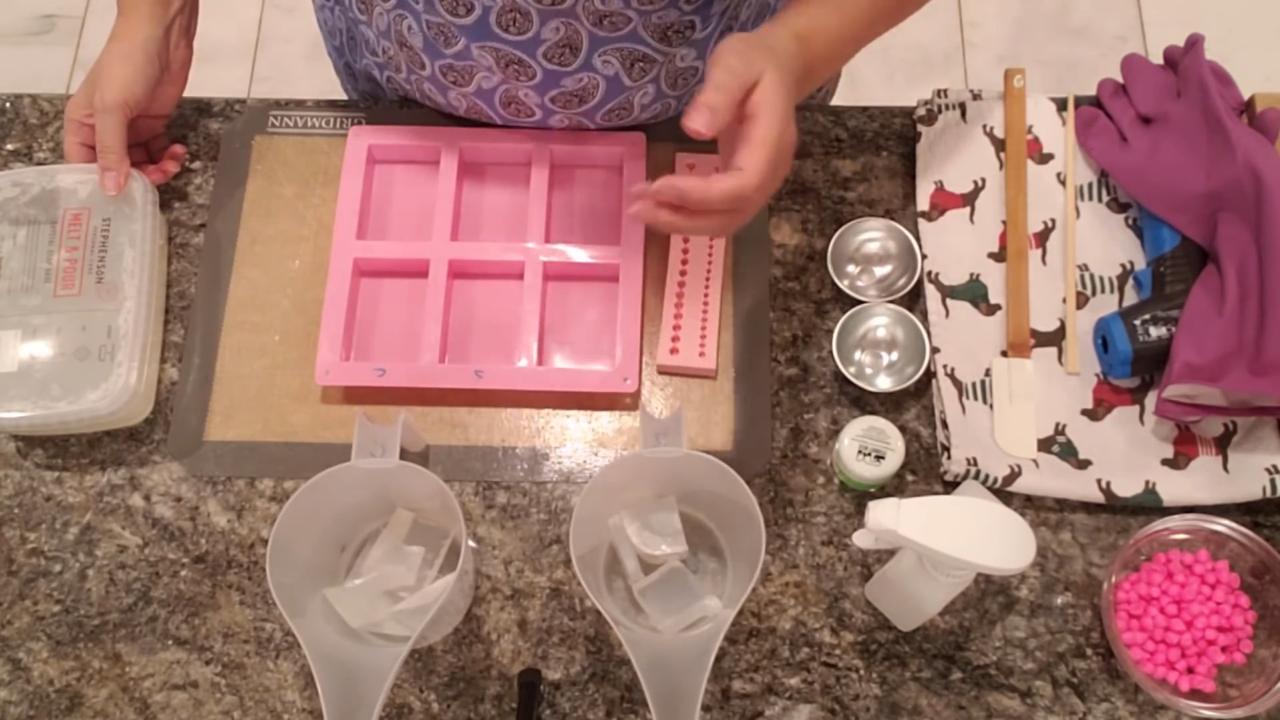
- Bead (pearl) fondant silicone mold
- 6 cavity soap mold
- A removable spatula and a silicone mat
- A chopstick
- Spray bottle of 91% isopropyl alcohol
- Thermometer
- Pour cups
Fragrance Amount
If you scent the embeds, use up to 5 ml of fragrance oil per 16 oz (1 lb) of soap base. You can always use less, but don’t go over 5 ml per 16 oz.
How to Make Neon Bead Embed Soap
1. Make the Bead Embeds
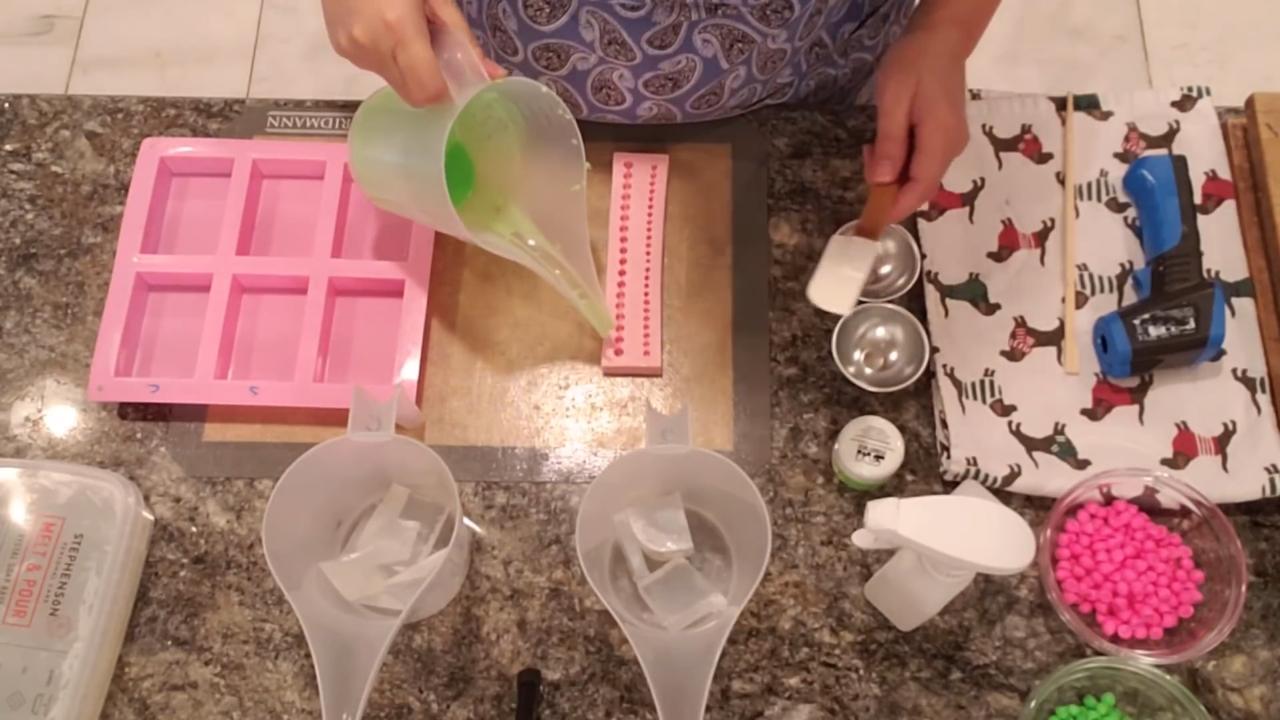
Color shea butter base with neon mica. Pour it over a bead fondant mold set on a silicone mat and scrape off the extra with a spatula. They’re ready to unmold in about 15 minutes, faster in the fridge. Having two molds speeds things up.
2. Separate the Beads
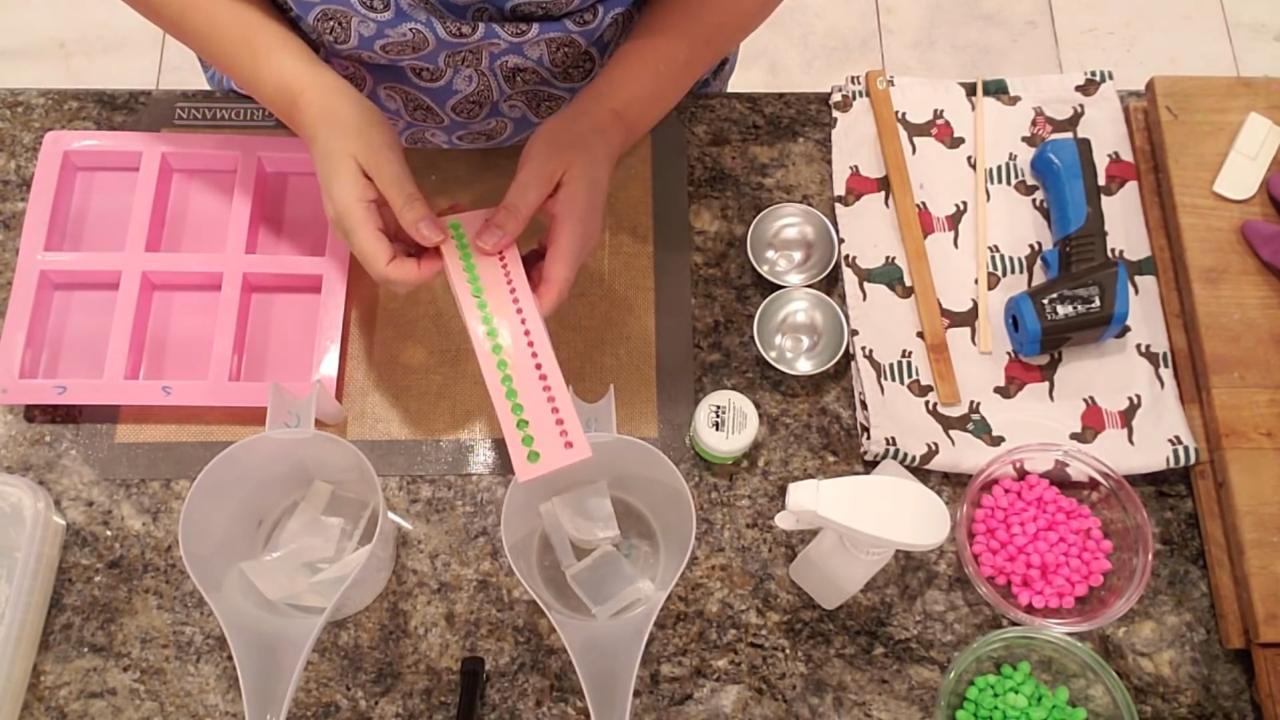
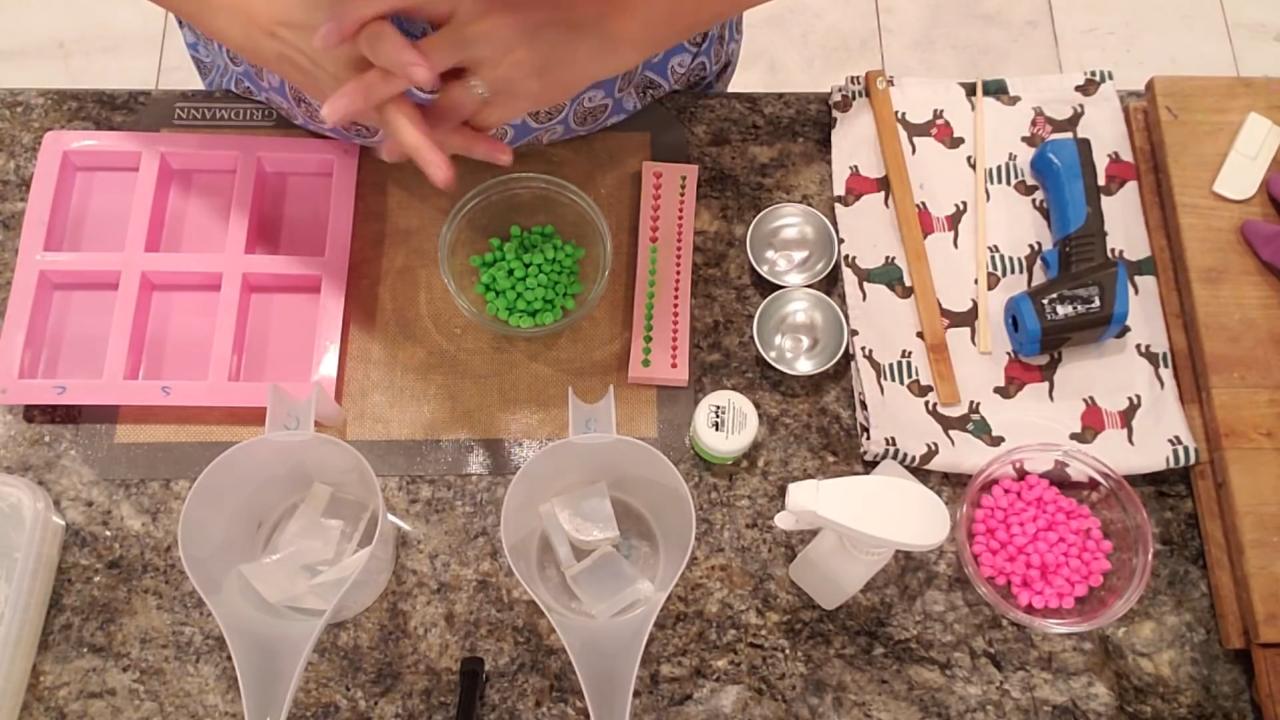
Pop the strands out of the mold and break them into individual little balls. Mix the pink and green together in a bowl.
3. Pour a Bottom Layer
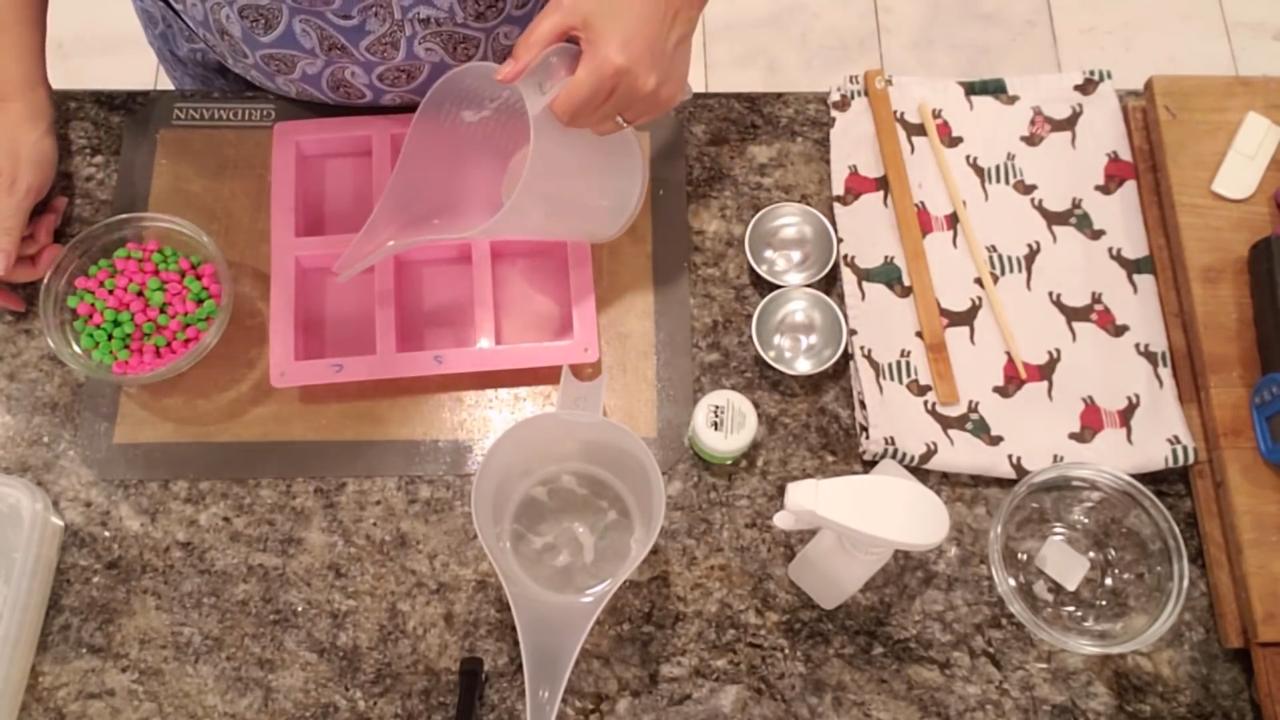
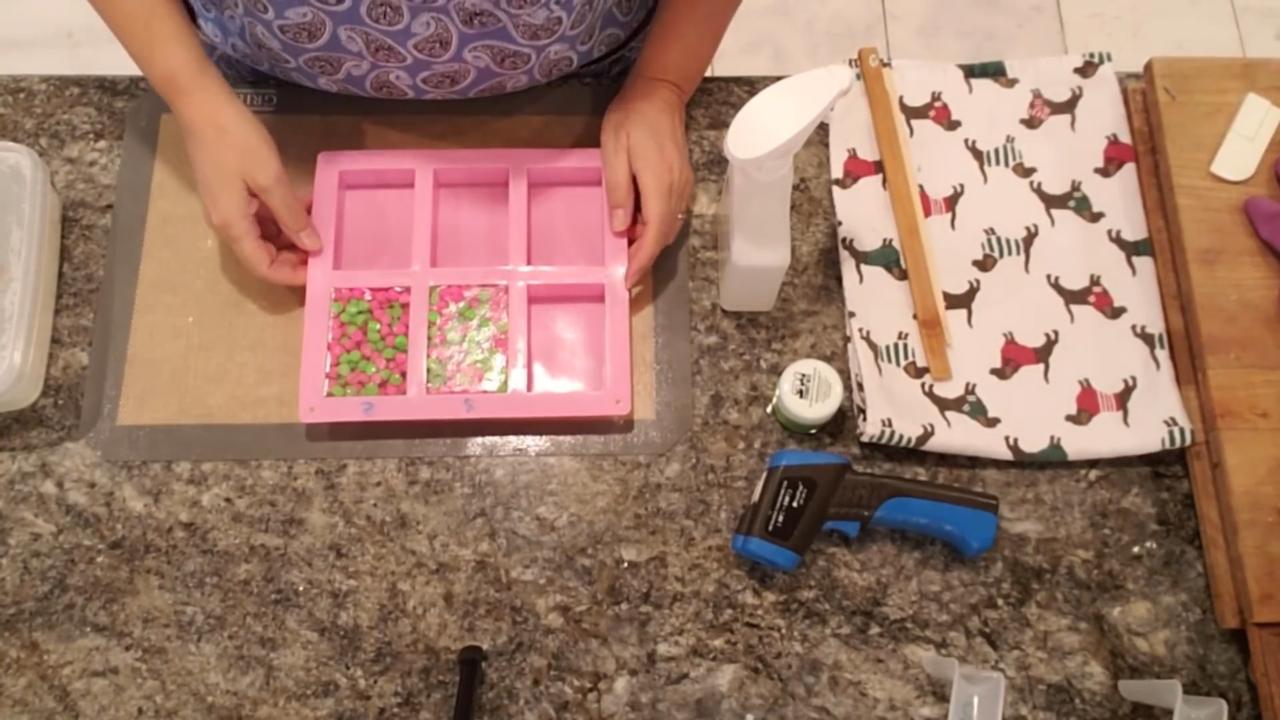
Melt each clear base gently in 15-second bursts. Pour a thin layer in the bottom of each cavity and spray with alcohol.
4. Add the Beads and Fill
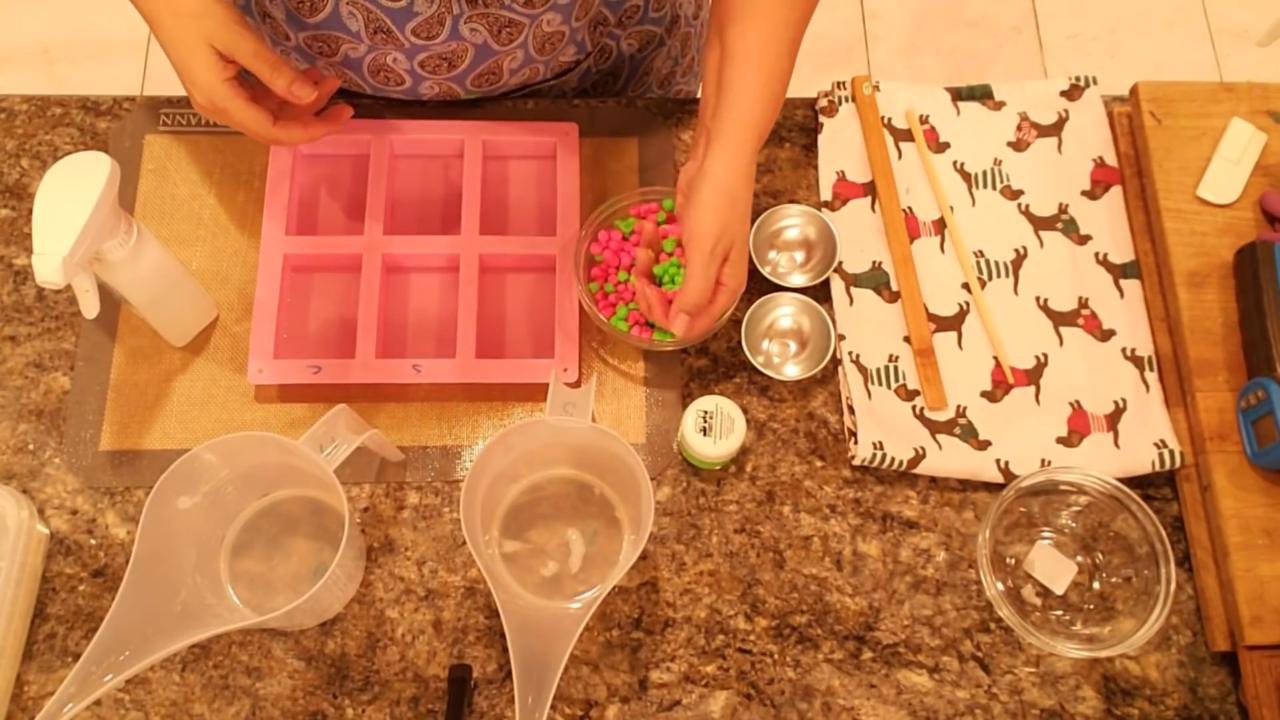
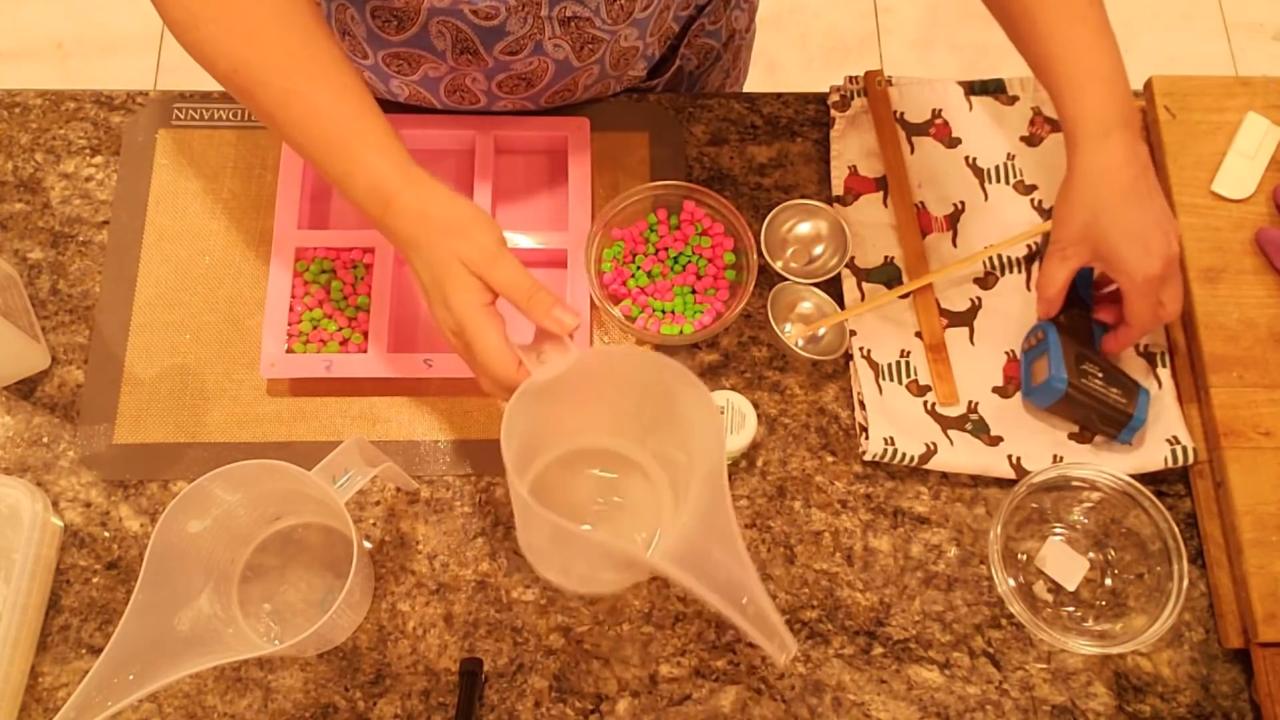
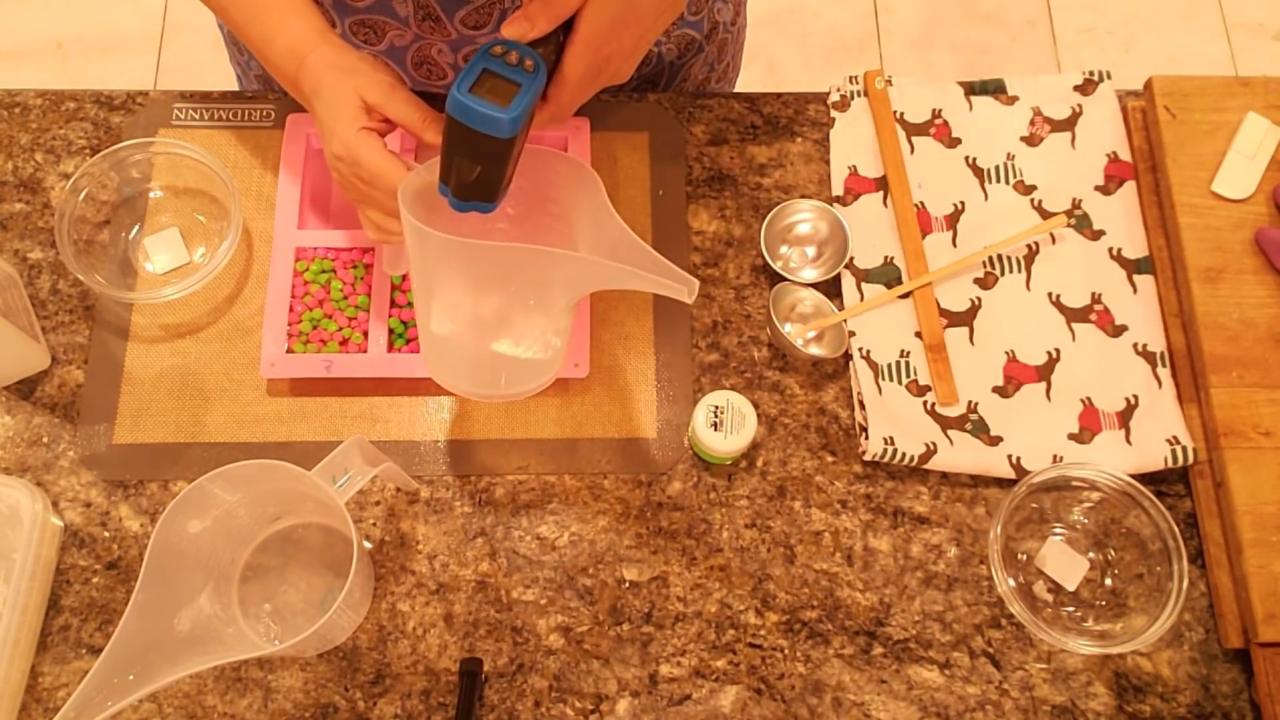
Spray the beads with alcohol. Add them to the cavities and pour clear soap over them at around 130°F, moving beads around with a chopstick so they spread out. Skim any skins off the top of your cup first.
5. Unmold and Compare
Let them set at room temperature, then unmold. I kept each brand on its own side so I could compare them.
Tips & What I Learned
- Both bases are very clear. I couldn’t tell them apart once they set.
- Scent the embeds, not the clear. Some fragrances can cloud or tint clear soap.
- Melt gently. Short bursts keep clear soap from overheating and clouding.
- Neon micas pop. They’re super bright in opaque embeds.
- Use two bead molds. It saves a lot of time.
Troubleshooting
My clear soap is cloudy. It may have been overheated or have fragrance in it. Melt in short bursts and keep the clear unscented.
The beads floated to the top. Pour a bottom layer first and pour a little cooler.
There are bubbles. Spray with alcohol after every pour.
FAQ
Which clear melt and pour base is the clearest?
In my test, Crafters Choice Premium Clear and Stephenson Crystal Clear looked the same once set.
Do I need to add blue to make soap look clearer?
No. Both bases looked clear without any tint.
More Embed Soap Ideas
- Sphere Embed Melt and Pour Soap
- Coconut Mango Jojoba Bead Melt and Pour Soap
- Recycled Soap Embeds Melt and Pour Soap
- Neon Confetti Melt and Pour Soap
- All my melt and pour soap tutorials on YouTube
If you make this, I’d love to see it! Tag me on Instagram or Pinterest, and subscribe on YouTube for new soap tutorials.
