
This sphere embed melt and pour soap has little blue and purple balls floating in crystal clear soap. I made it to use up leftover soap from my geometric soap and to test a new round cavity mold. Keeping the clear soap completely plain is what makes the embeds look sharp.
As an Amazon Associate I earn from qualifying purchases. Some links in this post are affiliate links. They cost you nothing extra and help support Koala Soap.
Materials & Tools
Soap Bases
- Leftover colored clear soap for the embeds (mine was purple and blue), or premium clear melt and pour soap base colored with mica
- Crystal clear melt and pour base for the main pour, unscented and uncolored
- Shea butter melt and pour (optional, for an opaque version)
Color & Scent
- Violet Purple and Ariel Blue from this Stardust mica set
- Fragrance goes in the embeds only. Mine already had Blue Cotton Candy from Barnhouse.
Tools
- Small ball silicone mold for the embeds
- 6 cavity round/oval soap mold
- Pour cups with spouts
- A knife for trimming
- Spray bottle of 91% isopropyl alcohol
- Thermometer
Fragrance Amount
Scent only the colored embeds, never the clear soap, because fragrance can make clear soap cloudy. Use up to 5 ml of fragrance oil per 16 oz (1 lb) of soap base. You can always use less, but don’t go over 5 ml per 16 oz.
How to Make Sphere Embed Melt and Pour Soap
1. Pour the Ball Embeds
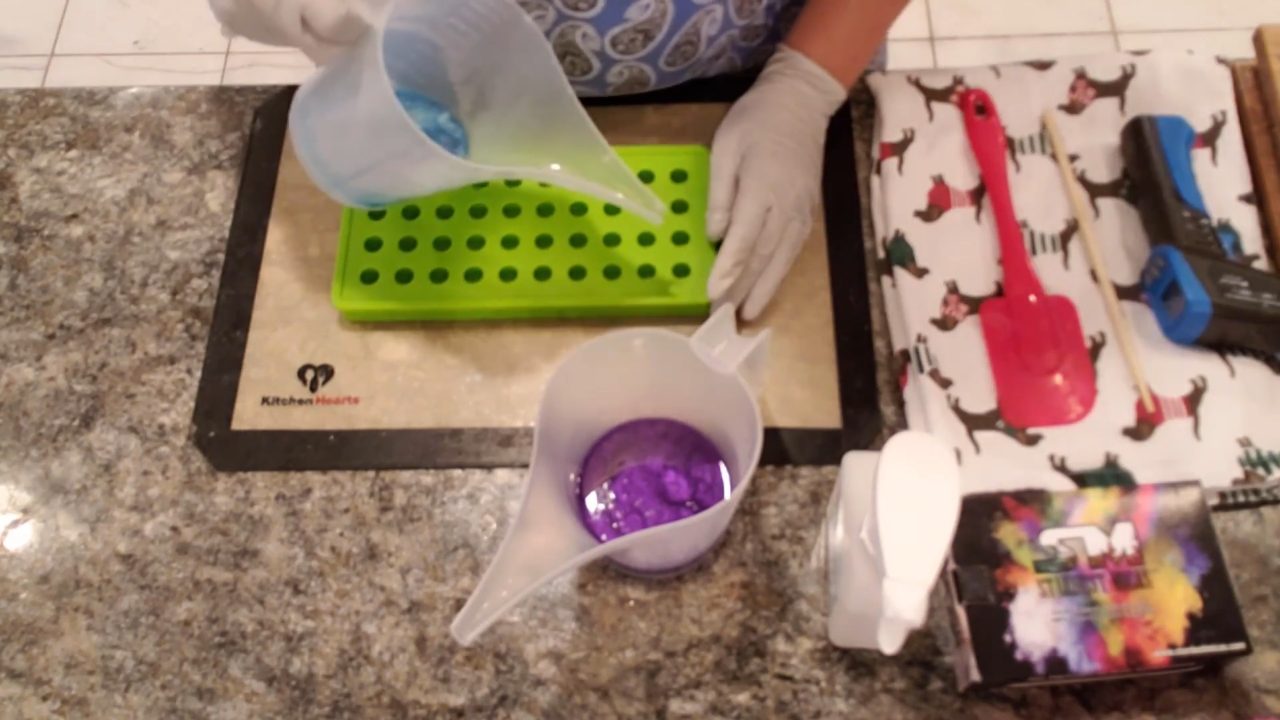
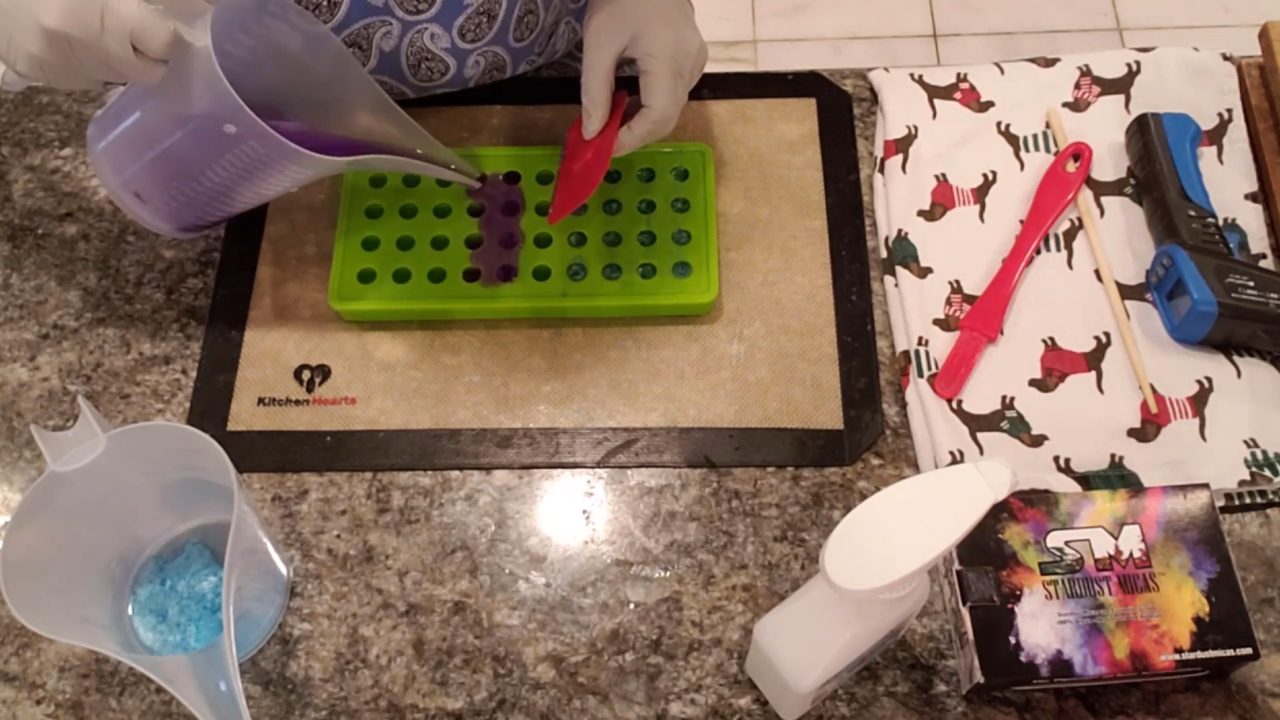
Melt your colored soap. If you only have a little, pour carefully into each ball cavity instead of flooding the mold and scraping it. Fill as many as you can with each color, then let them set.
2. Unmold and Clean Up the Balls
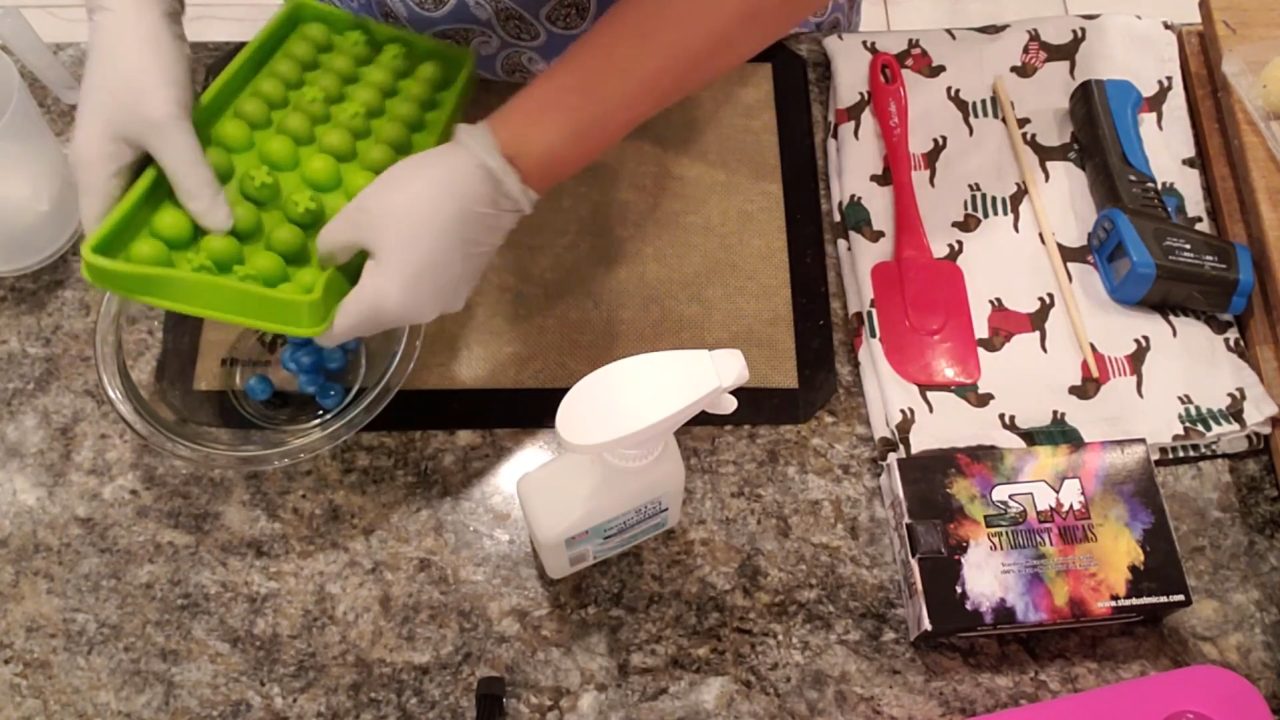
Pop the balls out into a bowl. Some will have a little lip of soap around the seam. Trim it off so they look round. Extra balls can be saved or remelted.
3. Melt the Clear Base
Melt crystal clear base without any fragrance or color. Let it cool to about 135°F or a little lower. If it’s too hot, it will melt the embeds.
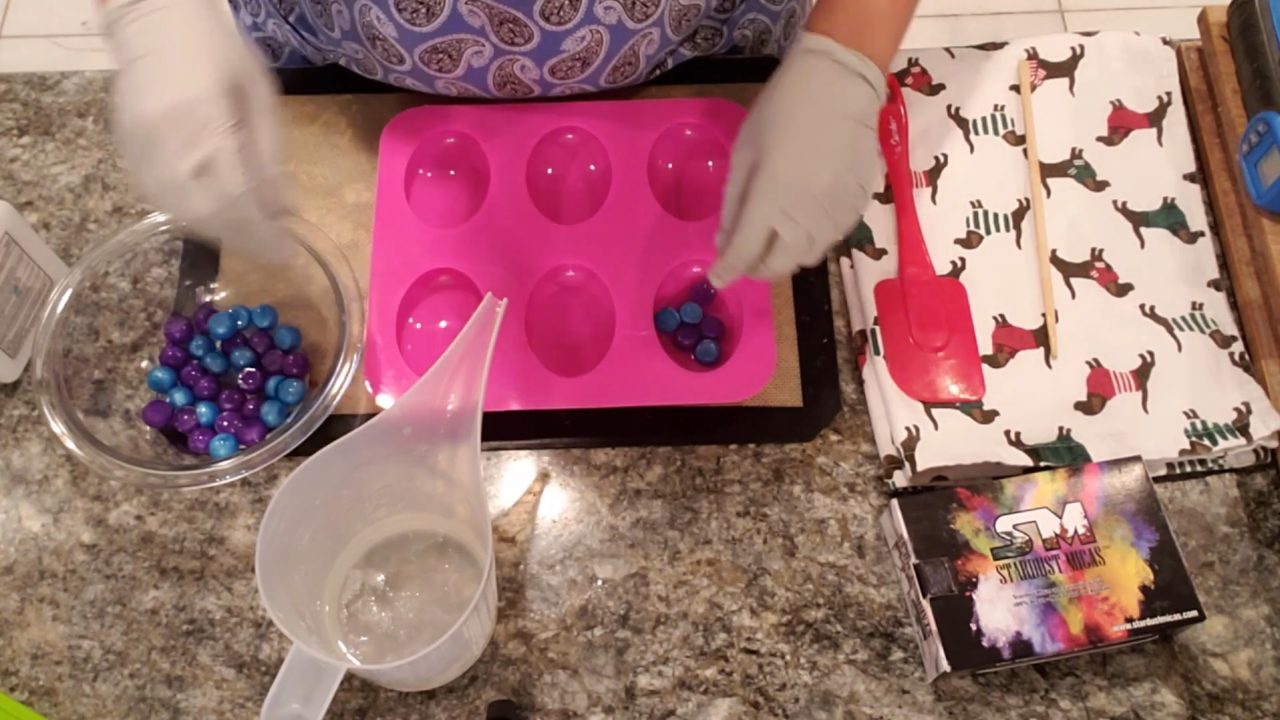
4. Pour a Little Clear, Then Add the Balls
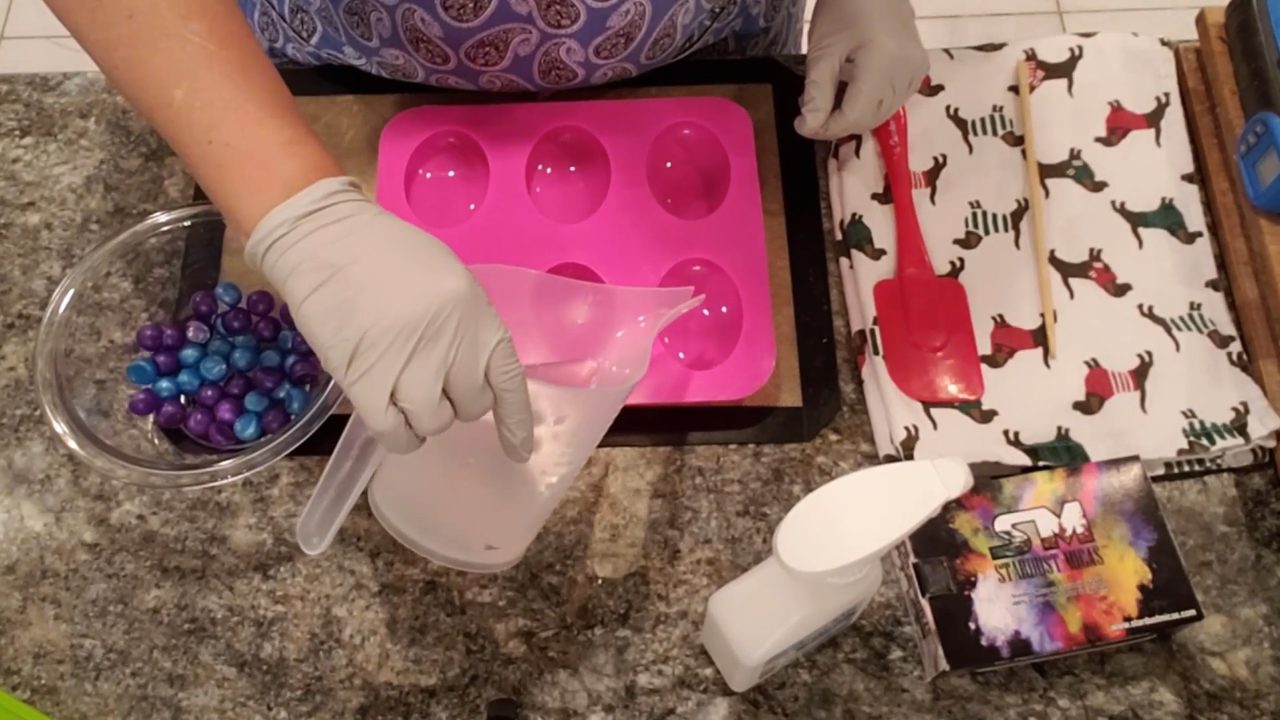
Pour a small amount of clear soap into each cavity. Spray the balls with alcohol and drop them in. These balls have one flat side, so try to keep the flat side down. That way you see round circles from the front. Don’t overthink where they go.
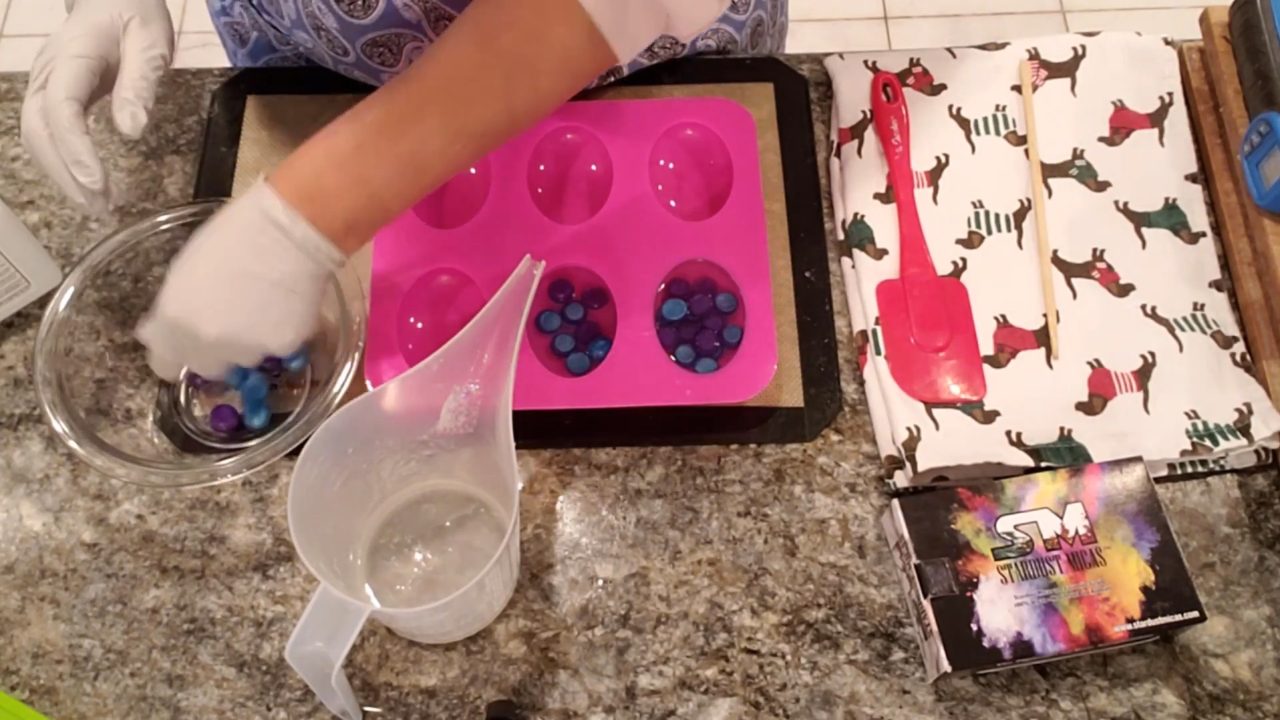
5. Cover the Embeds
Pour more clear soap over the balls, spraying with alcohol as you go. Work fairly quickly, since clear soap skins over at a higher temperature. Spouted pour cups make this much easier. Spray the tops to pop bubbles and let the soap set.
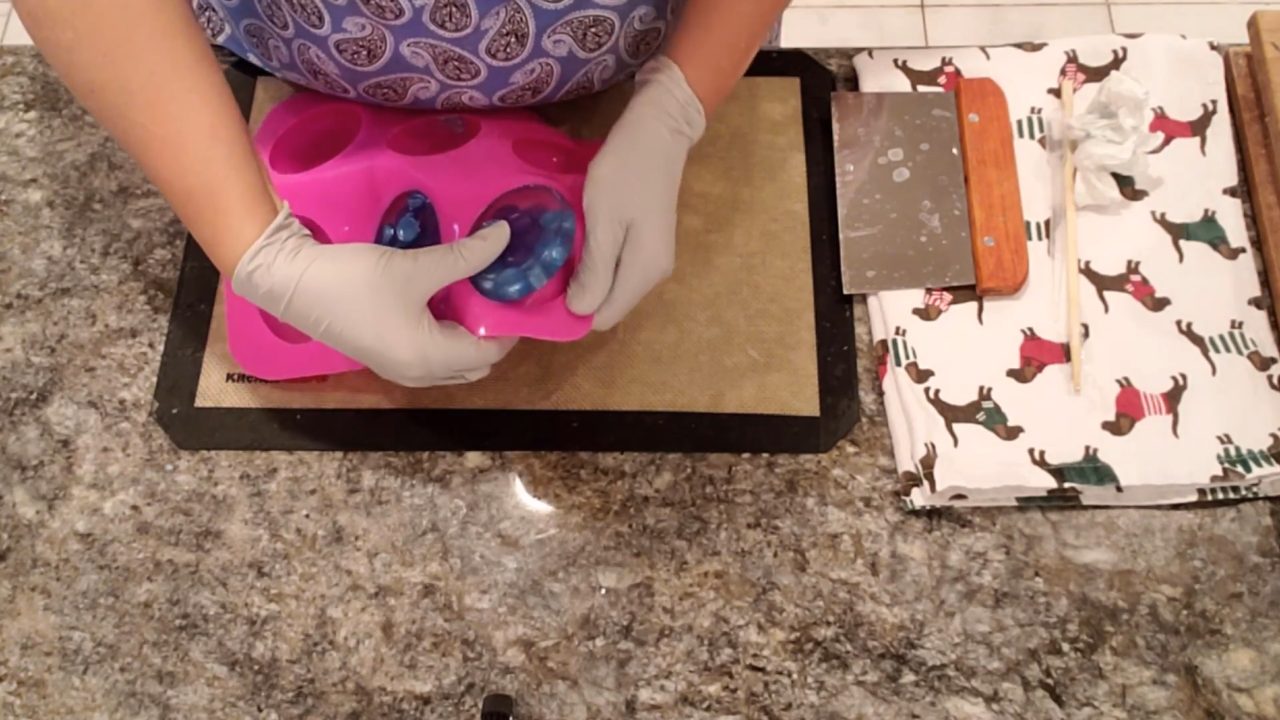
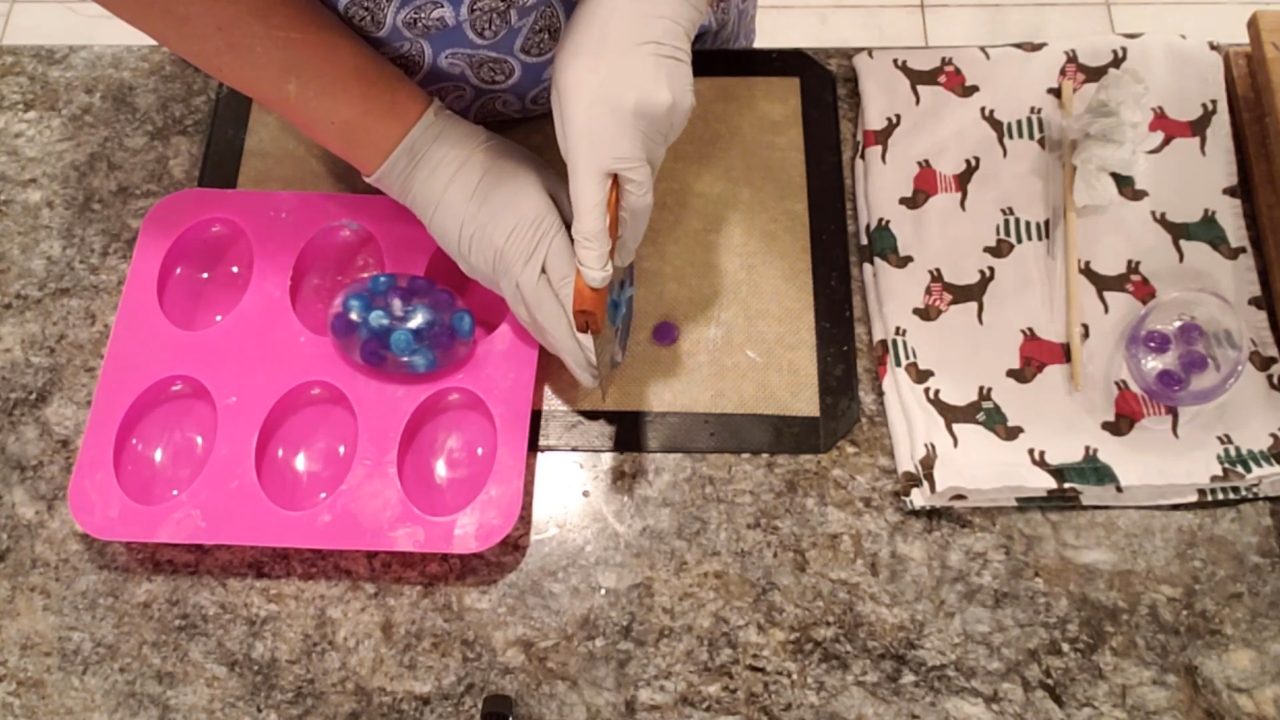
6. Unmold and Trim
Unmold the bars. If any balls stick up out of the back, trim them flat with a knife. Because nothing was added to the clear base, it stays crystal clear.
Tips & What I Learned
- Keep the clear base plain. No fragrance or color, so it stays perfectly clear.
- Pour around 135°F or lower. Hotter soap can melt the embeds.
- Flat side down. Balls from a flat-top mold look round from the front.
- Trim the back. Embeds that stick out are easy to cut flat.
- Use leftovers. This is a great way to use scraps from another soap.
Troubleshooting
My clear soap is cloudy.
Something was added to it, or it was overheated. Keep it plain and melt in short bursts.
The embeds melted.
The clear soap was too hot. Let it cool before pouring.
Embeds are poking out of the back.
Trim them flat once the soap is set.
FAQ
How much fragrance oil should I use?
Up to 5 ml per 16 oz of soap base, only in the embeds. You can always use less, but don’t use more than 5 ml per 16 oz.
How much clear soap do I need?
The balls take up some of the space, so you’ll need a little less than the cavity holds.
Can I use other shapes?
Yes. Any small embed shape works the same way.
More Embed Soap Ideas
- Jolly Dots Melt and Pour Soap
- Circle Embed Melt and Pour Soap
- Night Star Melt and Pour Soap
- Stained Glass Gemstone Melt and Pour Soap
- All my melt and pour soap tutorials on YouTube
If you make this, I’d love to see it! Tag me on Instagram or Pinterest, and subscribe on YouTube for new soap tutorials.
