
This wave embed melt and pour soap is a soap design inside a soap. Rolled soap curls are set in blue clear soap, trimmed into an insert, and wrapped in creamy shea butter soap. A whipped soap frosting top with blue sprinkles finishes the ocean wave look.
As an Amazon Associate I earn from qualifying purchases. Some links in this post are affiliate links. They cost you nothing extra and help support Koala Soap.
Materials & Tools
Soap Bases
- Shea butter melt and pour soap base (about 7 oz for the curl bars, plus more for the outer pour and frosting)
- Clear melt and pour soap base for the blue insert and sprinkles
Color, Fragrance & Glitter
- Stardust Ariel Blue mica (from this Stardust mica set)
- Yuzu Cybilla fragrance from Barnhouse fragrance oils
- Bio glitter (optional)
Molds & Tools
- 6 cavity bar mold for making the curl bars
- Square 18–20 oz soap mold
- Potato peeler without a guard
- Soap cutter
- Hand mixer with whisk attachment
- Funnel pour cup
- Skewer, food grater, spatula and butter knife
- Spray bottle of 91% or 99% isopropyl alcohol
- Thermometer
Fragrance Amount
I scent the shea butter parts and leave the clear blue insert unscented so it stays as clear as possible. I use 5 ml of fragrance oil per 16 oz of soap base. You can always use less, but I wouldn’t go over 5 ml per 16 oz.
How to Make Wave Embed Melt and Pour Soap: Step by Step
1. Make the Curl Bars
Melt about 7 oz of shea butter base, add fragrance, and pour it into the cavities of a bar mold. Let the bars set completely. While they set, melt the clear base and mix in Ariel Blue mica so it has time to cool.
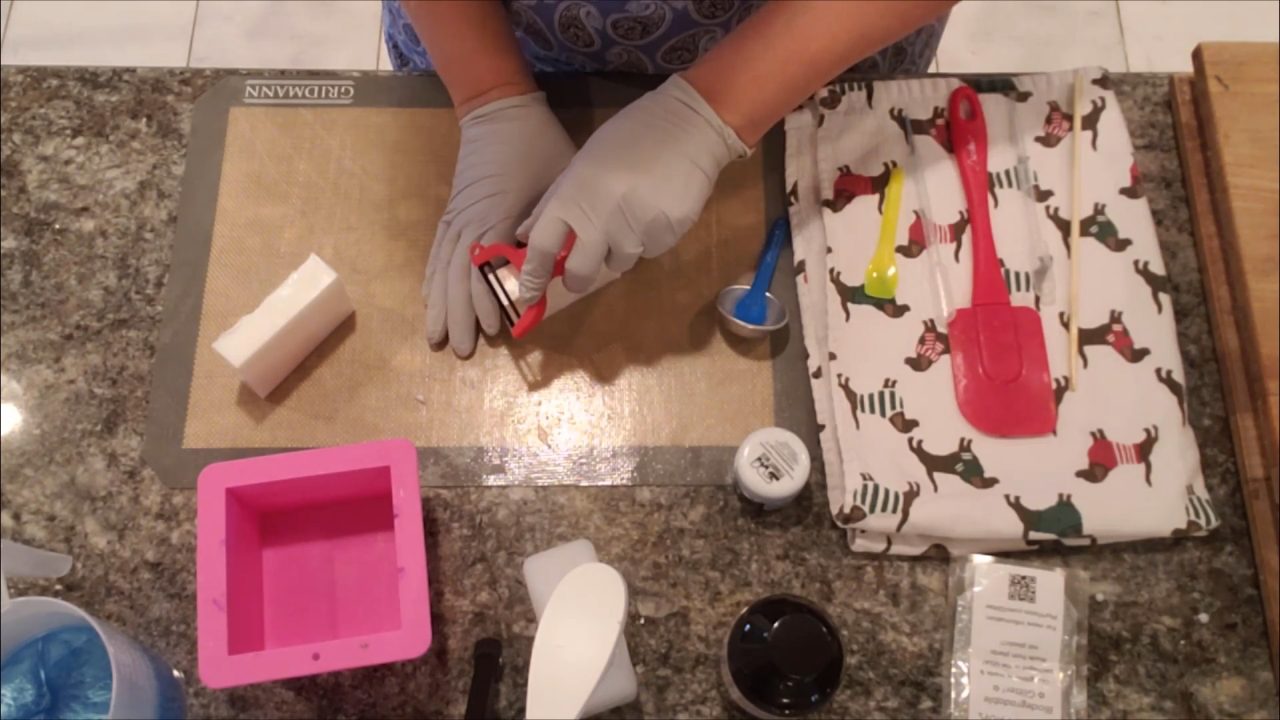
2. Peel the Soap Curls
Run a potato peeler (one without a guard) along the long side of a bar to peel off thin strips. The long side gives you bigger curls. There’s a little learning curve, but you’ll get the hang of it quickly. Roll each strip up loosely. They hold their shape nicely and don’t break.
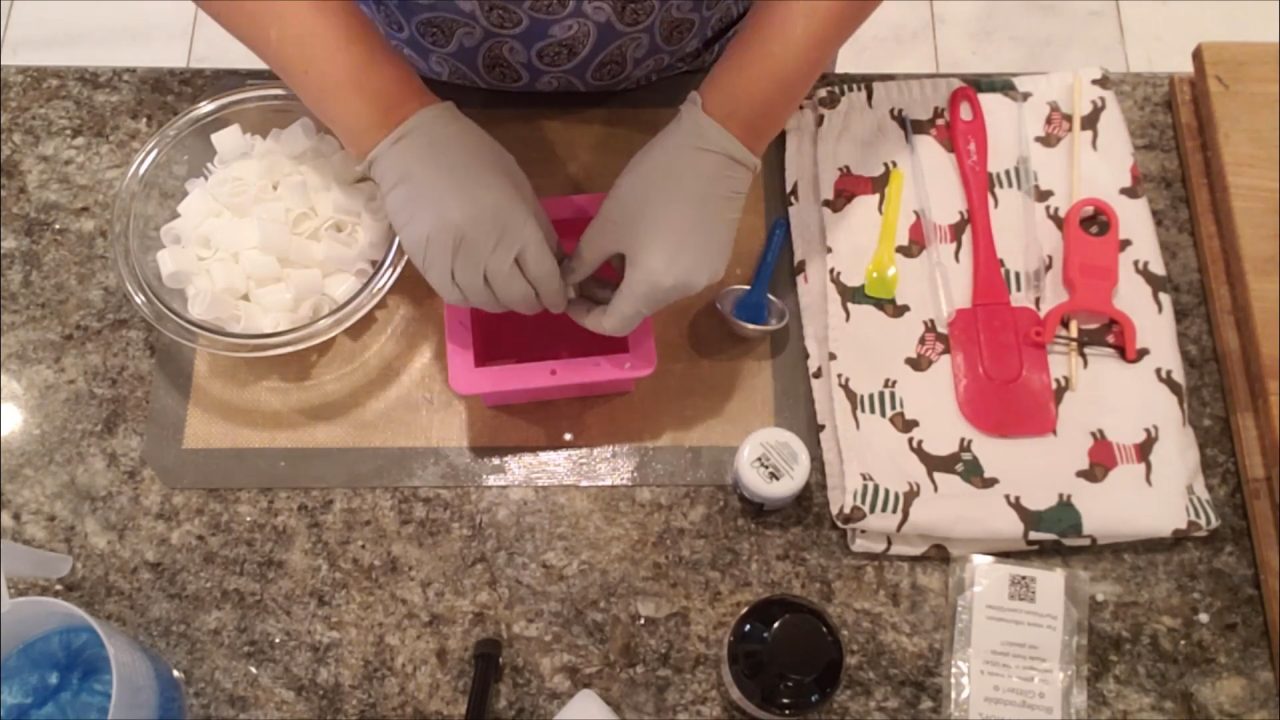
3. Arrange the Curls in the Mold
Spray the curls with alcohol and line them up in the square mold, all facing the same direction. I fit about five across and four rows high. Spray each row with alcohol as you stack. They’ll shift a little, and that’s okay. Some curls will stick out at the ends, but you’ll trim those later.
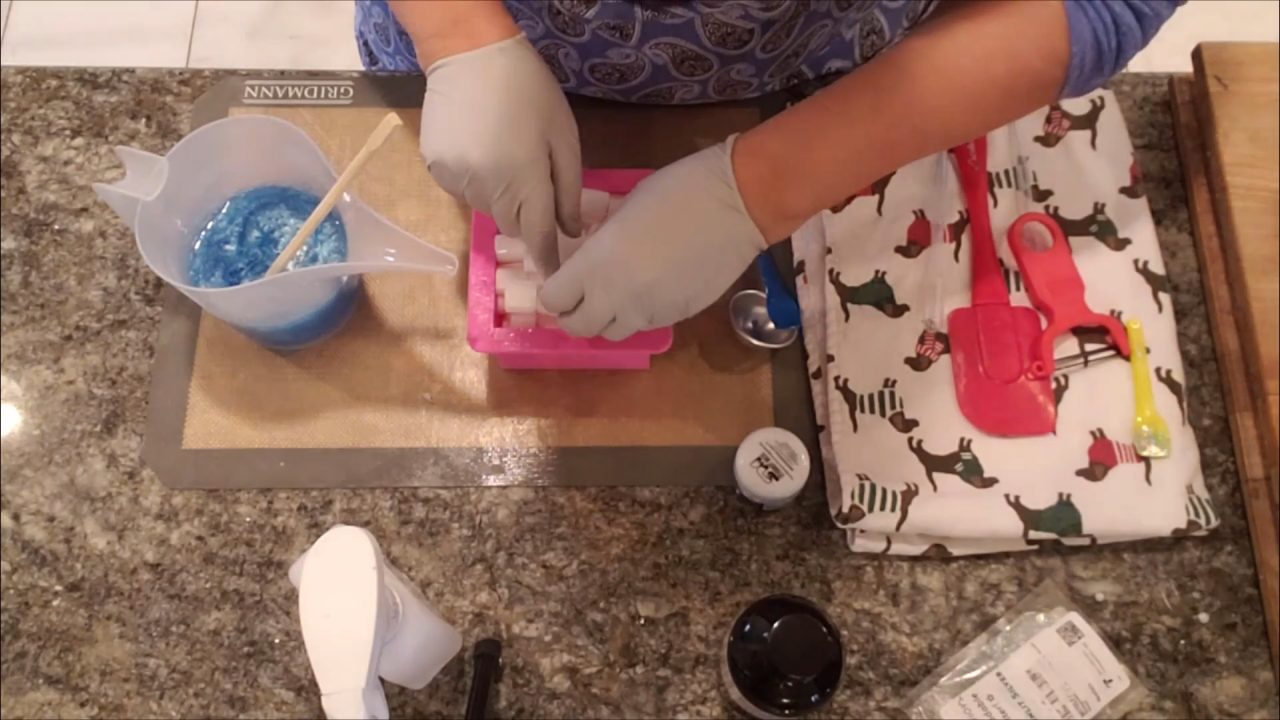
4. Pour the Blue Clear Base
When the blue base cools to about 128°F (under 135°F), stir in a little bio glitter so it stays suspended. Spray the curls generously with alcohol and pour slowly through a funnel cup so you don’t disturb them. Pouring slowly lets the air work out from between the curls. Top it off with a couple more ounces so it’s flush, spray with alcohol, and gently squeeze the mold to release air bubbles. Let it set.
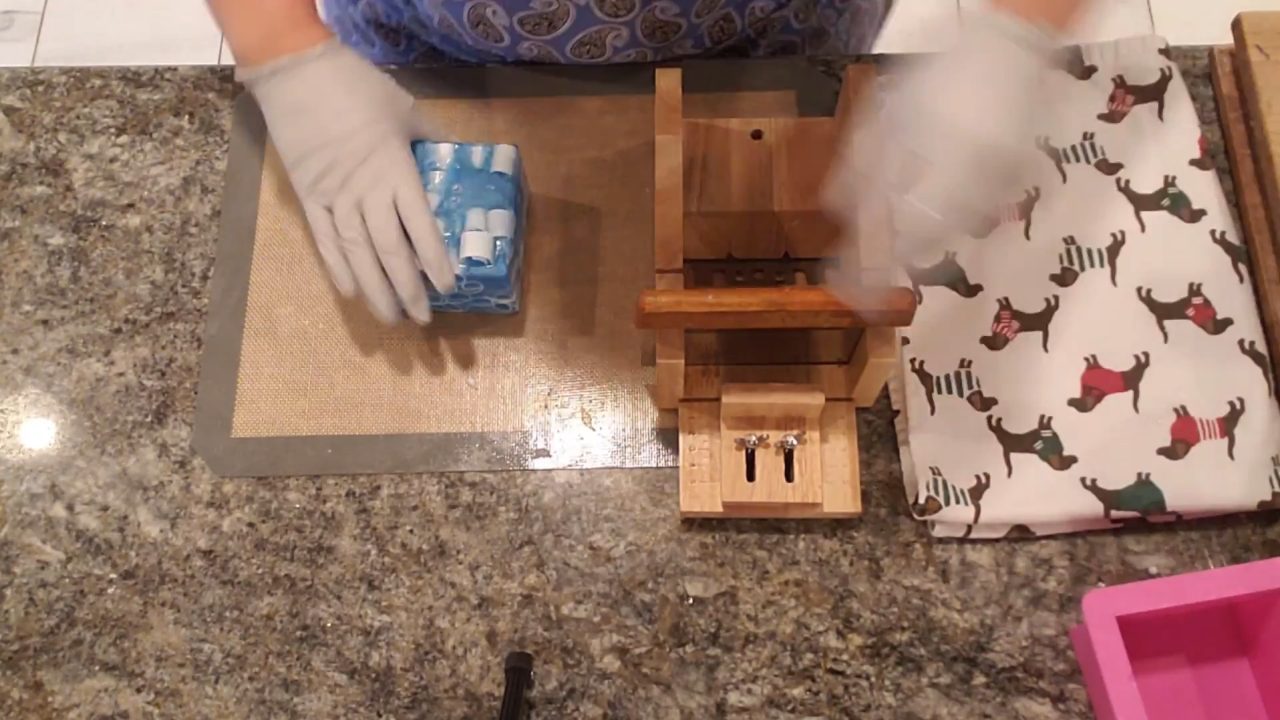
5. Unmold and Trim the Insert
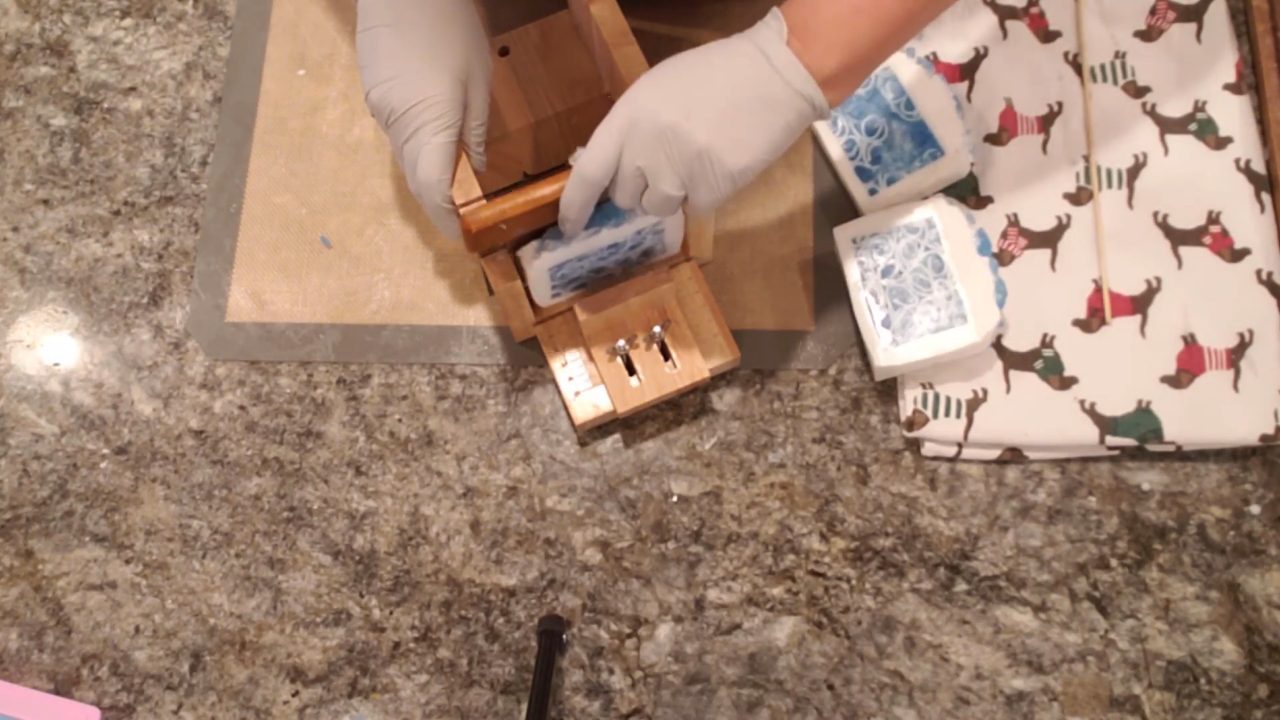
Unmold the block and look at it from every side to choose the front. I liked the wave view best. Trim about 1/4 inch off each side with a soap cutter, so the insert fits inside the same mold with room for soap all the way around. Push the block against the side of the cutter for a straight cut.
6. Set the Insert in Shea Butter
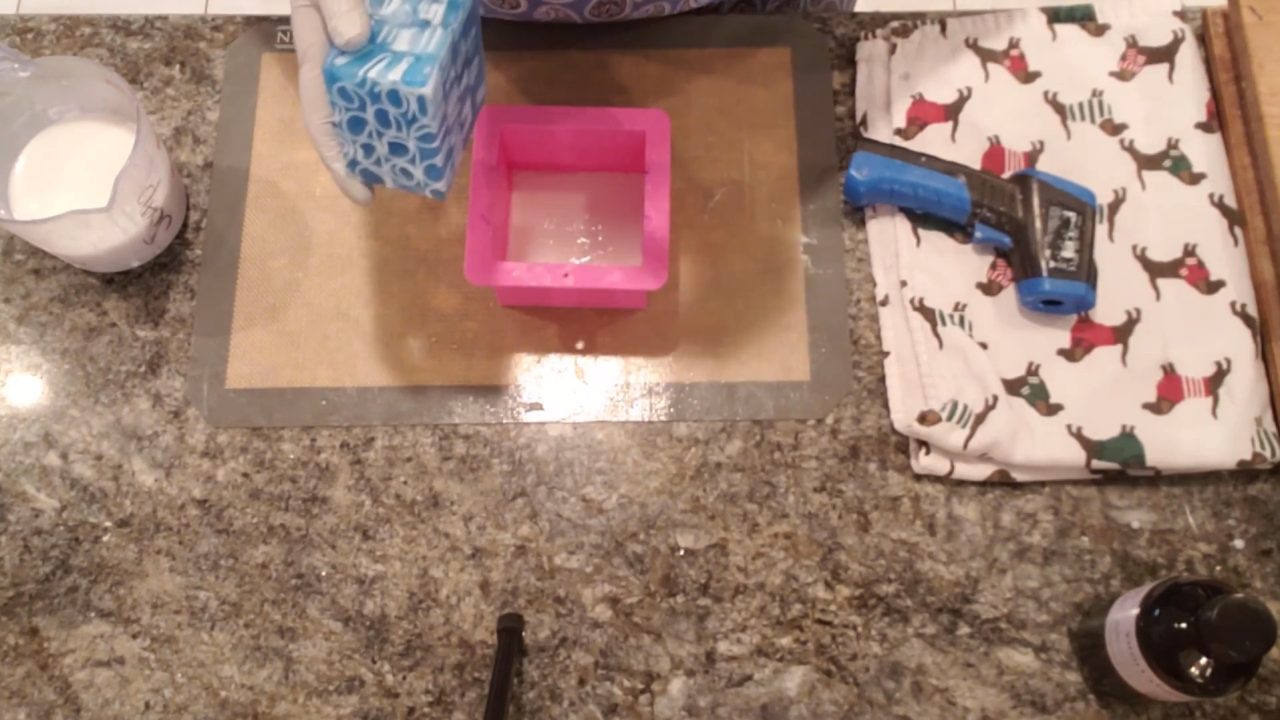
Melt shea butter base (I cut up the leftover curl bars) and add a little fragrance. Pour a thin layer into the bottom of the mold at about 146°F and let it harden. Lightly scratch hash marks on the bottom layer and the insert, spray both with alcohol, and set the insert in the center. Pour shea butter slowly all the way around and over the top. Tap gently, spray with alcohol and let it set.
7. Grate the Sprinkles
Grate any leftover blue clear soap with a food grater to make sprinkles for the top. Watch your fingers.
8. Whip the Frosting
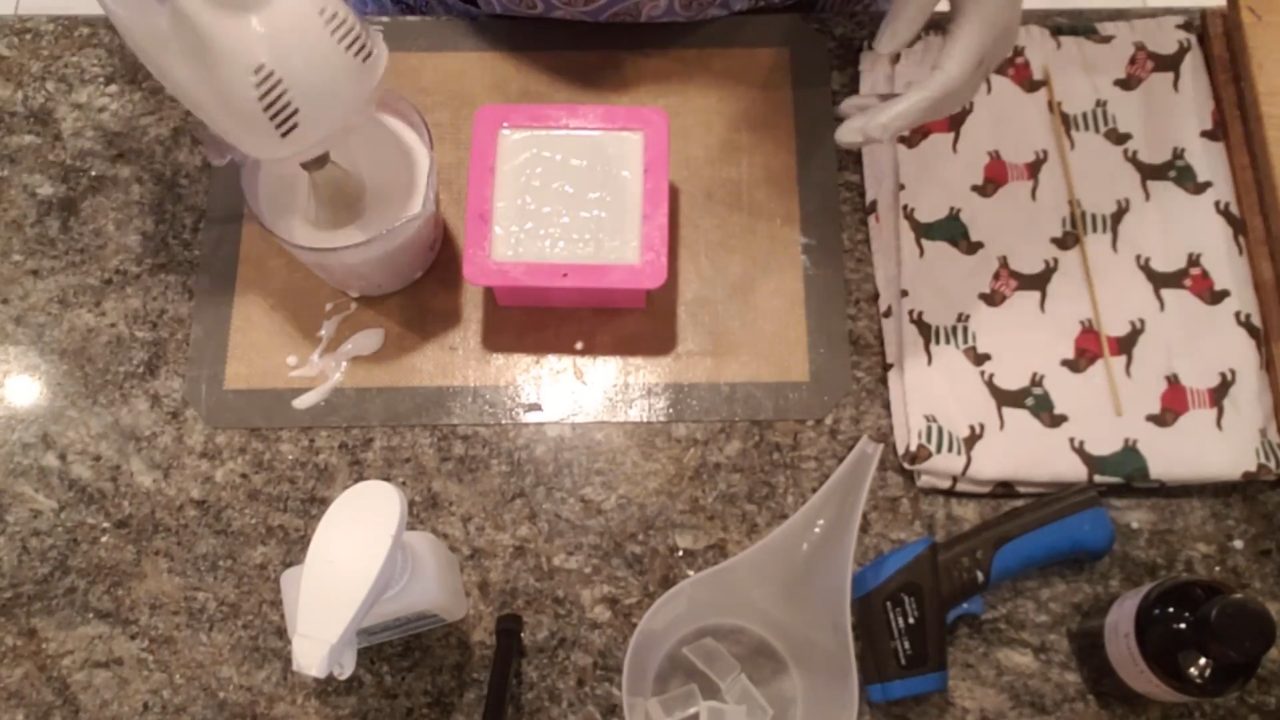
Melt more shea butter base (mine was in the 150s–160s °F) and whip it with the whisk attachment on a hand mixer. It can triple in volume, so start with less than you think you need. Keep whipping until it cools to about 107°F and leaves a trace.
9. Frost and Sprinkle
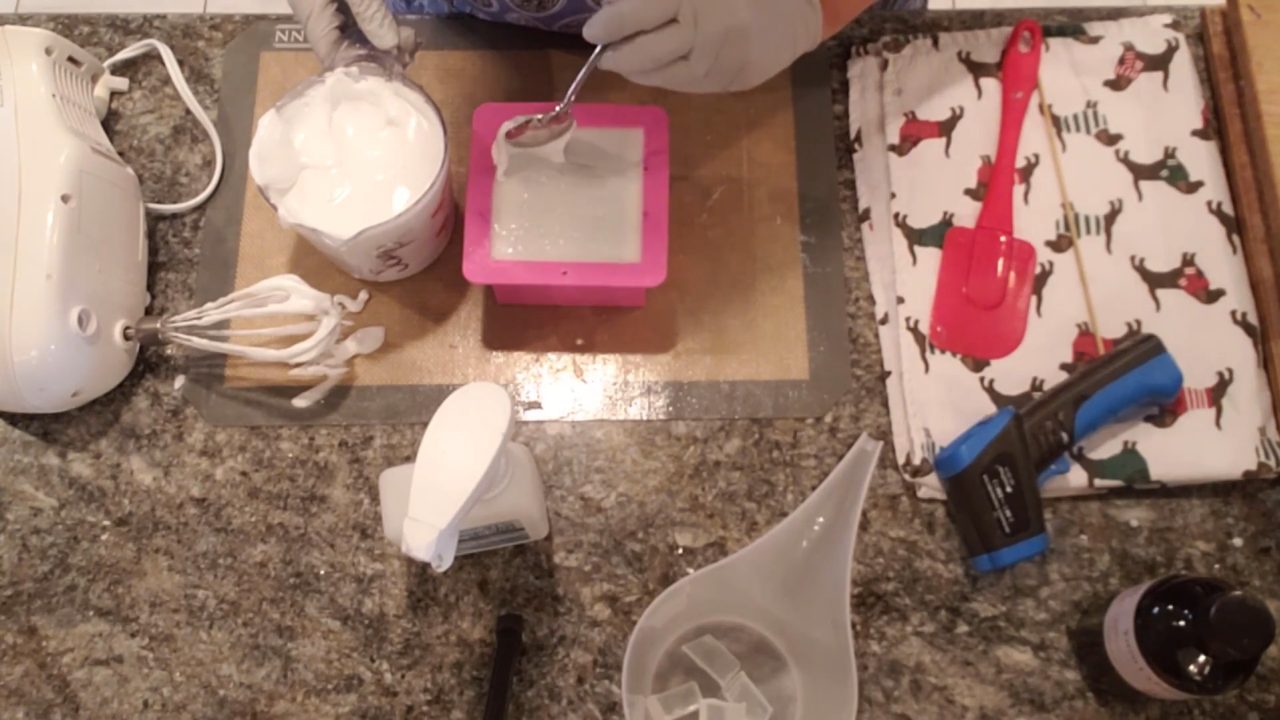
Spray the top of the soap with alcohol, then dollop on the frosting and swirl it with a spatula so it looks like waves. Keep it simple, because the inside is the star. Sprinkle the blue gratings over the top, breaking up any big pieces.
10. Lock In the Sprinkles, Unmold and Cut
To keep the sprinkles from falling off, spray them with alcohol and lightly drizzle melted clear base over them (around 140°F). Let the soap set, run a butter knife around the edges to free it, then unmold and cut into bars.
Tips & What I Learned
- Peel along the long side. You’ll get longer, prettier curls.
- Keep the insert unscented. Some fragrances can cloud clear base, so I scent the shea butter parts instead.
- Pour clear base under 135°F. That keeps the curls from melting and helps glitter stay suspended.
- Hash marks + alcohol = better sticking. Scratch lightly (don’t gouge) and spray before each pour. 99% alcohol works best.
- Mark the front. Once it’s in the mold, it’s easy to forget which side is the wave view. Make a small mark you’ll trim off later.
- Don’t whip clear base. Clear base just turns to foam. Use shea butter base for frosting.
Troubleshooting
There are air pockets between the curls.
Pour slowly through a funnel cup and gently squeeze the mold after pouring to help bubbles rise.
My insert separated from the outer soap.
Scratch hash marks on the insert and spray it well with alcohol before pouring around it.
My frosting is too runny.
Keep whipping until it cools to about 107°F and holds a trace.
The sprinkles fall off.
Drizzle a little melted clear base over them to lock them in place.
FAQ
What kind of peeler works best?
Any vegetable peeler without a guard. I bought an inexpensive three-pack.
Can I skip the glitter?
Yes. It’s optional. If you use it, stir it into clear base under 135°F so it doesn’t sink.
How much frosting should I make?
Less than you think. Whipped soap can triple in volume. Leftovers can be remelted and whipped again later.
Can I scent the clear insert?
You can, but I leave it unscented so it stays as clear as possible. Either way, use no more than 5 ml per 16 oz.
More Soap Ideas
- Peppermint Melt and Pour Soap with Soap Frosting
- Cloud Wave Melt and Pour Soap
- Whipped Cloud Melt and Pour Soap
- All my melt and pour soap tutorials on YouTube
If you make this, I’d love to see it! Tag me on Instagram or Pinterest, and subscribe on YouTube for new soap tutorials.
