
Pink Himalayan salt melt and pour soap is one of the easiest ways to make a spa-style bar at home. Coarse salt gives the soap a pretty, natural look and a gentle exfoliating feel. This is a quick, beginner-friendly recipe made in a bar mold, so there’s no slicing a loaf.
As an Amazon Associate I earn from qualifying purchases. Some links in this post are affiliate links. They cost you nothing extra and help support Koala Soap.
Materials & Tools
- Shea butter melt and pour soap base (I used a detergent-free shea butter base)
- Coarse pink Himalayan salt
- A little green mica (I used Aqua Pearl from Bramble Berry; a Stardust mica set works too)
- Fragrance oil (I used Cucumber Melon)
- Pink 6 cavity bar mold
- Spray bottle of 91% or 99% isopropyl alcohol
- Thermometer
- Pipette or dropper, spoon and pour cup
Fragrance Amount
I use 5 ml of fragrance oil per 16 oz of soap base. You can always use less, but I wouldn’t go over 5 ml per 16 oz.
How to Make Himalayan Salt Melt and Pour Soap: Step by Step
1. Melt the Soap Base
Melt the shea butter base. Mine was about 165°F right after melting, which is too hot to add salt. You only need enough base to fill your bar mold. I find salt soap works best in individual bar molds. It’s much harder to do in a loaf mold.
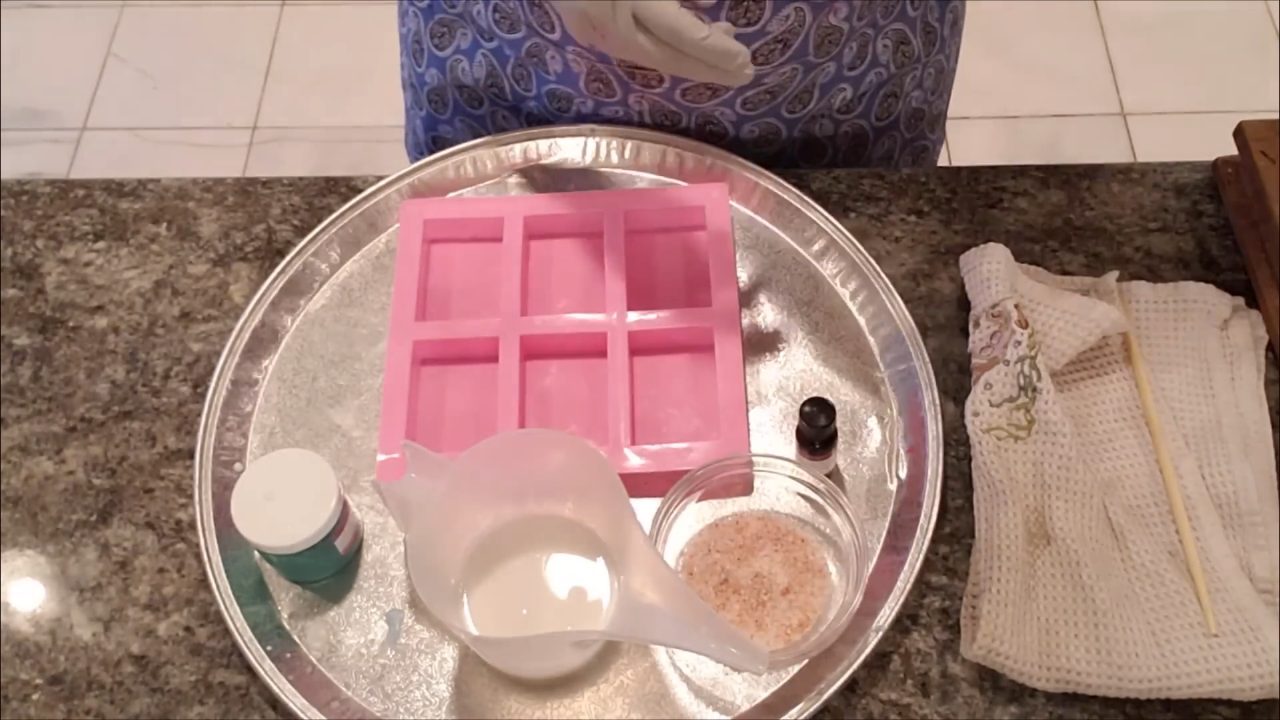
2. Let It Cool and Add Color and Fragrance
Let the base cool to the low 130s or even the 120s °F. Cooler, thicker soap holds the salt up a little better. The salt will still sink some, but it won’t all end up in one layer. Mix a little mica with a dropper full of alcohol, stir it into the soap, and add your fragrance (up to 5 ml per 16 oz).
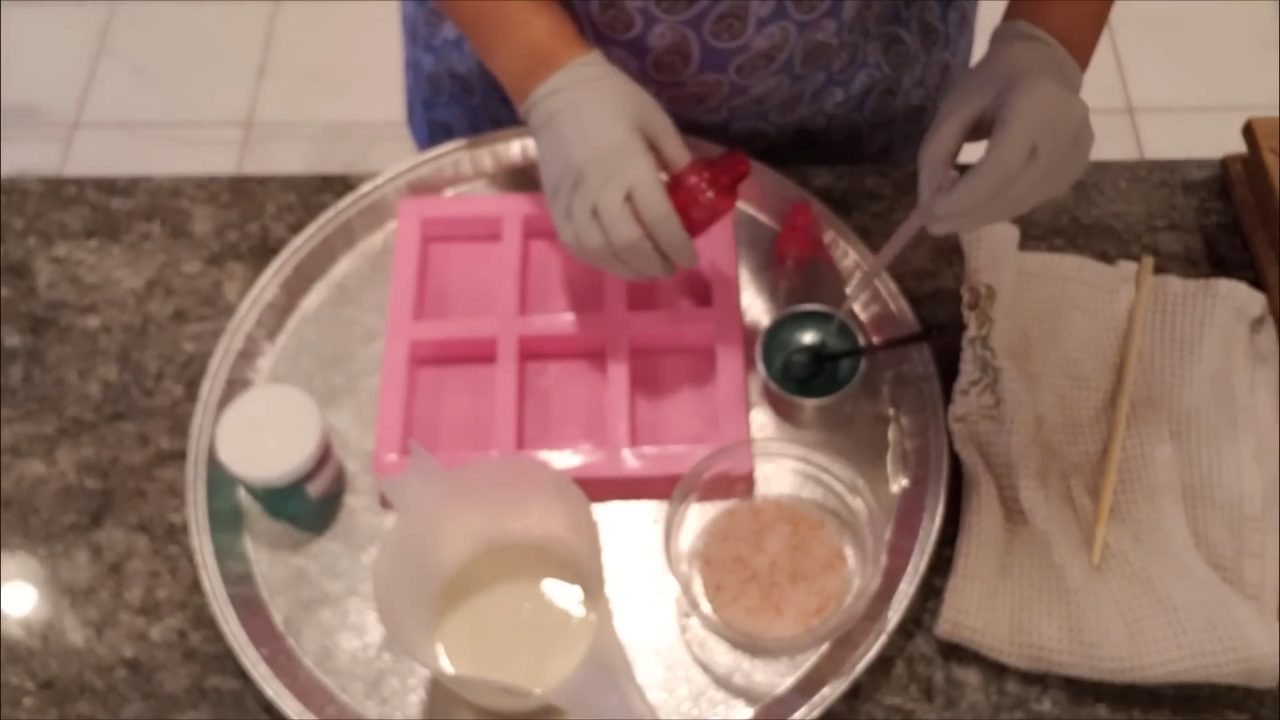
3. Stir In the Salt
Add the coarse Himalayan salt and stir. Hold back a little if you want to sprinkle some on top later. The salt really likes to settle to the bottom, so keep stirring right up until you pour.
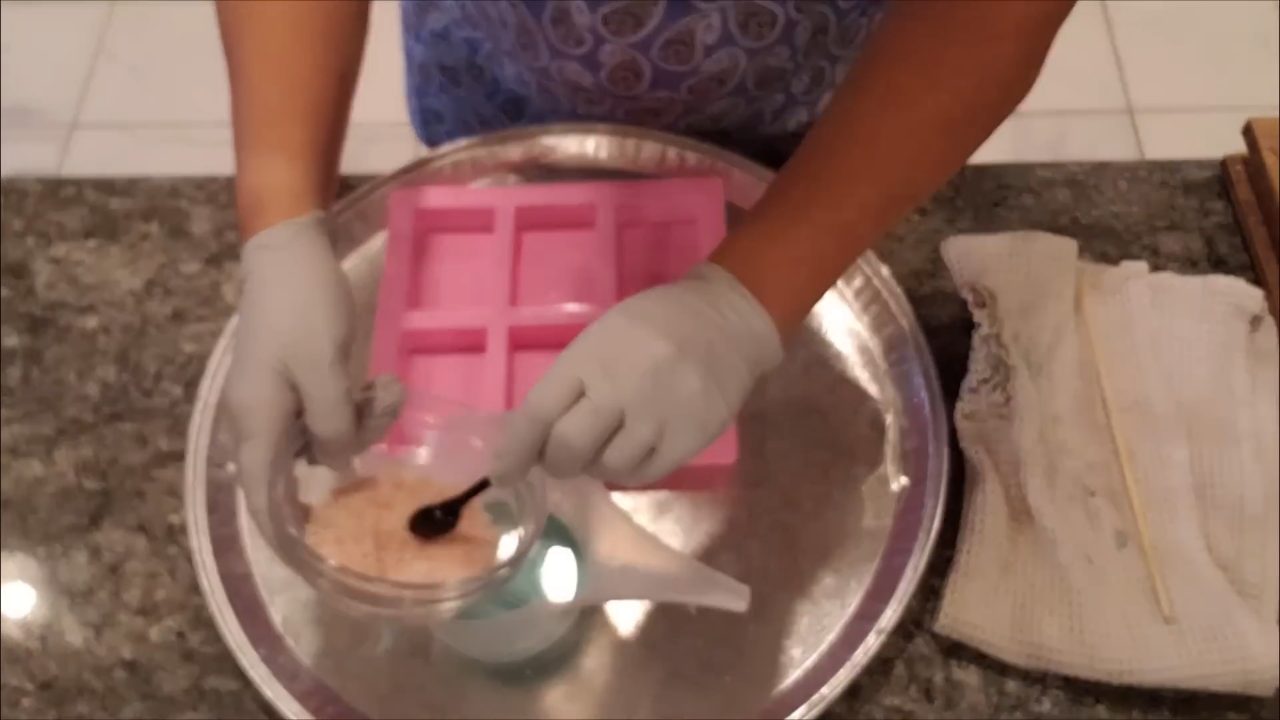
4. Pour Into the Mold
Spoon or pour the soap into the bar cavities, making sure each one gets some salt. Spray with alcohol to pop any bubbles.
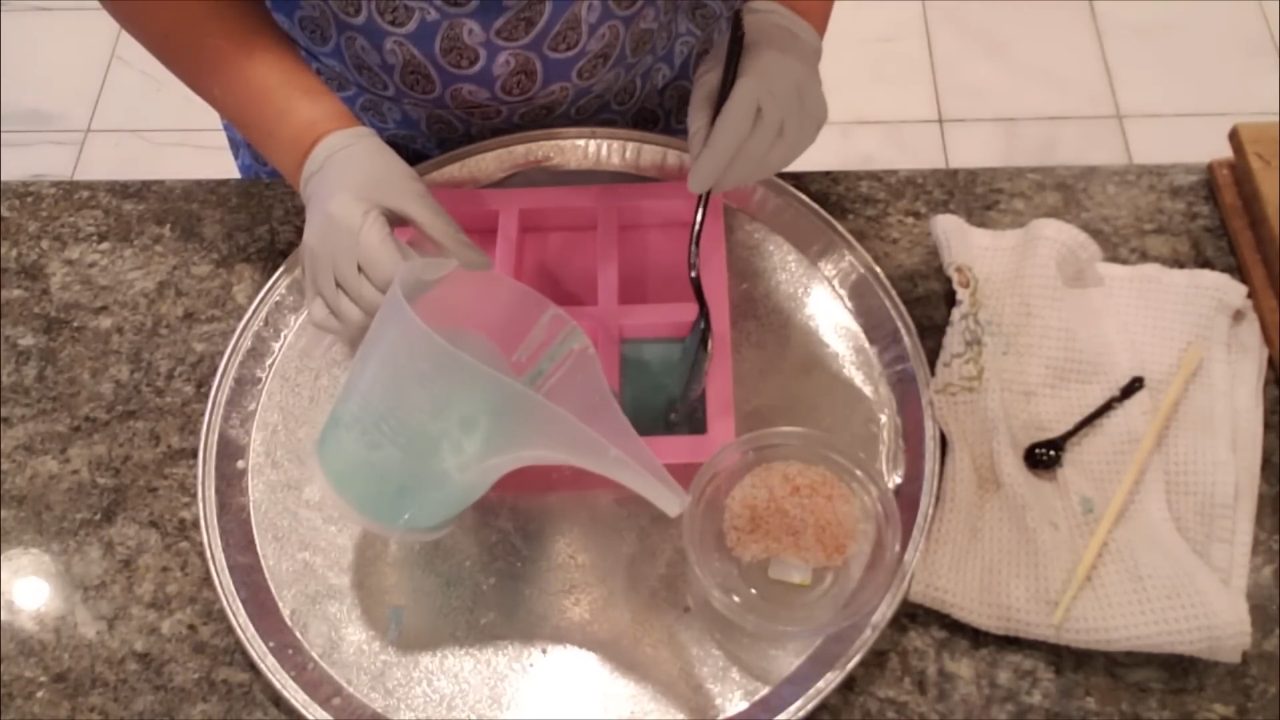
5. Add Salt on Top (Optional)
Once the soap cools to about 111–115°F and forms a light skin, spray it with alcohol and lightly sprinkle on a little more salt. Pat it down gently so it sticks. At this temperature the salt stays on top instead of sinking. This step is optional. My bars looked great even without it.
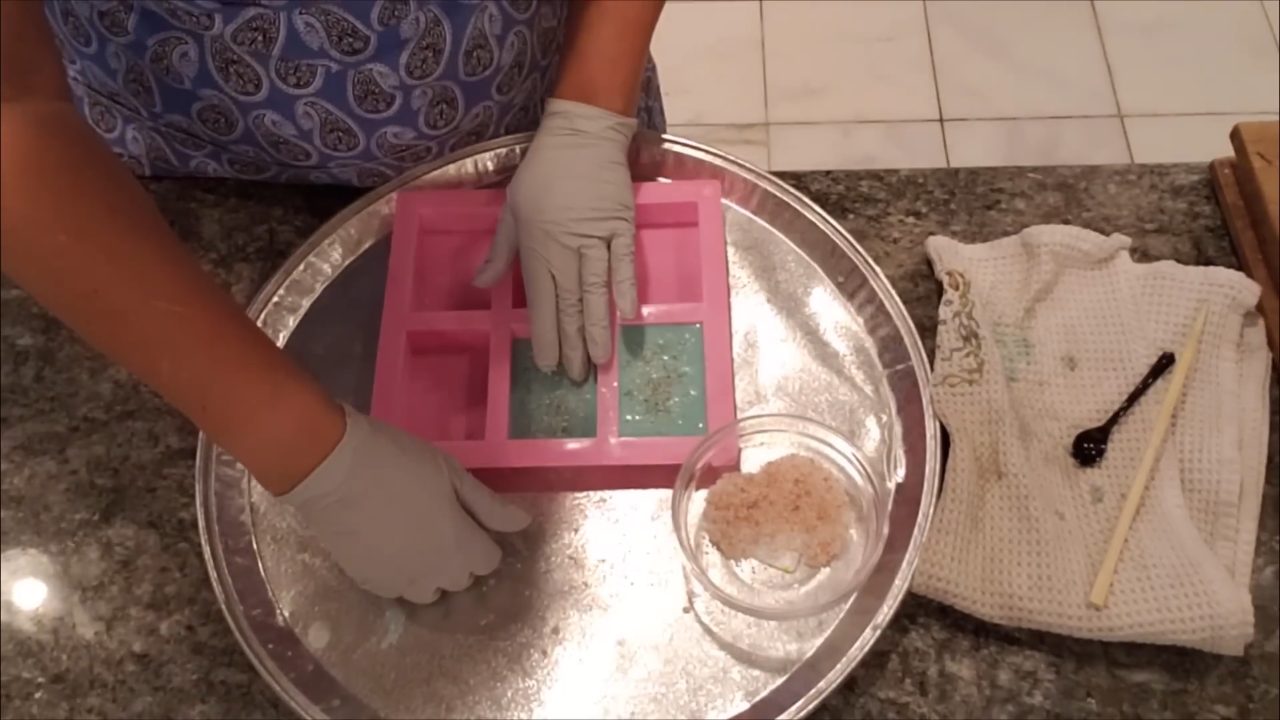
6. Let It Set and Unmold
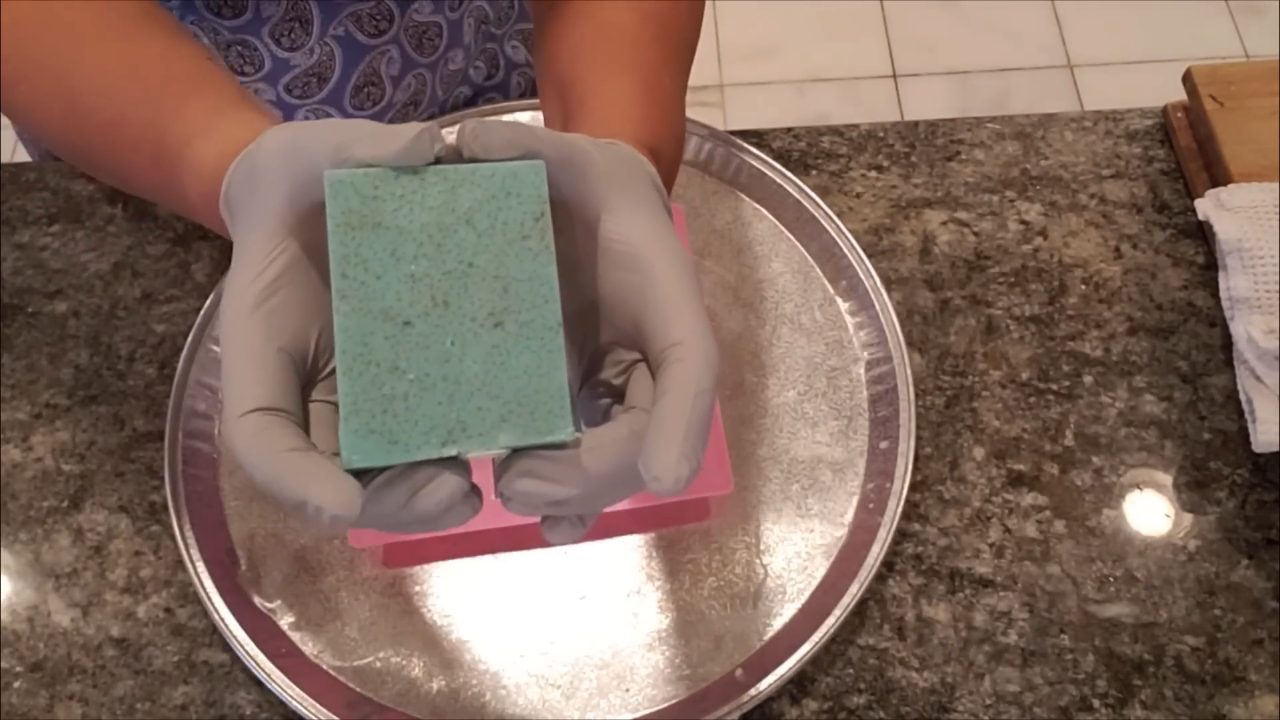
Let the bars set for a couple of hours before unmolding. If you unmold too early, you may get a small dent like I did. The salt that settled to the bottom of the mold ends up on top of the bar and looks really pretty.
Tips & What I Learned
- Use a bar mold. Salt soap is much easier in individual cavities than in a loaf mold.
- Pour cooler. Low 130s or 120s °F helps the salt stay suspended a little better.
- Expect some settling. The salt sinks to the bottom of the mold, which becomes the top of your bar. It looks great.
- Keep the color light. A little mica is all you need, so the pink salt still shows.
- Be patient. Give the bars a couple of hours to set before unmolding.
Troubleshooting
All my salt sank to the bottom.
Your soap was too hot. Let it cool to the low 130s °F or lower before adding the salt, and stir right up until you pour.
The salt on top won’t stick.
Wait until the soap forms a light skin, spray with alcohol, and gently pat the salt into the surface.
My bar has a dent.
It was unmolded too early. Give it a couple of hours to fully set.
FAQ
What kind of salt should I use?
I used coarse pink Himalayan salt. It gives a nice exfoliating texture and a natural pink color.
Can I make salt soap in a loaf mold?
It can be done, but it’s tricky. Individual bar molds are much easier.
Is salt soap exfoliating?
Yes. Coarse salt gives a gentle scrub. Use it like a regular bar, but go easy on sensitive skin.
How much fragrance should I use?
I use 5 ml per 16 oz of soap base. You can always use less, but I wouldn’t use more than 5 ml per 16 oz.
More Soap Ideas
- Coffee Melt and Pour Soap
- Summer Roses Melt and Pour Soap
- Heart Embed Melt and Pour Soap
- All my melt and pour soap tutorials on YouTube
If you make this, I’d love to see it! Tag me on Instagram or Pinterest, and subscribe on YouTube for new soap tutorials.
