
Are you a coffee lover? Or do you know anyone who loves to start their day with a sip of coffee? Aside from its taste, I am fascinated by coffee’s deep, rich aroma. My love of coffee has led me to think, “Can I create a coffee scented soap?” I did an experiment, and it worked! Learn how to make your own coffee melt and pour soap with a few easy-to-follow steps and simple ingredients.
Trying the Melt and Pour Technique
Whether you want to make soap for fun or to establish a business, our how-to guide will lead you through all the processes. For sure, you’ll make exquisitely handcrafted coffee melt and pour soaps like a pro in no time.
Here’s a secret: making high quality coffee melt and pour soap is easy. In reality, it’s simple, enjoyable, and can be accomplished from the comfort of your own home. It’s a fun hobby, but it can also be a way to generate extra income.
Let’s get this started to create your addictive coffee melt and pour soap!
How to Make Coffee Melt and Pour Soap
Preparation:
Warm water with soap should be used to clean and dry molds, spatulas, and plastic containers. To prevent cross-contamination, clean your workstation before beginning the craft, mainly if you do it at home. You can clean the area by spraying it with rubbing alcohol or a general solution and wiping it thoroughly with a dry clean towel.
Coffee Grounds: It is importand to use used coffee grounds. I let mine dry for 24 hours and will even put them on a cookie sheet and place in the over under warm temperature for about 15 minutes to make sure they are dry.
If you use new coffee grounds, the color of the ground may run in your soap causing streaking.
Supplies Needed:
- 24 ounces Shea Butter melt and pour soap base, but other alternatives exist; the choice is yours!
- Square soap mold
- Coffee Grains
- Coffee fragrance oil
- 7mL Bronze Age Mica Powder
- Funnel cups
- Silicone spatula
- Silicone Mat
- Bath bomb molds
- Rubbing alcohol in a spray bottle
- Microwave
- Infrared Thermometer
Measure the Amount of Fragrance Oil Required
Tare the weighing balance by placing an empty funnel cup on it. You will need to weigh out 24 oz of melt and pour soap base. Measure 7mL of fragrance oil. You should prepare your fragrance before you start, so the soap does not solidify while you work.
Prepare the Shea Butter Melt and Pour Soap Base
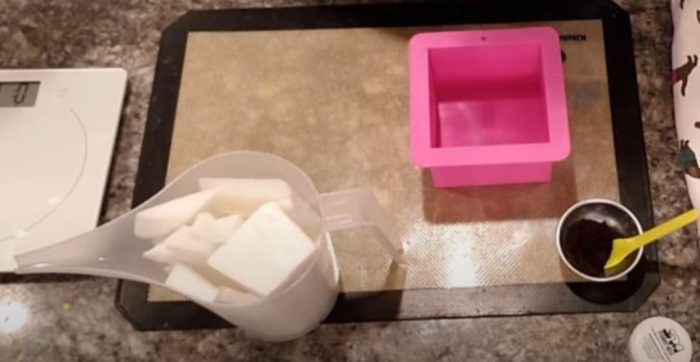
After weighing the shea butter melt and pour soap base, place it on a chopping board. Cut the soap base into small, even cubes (about 1″ cubes). Tare the weight of a huge container on the weighing scale, then fill the pitcher with shea butter soap base cubes until it measures 24 ounces.
Melt the Shea Butter Melt and Pour Soap Base
Heat the shea butter soap base for 1 minute using a microwave using 10 to 20 second bursts. Gradually stir to break up any aggregates, making the soap melt more quickly. Heat in 20-second increments until most of the soap is entirely liquid. It is acceptable if a few little pieces remain; continue swirling until they are totally melted. Since melted soap is extremely hot, be extra careful when handling it.
Note: If the soap base forms bubbles in the microwave, it indicates that it’s becoming too hot. Stop heating the shea butter melt and pour soap base and gently stir to keep the melting process going.
Add The Mica Powder and Fragrance Oil
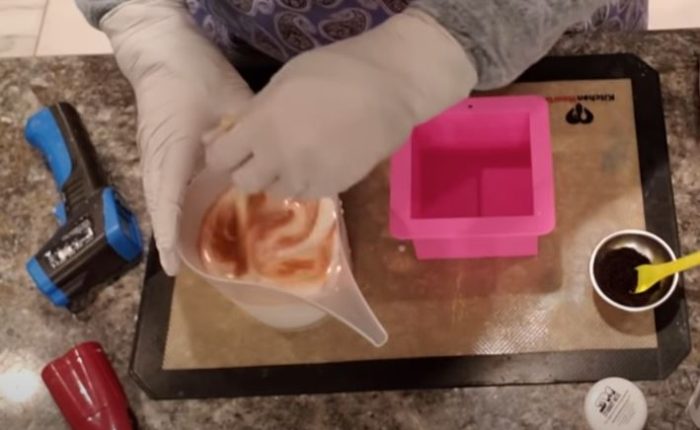
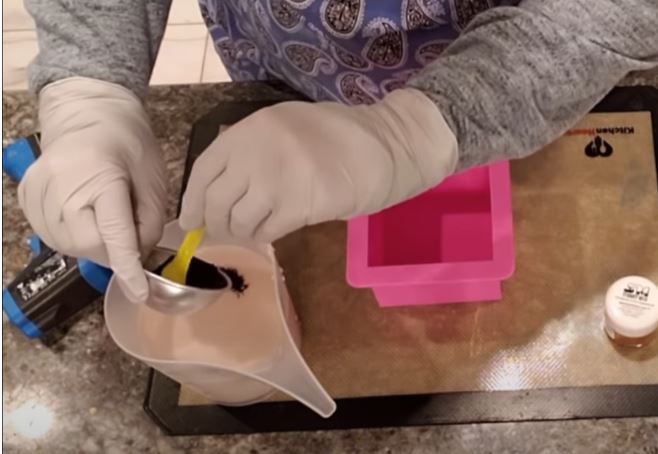
After the soap becomes entirely liquid and all the chunks have melted, add the brown mica powder and thoroughly mix it. Begin with small amounts and gradually increase until your desired shade is attained. A thin layer may develop on the mixture. As this typically happens during the process, just stir the soap. If the soap has thickened at this stage, microwave it once more in 5-10 second intervals until it is a thinner consistency. Check the temperature of your soap base and make sure it’s somewhere between 140 and 150 degrees F. Mix in your premeasured coffee fragrance oil to the base.
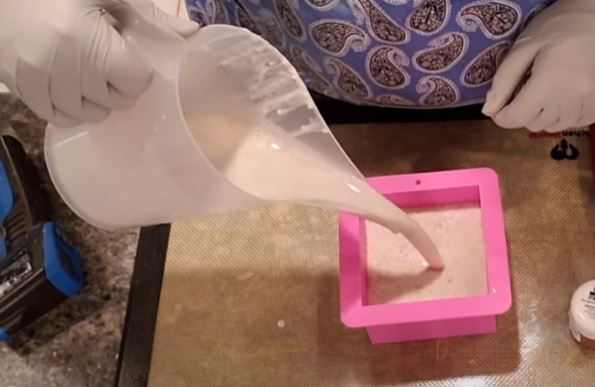
Pour The Soap Base Into The Silicone Mold
The next step is to pour the soap base into the silicone mold. Make sure to pour it gently to reduce bubbles. Immediately spray the surface with rubbing alcohol to disintegrate any bubbles that may have developed. It is okay to spray numerous times to remove as many bubbles as possible.
Allow The Soap To Cool Inside The Silicone Mold
It will take several hours for the soap to completly harden before you can unmold it. It is best to cover it to protect it.
Tip: Place your mold on a baking sheet to avoid damaging the soap.
Clean Up Any Soap Residue
Cleanup is simple with melt and pour soap. For any unused soap base, have you 6 cavity soap mold ready and pour any left over soap in it to be used later. Use warm water to clean the funnel cups, which is a quick and easy clean.
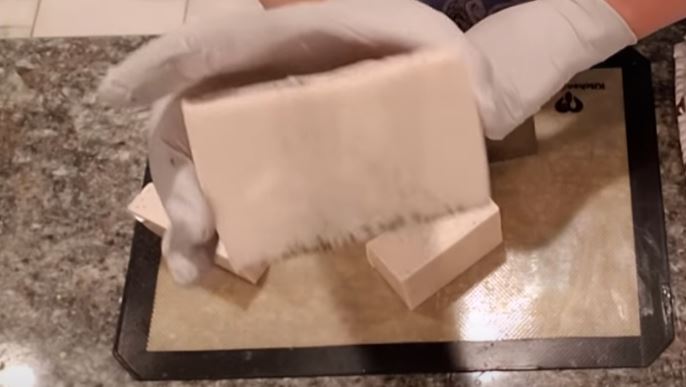
Remove The Soap from the silicone mold
The soap should readily pop out of the mold after 24 hours. Carefully pull on the molding sides to help free the soap from the corners. Flip the mold and apply gentle pressure to the center. However, do not remove the soap forcefully from the molding cup. Instead, place the mold in the refrigerator for 30 minutes and try removing it again.
In Conclusion

Making coffee melt and pour soap is simpler compared to what you might think. Right? In truth, only a few components and materials are required! That’s fantastic! Aside from being a fun hobby, creating coffee melt-and-pour soap can help you relax and unwind from the stresses of everyday life. If you try it as a business, it is also a potential income source. The fragrance of coffee is also therapeutic, particularly for coffee lovers out there. So, what are you waiting for? Take your hand at making your own coffee melt-and-pour soap!

Thank you so much for all your videos. I have followed you for over a year now and have a.ways enjoyed making soaps like yours. I stopped for a few months when my husband got sick and unfortunately I lost him, but I came across a video of yours and got back into it. Thank you again 💓