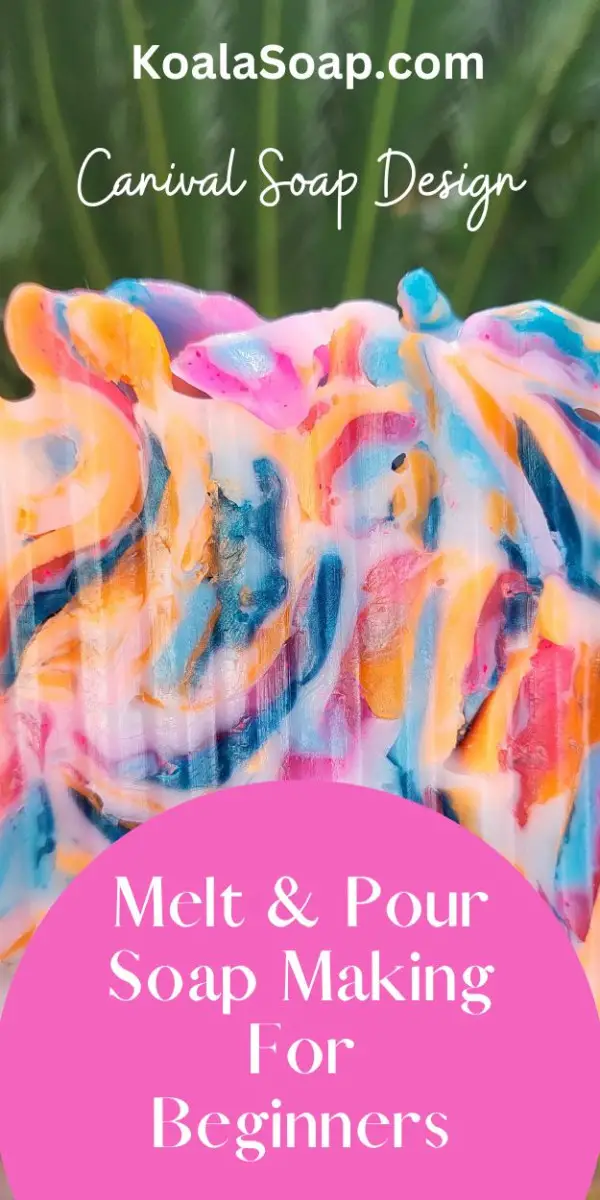
Carnival Melt and Pour Soap Making for Beginners
Have you been to a colorful and fun carnival before? I remember how fun it was to spend a whole day in a carnival as a child! Since melt-and-pour soaps are very flexible, my fond carnival memories inspired by my daughter who picked these wonderful colors to create a carnival-themed soap using a combination of three colors.
Come and learn how to make your own with this Carnival Melt and Pour Soap recipe.
Why Melt-and-Pour?
Of all the methods of soap making, I think the melt-and-pour technique suits the carnival-themed soap the most.
Indeed, creating your custom melt-and-pour soap is not only easy and incredibly satisfying for a beginner in soap making, but it can also be modified to fit the vast array of scents, colors, textures, and available molds.
Melt and pour soaps can have a beautiful, long-lasting aroma which makes them amazing soaps whether for personal use or as gifts to your loved ones.
With this melt-and-pour technique, the soap can be used as soon as it has completely set in the mold; there is no need to wait for it to cure. Also, you can focus on creating vibrant color combinations similar to a carnival experience, without worrying about saponification.
Let’s get started with Carnival melt-and-pour soap making!
Supplies Needed
- Mica Colors (Colors used for this design: Poppin Pink, Blood Orange Magma, and Blue Lagoon)
- Shea Butter Melt and Pour Soap Base
- Glycerine Soap Base
- 1-cavity square soap mold
- Soap Cutter
- Rubbing Alcohol
- Scale
- 6 funnel cups
- Infrared Thermometer
- 3 small mixing bowls (or bath bomb tin molds)
- 3 spoons for mixing
- baking spatula or bamboo skewers for mixing
- Fragrance oil ( Love Spell for this recipe)
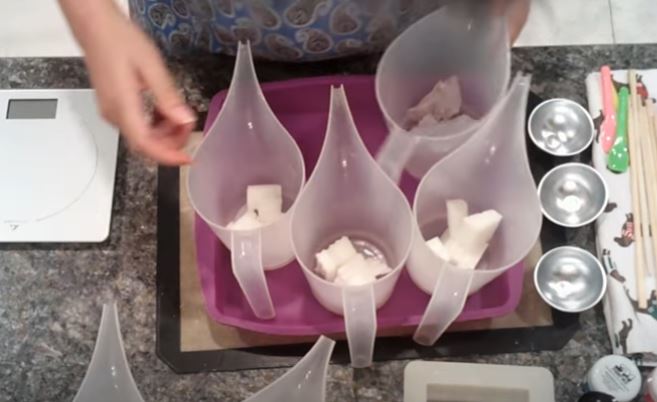
Weigh the Melt-and-Pour Soap Base
Check that your cutting board, container, and knife are spotless and clear of any debris. It will get absorbed by the soap and be challenging to remove.
I added the 2.5 ounces of shea butter melt-and-pour soap base to three funnel containers. I next poured 2.5 ounces of clear glycerin soap base into each of the remaining three funnel containers.
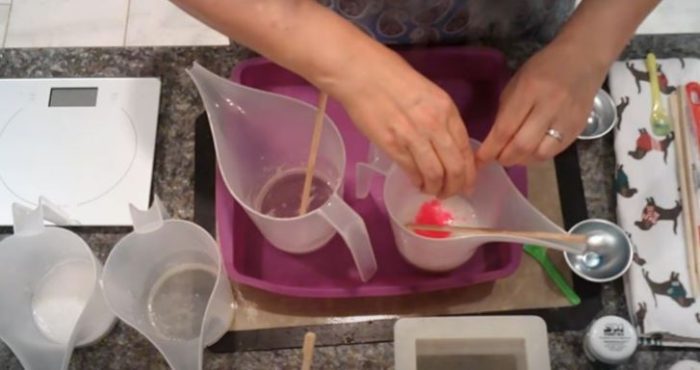
I then grabbed 3 bath bomb molds and filled each one with 3-5 mL of rubbing alcohol before adding my mica colorant. I mixed each ingredient until there were no longer any color specks. Note: the alcohol will evaporate.
Heat the Melt-and-Pour Soap Bases
When choosing a base, there are many possibilities available. An excellent starting point is Clear and Shea Butter Melt and Pour. They are easy to personalize, sleek, and straightforward.
While the white base will feature more pastel hues, the clear base will be more vibrant. You can also experiment with bases that have ingredients like aloe vera, goat milk, or shea butter just make sure they are all melt and pour soap bases not raw. For this project, we are using shea butter as a clear melt-and-pour base.
You must add your mixed mica to each funnel cup after your soap base has completely melted. Completely mix it in. To properly incorporate the aroma and color, gently swirl the melted soap.
Avoid over-stirring to avoid creating bubbles in the soap. If bubbles do appear, they can be eliminated with a quick spritz of rubbing alcohol from a spray bottle.
See how hot your soap is with your infrared thermometer. Don’t let your soap get too hot. Overheated soap will burn it and not give the results you are looking for. Although it won’t look as fantastic, it is still usable.
Overheating can be avoided by heating in the above-recommended 10-30-second intervals. You can also add frangrance oils if the temperature is less than 140 degrees. You can add scents your soap using fragrance oils or essential oils. It’s crucial to use skin-safe oils.
In general, I use 5 mL for every 16 ounces of soap. We estimate that our silicone mold can accommodate 21-24 ounces of soap. To add scent to this homemade soap design, I added roughly 7 mL of fragrance oil.
Start Pouring the Soap
I use baking silicone molds for this type of melt-and-pour soap design. Pour carefully into the pastry mold and begin. Choose a mold that can tolerate greater temperatures so that when you pour hot soap into it, it doesn’t melt.
To make it simple to unmold the bars, you also want them to be flexible. I typically begin by pouring a shea butter base into the mold, followed by a glycerin soap base, and so on until all of the colors have been added.
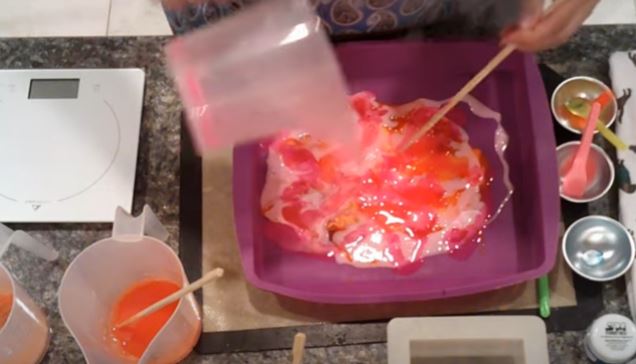
Try not to get these layers to combine. I make an effort to pour the melt-and-pour soap at a cool enough temperature so that it will allow it to layer without mixing. Let the soap dry in the silicone pastry mold. It should only take 20-30 minutes to do this.
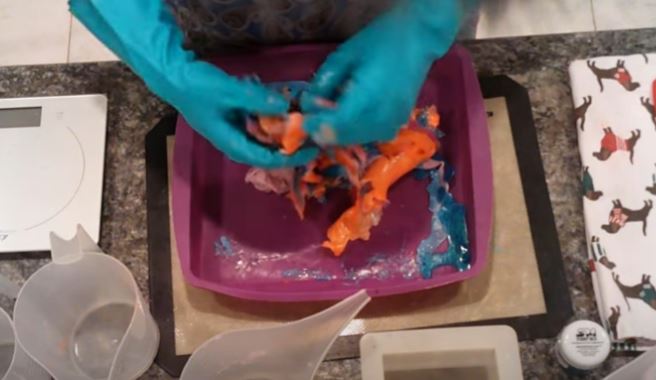
You can also add the pieces left in the funnel cup once they are set; tear them apart and add them to the nearly-dry mixture so that there is no wastage.
Mold the Soap
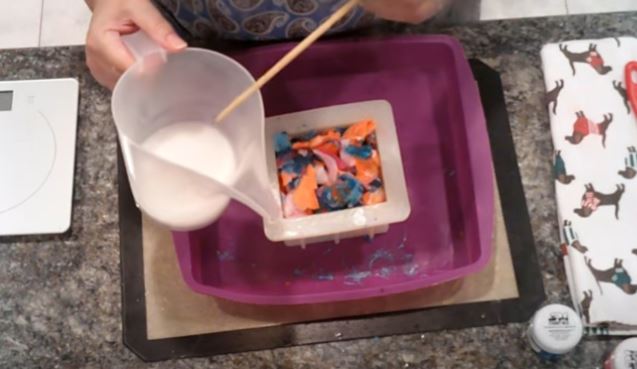
When the melt and pour soap has been fully folded and torn up, Start adding it to your silicone square mold. At this point, microwave another 5–7 ounces of shea butter soap base. Wait until the soap is completely melted and the temperature is 140 degrees or lower.
Make holes in the soap that you’ve placed in the square mold so that the freshly melted soap base may pass through all of the soap’s tiny crevices using a chopstick or skewer. Pour the soap into the mold gradually. Again, you want to avoid bubbles if you can and try not to splash the soap.
By now, you’re done. Start cleaning up after carefully moving the mold to a secure location. In a few hours, the soap ought to be solid enough to unmold. The mold can be expedited by being placed in the refrigerator; however, do not place it in the freezer.
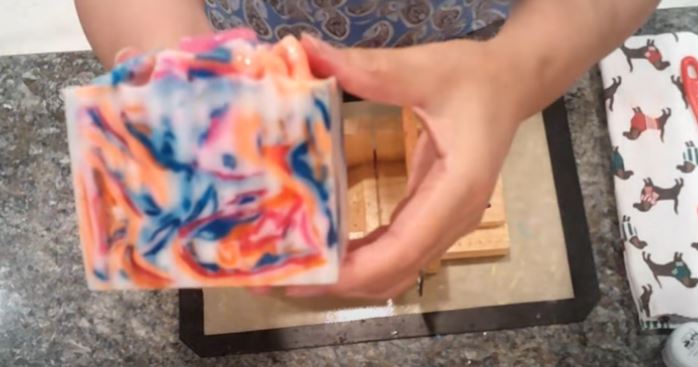
Cut Your Finished Soap Design
Your Carnival melt-and-pour soap is ready to unmold and be cut into bars with a soap cutter once it has cooled for a few hours. Any defects can be removed with a cloth or a tiny knife. There is no waiting because the melt-and-pour soap base has already been cured. Your soap is ready for use right away.
In Conclusion
Making a carnival melt-and-pour soap is fun to do, isn’t it? As you get more comfortable with the melt-and-pour technique, you can customize the colors and patterns to your liking. Your soaps, such as this carnival-themed soap, should have layers, swirls, and diverse enhancers to look more unique and artistic.
This carnival melt-and-pour soap is just one of the thousands of melt-and-pour soap recipes available online. As you start experimenting, you’ll find that there are straightforward melt-and-pour recipe alternatives available for every skin type, theme, and person’s specific preferences. ‘Till our next soap project, happy soaping!