
Easy DIY Melt and Pour Soap for Beginners
If you’re looking for a fun craft to try this weekend, why not give melt and pour soap making a go? Not only is it easy and oh-so satisfying to make your own unique creations, but with the wide range of fragrances, colors, textures and molds available, it’s also super versatile!
Plus there are endless possibilities for getting creative — something we all need right now. From clover-shaped soaps perfect for St. Patrick’s Day.
Join me here as I guide you through the simple steps of melt and pour soap making. All you’ll need is some basic shea butter melp and pour soap base, glycerin soap base and off we go!
My daughter has a wonderful eye for colors and how they look together. I asked her to choose a three color combo again for a March St. Patricks day melt and pour soap.
Supplies Needed
As an Amazon Associate I earn from qualifying purchases.
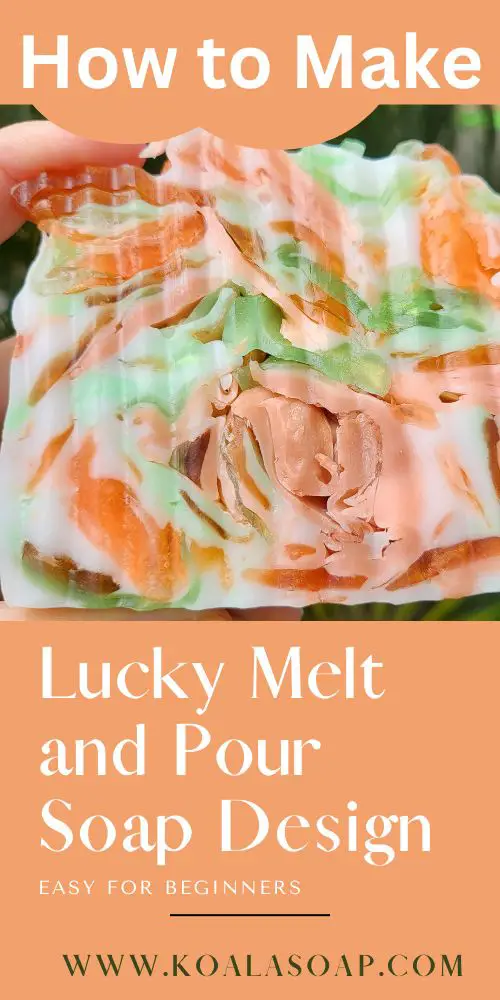
- Mica Colors (choose at least two)Colors used for this design (Bronze Age, Blood Orange, & Green Jade)
- Shea Butter Melt and Pour Soap Base
- Glycerine Soap Base
- 1-cavity large rectangular or square mold
- Soap Cutter
- Rubbing Alcohol
- Scale
- 6 Funnel Cups
- Infrared Thermometer
- 3 small mixing bowls (or bath bomb tin molds)
- 3 spoons for mixing
- Baking spatula or bamboo skewers for mixing
- Fragrance oil (optional)Monkey Farts for this design)
Measuring Out the Melt and Pour Soap Base
I took three funnel cups and added 2.5 ounces of shea butter melt and pour soap base into each cup. I then took three more funnel cups and added 2.5 ounces of clear glycerin soap base to each of them.
If you do not have 6 funnel cups, you can do two funnel cups at a time and just was the soap out before going to the next colors.
The then took 3 bath bomb molds and added 3-5 mL of rubbing alcohol to each, I then added my mica colorant in each mold. I stirred each until fully incorporated and no color specs with left.
Heat the Melt and Pour soap Bases
There is a very small amount of soap bases in your funnel cups, so you really need to make sure that you only heat in microwave in short 10 second bursts so that you do not burn the soap.
Once your soap base is completely melted, you will need to added your mixed mica to each funnel cup. Stir in completely.
Grab your infrared thermometer and see how hot your soap is. If it is under 140 degrees, then you can also add your fragrance oils. I use roughly 5mL’s per 16 ounces of soap. Our silicone mold holds approximately 22-24 ounces of soap. Therefore, I am added about 7mL of fragrance oil to this homemade soap design.
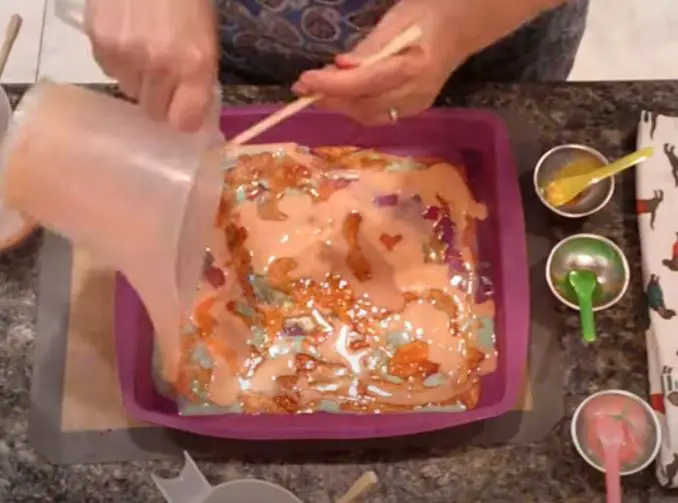
Start Pouring you Soap
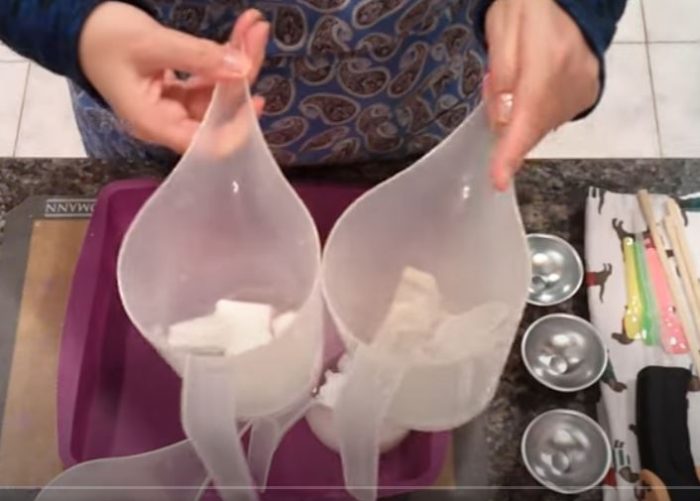
I use pastry silicone molds for this type of melt and pour soap design. Start pouring slowly into pastry mold. I usually pour a shea butter firt and then move on the a glycerin soap base and continue until all of the colors are poured into the mold.
Try not to get these layers to mix. I try to pour the melt and pour soap cool enough so that they sit on top of each other but do not mix. Let the soap harden in the pastry mold. This should take a maximum of 30 minutes.
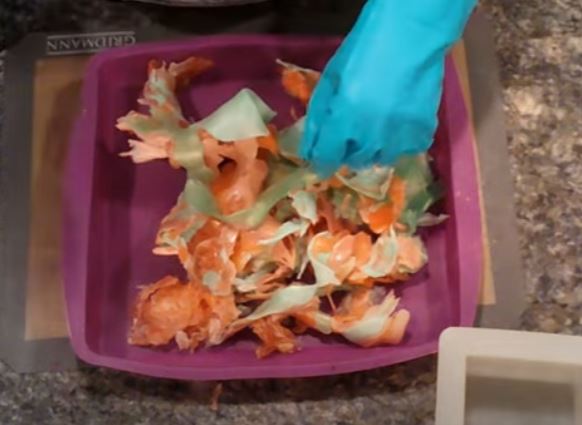
Roll the Soap Up into a Ball
Once your melted soap is completely rolled up. Start placing it into your square silicone mold. It will not be a perfect ball and it is ok, if you move it around in the mold until it fits ok.
At this time, take another 5-7 ounces of shea butter soap base and heat in microwave. Wait until the melted soap is at a temperature of 140 degrees or below.
Punch holes into the soap that you put in the square mold so that the new melted soap base will make it through all the small cravasses in the soap.
Start pouring the melted soap base on top until it fills to the top of the mold. If you find that you do not have enough soap, simply melt a little more. Don’t forget to spray with rubbing alcohol when you are pouring.
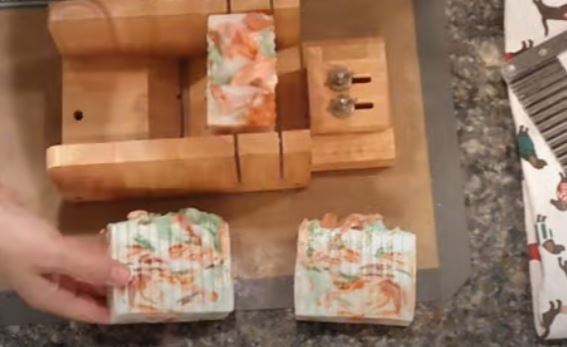
Cut your finished soap design
Once your soap has cooled for a few hours, it is ready to unmold and cut into bars. I use a wavy cutter for these designs because it seems to make the soap look amazing.
In Conclusion
I hope you enjoyed this blog post and found some inspiration for your own St. Patrick’s Day melt and pour soap designs! Remember to have fun with it, experiment, and don’t be afraid to get creative. If you end up trying any of these techniques or come up with some of your own, be sure to tag me on Instagram so I can see (and maybe even share!) your beautiful creations. Thanks for reading and happy soaping!

This well-written article on making melt and pour soaps is a great resource for those who are new to making soap. Thank you for providing such an easy-to-follow guide that promotes creativity and confidence in new soap makers.