
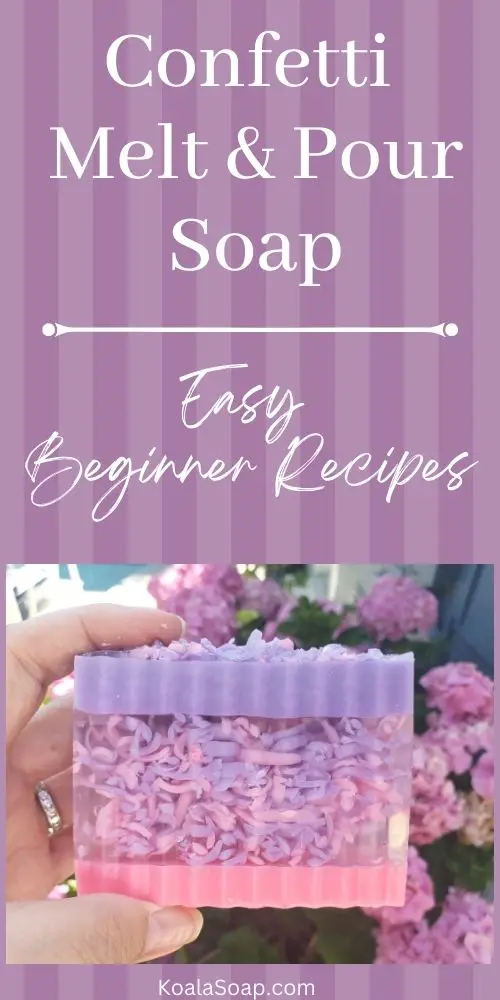
Easy DIY Confetti Melt and Pour Soap for Beginners
Celebrations like weddings and birthdays seem to be more fun and magical when people throw confetti to the celebrant. This is one of my favorite melt and pour soap recipes.
Confetti are usually made from very small cuttings of papers and metallic materials, but in this DIY tutorial, you will learn how to embed the confetti homemade soap into melt and pour soaps.
Confetti melt and pour soap making is absolutely perfect as an extra special gift, or for personal use just to liven up your bath time.
Supplies Needed
As an Amazon Associate I earn from qualifying purchases.
- Mica Colors (choose at least two)
- Shea Butter Melt and Pour Soap Base
- Clear Melt and Pour Soap Base
- 1-cavity large rectangular or square mold
- 6-cavity small rectangular molds
- Salad shooter
- Soap Cutter
- 99% Rubbing Alcohol
- Scale
- 3 Funnel Cups
- Infrared Thermometer
- 3 small mixing bowls (or bath bomb tin molds)
- 3 spoons for mixing
- Baking spatula or bamboo skewers for mixing
- Fragrance oil (optional)
Create the Confetti Melt and Pour Soap Shavings
To start this DIY melt and pour soap project, you need to make the confetti soap shavings using a salad shooter. In each of your 2 funnel cups, melt about 4 ounces of shea butter melt and pour base to 170 degrees Fahrenheit and set it aside.
Once the melt and pour soap is completely melted, use the infrared thermometer to check for the temperature. In a bath bomb mold or small mixing bowl, mix 1 teaspoon of your preferred mica color with 1 tablespoon of alcohol. In this tutorial, I used bubble gum pink mica from StarDust Micas.
Pour the colorant into the melted shea butter soap base and mix well using a bamboo skewer or a stirrer. Ensure that there are no lumps before pouring. If there is a lump, keep stirring to help it dissolve due to the heat.
Pour the melted soap into 3 of the 6-cavity small rectangular molds. Repeat the process to make a second mica colorant soap and pour into the remaining 3 cavities. I used purple mica to compliment the first color which is pink.
Other good color combinations for this confetti design include yellow gold and royal blue (perfect for a graduation gift), red and peach (perfect for Valentine’s day, weddings, or anniversaries), and pink and blue (best for baby showers) depending on your personal tastes.
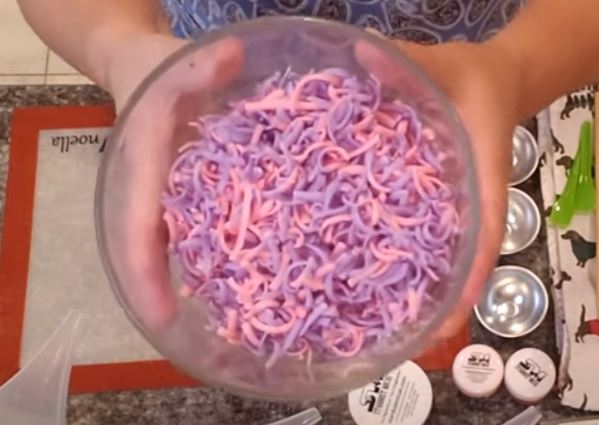
Wait for the melt and pour soap mixtures to cool down and unmold when they are completely solidified. Put the soaps into the salad shooter to create the confetti soap shavings and place them in a container.
Make the Bottom Layer
Get your large single cavity mold and mark it into 3 layers. It’s up to you to mark it in 3 equal layers, or make the bottom and top layer a bit narrower than the middle layer to showcase the confetti embeds even more.
Melt 4 ounces of shea butter melt and pour base in one funnel cup until it reaches 170 degrees Fahrenheit. If you feel any clumps, continue to mix the melted shea butter soap base with chopstick.
At this time, I would also add fragrance oil.
Create mica mix in alcohol (ideally the same color as one of the confetti soap shavings) and mix into the melted shea butter soap.
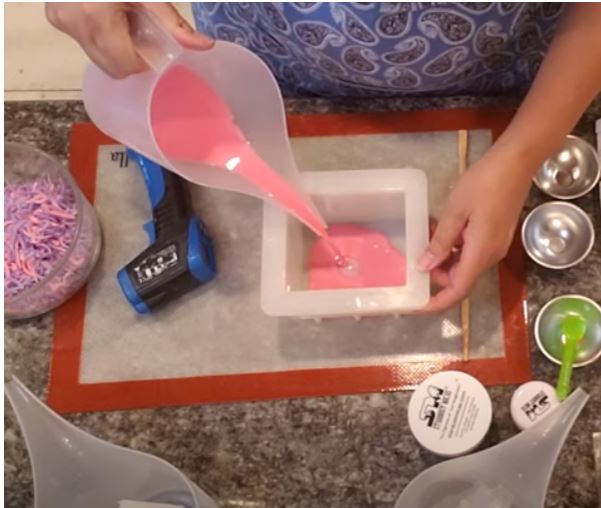
When the temperature cools down to 140 degrees Fahrenheit, pour the colored shea butter mixture into your large single square cavity silicone mold. Spray with rubbing alcohol to get rid of any bubbles.
Add Confetti Melt and Pour Soap
After about an hour, the bottom layer of melt and pour soap should have a thick skin, melt 5 ounces of clear melt and pour soap base. Stir until you reach about 140 degrees Fahrenheit. When the bottom layer soap has solidified, use a bamboo skewer to create some scratches on the top so that the next layer can adhere well onto the bottom layer.
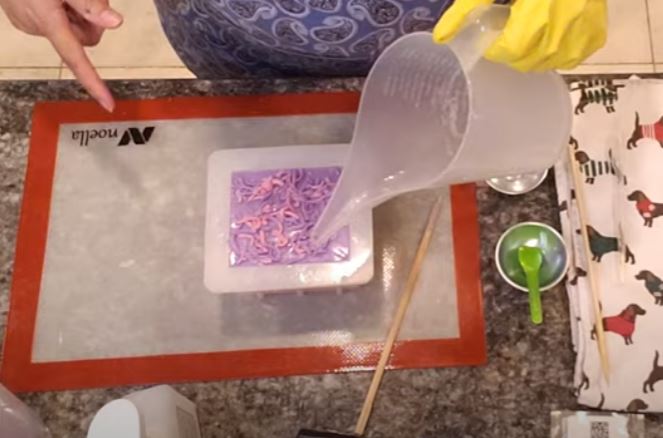
Squirt some rubbing alcohol on the bottom layer as well as on the confetti embeds. Make some hatch marks on the bottom layer of melt and pour soap. Pour the melted clear soap base onto the bottom layer, until you reach half of your middle marking.
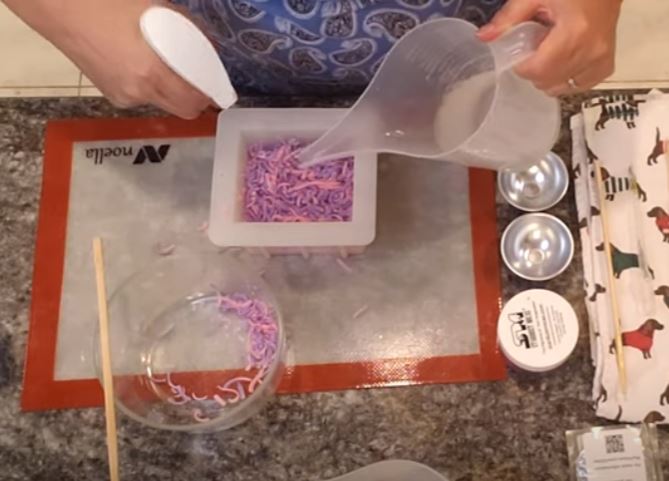
Then, cover this clear layer with confetti shavings. Make sure that you cover all of the layer and with no air bubbles if possible, spraying this layer with rubbing alcohol will help with this.
Put some of the confetti shavings aside to use as toppings later for the final step. Finish the embedding by pouring the rest of the melted clear soap base up to the middle marking.
Create the Top Layer
Melt 4-4.5 ounces of shea butter melt and pour soap base in a second funnel soap until you reach 170 degrees Fahrenheit. Mix a different color of mica with alcohol in a mixing bowl using a small spatula or teaspoon.
Add more mica-alcohol mixture into the melted shea butter soap base until you achieve your desired color. In this tutorial, I used a purple mica from StarDust Micas. Using a pipette, add some fragrance oil 1.5 mL and mix well.
You can choose whatever fragrance oil you like, be it floral like lavender or rose, flavorful like vanilla or coconut, or aromatic like peppermint or frankincense.
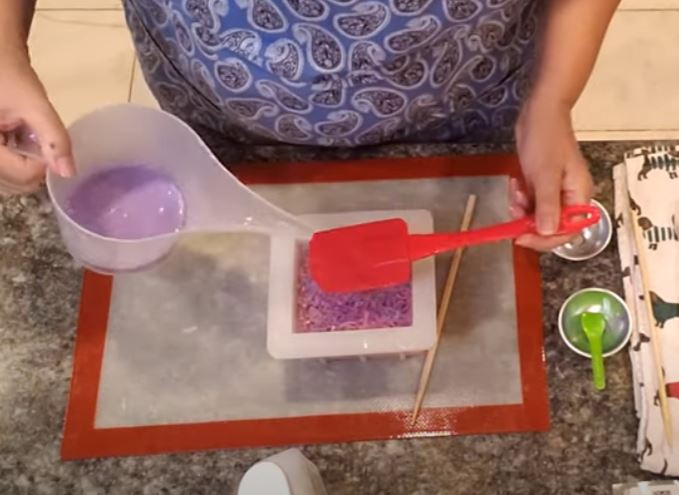
Create some hatch markings on the top of the solidified confetti layer and squirt some rubbing alcohol. When the mixture reaches 140 degrees Fahrenheit, pour the mixture into the single cavity mold until you reach the top. You may need to use a spatula to help to pour soap base without it poking through this layer.
Add the Confetti Toppings
Use a bamboo skewer to check if the top layer is creating a film. When the top layer forms a film (meaning it is not completely solidified), decorate it by means of covering this layer with your remaining confetti shavings.
To create a shiny glaze effect, melt a little bit of your clear melt and pour soap base, stir until 140 degrees Fahrenheit, and glaze it over the confetti toppings. Set aside to solidify. I also used some bio glitter to help the top of the soap design look more decorative.
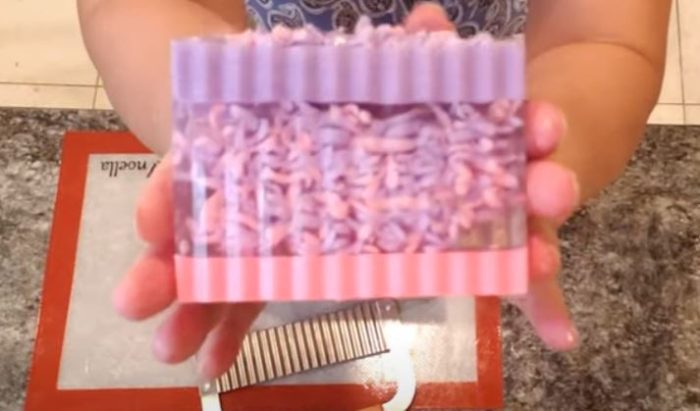
Cut into Soap Bars
Unmold your large confetti soap carefully. Place it in the soap cutter and cut into equally-sized soap bars. It’s time to celebrate with your beautiful confetti melt and pour soap creations!
Here’s a link to the video on how to make confetti melt and pour soap: https://www.youtube.com/watch?v=QCLbqsIh2OM
Watch the first part of this video to learn how to create confetti shavings using a salad shooter: https://www.youtube.com/watch?v=8nIVZ3TOxEk
More Melt and Pour Soap Recipes
Rose Gold Melt and Pour Soap Design

I am so happy that I found your channel, you have just answered so many questions that I had and gave me so many ideas. Thank you from Canada
Gina
Thank You Gina for the kind words.
I love this soap! I have never seen a confetti soap, but your video on redoing another soap and adding in shea soap came up on YouTube. That salad shooter thing looked so cool. I would never have thought to do peelings/confetti stuff and make a new bar. I like that you have all the steps written down (almost like closed captioning) to go along with the video. Love that I now have a website to come to for MP soap since I can’t do CP anymore and you actually answer questions. Thanks – Fiona from 🇨🇦
Thank you. I will be posting more recipes soon.
-Anna