Melt and Pour Soap making for beginners
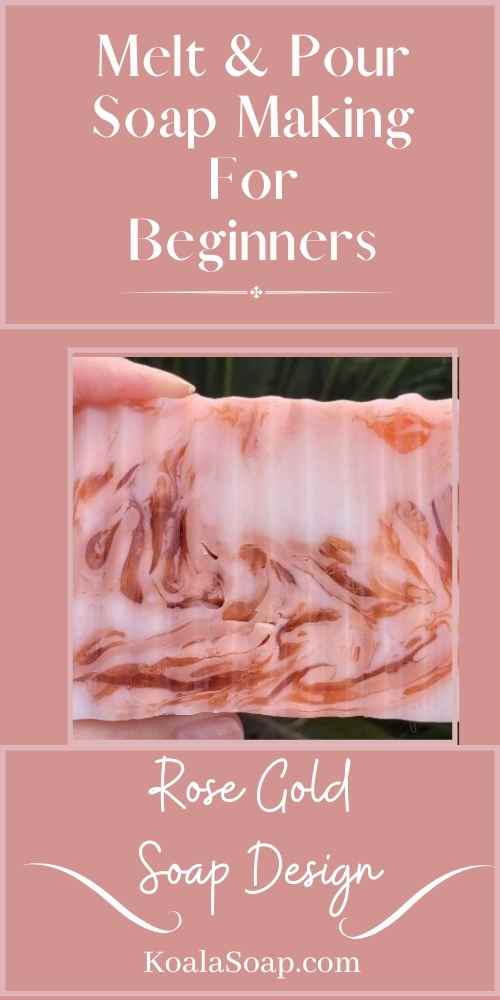
Making this Rose Gold Melt and pour soap is so easy and the results are stunning. When mixing the colors colors, I started to worry because the colors were so close together that I didn’t think they would show up well once melted. But, boy, was I wrong! The colors swirl together beautifully and create a stunning bar of soap.
This rose gold melt and pour soap is perfect for Valentine’s Day, Mother’s Day, or any other special occasion. It would also make a beautiful and unique gift for someone special.
If you’ve never made melt and pour soap before, don’t worry – it’s super easy! I’ll walk you through the entire process, step by step. And, if you have any questions, just leave a comment below and I’ll be happy to help.
So, let’s get started!
Melt and Pour Supplies needed:
19-20 oz of Shea Butter Melt and Pour Soap
8 oz of clear melt and pour soap base
Mica from Stardust Micas. I used Bronze Age and Blood Orange for this design.
Fragrance: Alpine Frost from Brambleberry
I used a very sturdy square silicone mold that would not warp when full. This mold holds around 24 oz of soap (maybe a little more or less).
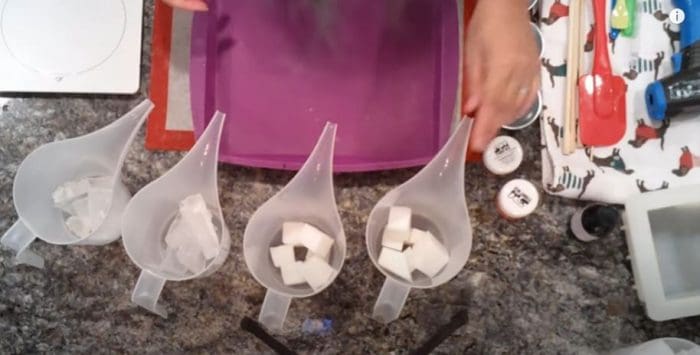
Step 1:
Take 4 Funnel cups and place 4 oz of Shea Butter melt and pour soap base in 2 of them. Then put 4 oz of clear melt and pour soap in the other 2 funnel cups.
Place the remaining Shea butter melt and pour soap base in a 5th funnel cup. Set this cup aside for now.
Place the 4 funnel cups with the melt and pour soap into the microwave for about 20 seconds check often to make sure you’re not burning the base. You can put them in for 10 second bursts until they are completely melted.
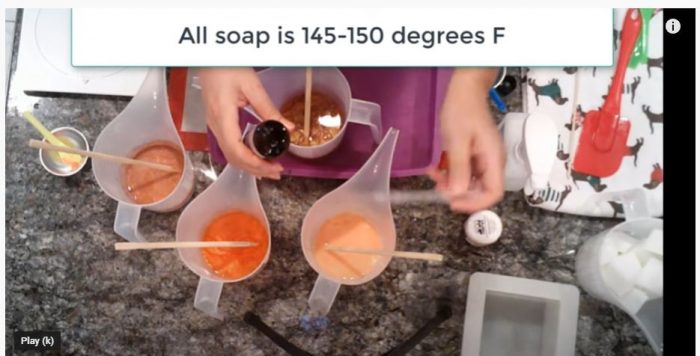
Step 2
Next we’re going to be mixing the mica you want to take a small amount of alcohol and pour it into small containers one for each color mica used.
Take a very small amount of blood orange mica powder and mix it into the alcohol until all the powder is mix into the alcohol. You want to put the blood orange mica mixture into both the clear melt and pour so base and one of the shea butter melt and pour soap bases.
Next take the other two soap basis of clear and Shea butter melt and pour and follow the same steps above for the Bronze Age Mica.
Make sure they are stirred well into the melt and pour soap base.
At this time you would also want to add your fragrance oil I use 5 mL’s per 16 oz of soap base. In this recipe we’re using about 27 oz of soap so I will go ahead and add about 7 mL’s of fragrance oil.
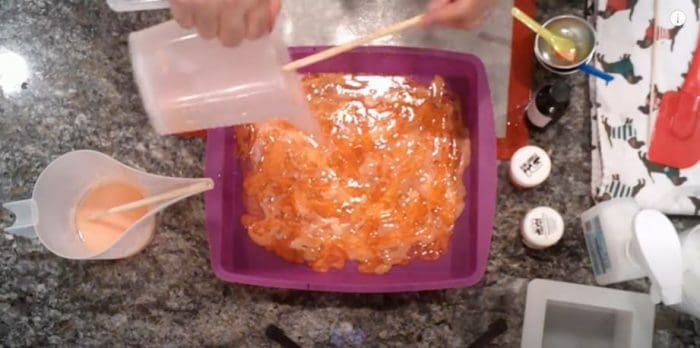
Step 3
For this step you’re going to want to grab a silicone mat or silicone cake pan that will allow you to mold the soap. Start pouring each of the four colors slowly so that one would lay on top of the other it doesn’t need to be perfect you can swirl the colors around you just want to make sure they’re cool enough that they don’t mix completely.
Once you have poured the contents of all four funnel cups you should have quite an abstract design in your silicone cake mold.
Let it sit for approximately 25 to 30 minutes.
Next grab your small square silicone mold and have it ready to go.
Step 4
while wearing gloves roll the soap up and start tearing it apart in different directions. Then start to make a ball that will fit in the square mold. You do not have to pat it tightly, it can be a loose ball but just make sure that you’re compacting it enough that it will fit into the small square mold.
Once the ball is in the mold you want to go ahead and flatten it out manually with your hand I would also use a chopstick 2 poke holes in various places so that the Shea butter that you haven’t melted yet will be able to fill in the nooks and crannies of the soap that’s in the mold.

Step 5
Once you have the soap in the square mold go ahead and take your remaining Shea butter in the final funnel cup it should be about 11 ounces and place it in the microwave.
You can start at 20 to 30 seconds and then just do 10 seconds spurts until this soap base is completely melted. Once it is completely melted while stirring it check the temperature it should be under 170 degrees Fahrenheit. if it is too hot it will make the colors that you just put together in the square mold run together and they could become muddy.
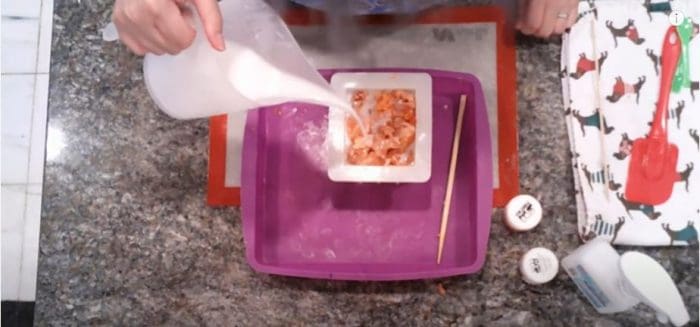
Once the final soap base is under 170 degrees you can go ahead and slowly pour it into the square soap mold with your colorful soap in it. Pour slowly and manipulate the mold to make sure that the white Shea butter can’t get into the small air holes that may have been packed down when you made your initial ball.
You will see air bubbles slowly pop up as it makes its way through the soap that was compacted down at this time you can go ahead and spray the top of the soap with some alcohol to pop those bubbles some bubbles may surface after the soap has hardened up a little bit and that’s not a problem you can just pop those with a toothpick.
Once you have poured the soap to the rim hopefully you won’t have any left but if you do you may want to pour the remaining soap into a pink soap mold or a silicone soap mold that you have nearby so that you could use this extra soap for later use.
Let this soap sit for 3 to 5 hours depending on your weather and the temperature in your home until it becomes hard.
Slowly unmold the soap after several hours and you are sure it’s hardened from the silicone mold. You will probably need to manipulate the sides of the mold pulling it away from the soap and pushing on the bottom several times before the soap finally loosens and comes out easily.
Finally go ahead and cut your soap and you can go ahead and wrap it once you’re sure the soap is completely cooled off.
Final thoughts
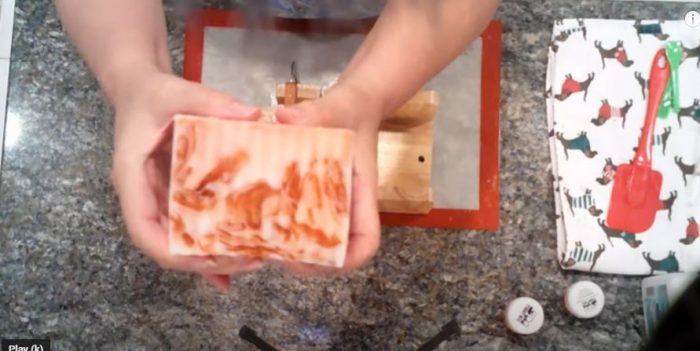
As you’ll see in the YouTube video making this soap, the colors did not show up the way I originally thought they would but it did turn out to be a happy accident because it really did turn out to be like a rose gold colored soap and it was beautiful and classic and it smelled great. I hope you enjoyed this recipe, feel free to use it over and over again and happy soaping.
Don’t forget to search our website for more melt and pour soap recipes.