
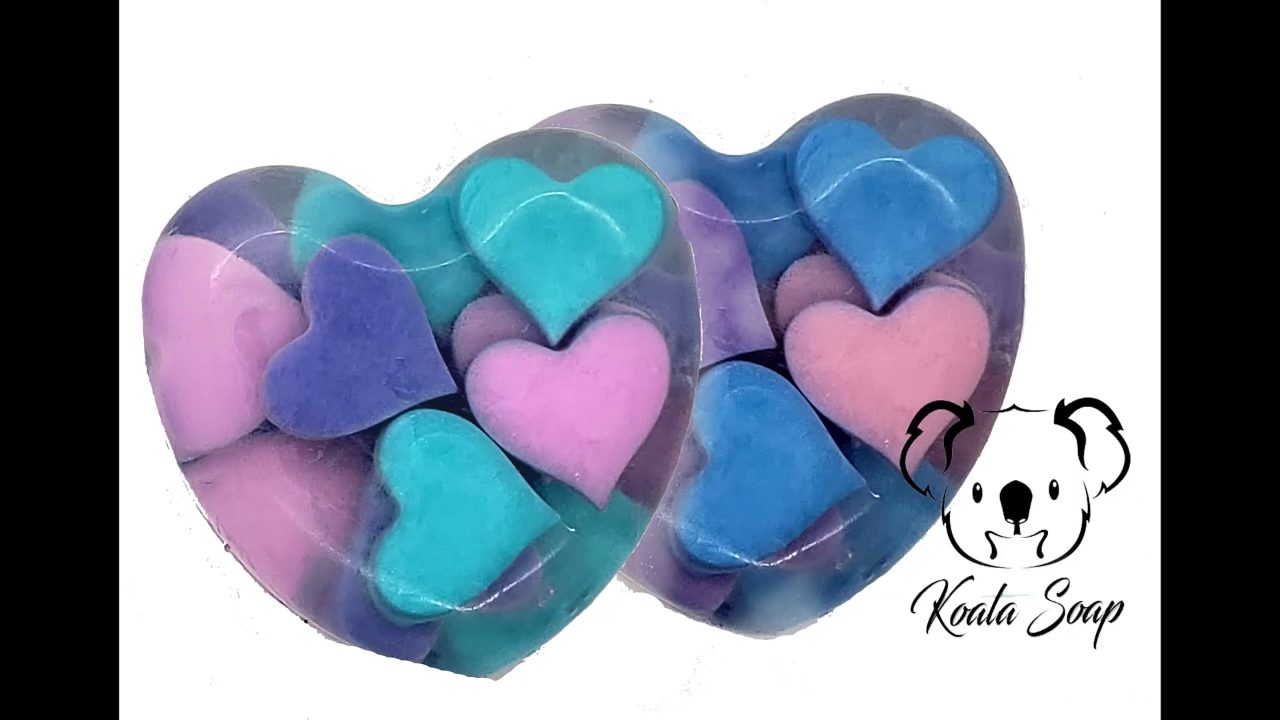
This heart embed melt and pour soap has little pink, blue and purple hearts that look like they’re floating in clear soap. It’s an easy Valentine’s Day soap for beginners, and it’s a great way to use up leftover soap, because the embeds can be made from remelted scraps.
As an Amazon Associate I earn from qualifying purchases. Some links in this post are affiliate links. They cost you nothing extra and help support Koala Soap.
Materials & Tools
Soap Bases
- Shea butter melt and pour soap base for the heart embeds (leftover soap works great too)
- Clear melt and pour soap base for the clear soap around the hearts
Colorants
- Stardust mica in Pink Watermelon, Ariel Blue and Violet Petal (from this Stardust mica set)
Molds & Tools
- Small silicone heart mold for the embeds
- Deep multi-shape soap mold (I used one of the deeper cavities)
- Spray bottle of 91% or 99% isopropyl alcohol
- Thermometer
- Skewer for moving embeds and scratching the soap
- Small cups for mixing colors, a spatula and pour cups
Fragrance (Optional)
I left this test soap unscented. If you’d like to scent it, I use 5 ml of fragrance oil per 16 oz of soap base. You can always use less, but I wouldn’t go over 5 ml per 16 oz.
How to Make Heart Embed Melt and Pour Soap: Step by Step
1. Make the Pink Heart Embeds
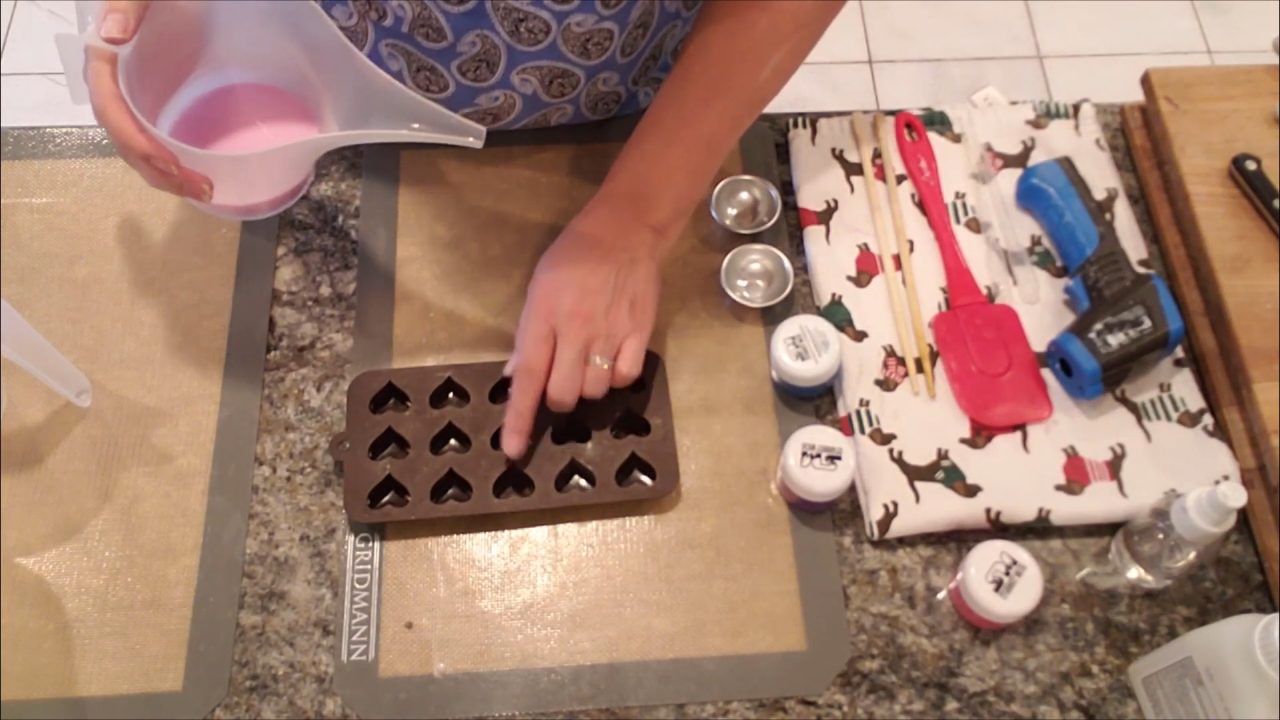
Melt shea butter base (or cut up and remelt leftover soap) and color it with Pink Watermelon mica. Fill the heart mold cavities only about halfway. Smaller, thinner hearts are easier to layer and give the soap more depth. I used shea butter for the embeds because the colors look soft and pretty against clear soap.
2. Unmold the Hearts
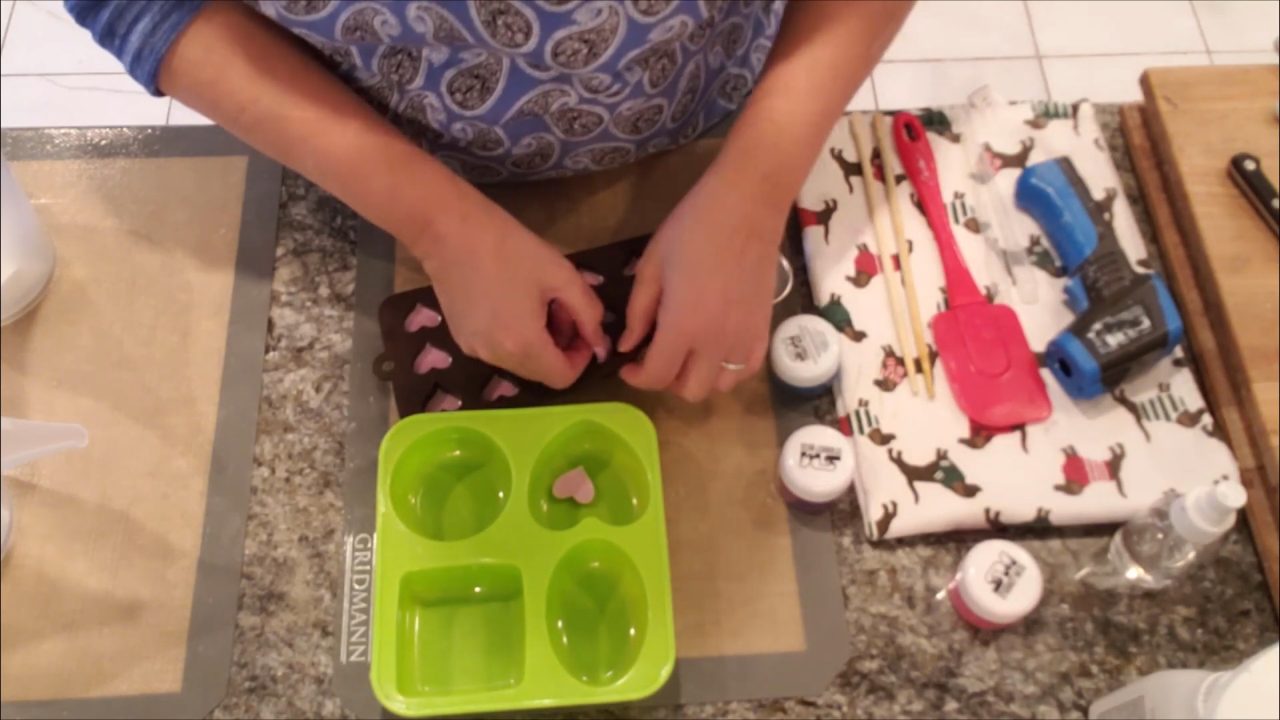
Shea butter base takes a while to set, so be patient. Popping the mold in the freezer speeds things up. Once they’re firm, pop the hearts out. Half-filled hearts are thin and a little flexible, which is fine.
3. Mix the Blue and Purple Colors
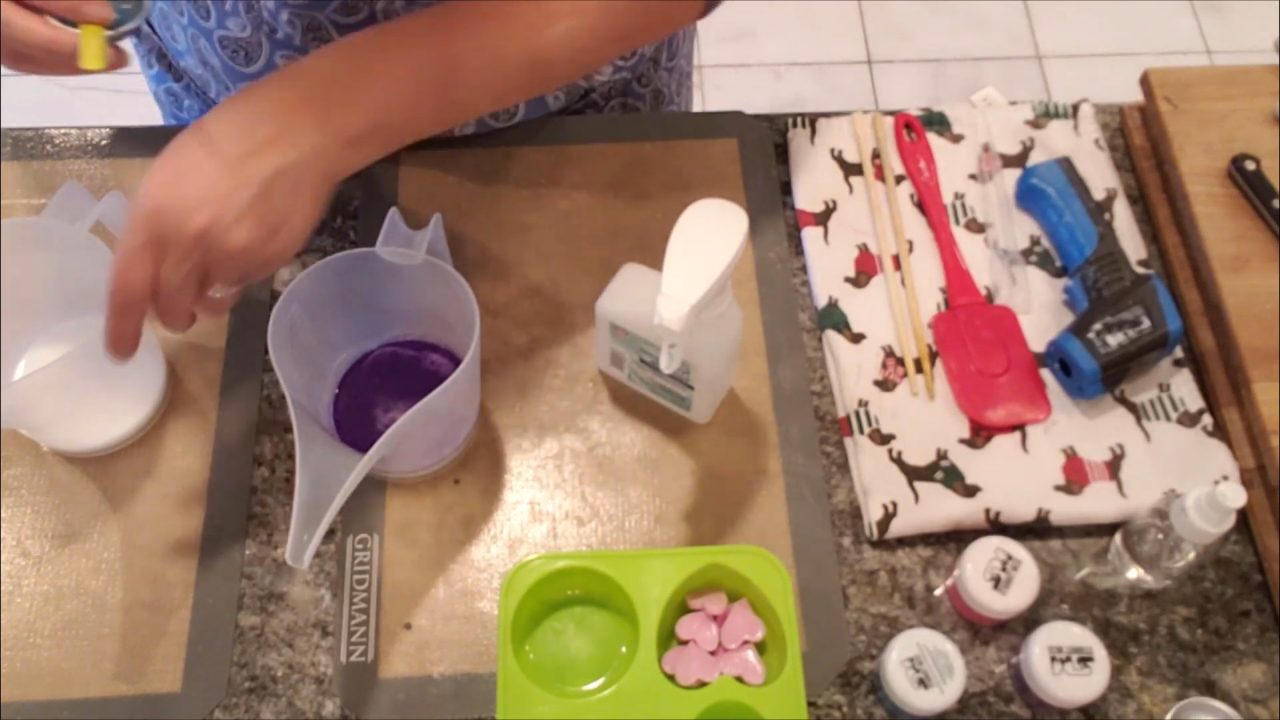
Melt more shea butter base and divide it into small cups. Mix Ariel Blue mica into one and Violet Petal into the other. Spritz with alcohol and stir well. Shea butter gives you lighter, softer shades than clear base would.
4. Pour the Blue and Purple Hearts
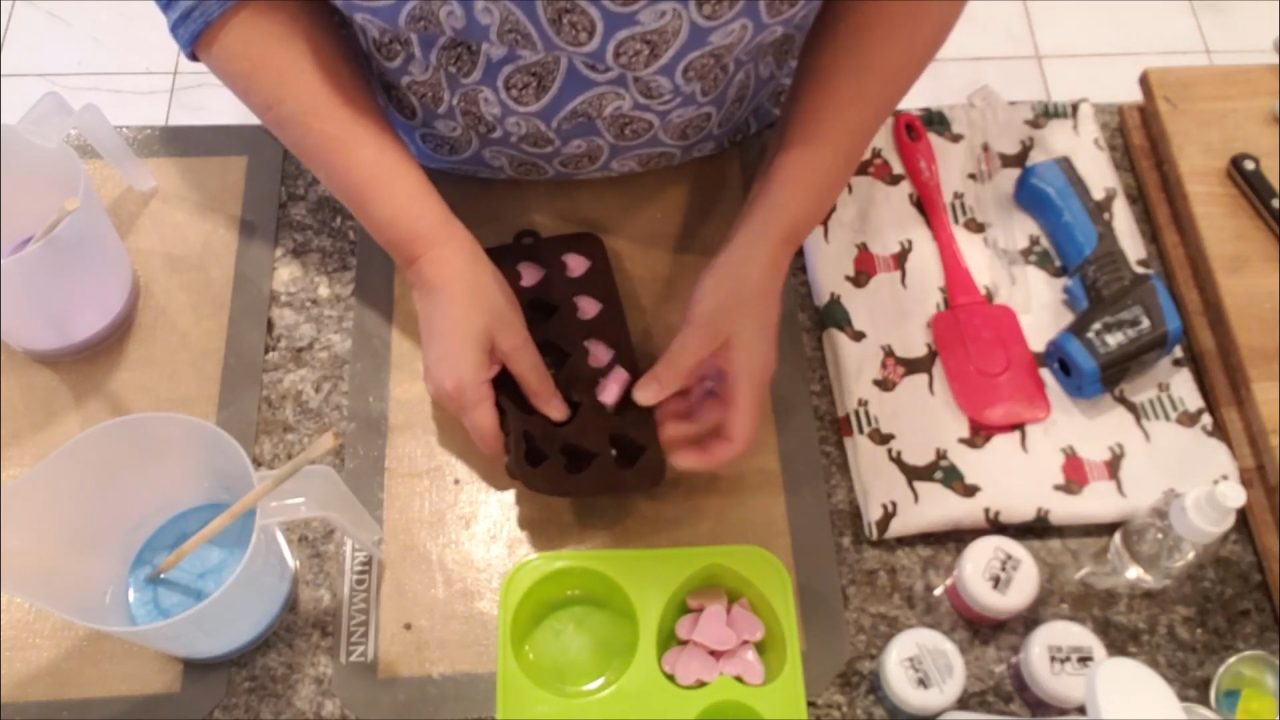
Fill the heart mold halfway with blue and purple soap and spray with alcohol. It’s hard to know exactly how many embeds you’ll need, so pour any extra into a spare mold and save it for another project. Nothing goes to waste.
5. Melt the Clear Base and Plan the Design
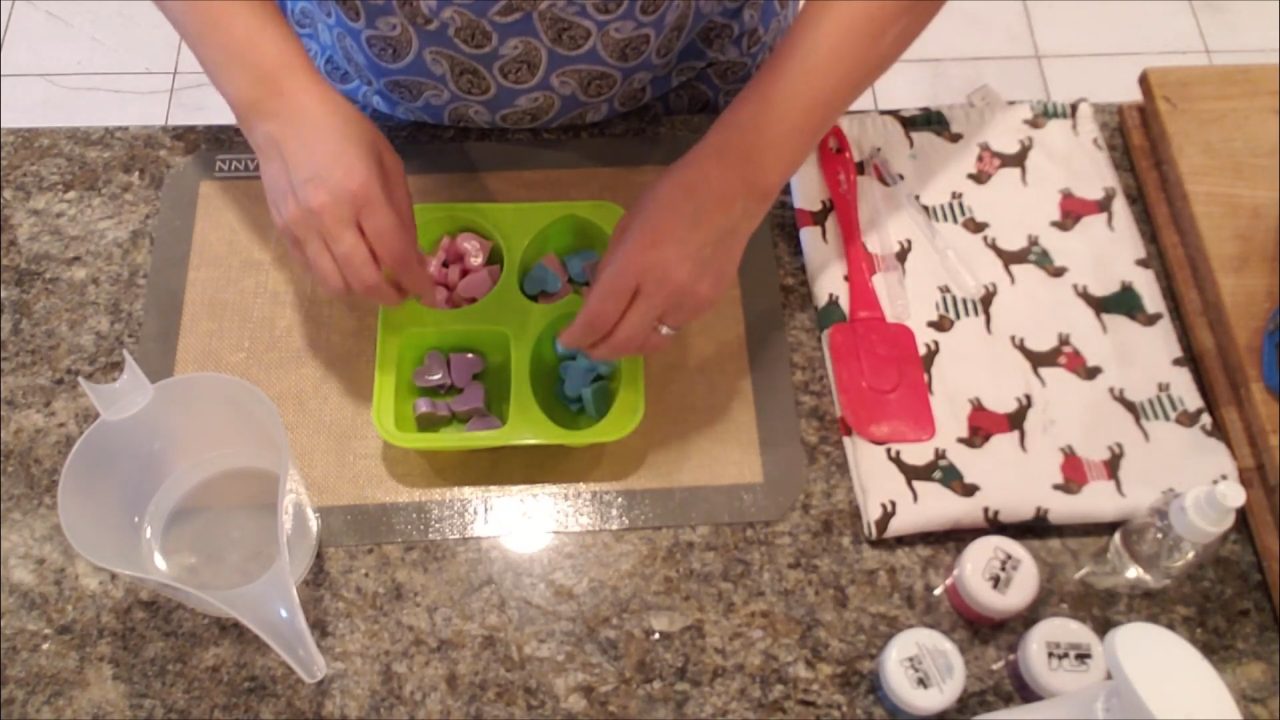
While the hearts set, melt the clear base so it has time to cool. Mine was around 155°F right after melting. Unmold the hearts and lay them in the mold to plan your design. Mix the colors and turn the hearts different directions. I put most of the pink hearts toward the bottom.
6. Pour the First Clear Layers
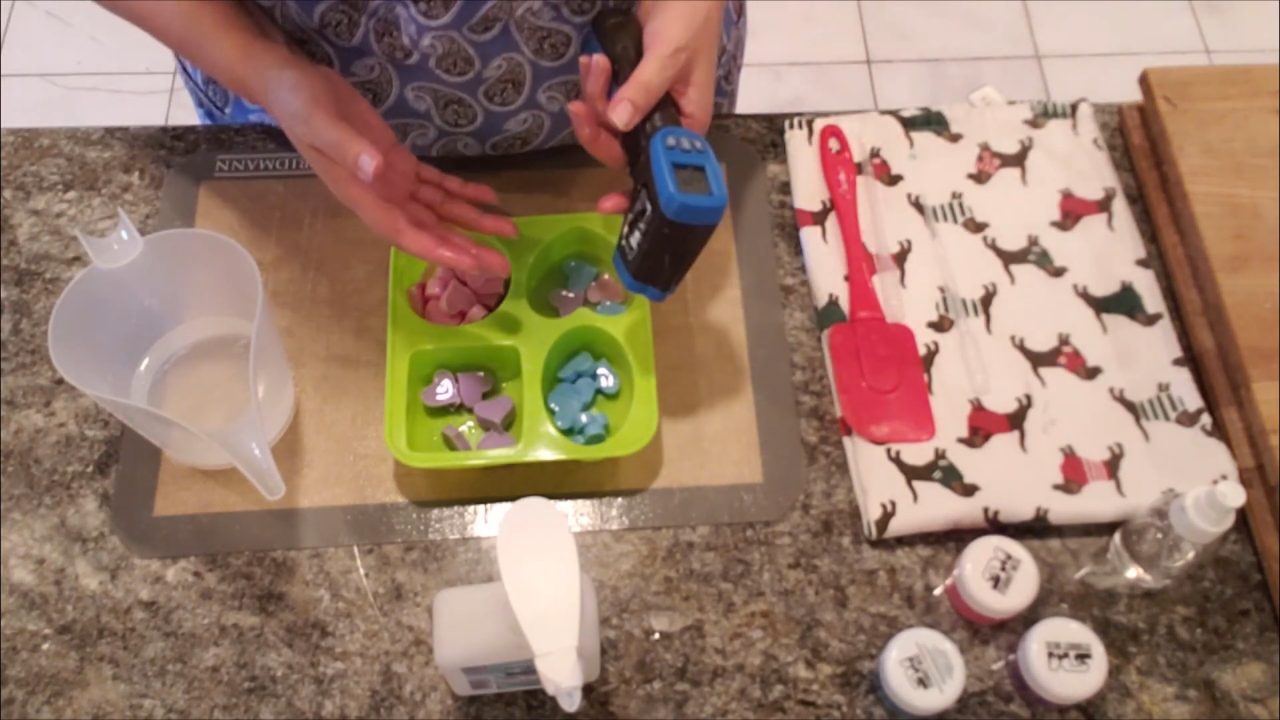
Pour a thin layer of clear base into the bottom of the mold and spray it with alcohol. Spray the hearts with alcohol too, then place the first layer of hearts. Pour clear base over them once it cools to under 135°F (I waited until about 130°F). Hotter soap can melt the embeds. Don’t wait too long either, or the base forms a skin and won’t be as clear.
7. Keep Layering the Hearts
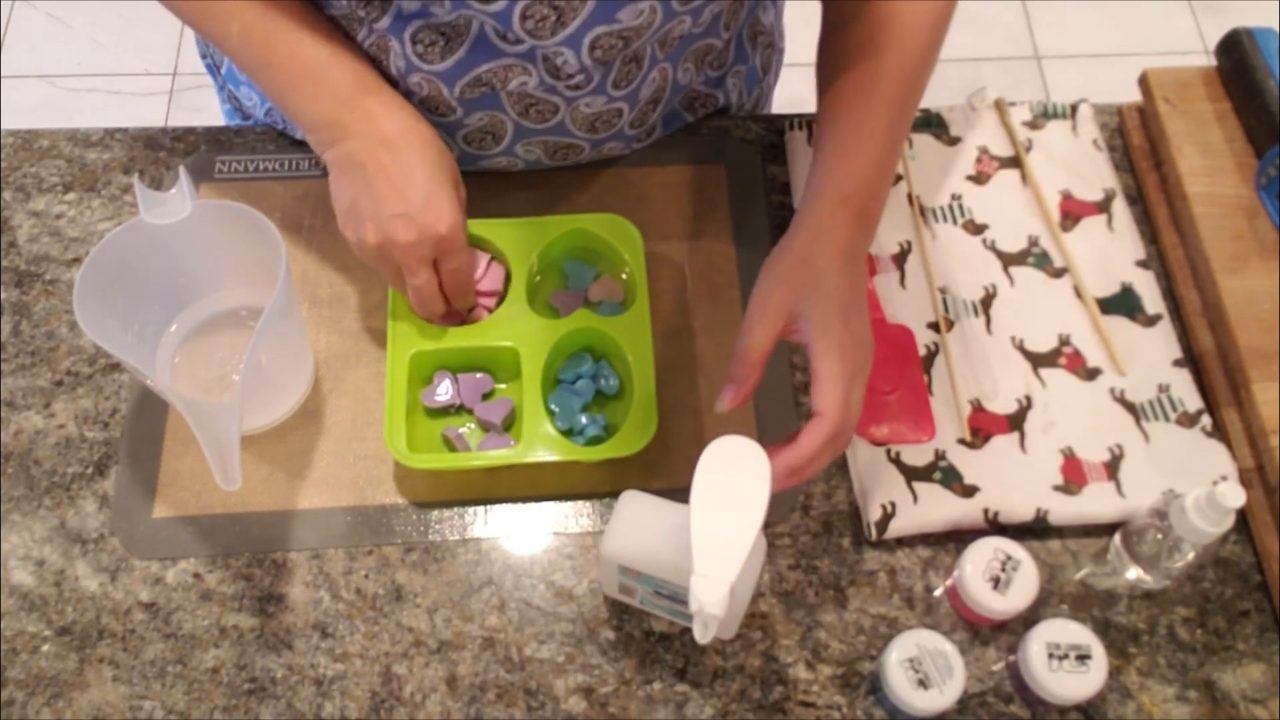
Let each layer firm up a little. Then scratch small hash marks over the hearts with a skewer, spray with alcohol and place the next layer of hearts. Use a skewer to nudge them into place. Pour just enough clear base to cover each layer. Pouring straight onto the hearts can move them, so pour gently. If a skin forms on your melted base, stir it off to the side so it doesn’t go into the soap. Repeat until the mold is full.
8. Unmold
Let the soap set completely, then unmold it. Because the hearts sit at different depths, the bar has a fun 3D look. You can leave it clear or add a colored background layer.
Tips & What I Learned
- Fill embed molds halfway. Thinner hearts layer better and set faster.
- Use the freezer. It speeds up setting the embeds so you don’t have to wait as long.
- Keep the clear base under 135°F. Hotter base can melt your embeds.
- Scratch and spray between layers. Hash marks and alcohol help each layer stick so your bars don’t separate.
- Try 99% alcohol. If your layers separate, a higher-strength alcohol can help them stick.
- Save extras. Leftover colored soap goes into a spare mold for your next project.
Troubleshooting
My layers are separating.
Scratch hash marks into the set layer, spray it well with alcohol, and pour the next layer while the soap underneath is still slightly warm. 99% alcohol works better than 91% for this.
My hearts melted.
The clear base was too hot. Let it cool to under 135°F before pouring over embeds.
The clear soap looks cloudy or has streaks.
Skin from the cooling base got poured in. Stir the skin off to the side before each pour.
My hearts moved when I poured.
Pour slowly and only enough to cover them, or pour along the edge of the mold instead of right on top.
FAQ
Can I use clear base for the hearts instead of shea butter?
Yes. Clear base gives you deeper, darker colors. I liked the softer look of shea butter hearts in clear soap.
How many hearts will I need?
It depends on your mold. It’s hard to guess, so make a few extra and save any leftovers for another soap.
Do I need to scent this soap?
No, it’s optional. If you add fragrance, use up to 5 ml per 16 oz of soap base.
Can I add a background color?
Yes. After your last layer of hearts, you can pour a colored layer on the back instead of more clear base.
More Soap Ideas
- Elegance Blue & Gold Melt and Pour Soap
- Baby’s Breath Melt and Pour Soap
- Peppermint Melt and Pour Soap with Soap Frosting
- All my melt and pour soap tutorials on YouTube
If you make this, I’d love to see it! Tag me on Instagram or Pinterest, and subscribe on YouTube for new soap tutorials.
