
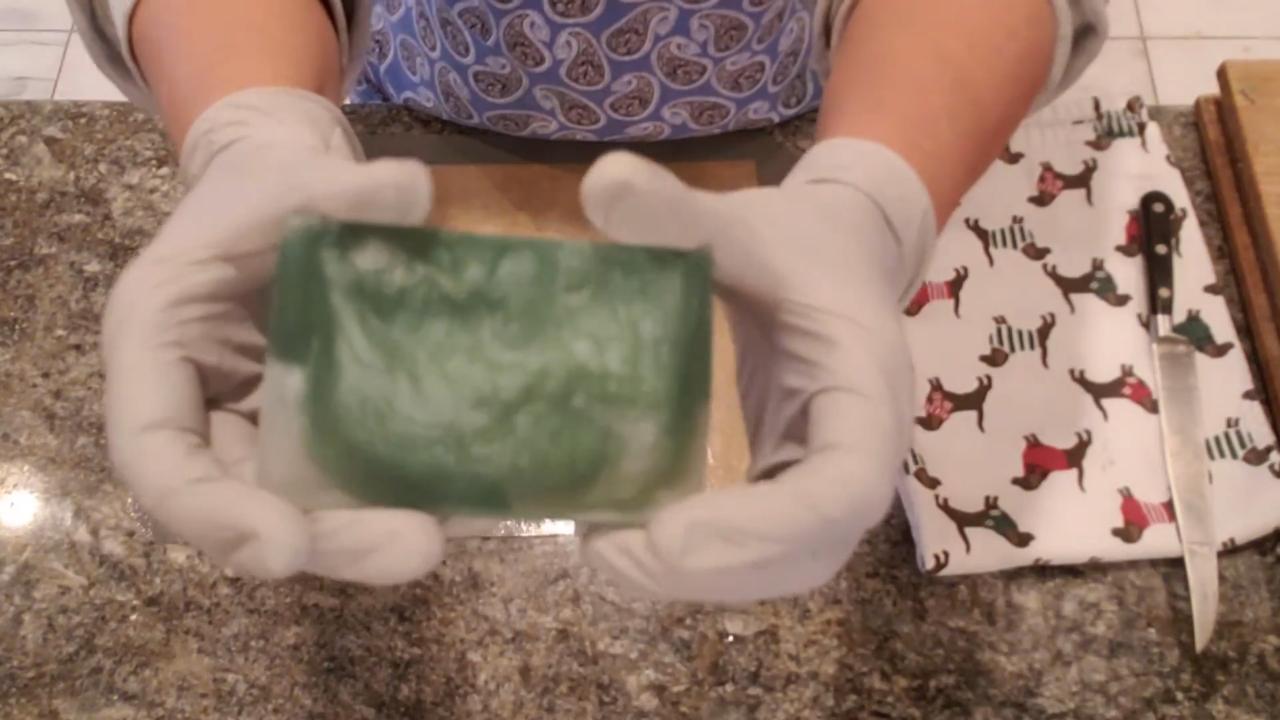
This Alpine Frost swirl melt and pour soap pairs a soft, velvety pearl with a deep pine green. It’s scented with a crisp, woodsy winter fragrance. I tried a hanger swirl tool I usually use for cold process soap, and the swirls came out beautifully. Watch and decide for yourself whether the hanger made the difference!
As an Amazon Associate I earn from qualifying purchases. Some links in this post are affiliate links. They cost you nothing extra and help support Koala Soap.
Materials & Tools
Soap Base
- About 20–22 oz of melt and pour soap base, split into two cups
Color & Scent
- Pearl mica and Green Pine mica from a Stardust mica set, also sold individually. Pearl mica makes the base opaque without the specks titanium dioxide can leave.
- A crisp, woodsy fragrance oil with no vanillin (I used Alpine Frost)
Tools
- Square silicone soap mold (18–20 oz)
- Hanger swirl tool
- Soap cutter
- Spray bottle of 91% isopropyl alcohol
- Thermometer
- Pour cups
Fragrance Amount
Use up to 5 ml of fragrance oil per 16 oz (1 lb) of soap base. You can always use less if you like a lighter scent, but don’t go over 5 ml per 16 oz. Strong fragrances smell great at even less. I add fragrance once the soap is below 140°F.
How to Make Alpine Frost Swirl Soap
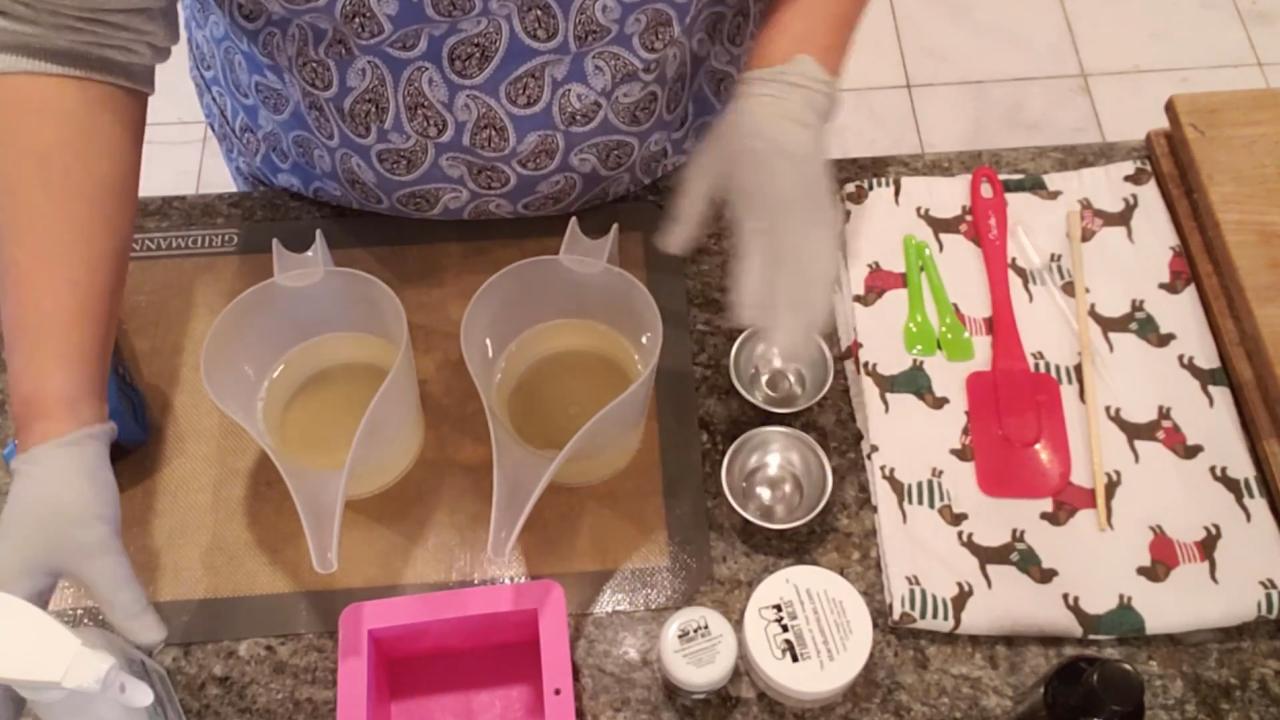
1. Melt the Base
Melt the base and split it into two cups. Mine were around 150°F.
2. Color the Cups
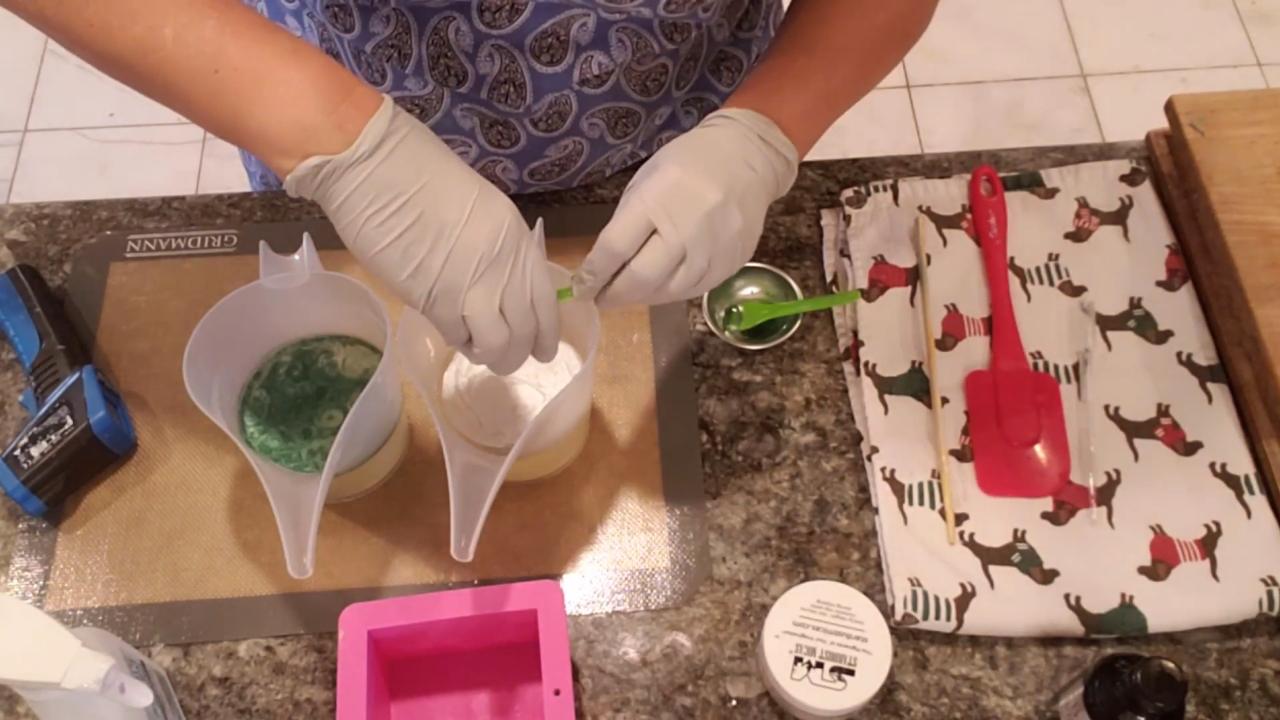
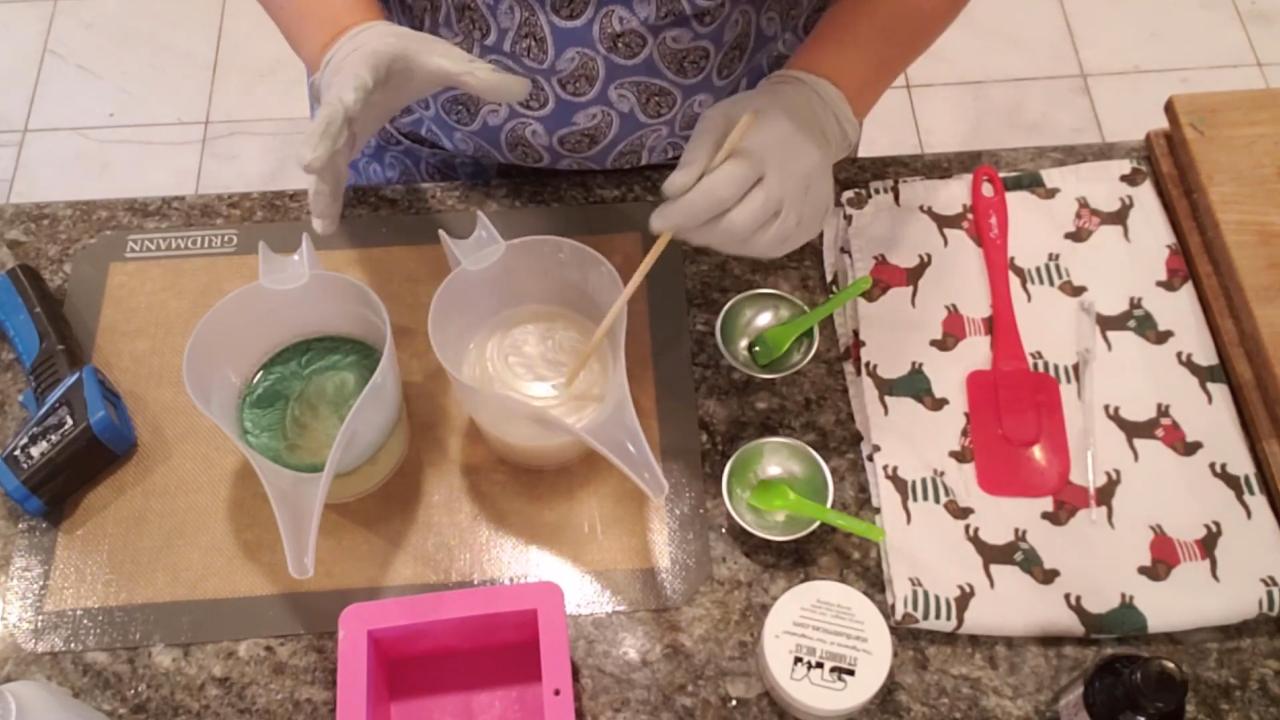
Once the soap is in the 140s, mix the Green Pine mica with alcohol and stir it into one cup. Stir pearl mica into the other. I kept the colors separate (no pearl in the green) for more contrast. The pearl looks soft and velvety.
3. Let Them Cool
Add fragrance and let both cups cool and thicken. I poured at about 121–123°F. Skins are okay.
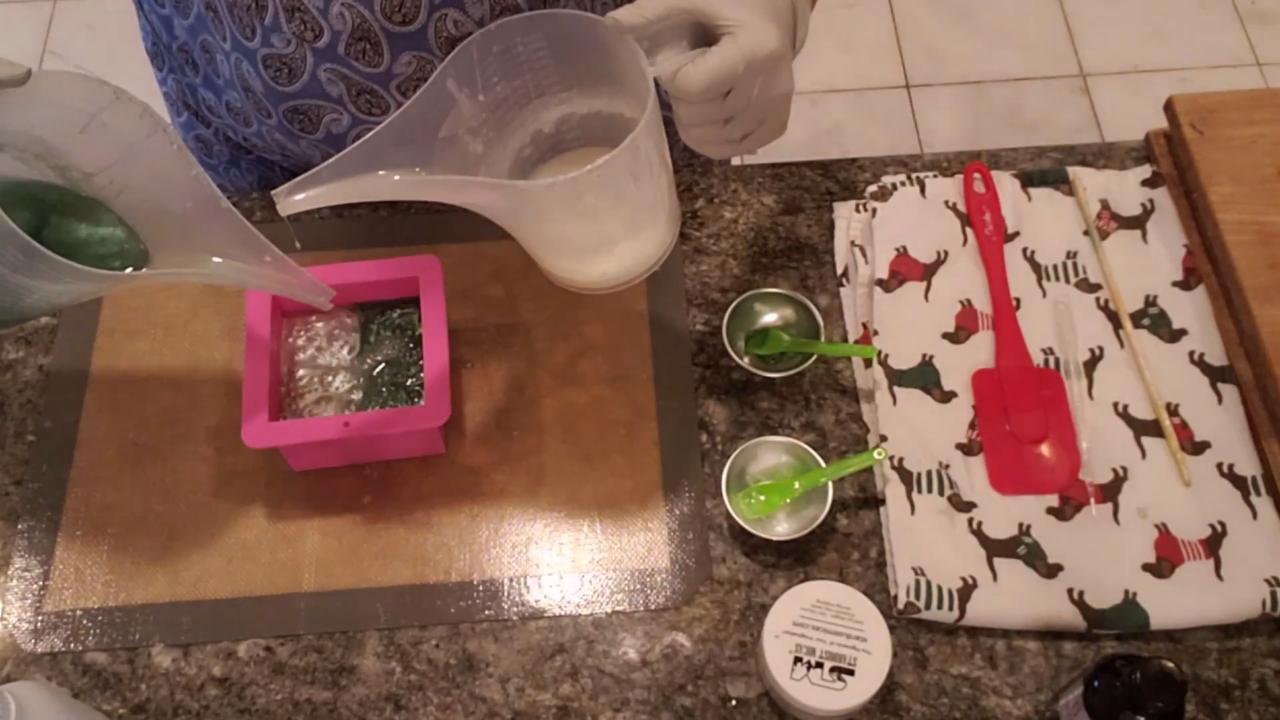
4. Pour Back and Forth
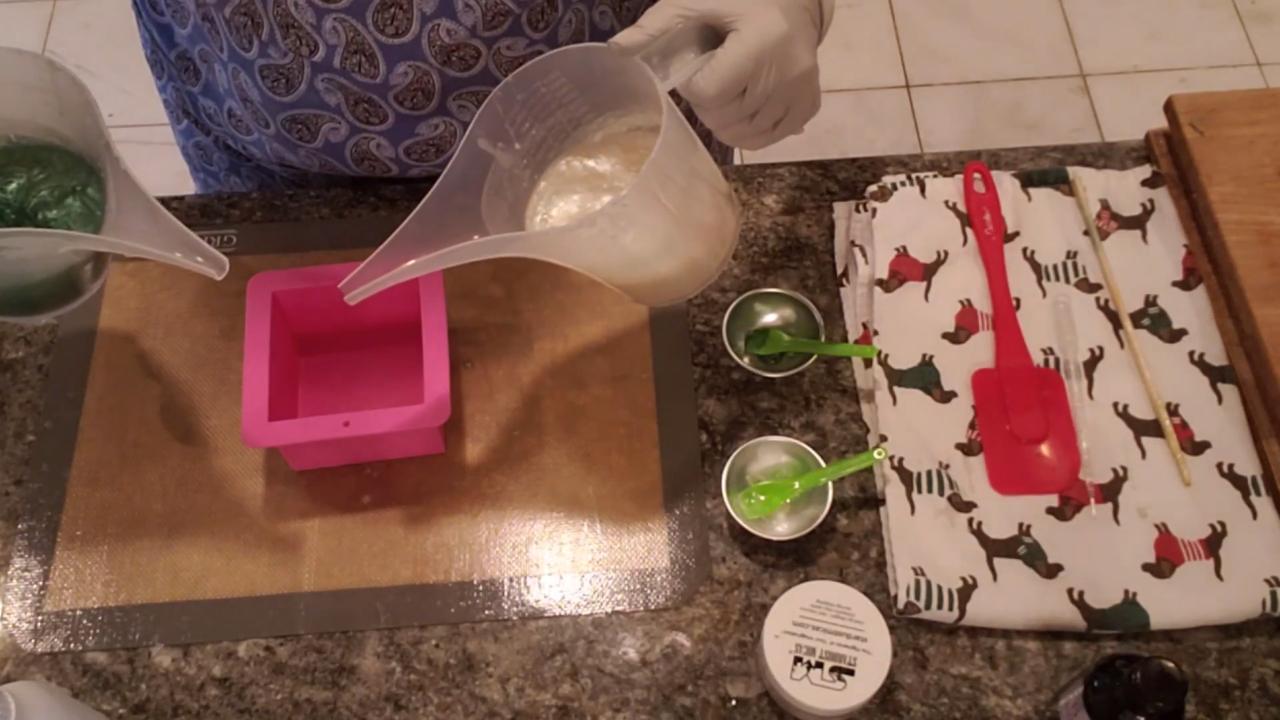
Pour a little pearl, then a little green, back and forth into the mold. Pouring from higher up helps the soap push down through the layers.
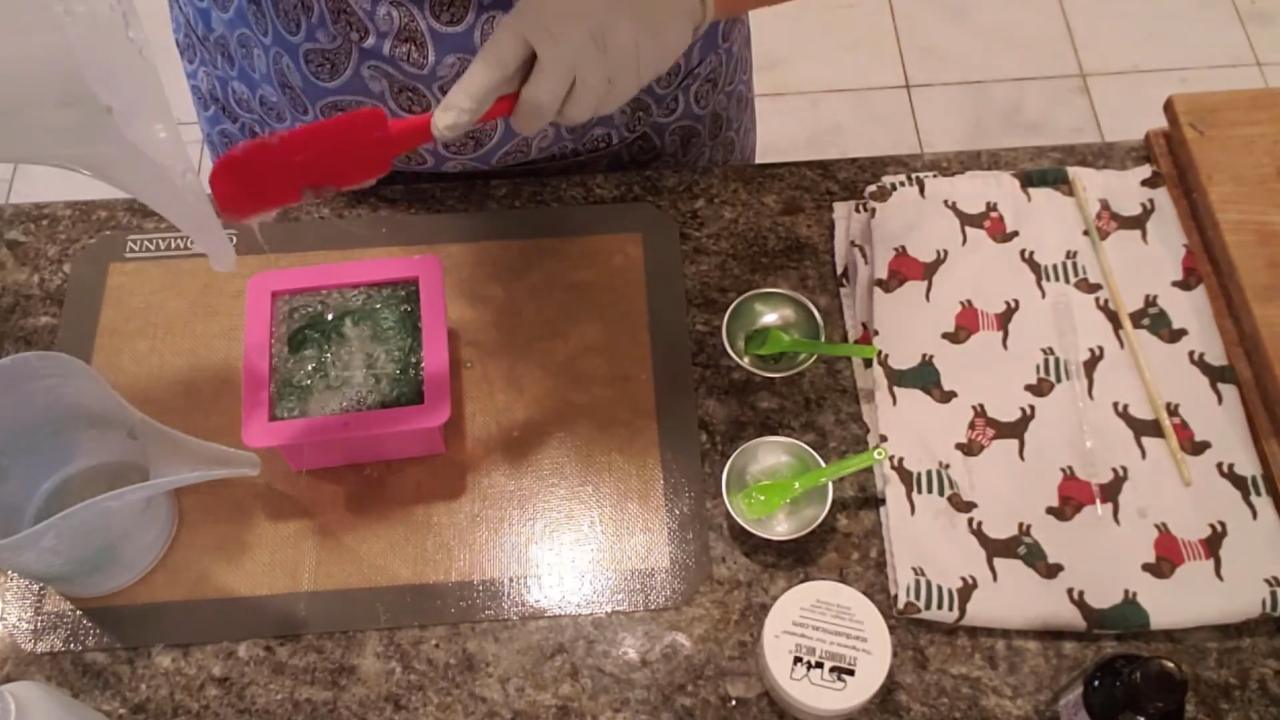
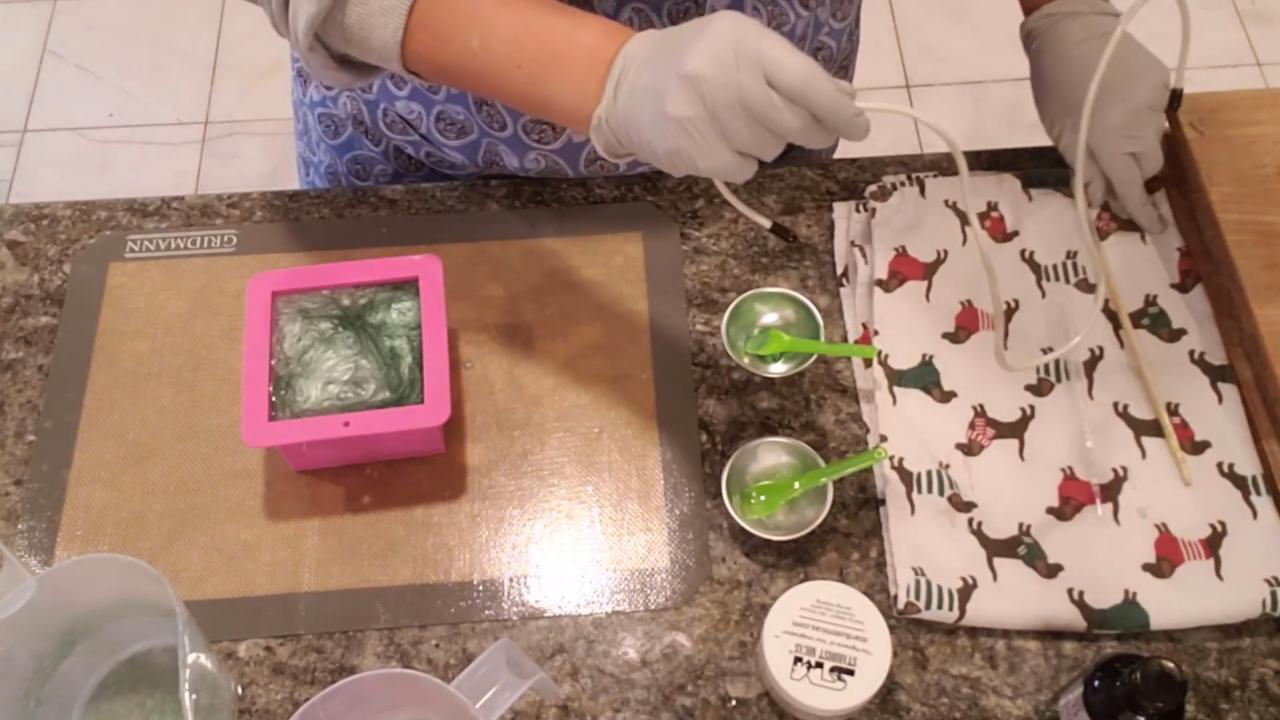
5. Swirl with the Hanger Tool
Push the hanger swirl tool into the mold and drag it through the soap to swirl the colors. Spray the top with alcohol and let it set.
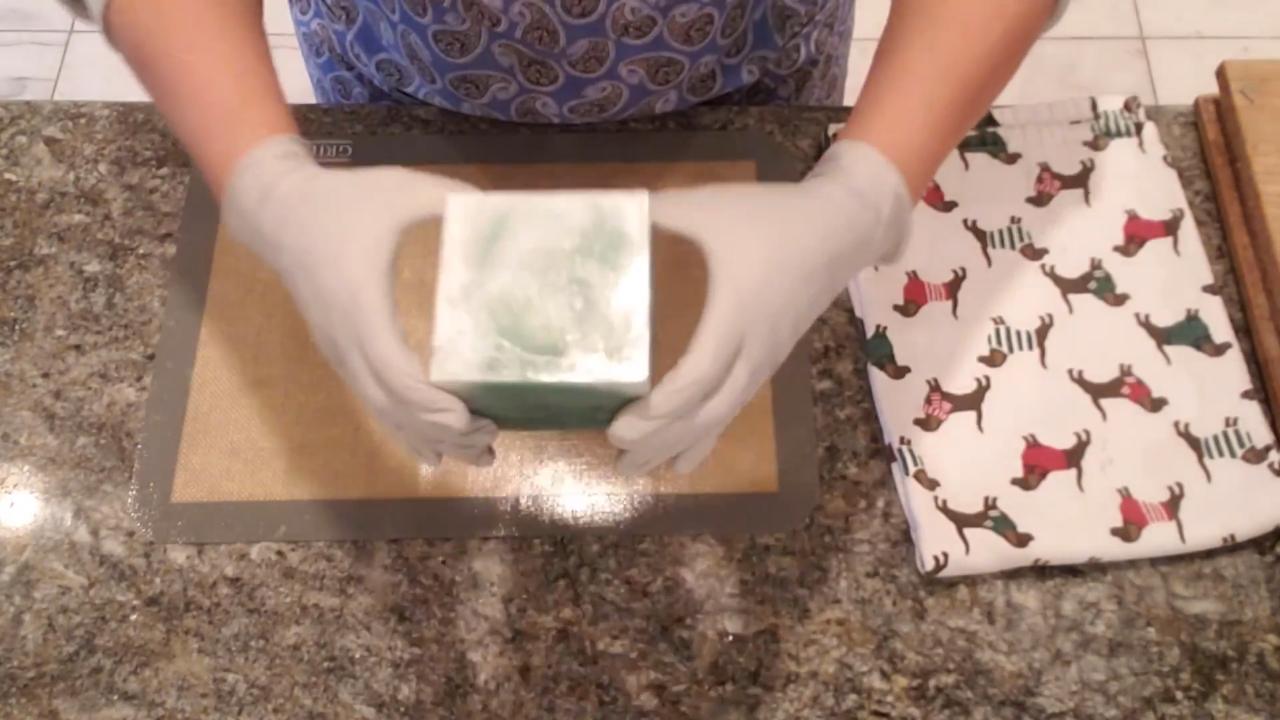
6. Unmold and Cut
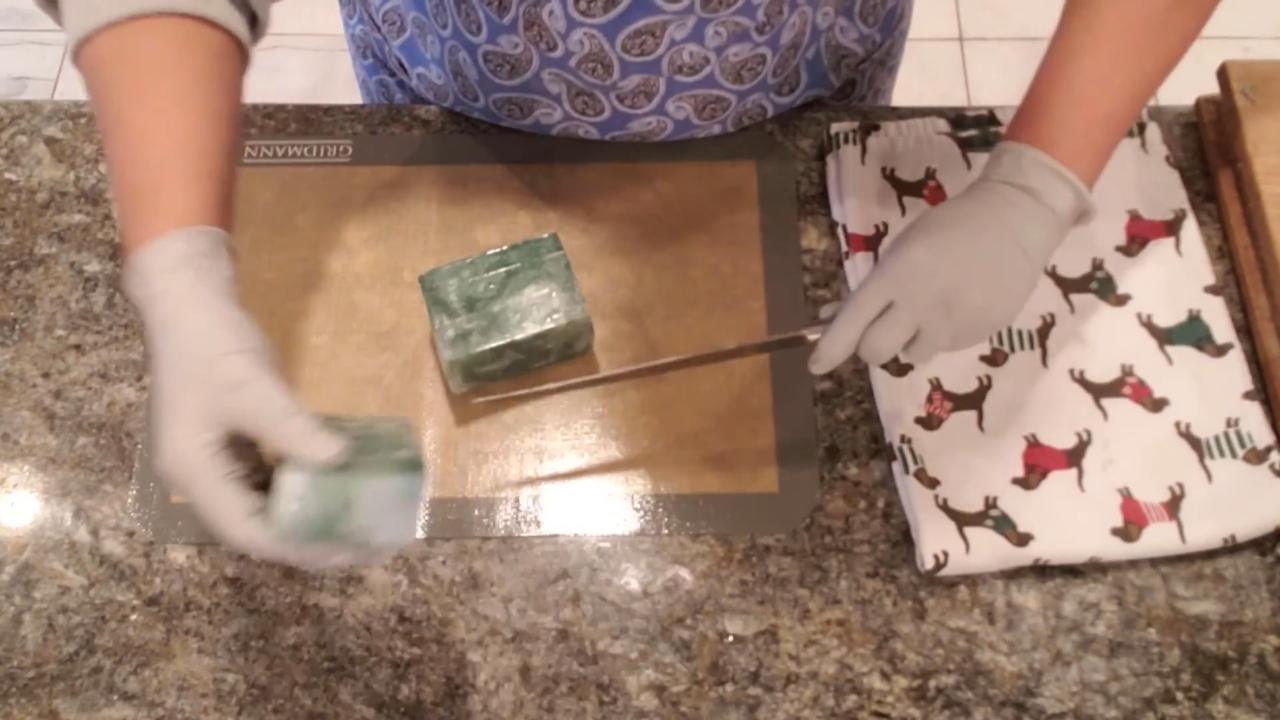
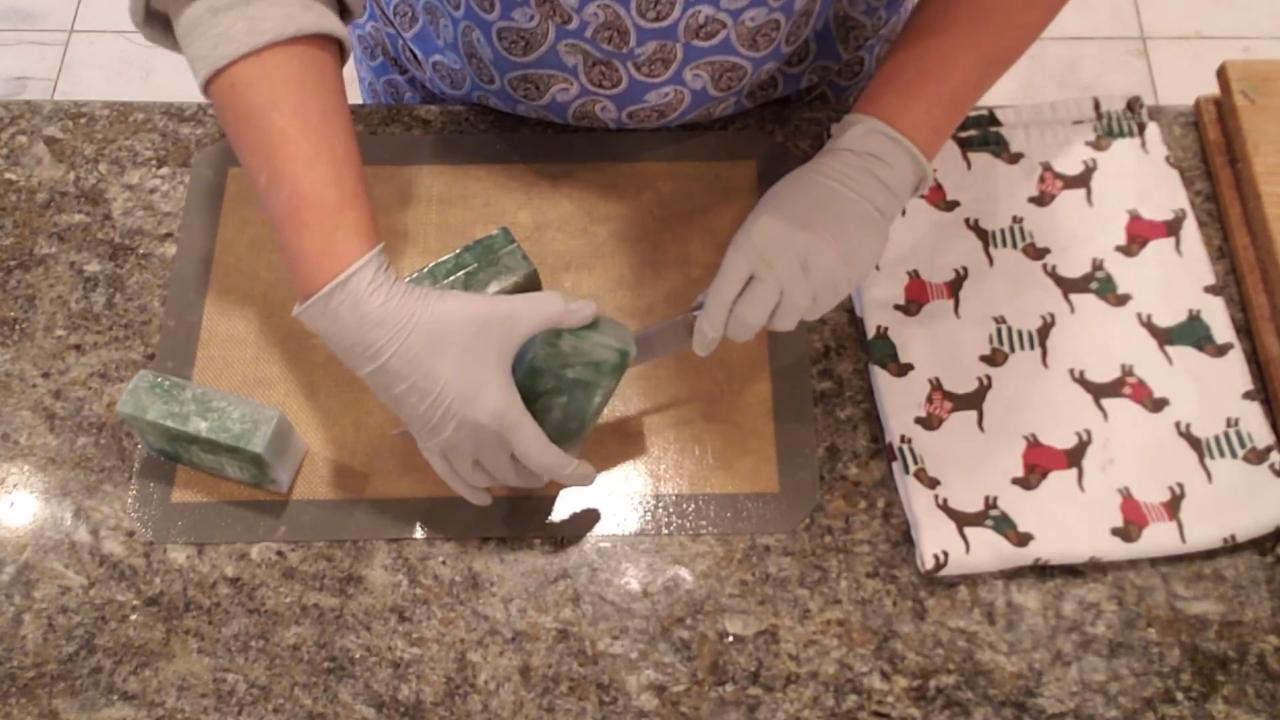
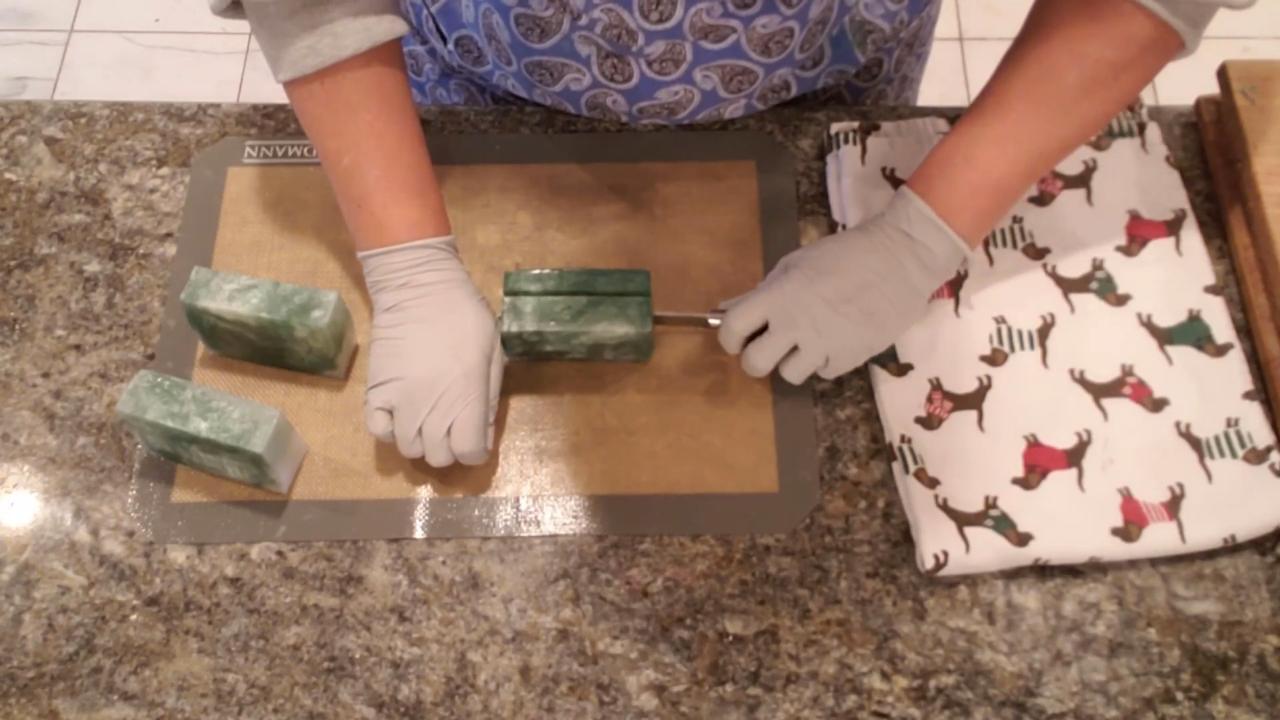
Unmold the loaf and cut it into 1-inch bars. Every bar has a green and pearl swirl, front and back.
Tips & What I Learned
- Pearl mica is a win. It makes soap opaque and soft-looking, without white specks.
- Keep colors separate for contrast. No pearl in the green keeps the colors distinct.
- Pour cool. Around 120°F keeps the colors from blending into one shade.
- Try a hanger tool. It works in melt and pour too.
- Buy favorites in bigger sizes. Once you find colors you love, larger jars save money.
Troubleshooting
The colors blended into one shade. The soap was too hot. Let it cool to the low 120s.
The soap won’t flow into the mold. It’s too thick. Pour from higher up, or warm it briefly.
I see white specks. Titanium dioxide wasn’t fully mixed. Try pearl mica instead.
FAQ
What is a hanger swirl tool?
It’s a thin loop of wire or plastic you drag through soap in the mold to create swirls. It’s popular for cold process soap.
Can I use a different green?
Yes. Teal green or any green works well with a winter scent.
More Winter Soap Ideas
- Holiday Swirl Melt and Pour Soap
- Twisted Marble Swirl Melt and Pour Soap
- Christmas Tree Melt and Pour Soap
- How to Swirl Melt and Pour Soap
- All my melt and pour soap tutorials on YouTube
If you make this, I’d love to see it! Tag me on Instagram or Pinterest, and subscribe on YouTube for new soap tutorials.
