
This twisted marble swirl melt and pour soap uses all shea butter base in purple, teal green and white. You pour the colors into a silicone pan as a slab, roll it up like a burrito, twist and tear it into the mold, then pour a little more soap over the top. Every bar comes out with its own marble pattern.
As an Amazon Associate I earn from qualifying purchases. Some links in this post are affiliate links. They cost you nothing extra and help support Koala Soap.
Materials & Tools
Soap Base
- About 20–22 oz of shea butter melt and pour soap base in two 10 oz batches, saving about 4 oz for the final pour
Color & Scent
- Purple and teal green mica (I used Stardust Violet Petal and Teal Green from a Stardust mica set, also sold individually)
- A citrus fragrance oil (I used Yuzu Cybilla)
Tools
- Silicone cake pan for the slab
- Square silicone soap mold (18–20 oz)
- Soap cutter
- A chopstick or [[skewers|skewer]]
- Spray bottle of 91% isopropyl alcohol
- Thermometer
- Pour cups
Fragrance Amount
Use up to 5 ml of fragrance oil per 16 oz (1 lb) of soap base. You can always use less if you like a lighter scent, but don’t go over 5 ml per 16 oz. Check your fragrance’s flash point before adding it to hot soap.
How to Make Twisted Marble Soap
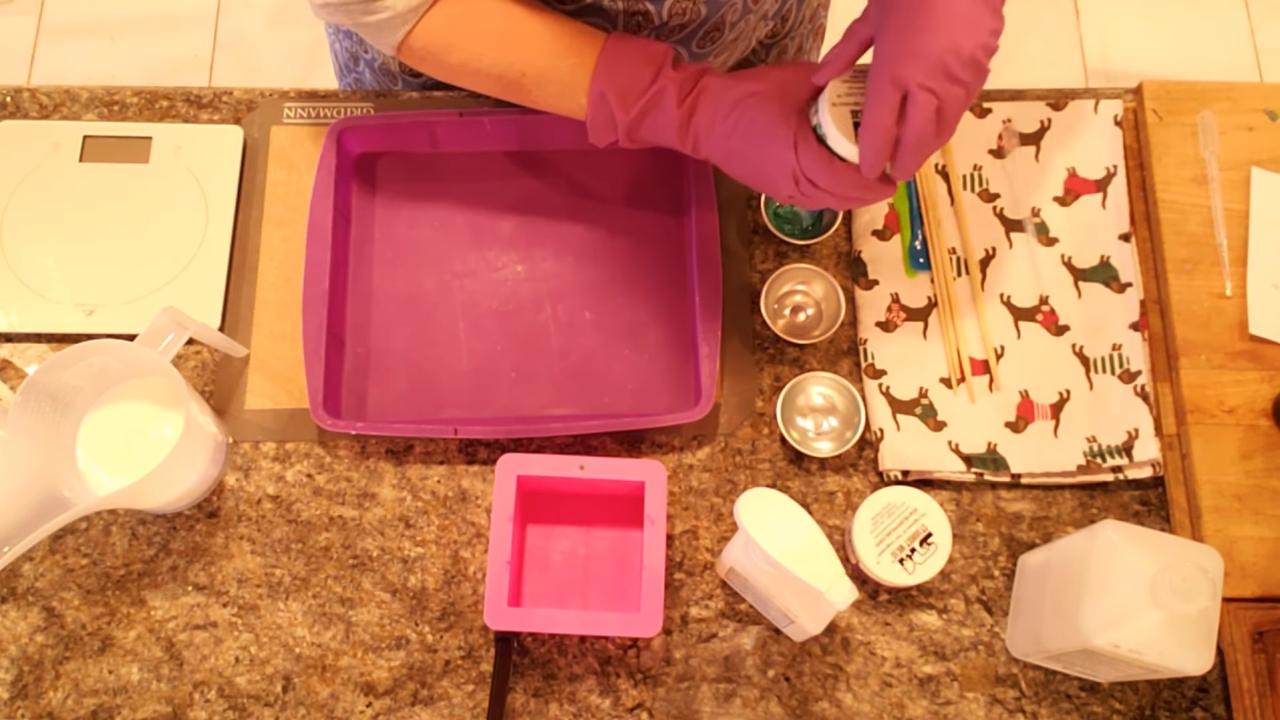
1. Mix the Purple
Melt the shea butter base and add fragrance. Mix the purple mica with alcohol and stir it into one batch. Make it a little darker than you think, since the white will lighten the look.
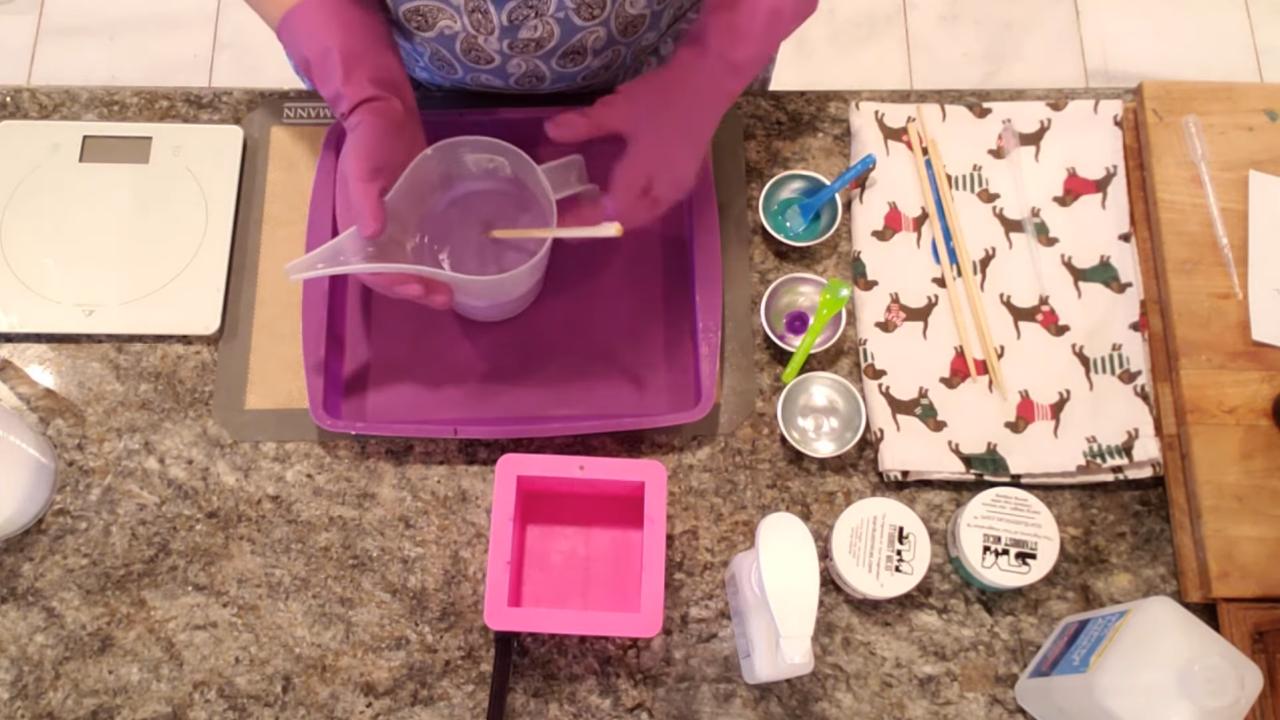
2. Pour the Purple
Pour most of the purple into the silicone pan, keeping about 2 oz back. Since you’ll be tearing the slab up, you don’t need perfect layers.
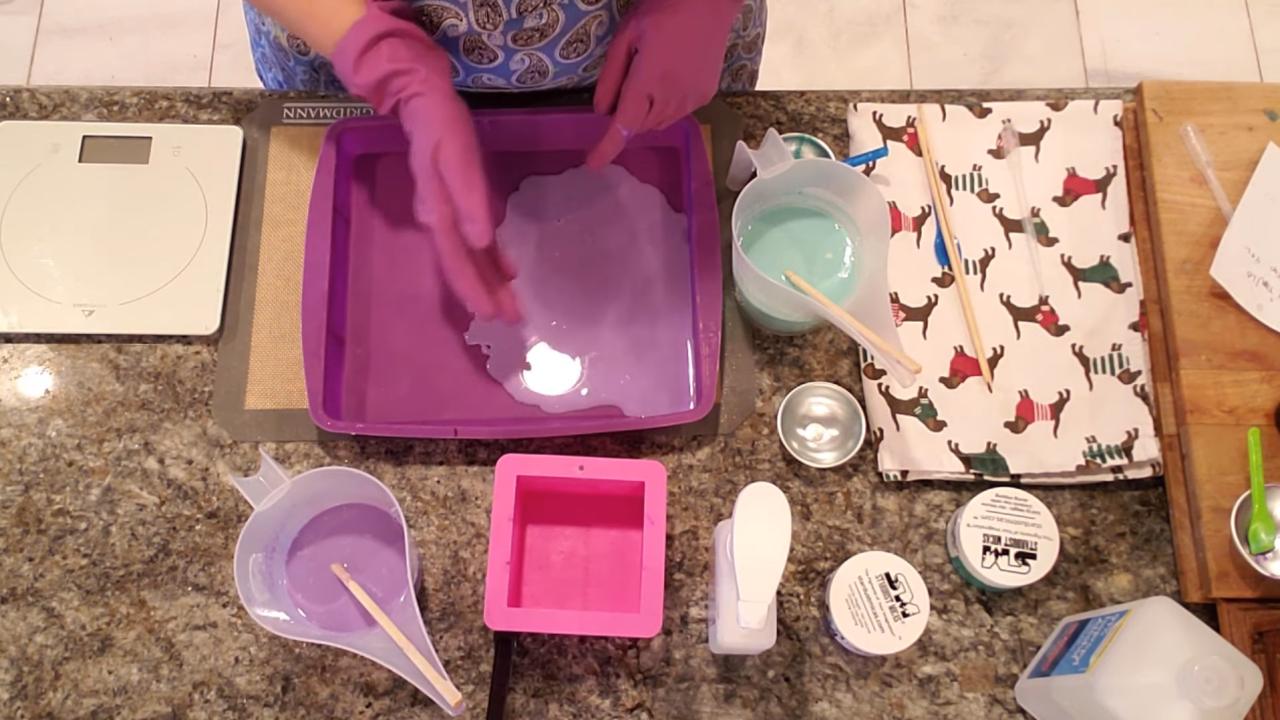
3. Pour the Green on the Side
Mix the teal green and pour it on the side of the pan, letting it flow around the purple. Spray any bubbles with alcohol.
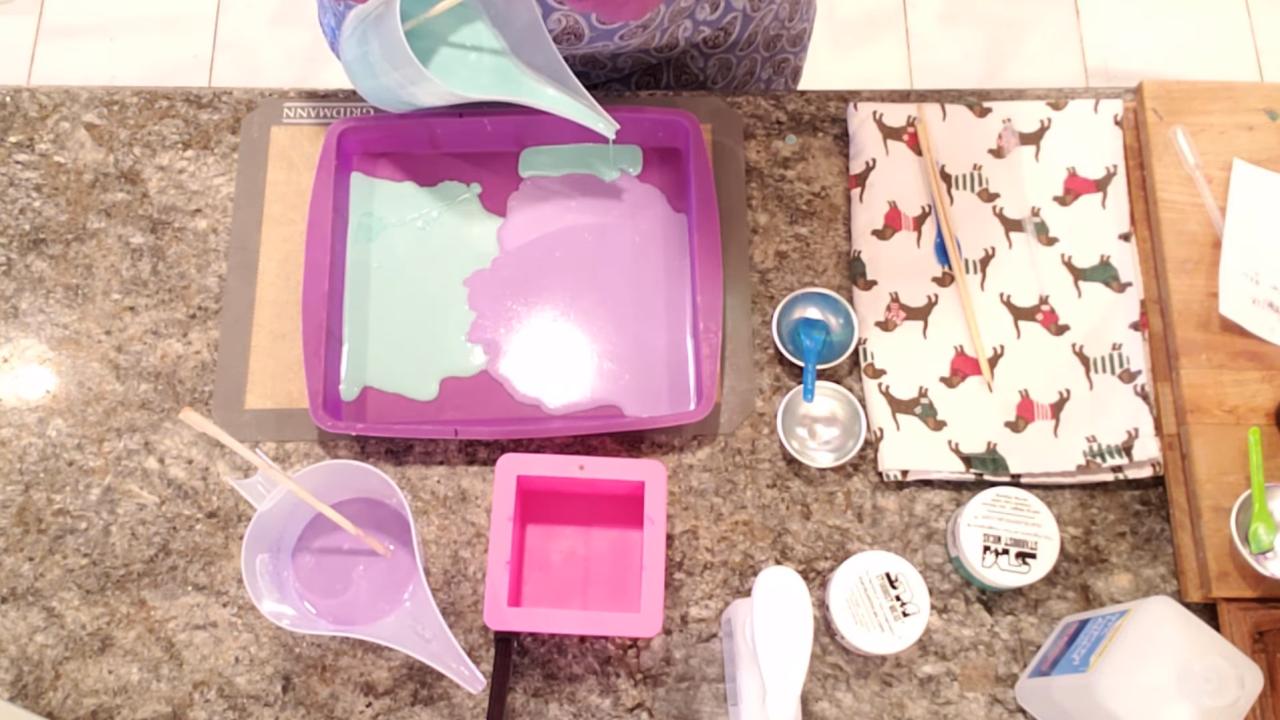
4. Add More Layers
Once both colors have a light skin (mine were around 111–116°F), pour the leftover soap slowly around the outside edges, where the skin is firmer. Save about 4 oz for the final pour.
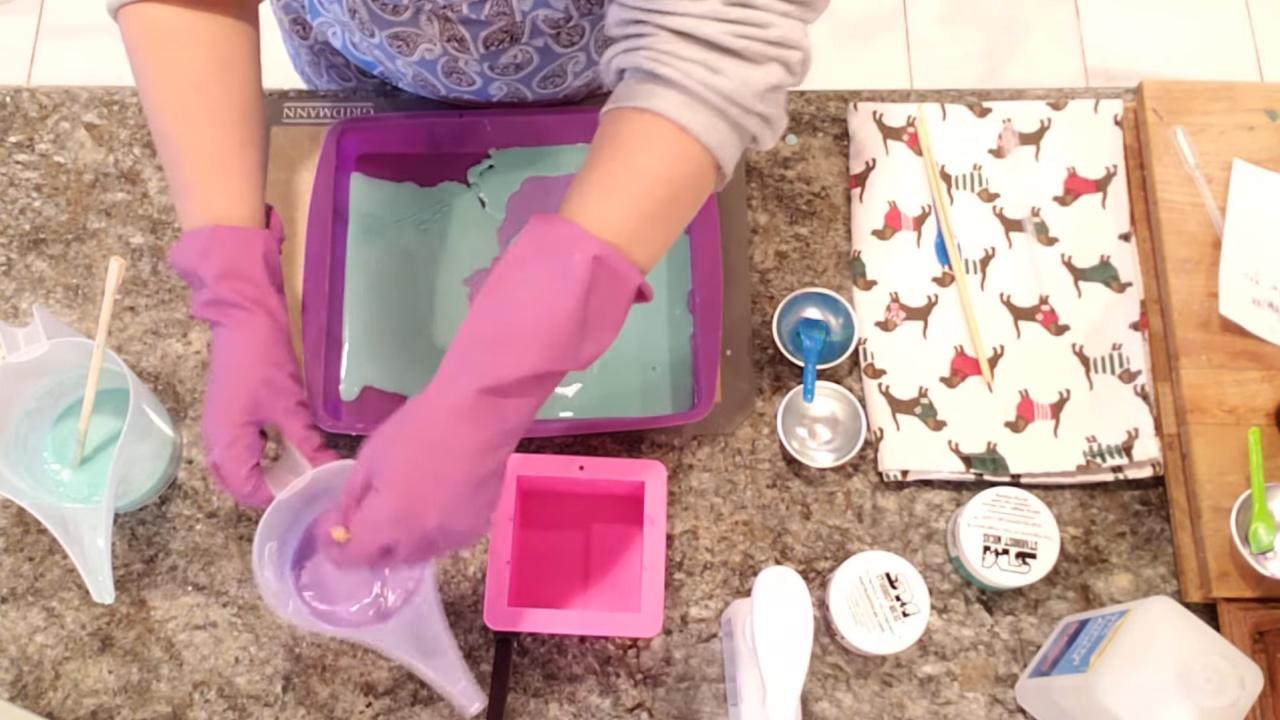
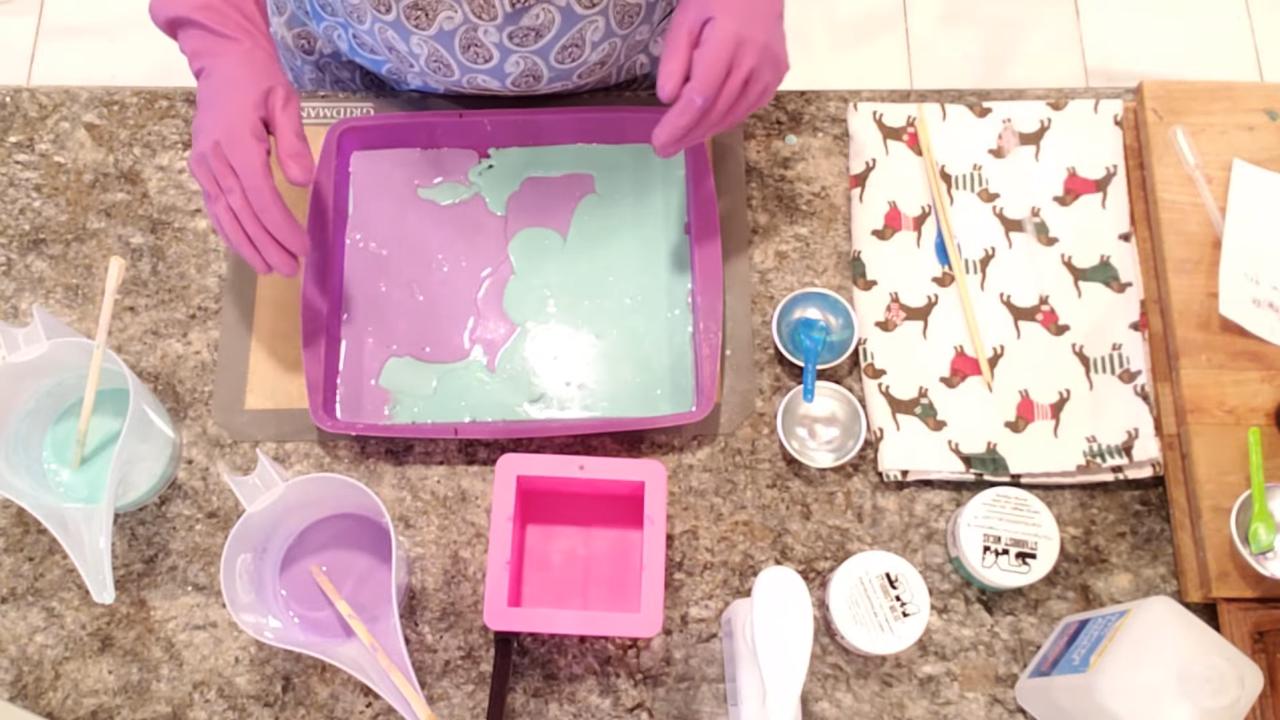
5. Roll, Twist and Tear
When the slab is completely firm, peel it out of the pan and roll it up like a burrito. Hold it steady with your thumb and tear it into smaller pieces, twisting as you go. Press the pieces into the square mold and poke holes with a chopstick.
6. Pour Over the Pieces
Remelt the saved soap and pour it over the pieces at about 130–135°F so the colors don’t muddle. Tap the mold to release air bubbles and spray the top with alcohol.
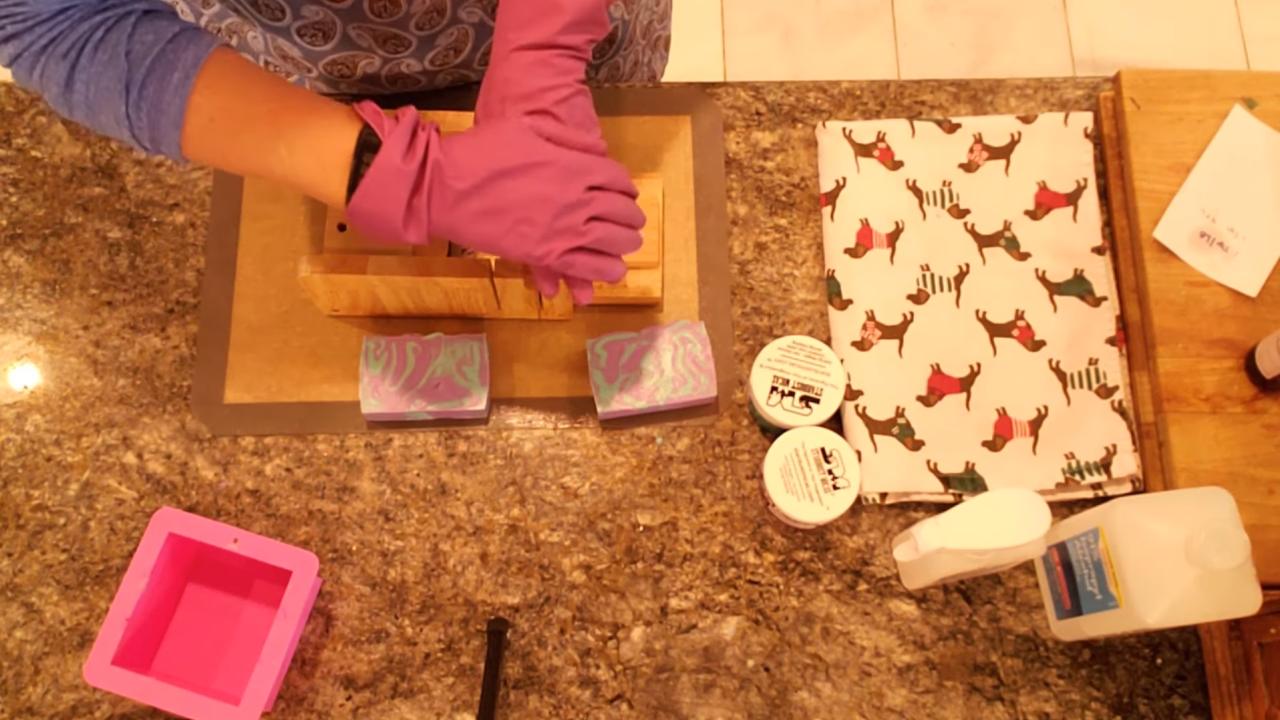
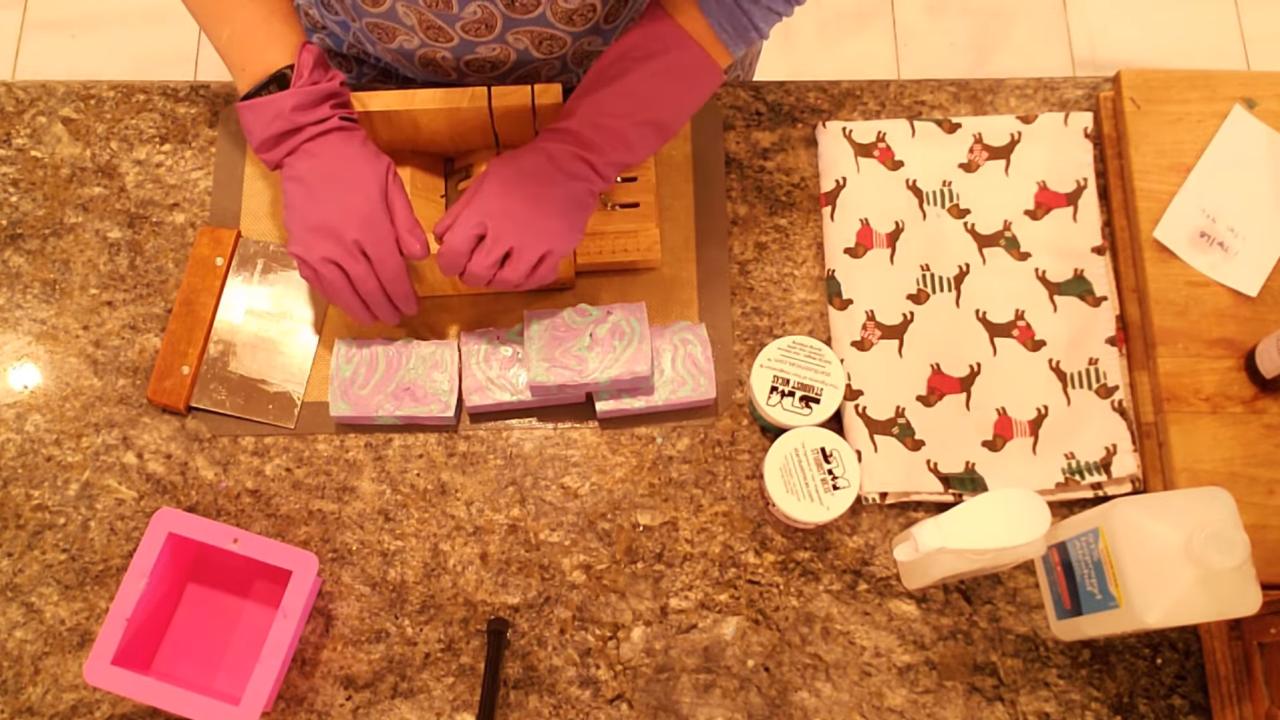
7. Unmold and Cut
Unmold the loaf and cut it into 1-inch bars. Pull each bar away gently so you don’t smear the design.
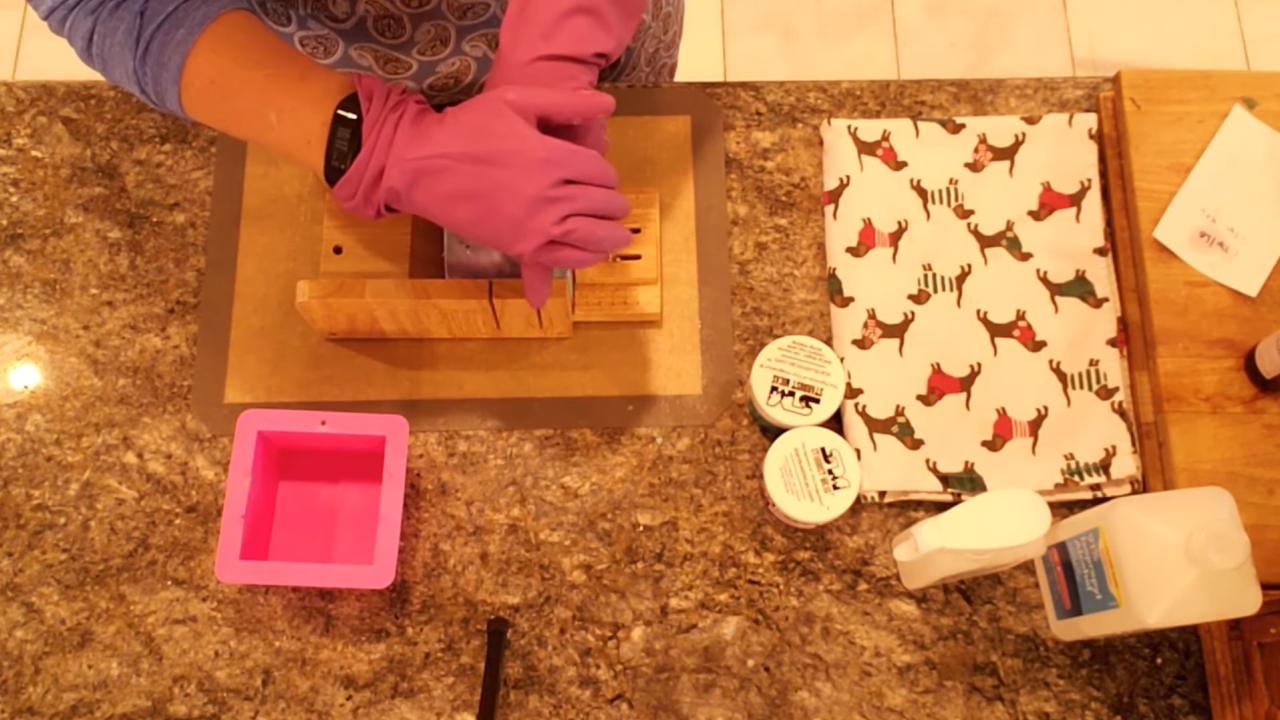
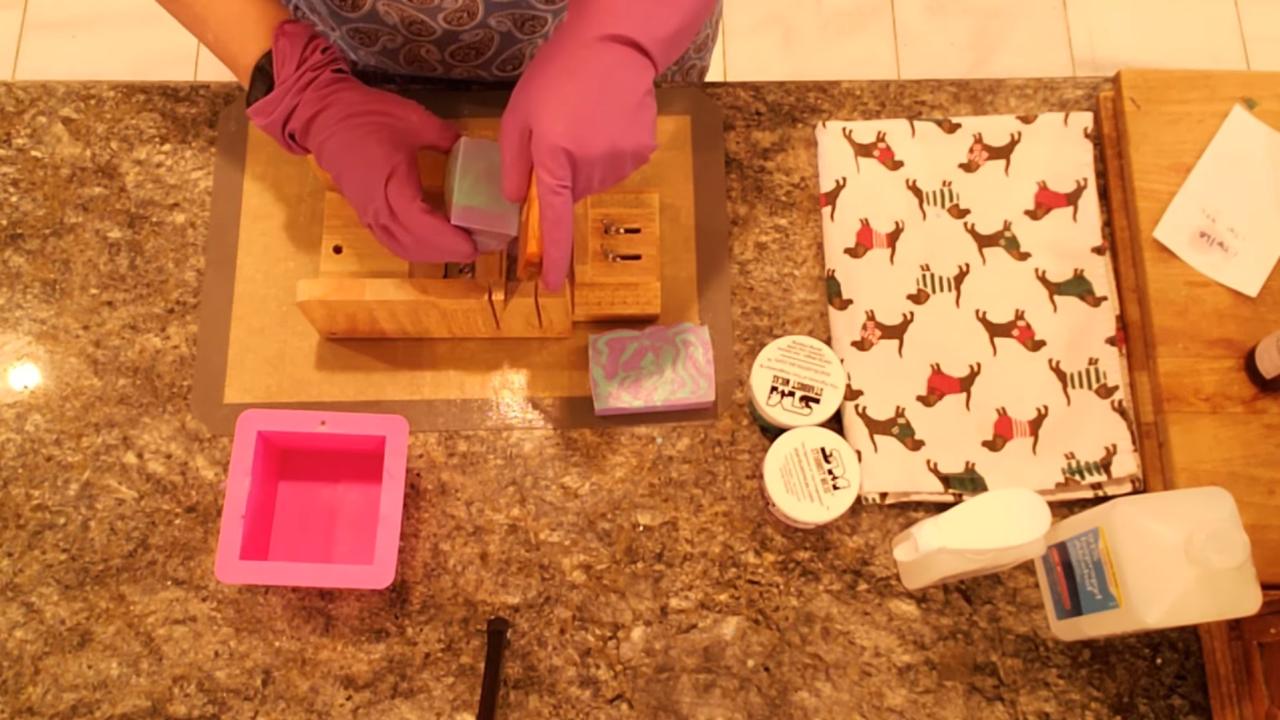
Tips & What I Learned
- Darken the colors. All-opaque soap needs strong colors so the swirl shows.
- Pour on the edges. The outer edges set faster and hold the next layer better.
- Skins don’t matter here. You’re tearing everything up anyway.
- Pour the final layer at 130–135°F. Hotter soap blurs the marble.
- Tap out bubbles. The torn pieces trap air.
Troubleshooting
The colors look muddy. The final pour was too hot. Let it cool to 130–135°F.
There are air holes. Poke holes with a chopstick and tap the mold after pouring.
The slab cracked when rolling. It was too firm. Roll it while it’s set but still flexible.
FAQ
Can I use clear base?
Yes. Mixing clear and opaque gives more contrast, like in my charcoal swirl soap.
How much soap do I save for the final pour?
About 4 oz for an 18–20 oz mold.
More Swirl Soap Ideas
- Activated Charcoal Swirl Melt and Pour Soap
- How to Swirl Melt and Pour Soap
- Lavender Swirl Melt and Pour Soap
- Evil Queen Melt and Pour Soap
- All my melt and pour soap tutorials on YouTube
If you make this, I’d love to see it! Tag me on Instagram or Pinterest, and subscribe on YouTube for new soap tutorials.
