
This activated charcoal swirl melt and pour soap looks like black, blue and white marble. I was always nervous that charcoal would bleed into the other colors, but pouring under 135°F kept everything clean. The swirl comes from a fun roll, twist and tear technique, not from swirling with a tool.
As an Amazon Associate I earn from qualifying purchases. Some links in this post are affiliate links. They cost you nothing extra and help support Koala Soap.
Materials & Tools
Soap Base
- Clear melt and pour soap base for the black and blue layers
- Shea butter melt and pour soap base for the white layer and the final pour
- About 20 oz of soap total (I used four 5 oz cups)
Color & Scent
- Activated charcoal for black
- Blue mica (I used Stardust Ariel Blue) and a white mica, both from a Stardust mica set or individually
- A fragrance oil with no vanilla, so the white stays white (I used Black Cherry)
Tools
- Silicone cake pan for pouring the layered slab
- Square silicone soap mold (18–20 oz)
- Soap cutter
- A chopstick or [[skewers|skewer]]
- Spray bottle of 91% isopropyl alcohol
- Thermometer
- Pour cups
Fragrance Amount
Use up to 5 ml of fragrance oil per 16 oz (1 lb) of soap base. You can always use less, but don’t go over 5 ml per 16 oz. For a 20 oz batch, about 3 ml split between the cups is plenty.
How to Make Charcoal Swirl Soap
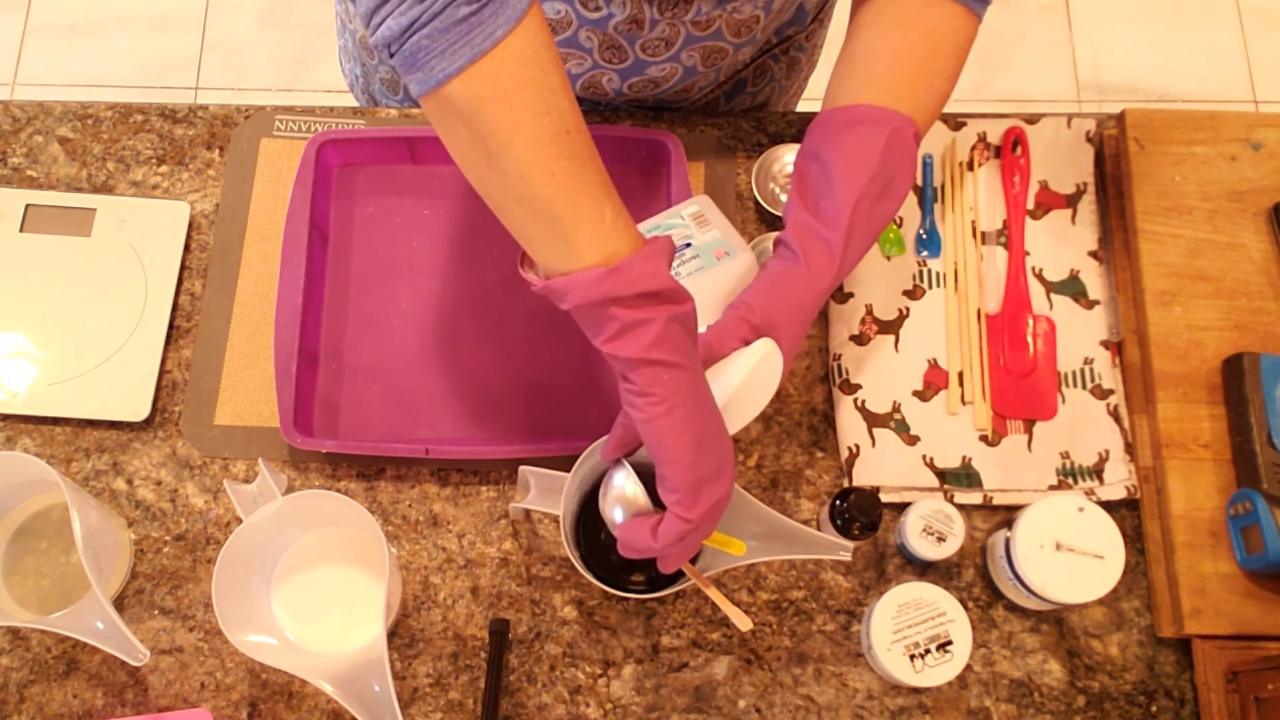
1. Mix the Charcoal
Melt your bases. Add alcohol to the activated charcoal, stir it into a cup of clear base, and add a splash more alcohol to make sure it’s fully mixed. Add your fragrance.
2. Pour the Black Layer
Pour the black soap into a silicone cake pan. This will become a slab you roll up later.
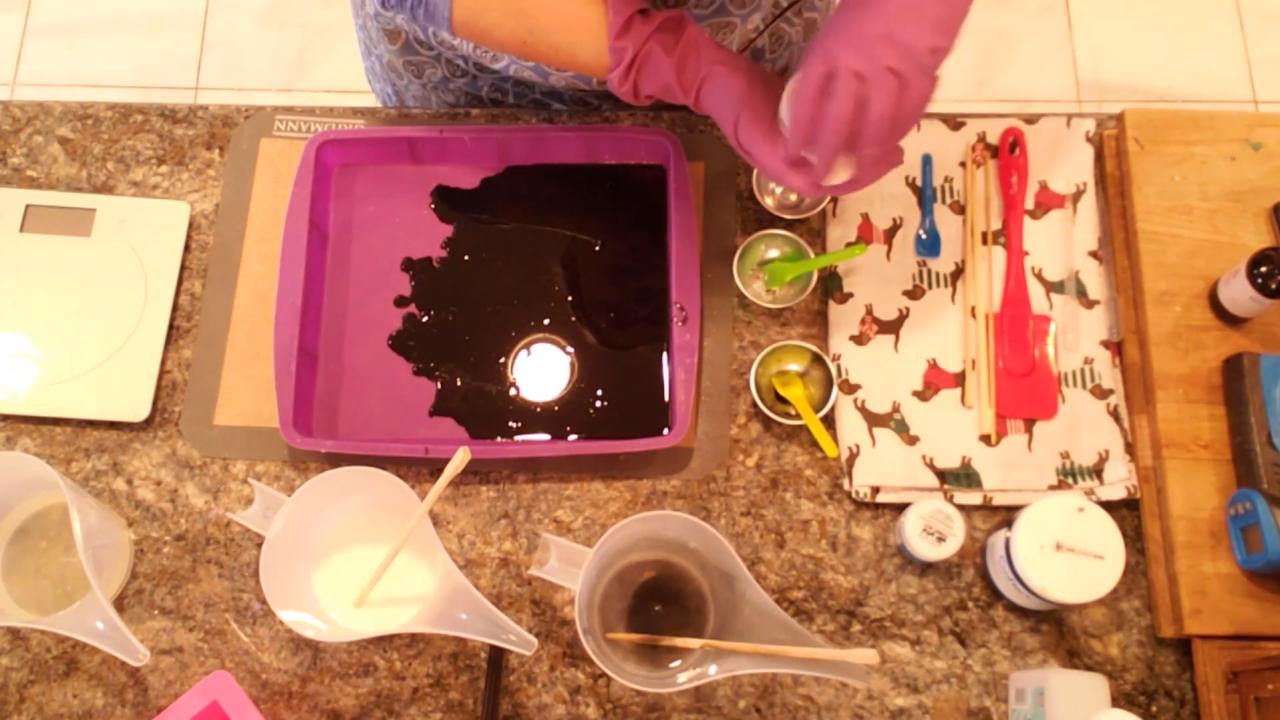
3. Add the White Layer
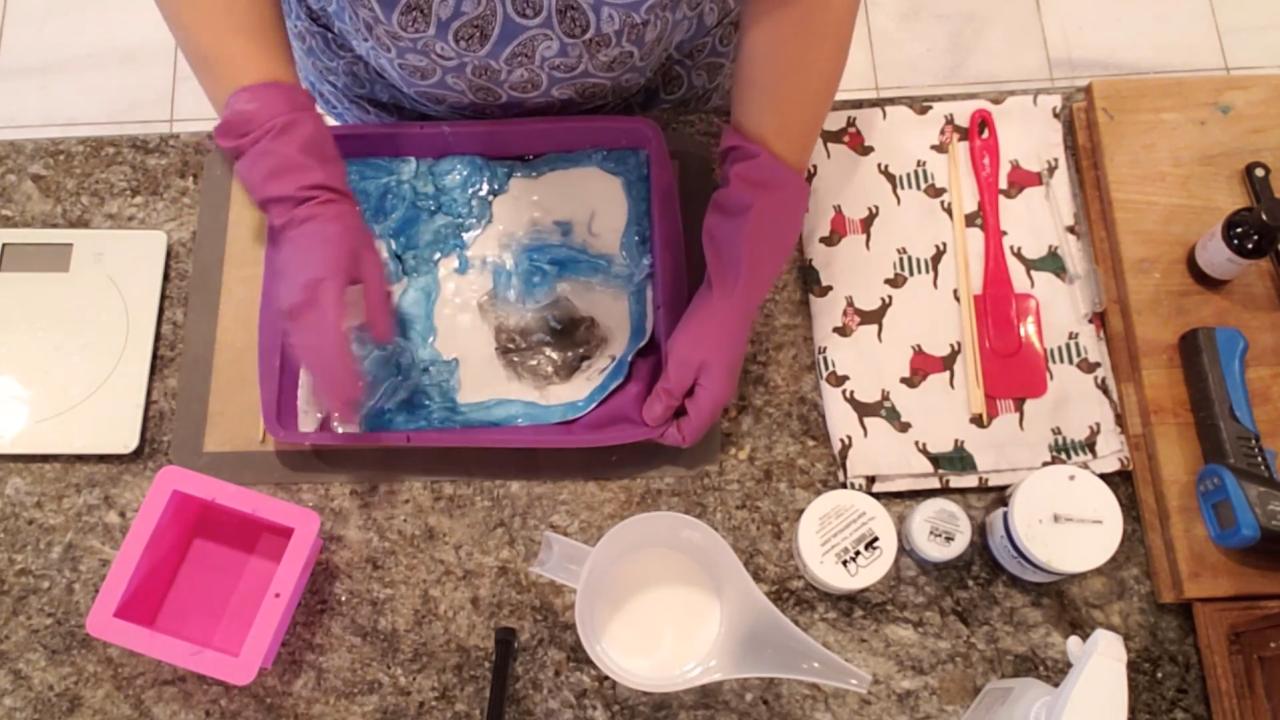
Mix white mica into the shea butter. It helps the base stay bright white. Let it cool under 135°F, then pour it gently on the side over the black. Pour low so you don’t break through the skin.
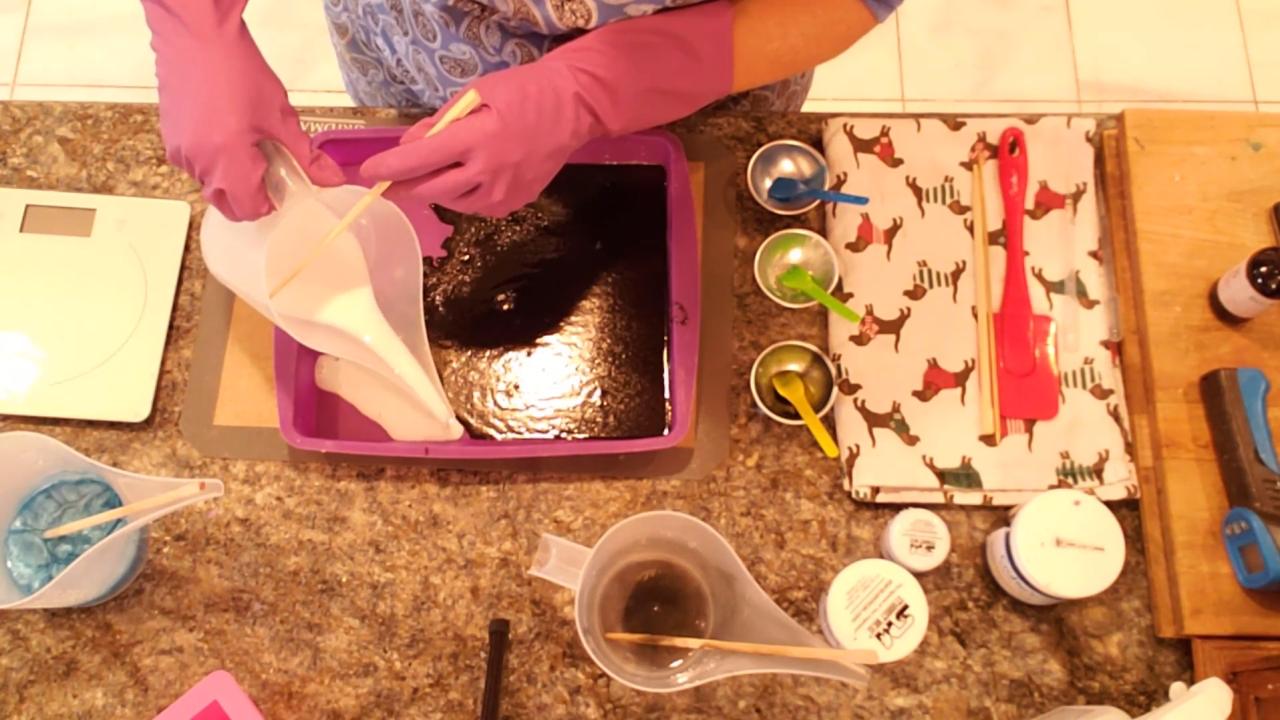
4. Add the Blue Layer
Color a cup of clear base with a lighter blue so it stands out from the black. Once the white has set up a bit, pour the blue around the outside edges, where the skin is thickest.
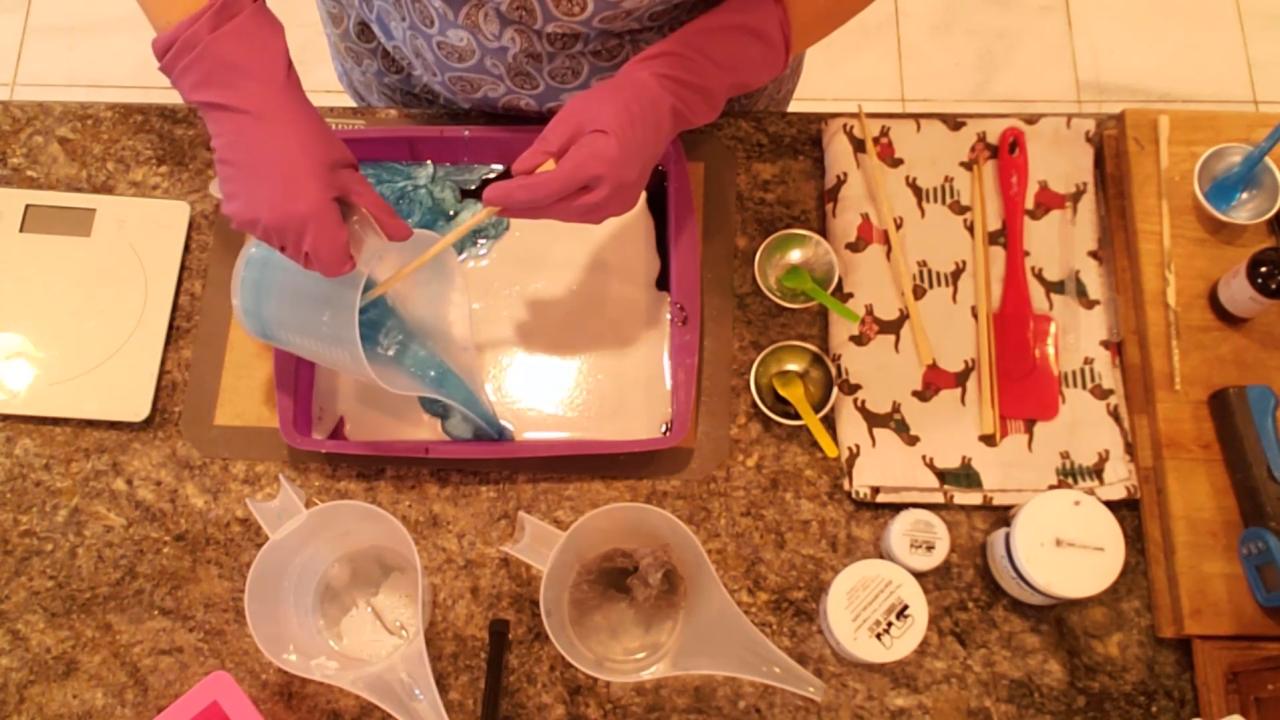
5. Roll, Twist and Tear
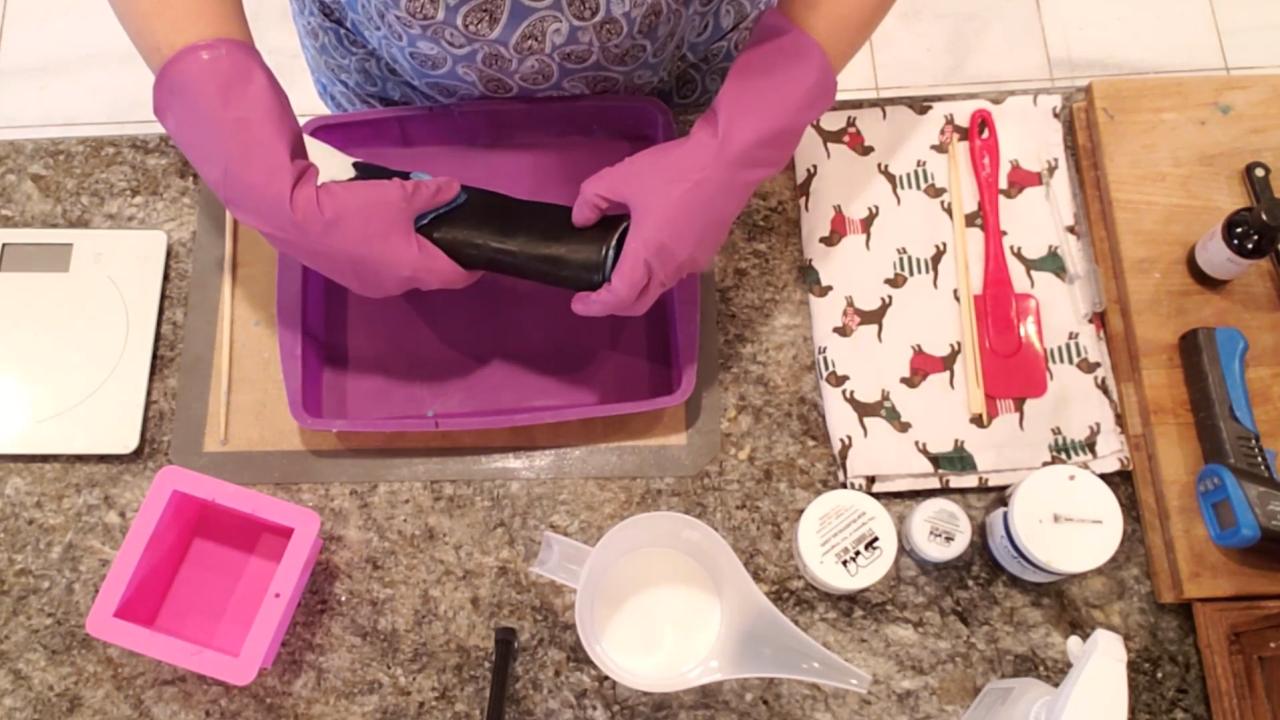
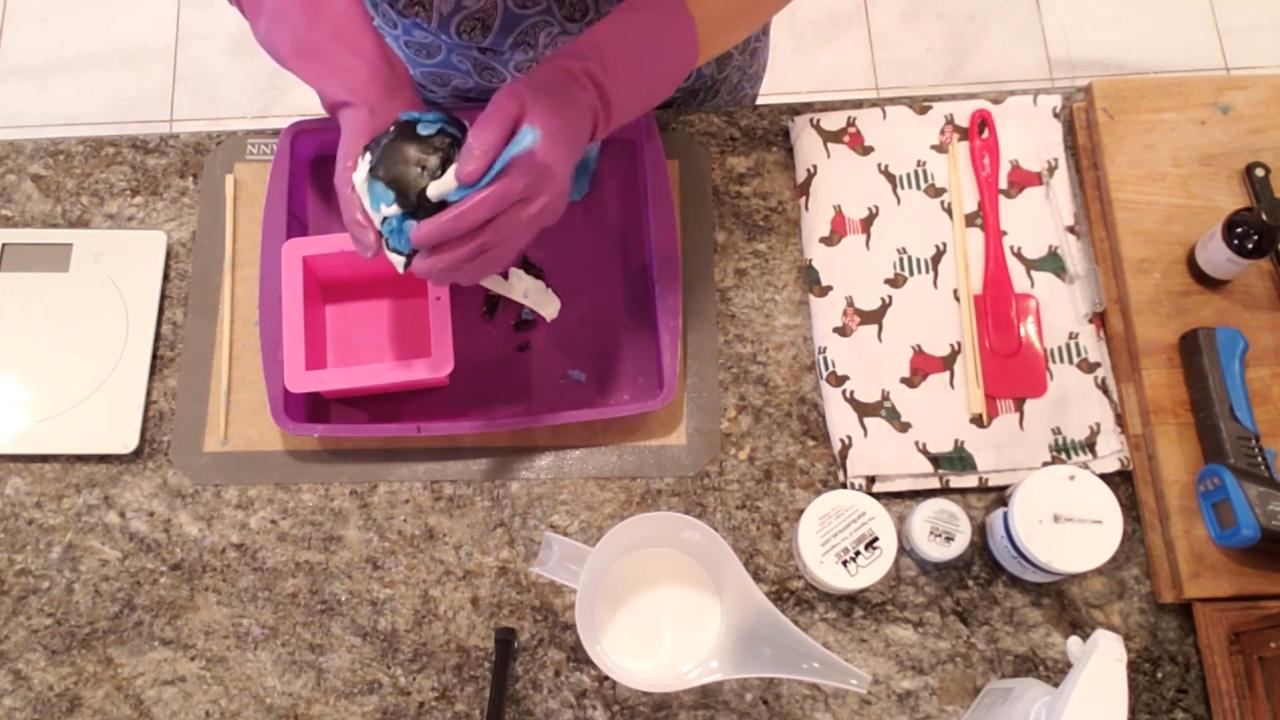
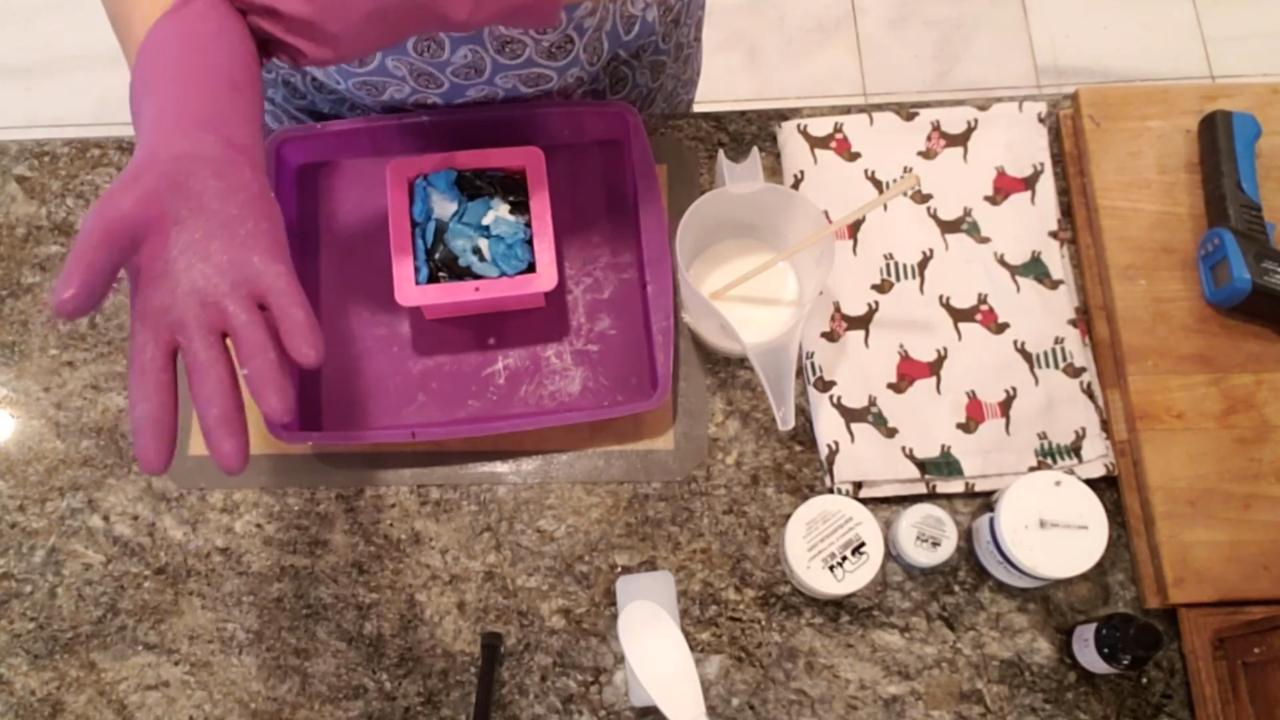
When the slab is set but still soft, roll it up like a jelly roll. Push your thumb into it to hold it, then twist and tear off chunks. Press the pieces into the square mold, turning them so the colors curve in different directions.
6. Pour the White Over
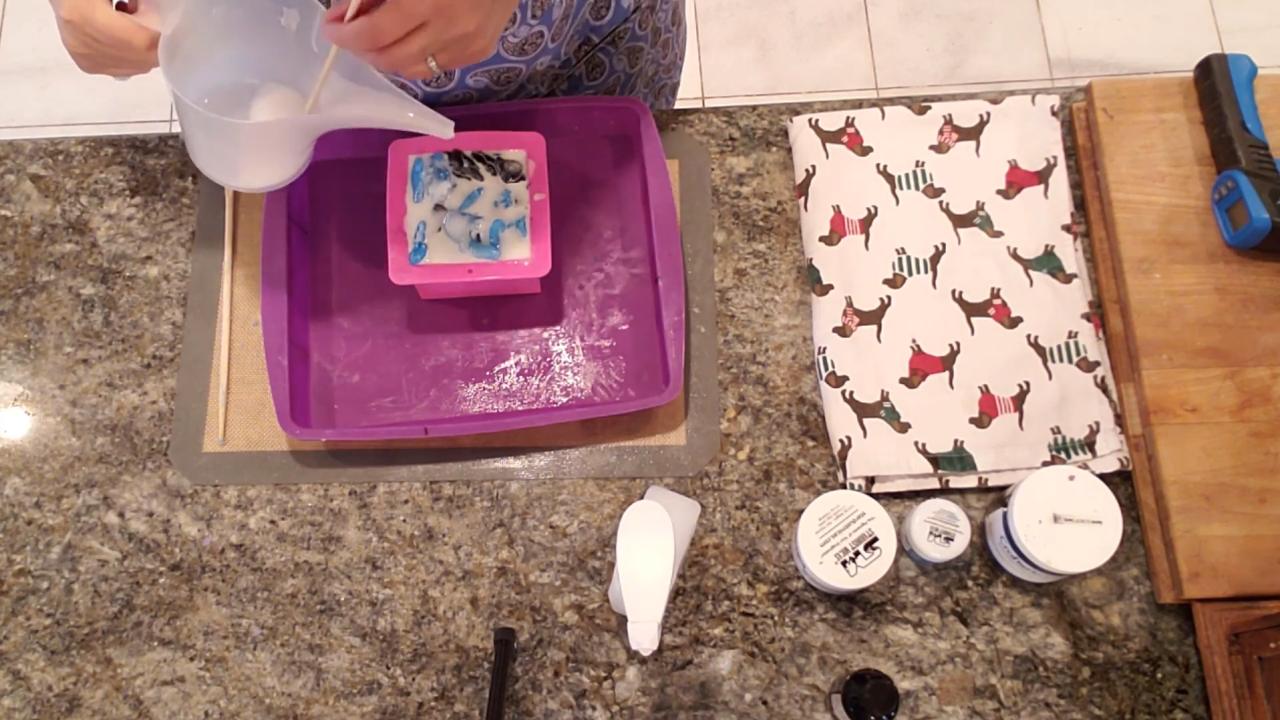
Melt fresh shea butter, add fragrance, and let it cool to under 135°F. Spray the pieces with alcohol and pour the white over them, filling all the gaps.
7. Release the Bubbles
Push a chopstick straight down in several spots so trapped air can rise. Spray with alcohol, top off with a little more soap, and smooth out any chopstick marks.
8. Unmold and Cut
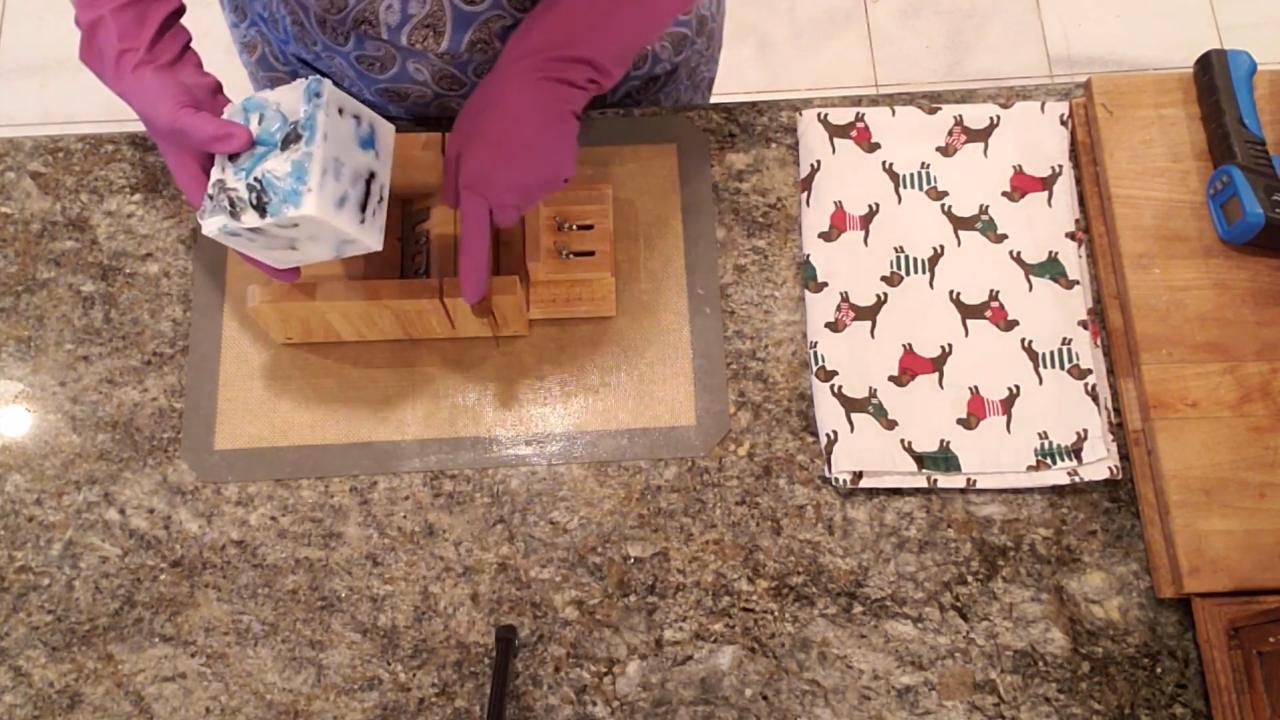
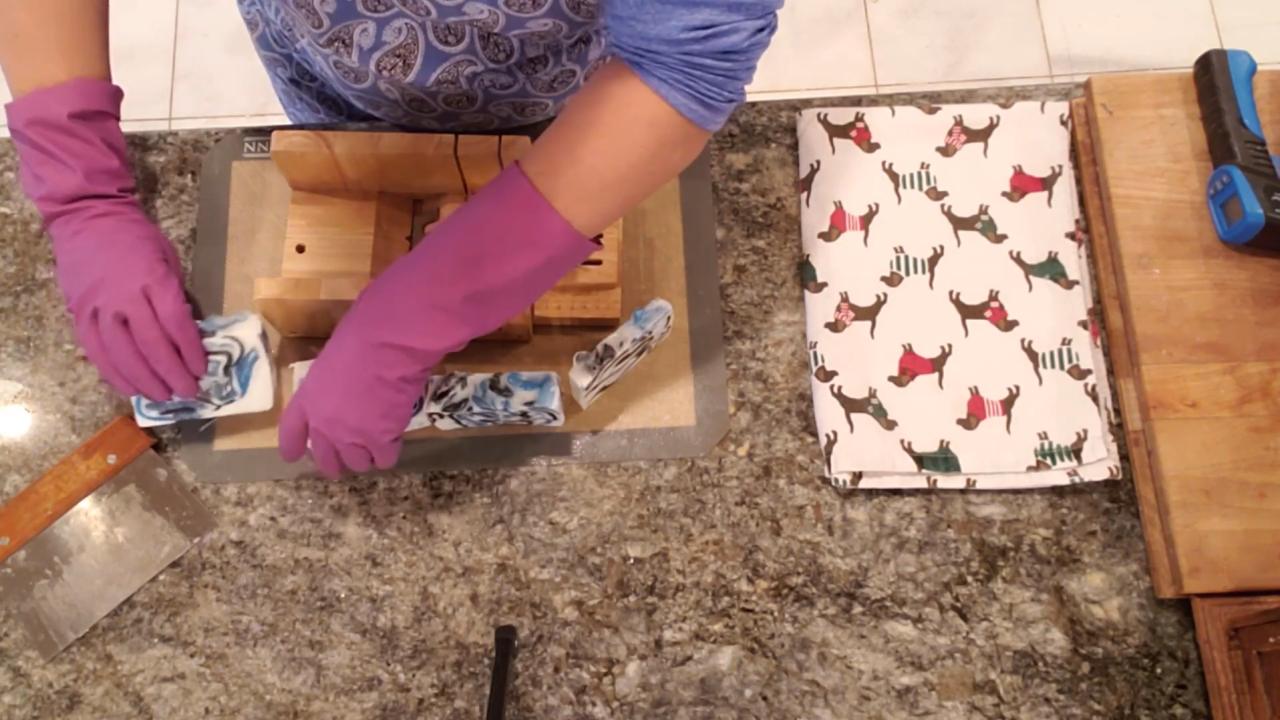
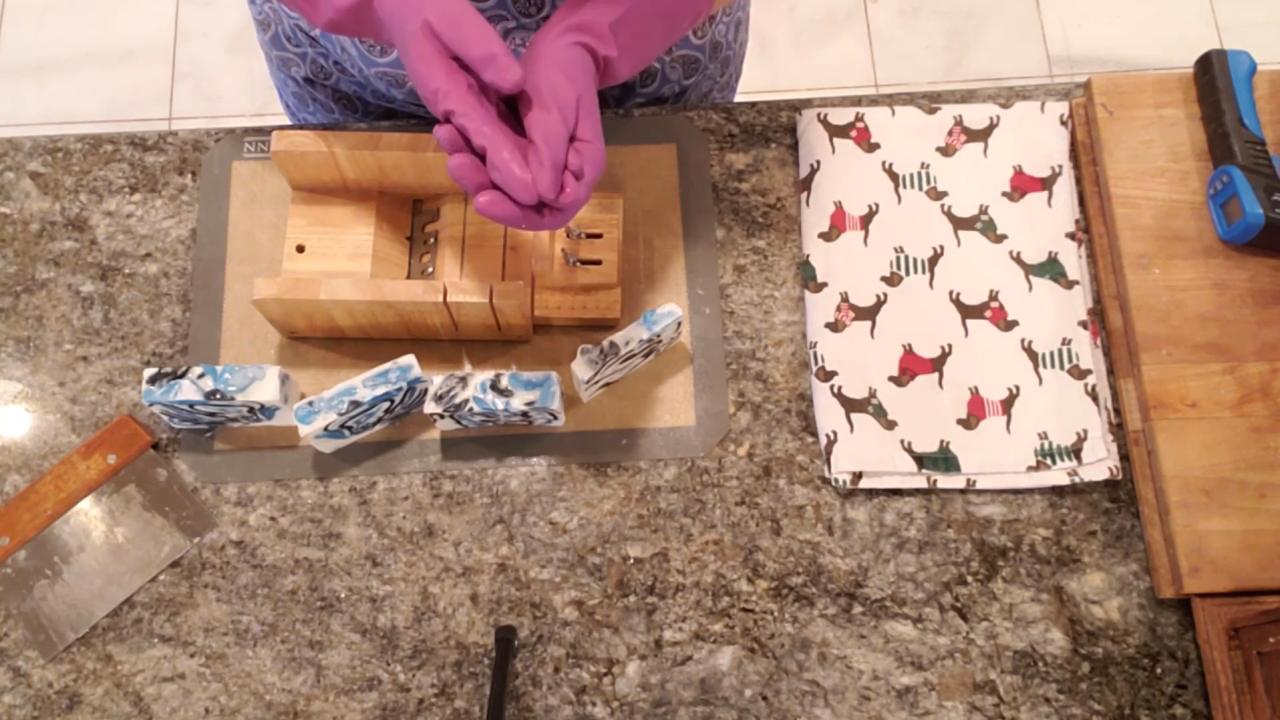
Let the soap set completely, then unmold and cut. Every bar has its own black, blue and white marble pattern.
Tips & What I Learned
- Pour under 135°F. That’s my rule of thumb when I don’t want colors to blend, and it keeps charcoal from bleeding.
- Check the real temperature. A skin can make your thermometer read low, so stir before you check.
- Skins are fine here. You’re tearing the slab apart anyway.
- Pick a lighter blue. A very dark blue gets lost next to black.
- Skip vanilla fragrances. Vanilla can turn the white soap tan.
Troubleshooting
The charcoal bled into the white. The soap was too hot. Wait until it’s under 135°F.
There are air pockets. Poke the soap with a chopstick after the final pour.
The layers broke through. Pour low and slowly around the edges where the skin is thicker.
FAQ
Does activated charcoal bleed in melt and pour soap?
It can if the soap is too hot. Pouring under 135°F kept my colors crisp.
Can I use titanium dioxide instead of white mica?
Yes. I’ve been testing white mica because titanium dioxide can leave white specks if it isn’t mixed perfectly.
More Charcoal & Swirl Soap Ideas
- Neon Pink Charcoal Melt and Pour Soap
- Black Neon Melt and Pour Soap
- Evil Queen Melt and Pour Soap
- How to Swirl Melt and Pour Soap
- All my melt and pour soap tutorials on YouTube
If you make this, I’d love to see it! Tag me on Instagram or Pinterest, and subscribe on YouTube for new soap tutorials.
