
This geometric melt and pour soap is packed with chopped blue and purple embeds set in white shea butter soap. It’s my second try at this design. The first time I left the embeds as big squares and it looked blocky. This time I cut them smaller into random angled pieces, and it turned out much more interesting. These made great class gifts.
As an Amazon Associate I earn from qualifying purchases. Some links in this post are affiliate links. They cost you nothing extra and help support Koala Soap.
Materials & Tools
Soap Base
- About 7 oz of clear melt and pour soap base per color for the embeds
- About 1½ cups of shea butter melt and pour soap base for the small loaf
Color & Scent
- Blue and purple mica (I used Stardust Ariel Blue and Violet Purple from a Stardust mica set)
- A sweet fragrance oil (I used Blue Cotton Candy)
Tools
- Mini square embed mold
- Small loaf mold
- A knife and a silicone mat for chopping
- Soap cutter
- Spray bottle of 91% isopropyl alcohol
- Thermometer
- Pour cups
Fragrance Amount
Use up to 5 ml of fragrance oil per 16 oz (1 lb) of soap base. You can always use less if you like a lighter scent, but don’t go over 5 ml per 16 oz.
How to Make Geometric Embed Soap
1. Make the Blue Embeds
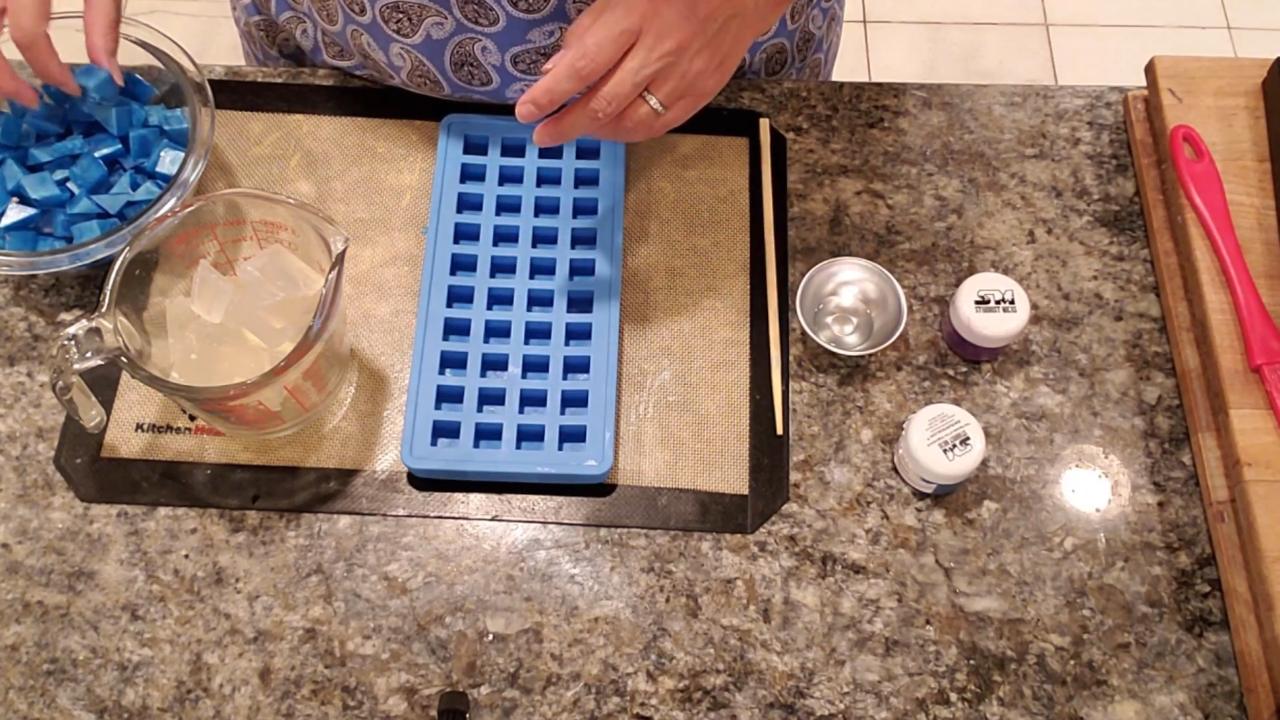
Melt the clear base, mix in the blue mica with a little alcohol, and add fragrance. Pour it into a mini square embed mold. These set fast and are ready to unmold in about 15–20 minutes.
2. Make the Purple Embeds
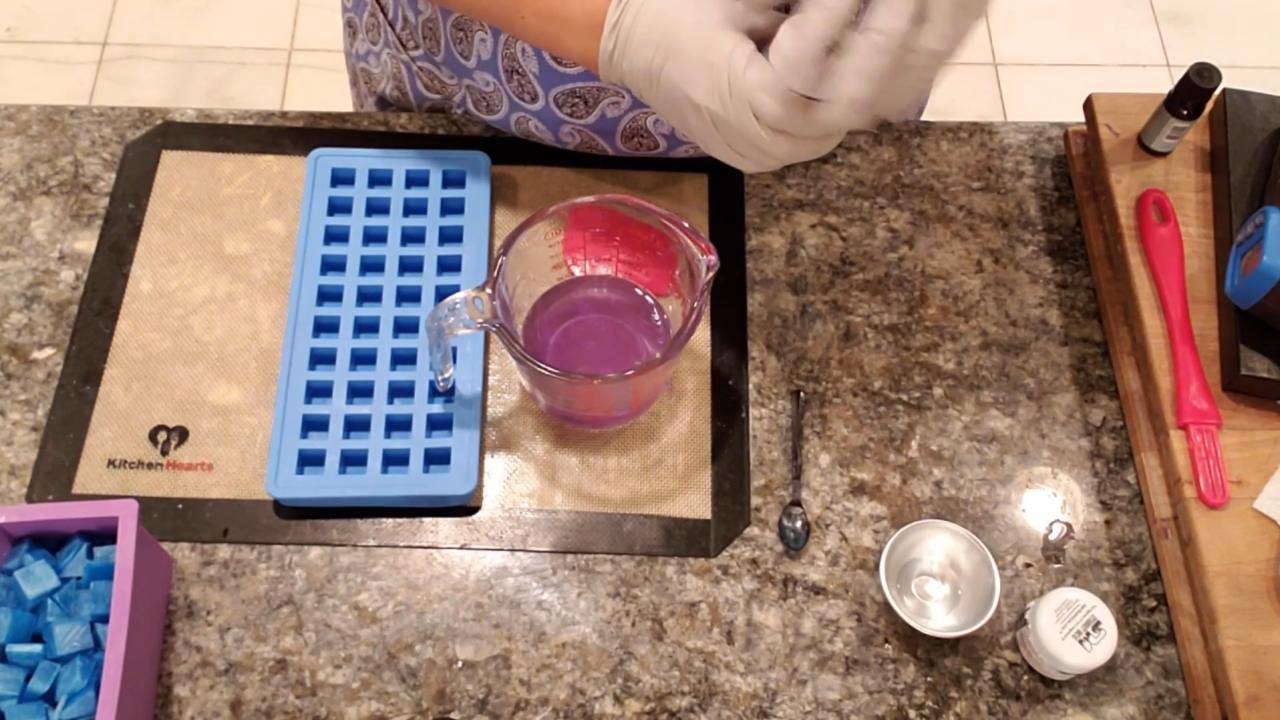
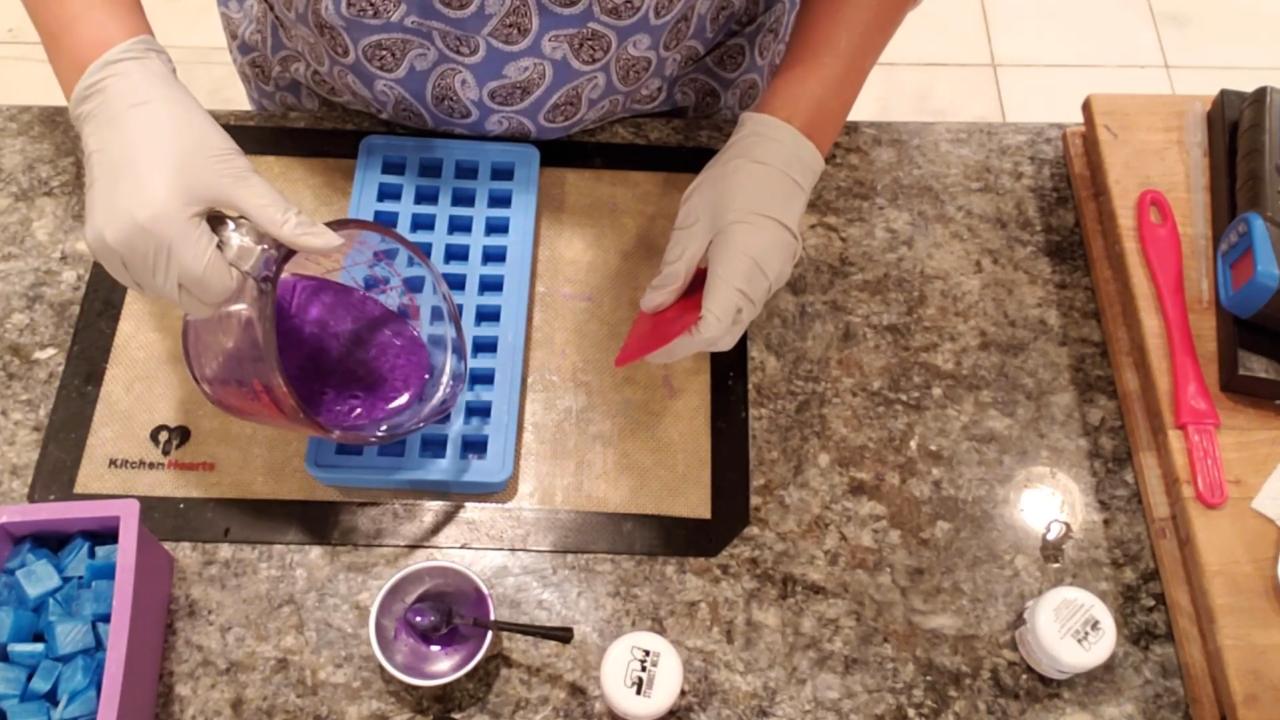
Repeat with the purple. I added fragrance once the soap cooled to about 140°F, then poured.
3. Chop the Embeds Smaller
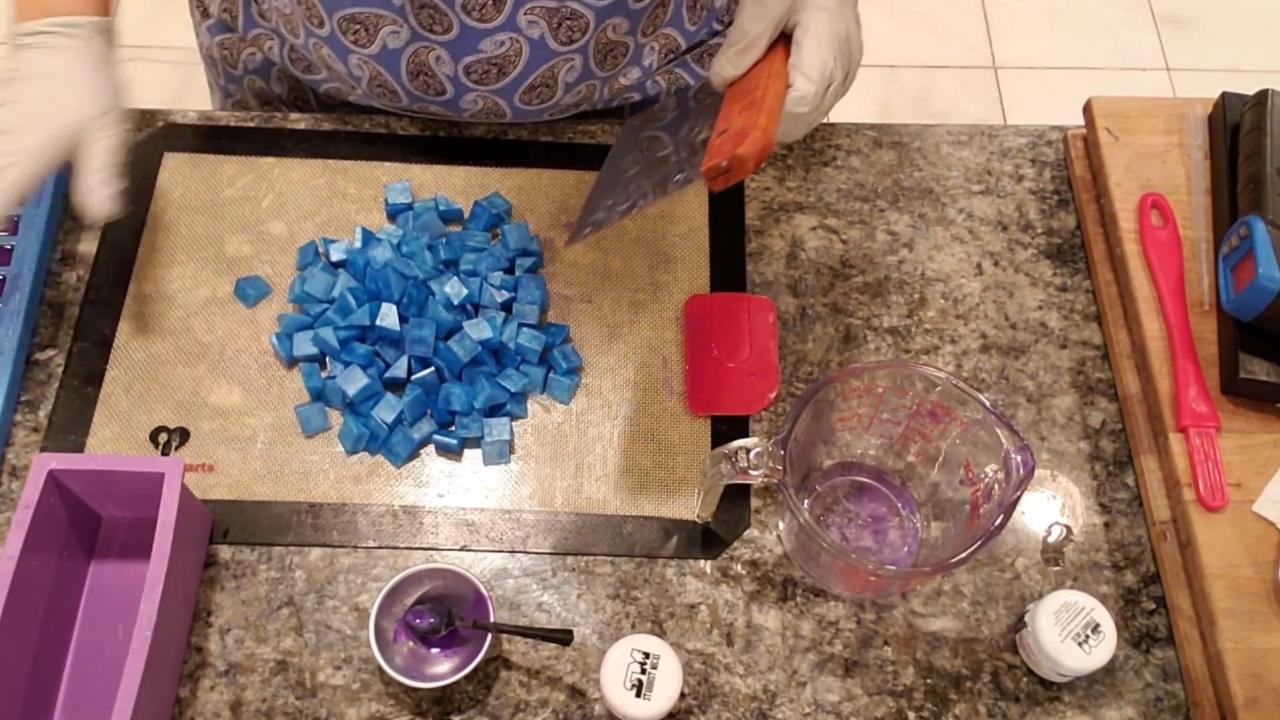
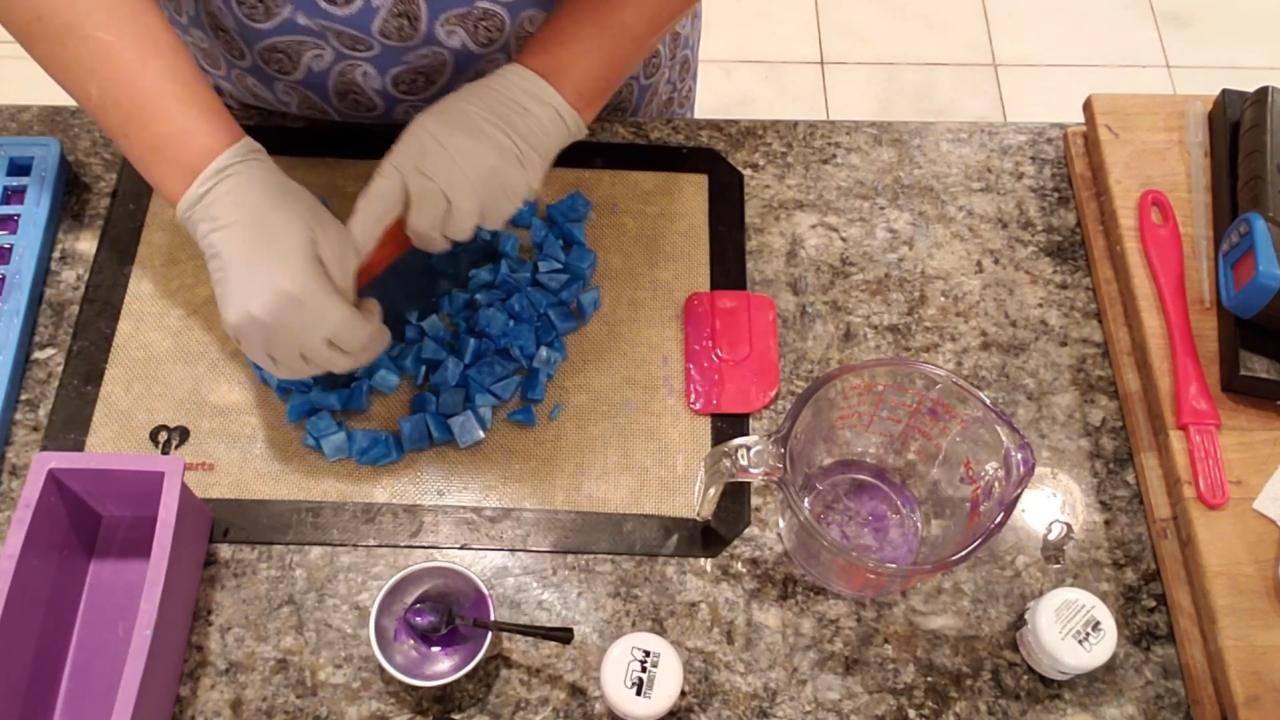
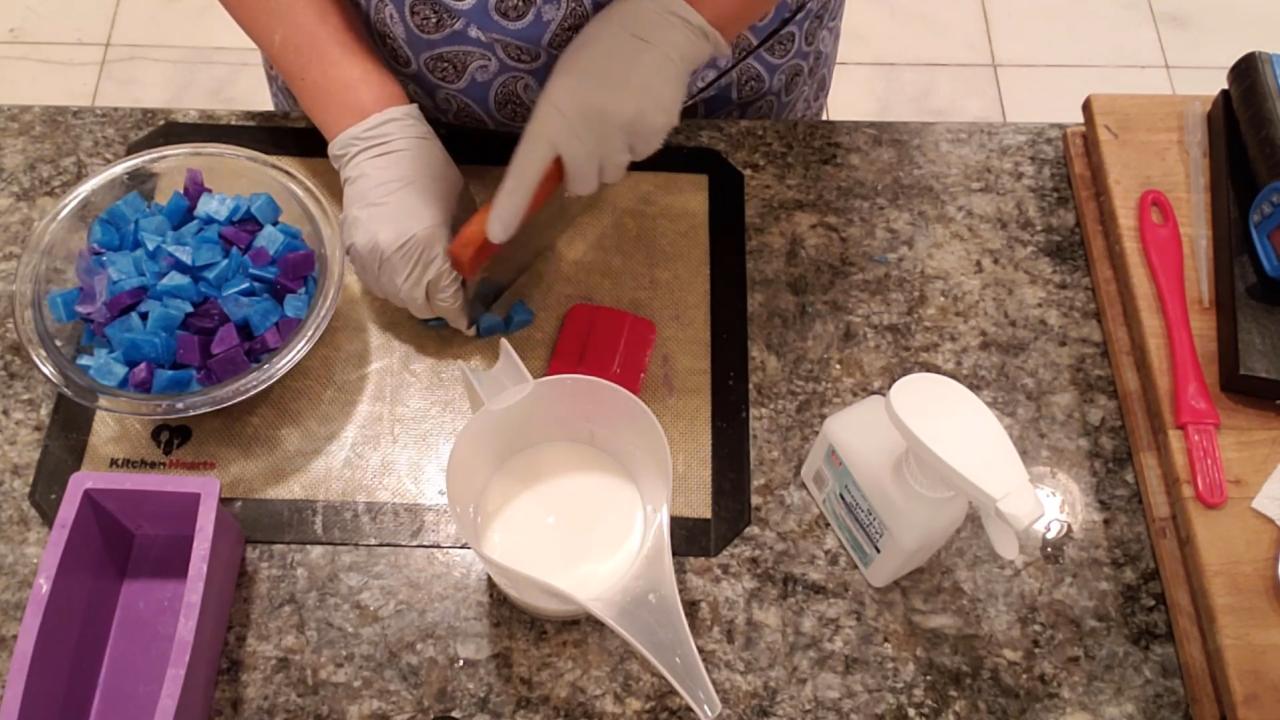
This is the key step. Unmold the squares and chop them into smaller pieces on a silicone mat. Don’t shave them into confetti. You want random pieces with hard angles. Cut any big pieces down again.
4. Fill the Loaf Mold
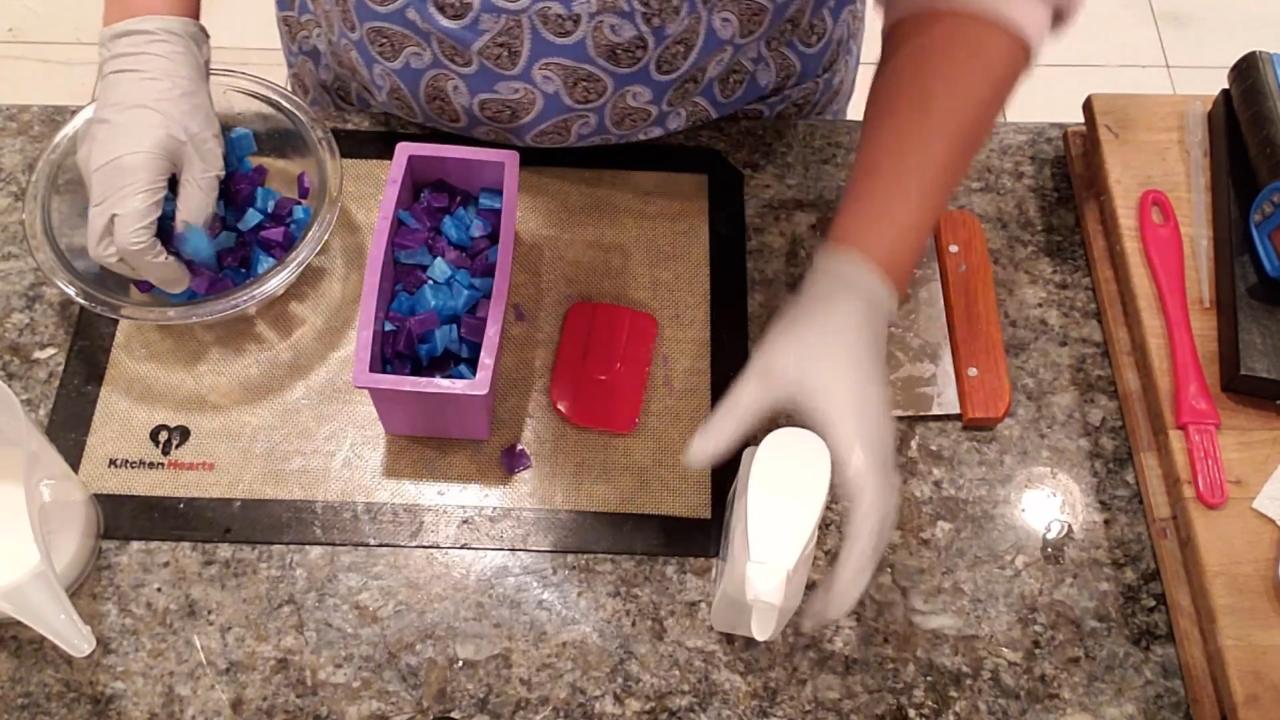
Spray the pieces with alcohol. Pour a little melted shea butter into the small loaf mold, then start adding the chopped pieces and pouring more soap as you go.
5. Top Off with Shea Butter
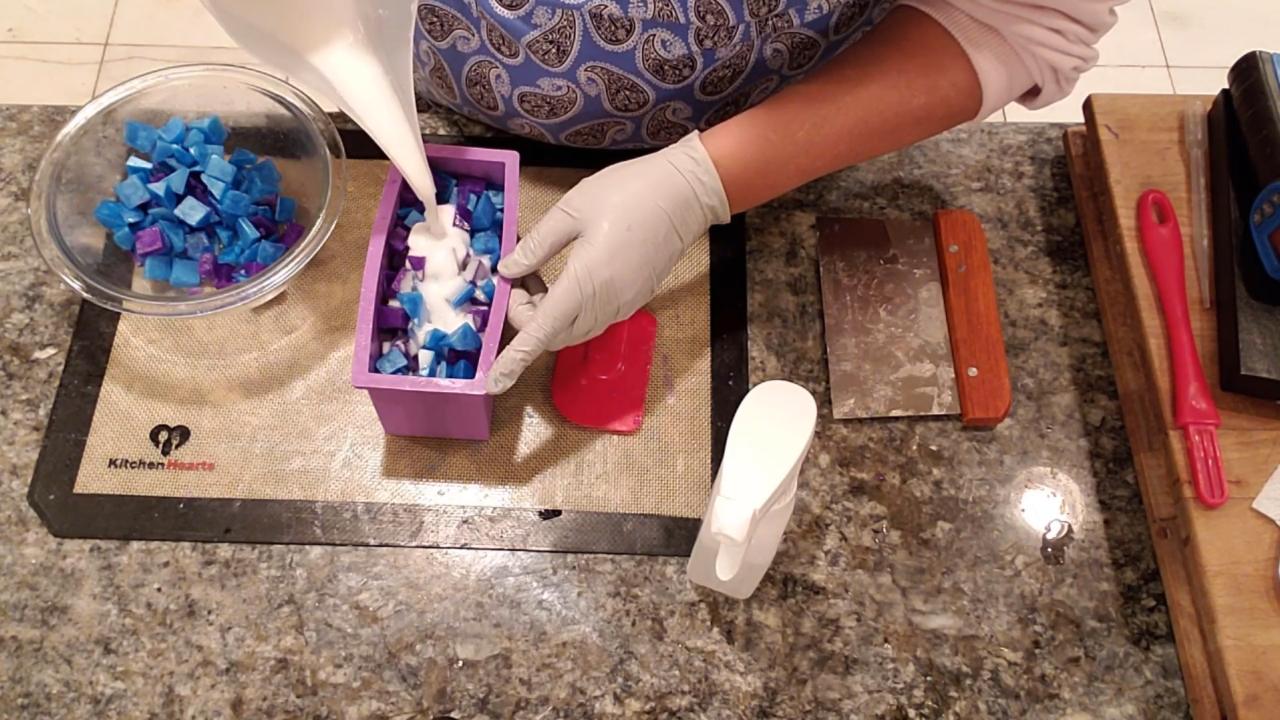
Melt a bit more shea butter, let it cool to about 139°F, spray the embeds with alcohol, and pour it over the top so it fills in around the pieces. Let the loaf set.
6. Unmold and Cut
Turn the loaf on its side in the cutter so it doesn’t stick, square it up, and cut.
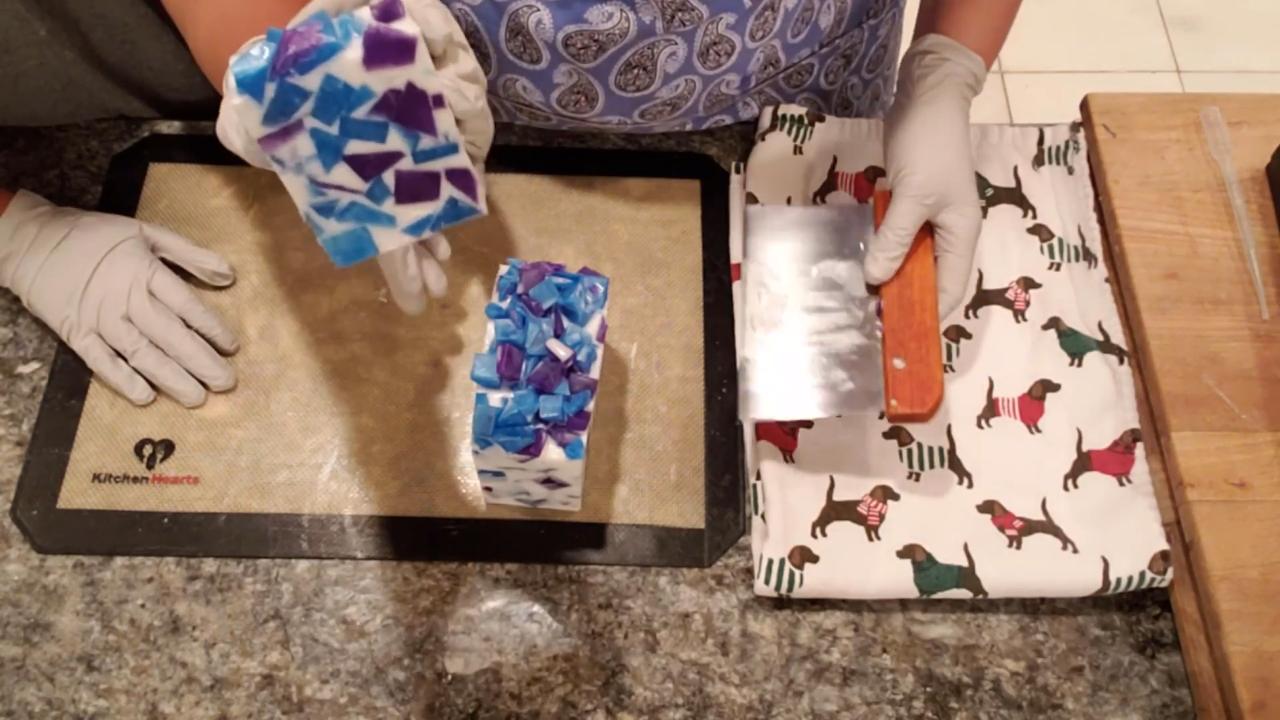
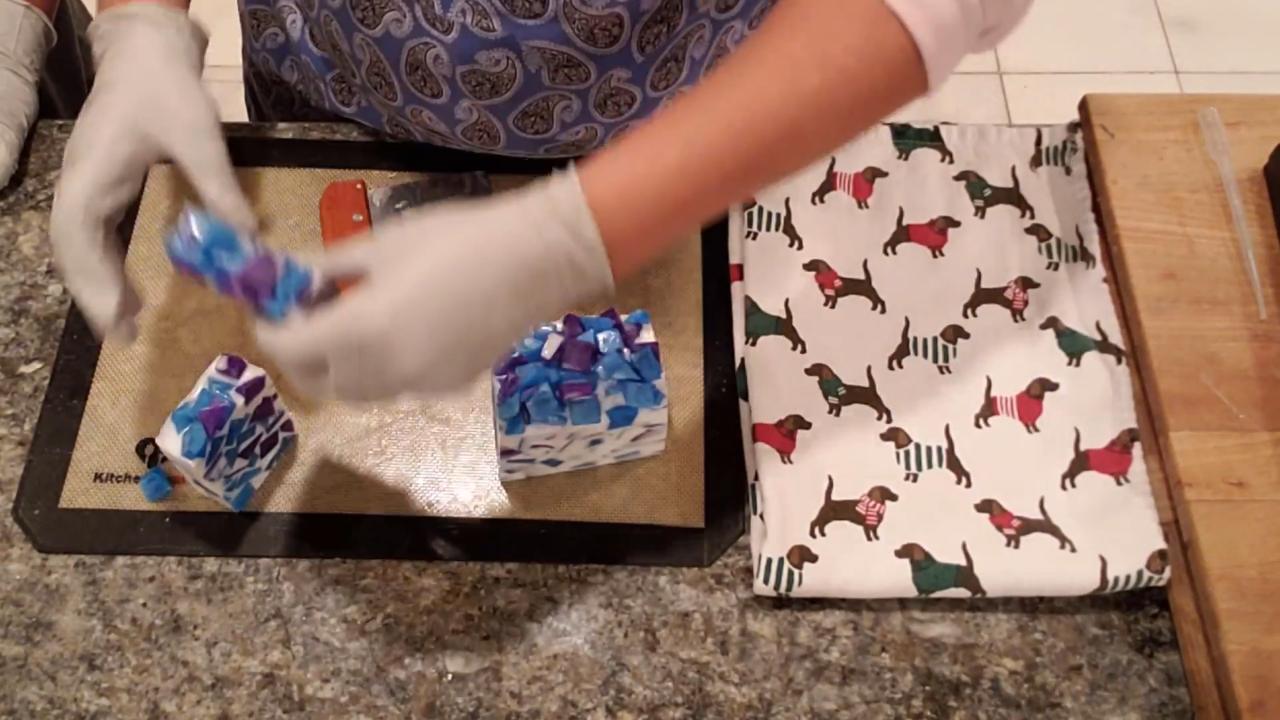
7. Compare the Results
Smaller angled pieces look much more interesting than whole squares. Here is the new version next to my first attempt, which used full squares and looks blocky.
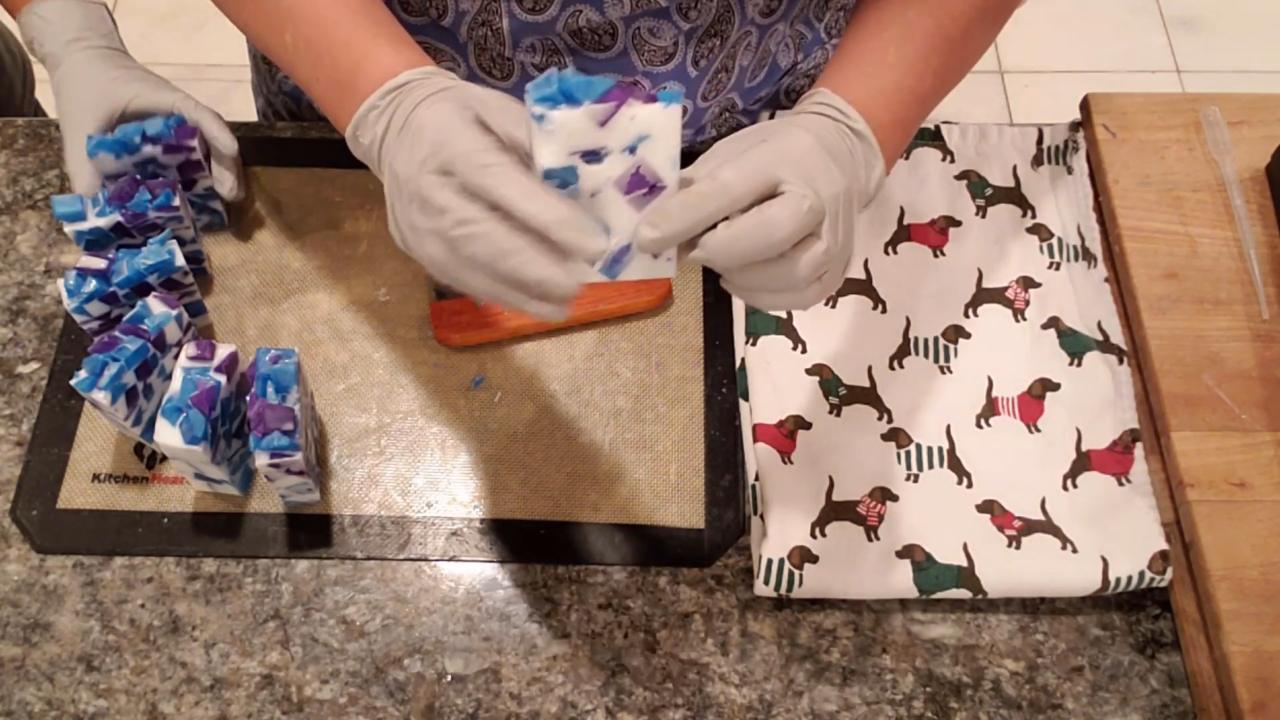
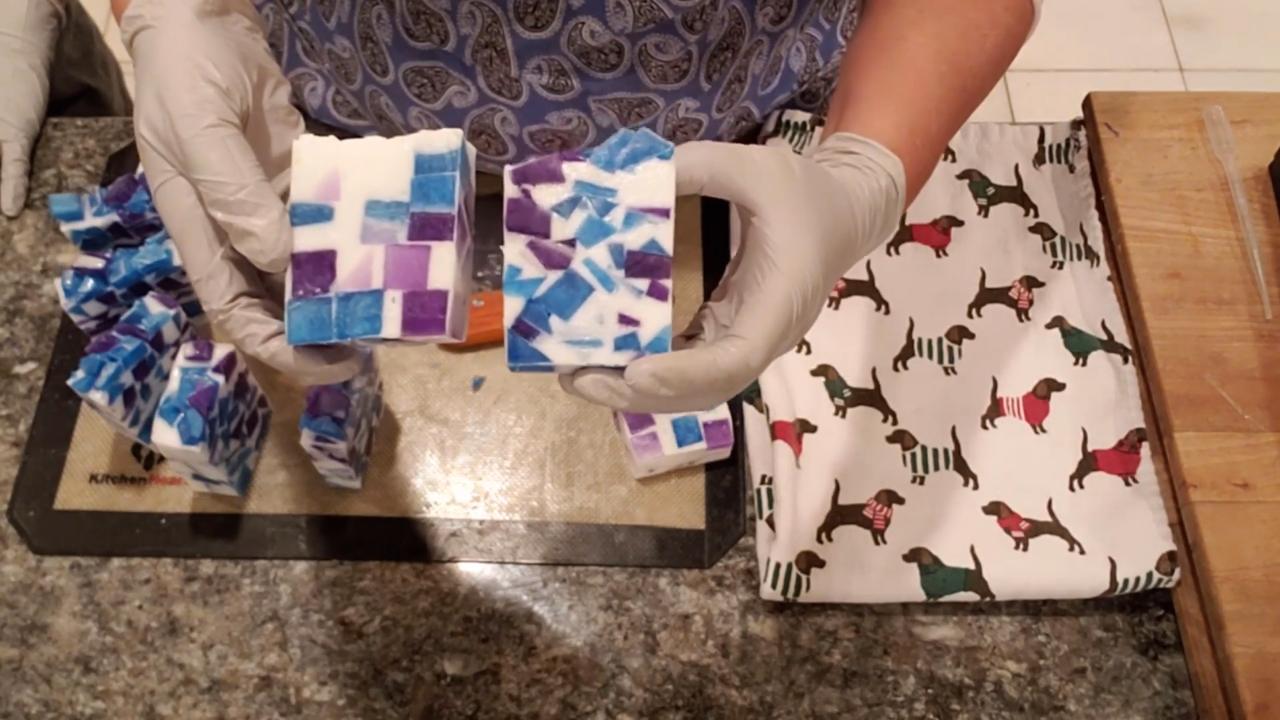
Tips & What I Learned
- Cut embeds smaller. Whole squares look blocky.
- Use random angles. Hard edges give the geometric look, so skip the confetti shavings.
- Don’t overfill. A small loaf mold only needs about one embed mold’s worth of pieces per color.
- Spray with alcohol. It helps the shea butter stick to the embeds.
- Cut the loaf on its side. It keeps it from sticking in the cutter.
Troubleshooting
My embeds look like blocks. Chop them into smaller, uneven pieces.
There are gaps between the embeds. Pour the shea butter in stages and tap the mold to settle it.
The embeds fell out when cutting. Spray each layer with alcohol so the soap bonds to the embeds.
FAQ
Can I use other colors?
Yes. Any two or three colors work. Contrasting colors make the pattern stand out.
Can I use clear base instead of shea butter for the fill?
Yes, but the white shea butter makes the colored pieces pop.
More Embed Soap Ideas
- Holiday Geometric Melt and Pour Soap
- Confetti Melt and Pour Soap
- Stained Glass Gemstone Melt and Pour Soap
- Recycled Soap Embeds Melt and Pour Soap
- All my melt and pour soap tutorials on YouTube
If you make this, I’d love to see it! Tag me on Instagram or Pinterest, and subscribe on YouTube for new soap tutorials.
