
This orchid bouquet melt and pour soap uses a 3D flower mold and a simple two-color pour. A thin layer of yellow goes in first and settles into the flower tips, then icy blue fills the rest. No painting needed! The detail comes right out of the mold. It makes a pretty gift for gardeners.
As an Amazon Associate I earn from qualifying purchases. Some links in this post are affiliate links. They cost you nothing extra and help support Koala Soap.
Materials & Tools
Soap Base
Color & Scent
- Yellow and icy blue mica (I used Stardust Yellow and Blue Ice from a Stardust mica set, also sold individually)
- A floral fragrance oil (I used Daisy Chain)
Tools
- Orchid bouquet silicone mold
- A small spare mold for leftover soap, like a square soap mold
- Spray bottle of 91% isopropyl alcohol
- Thermometer
- Pour cups
- Shrink wrap for packaging
Fragrance Amount
Use up to 5 ml of fragrance oil per 16 oz (1 lb) of soap base. You can always use less if you like a lighter scent, but don’t go over 5 ml per 16 oz. I used about 1.5 ml in each color.
How to Make Orchid Bouquet Soap
1. Check the Mold
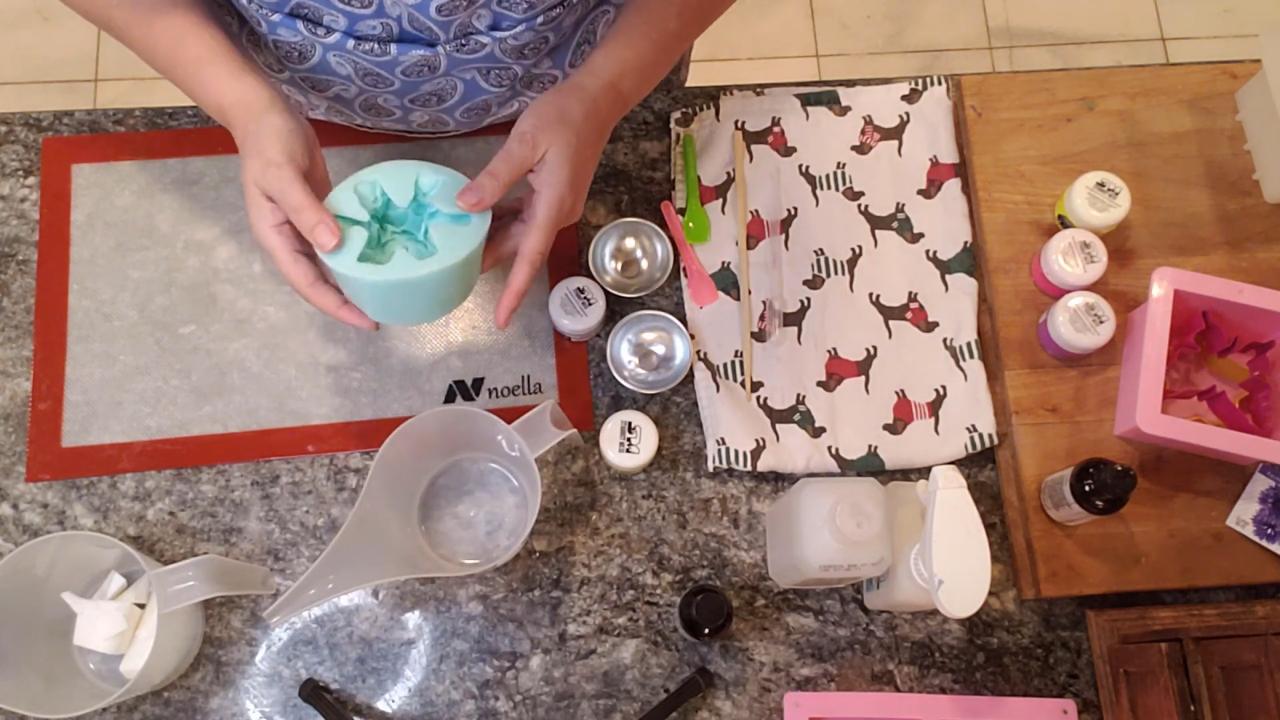
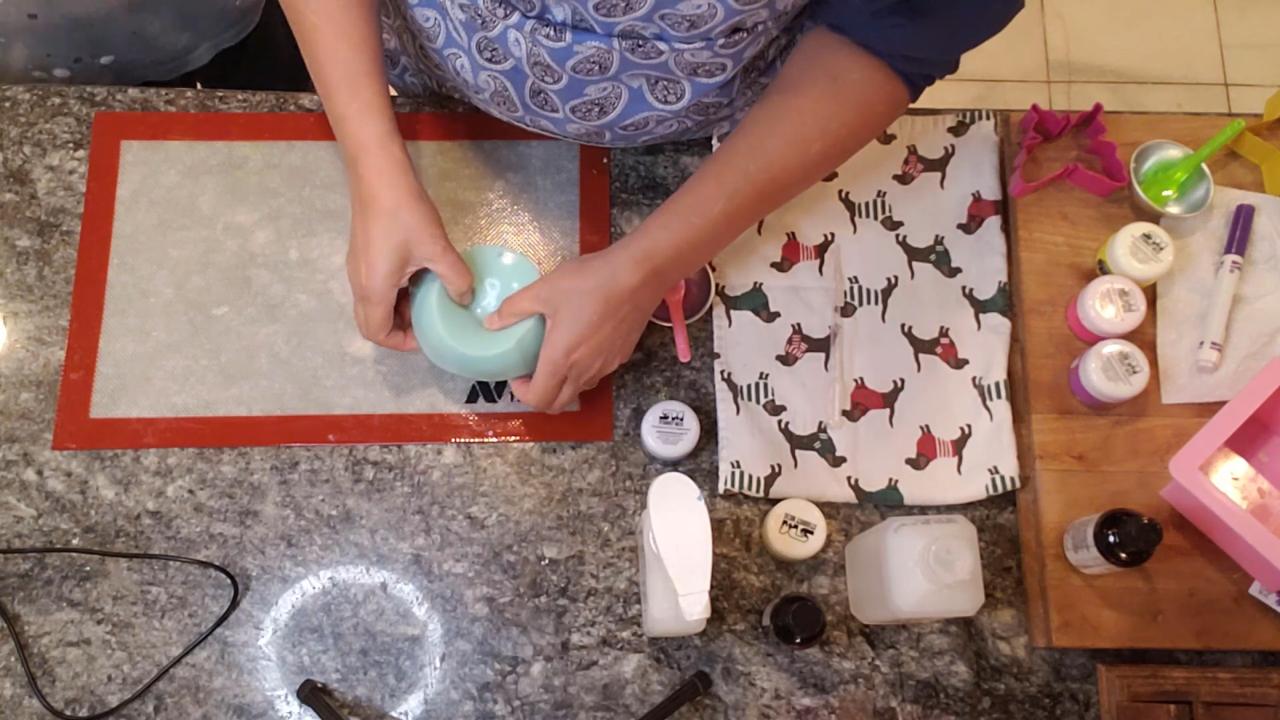
This orchid mold is bigger than it looks online. It makes one large, detailed soap with lots of little crevices.
2. Mix a Light Yellow
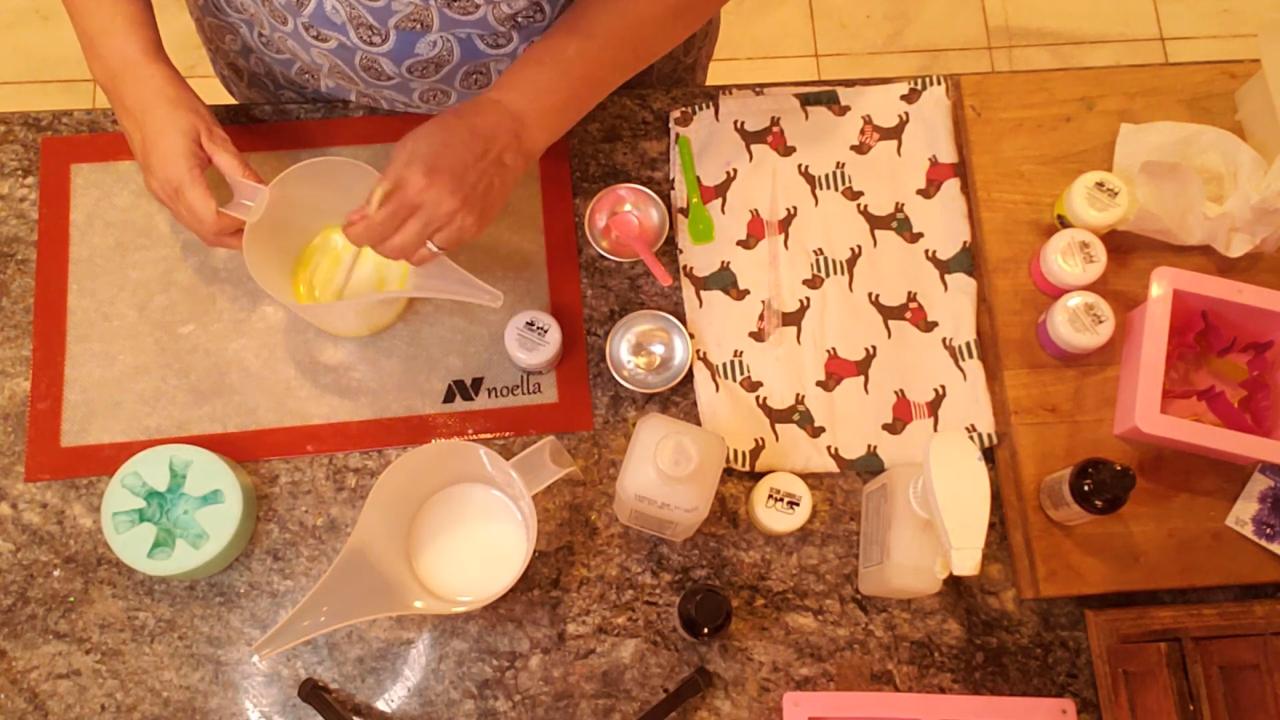
Melt a small amount of shea butter base. You only need a little for the first color. Mix the yellow mica with alcohol, stir it in, and add fragrance.
3. Pour and Swirl the Yellow
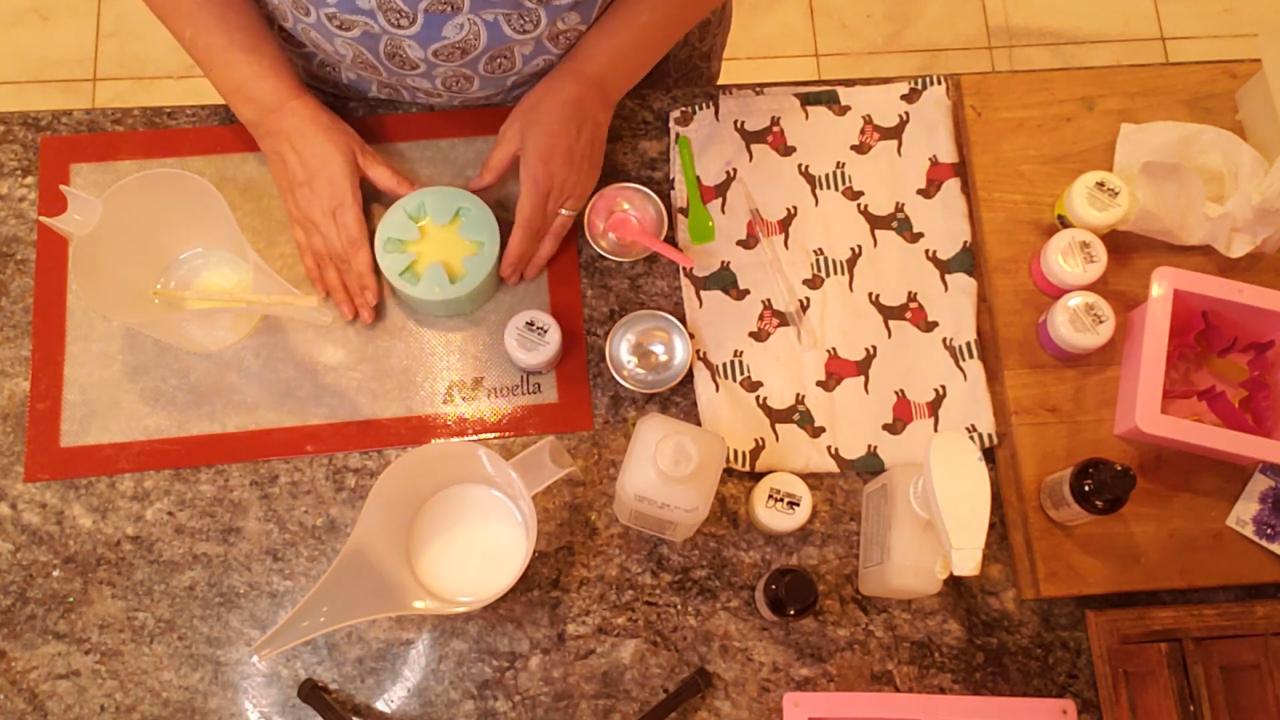
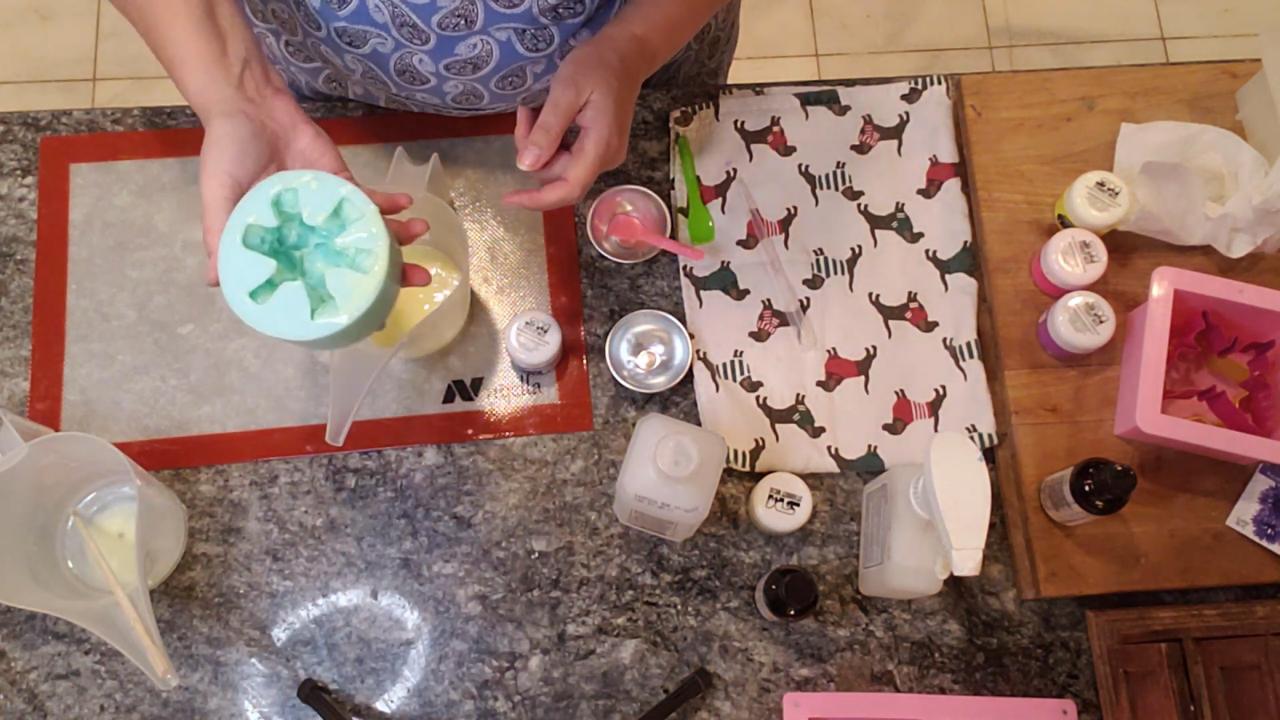
Pour a little yellow into the mold and tilt it around so the soap gets into all the crevices and flower tips. This also brings any air bubbles at the bottom to the surface. Pour any extra into a spare mold and spray with alcohol.
4. Mix a Fresh Blue
Mix the blue in a clean cup. I first mixed it in the cup that still had yellow in it, and it turned steel blue instead of icy blue. So I poured that off for another project and started fresh.
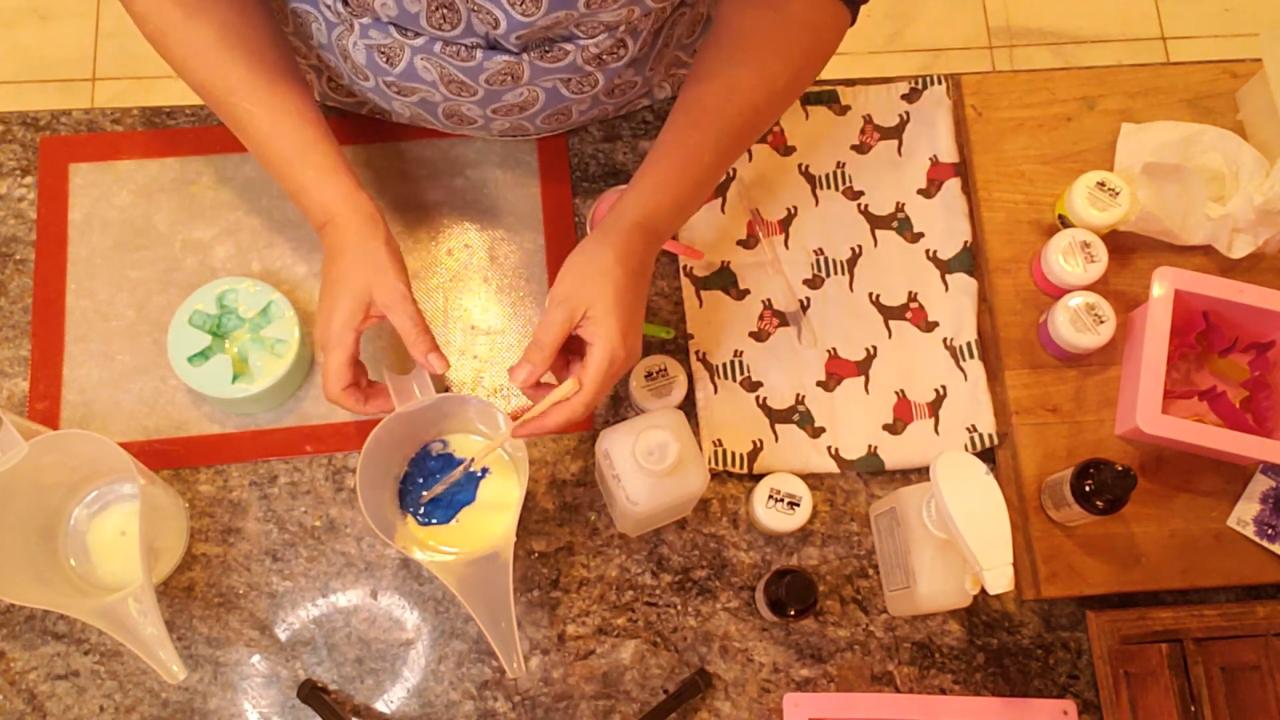
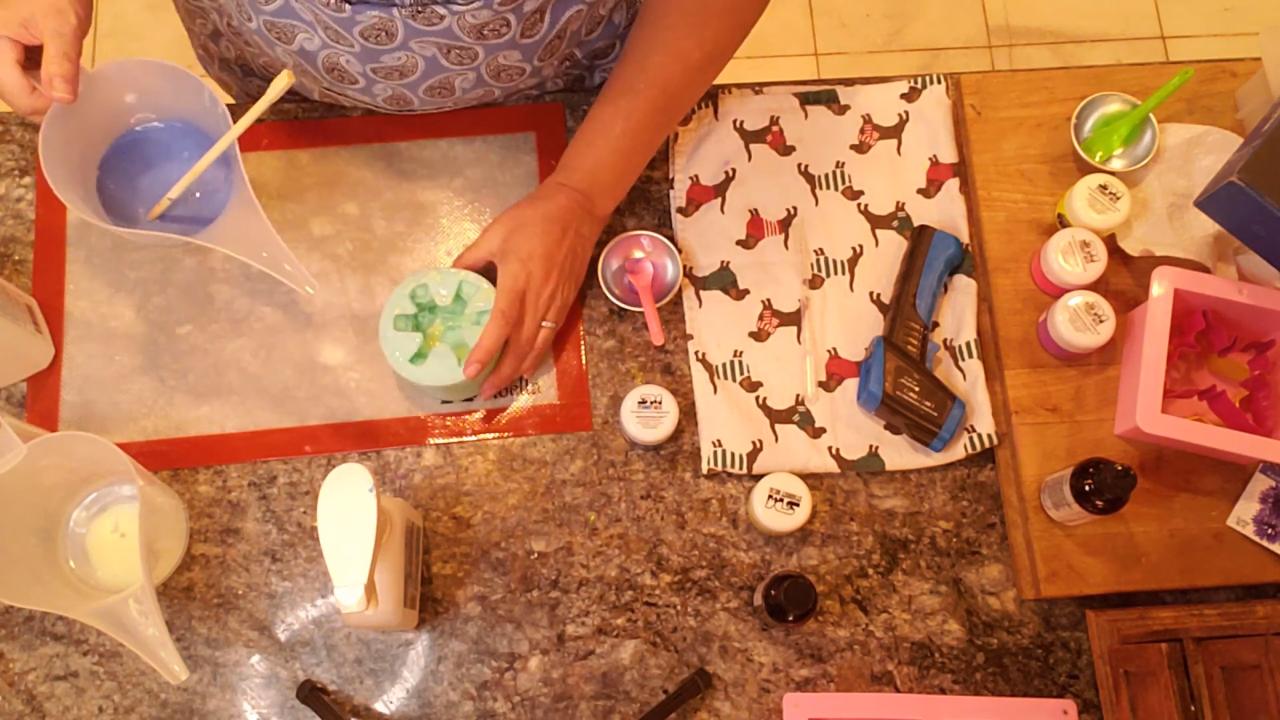
5. Pour the Blue
Let the blue cool to about 137°F so it doesn’t pull up the yellow. It still needs to be a little warm to stick to the first layer. Spray the yellow with alcohol, then pour the blue all the way to the top. Spray again.
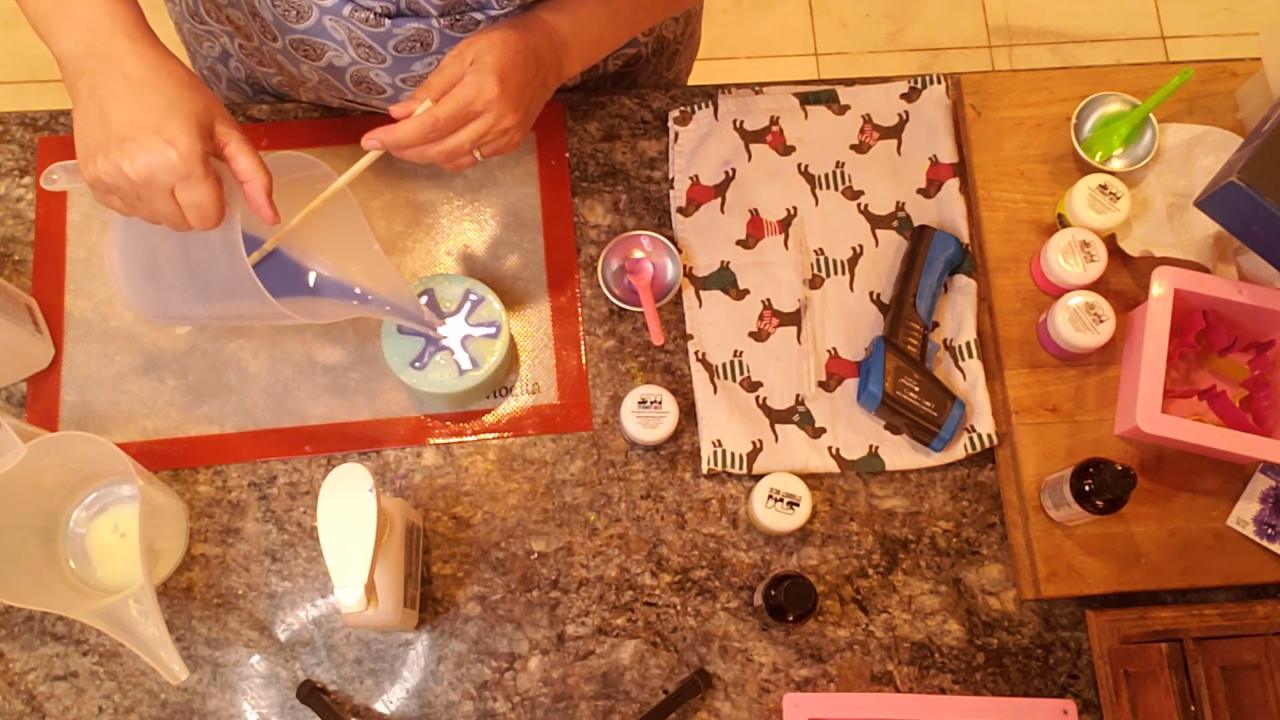
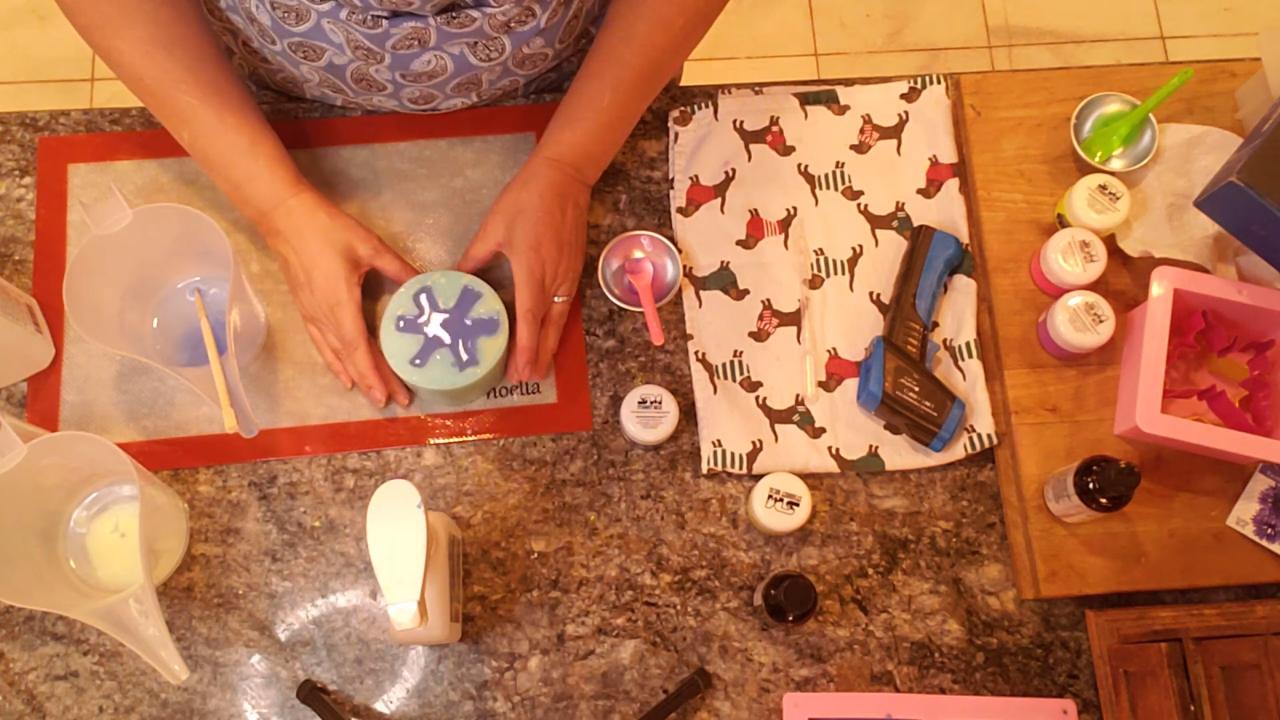
6. Unmold
Once it’s completely set, loosen the edges and carefully peel the mold away. The yellow sits in the flower tips and the blue fills out the bouquet.
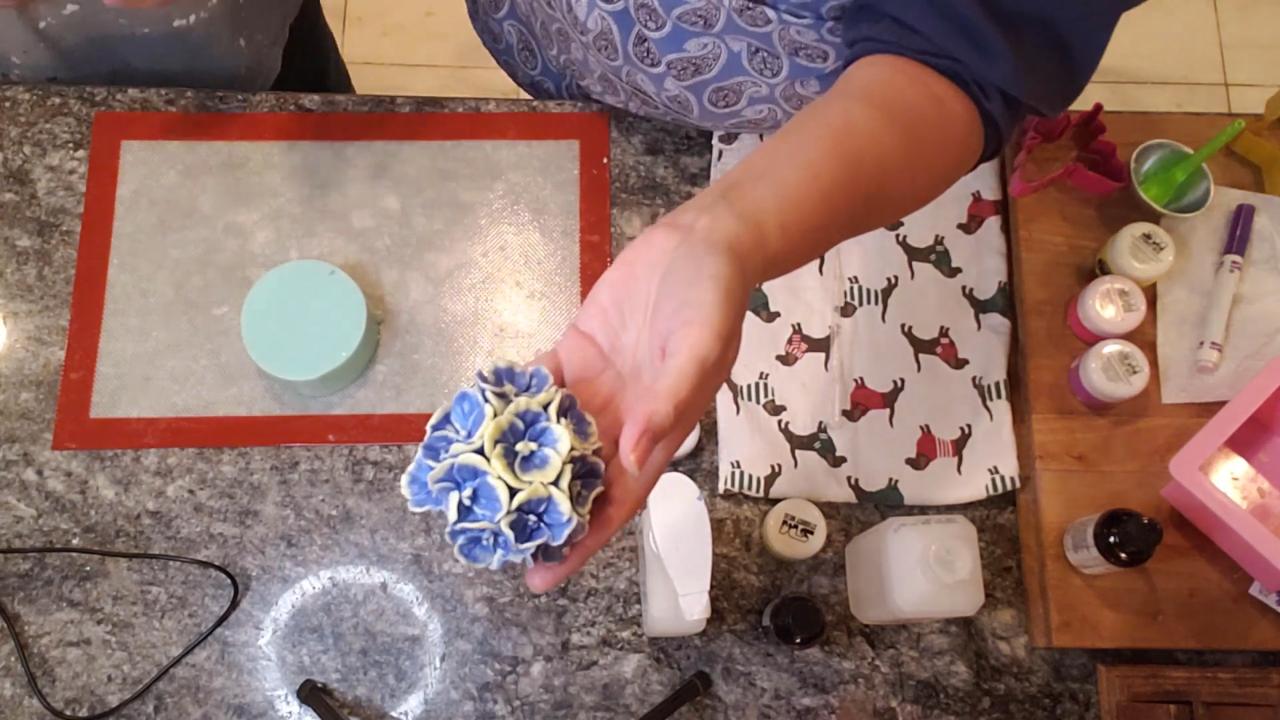
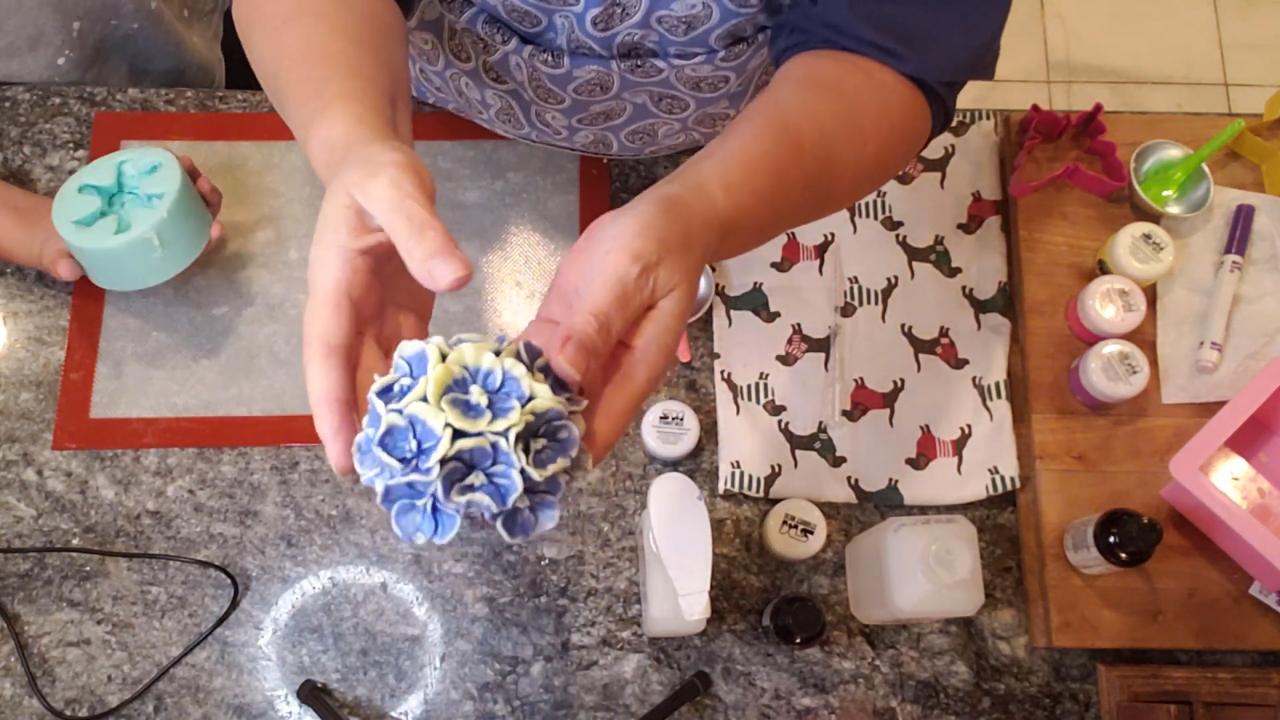
Let the soap sit for 24 hours before you shrink wrap it.
Tips & What I Learned
- The first color goes to the tips. Whatever you pour first ends up on the flower tips.
- Use a clean cup for each color. Leftover yellow turned my blue into a steel blue.
- Tilt the mold. Swirling the first pour fills the tiny crevices and pushes out bubbles.
- Pour the second color around 137°F. Hotter soap can melt the first layer.
- Spray between layers. Alcohol helps the layers stick together.
- Painting is optional. You can paint the details with mica and alcohol, but a two-color pour is easier.
Troubleshooting
My colors blended together. The second pour was too hot. Let it cool more.
There are bubbles in the details. Tilt the mold after the first pour and spray with alcohol.
The layers separated. Spray the first layer with alcohol and pour the second while it’s still warm enough to bond.
FAQ
How big is the orchid mold?
It’s larger than most flower molds, so it makes a full-size bar rather than a small embed.
Can I use clear base?
Yes, but opaque shea butter base shows the flower details best.
More Flower Soap Ideas
- Blooming Roses Melt and Pour Soap
- Daisy Flower Embed Melt and Pour Soap
- Valentine Rose Melt and Pour Soap
- Pretty Flowers Melt and Pour Soap
- All my melt and pour soap tutorials on YouTube
If you make this, I’d love to see it! Tag me on Instagram or Pinterest, and subscribe on YouTube for new soap tutorials.
