
Not every soap turns out the way you plan, and that’s okay. In this melt and pour soap I tried a loaf mold with dividers to pour three pink and white sections, then pull the dividers for a swirl. It didn’t go as planned, but I saved it, and it smells great. Here’s what happened and what I learned.
As an Amazon Associate I earn from qualifying purchases. Some links in this post are affiliate links. They cost you nothing extra and help support Koala Soap.
Materials & Tools
Soap Base
- About 9 oz of clear melt and pour soap base
- About 18 oz of shea butter melt and pour soap base (not raw shea butter)
Color & Scent
- Pink mica (I used Stardust Sunset Pink from a Stardust mica set, also sold individually)
- Love Spell fragrance oil
- Bio glitter
Tools
- Loaf mold with dividers
- A small extra mold for leftover soap, like a square soap mold
- Kitchen scale
- Soap cutter
- Spray bottle of 91% isopropyl alcohol
- Thermometer
- Pour cups
Fragrance Amount
Use up to 5 ml of fragrance oil per 16 oz (1 lb) of soap base. You can always use less if you like a lighter scent, but don’t go over 5 ml per 16 oz.
How I Made It (and What Went Wrong)
1. Measure the Mold with Water
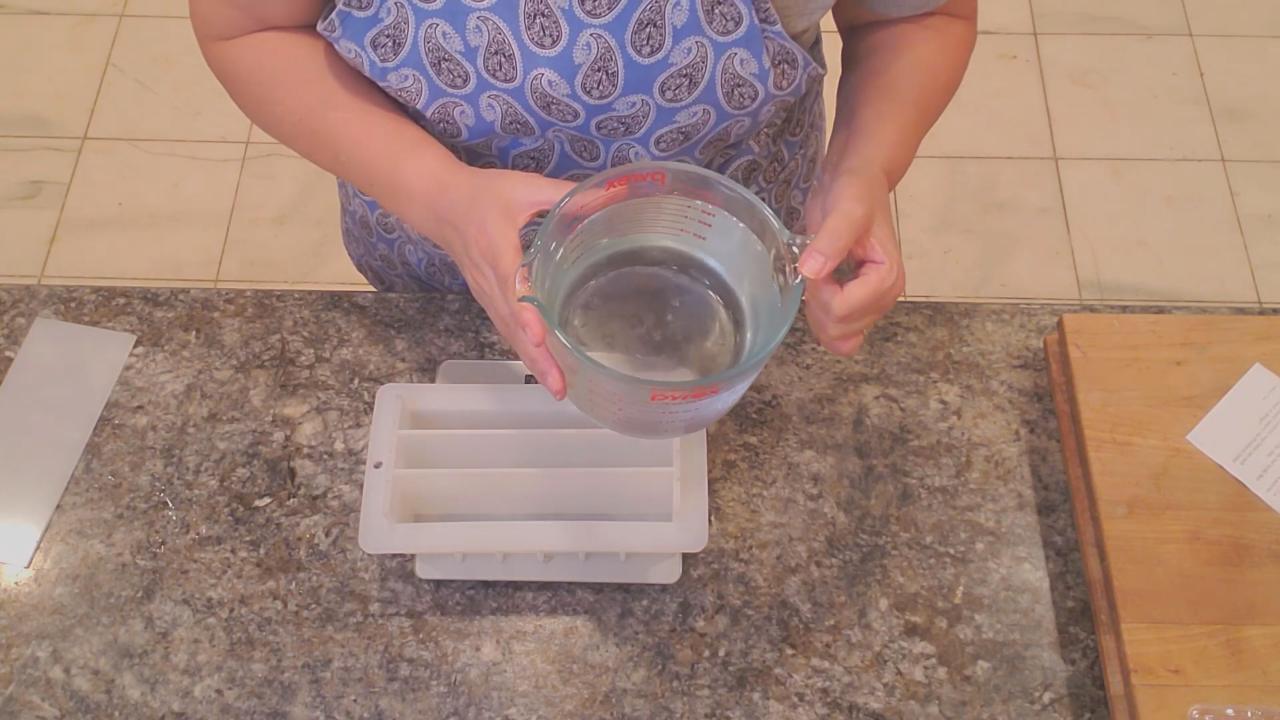
Put the mold on a kitchen scale, zero it, and fill it with water. Mine held about 1 lb 9 oz, so I rounded up to 26 oz of soap. With three sections, that’s about 8–9 oz per section. Soap weighs a little differently than water, but it’s a good estimate. This also showed me the dividers sealed pretty well.
2. Mix Three Colors
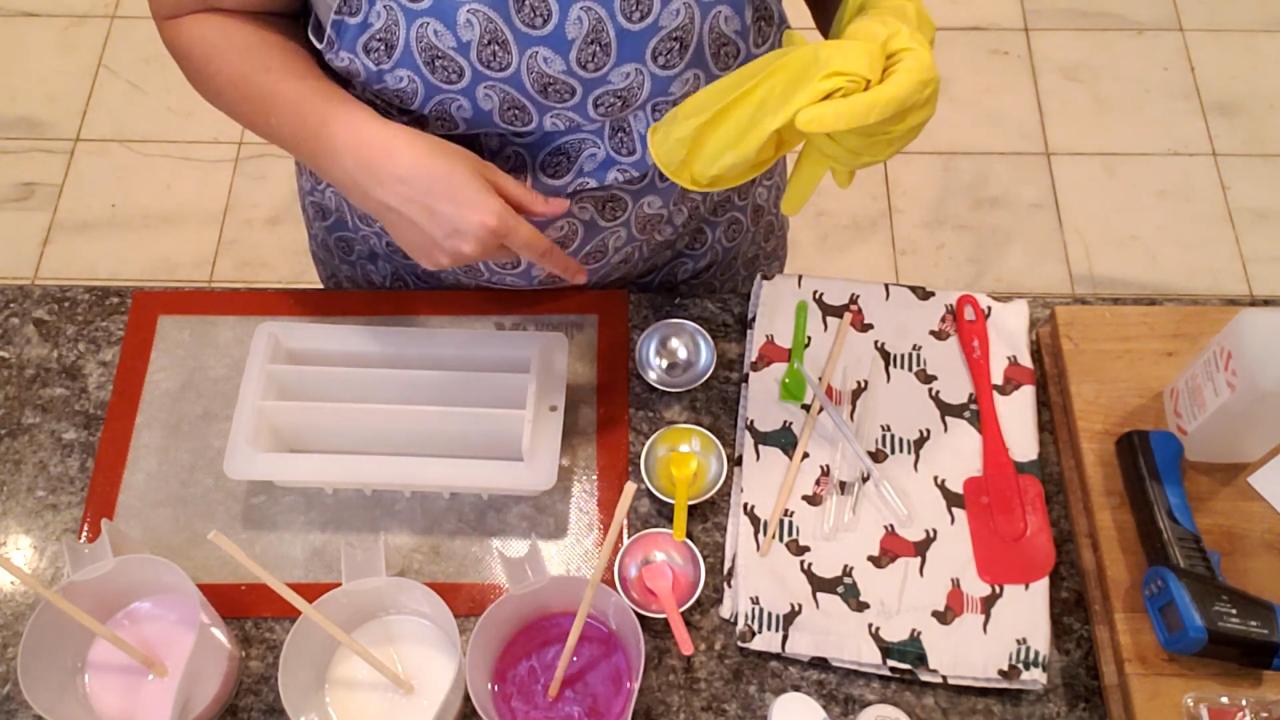
I made three cups: clear base in a darker pink, shea butter in a light pink, and plain white shea butter. Mix the mica with alcohol (a touch of distilled water works too), then add the fragrance.
3. Pour Each Section
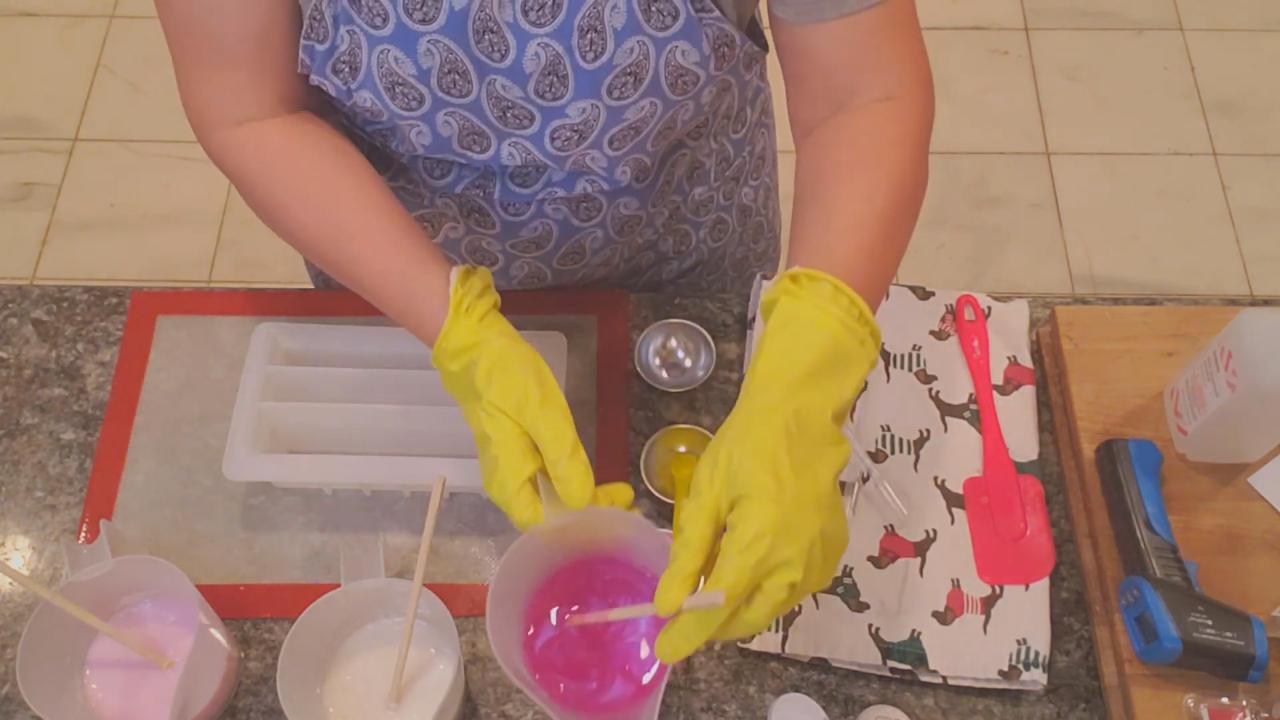
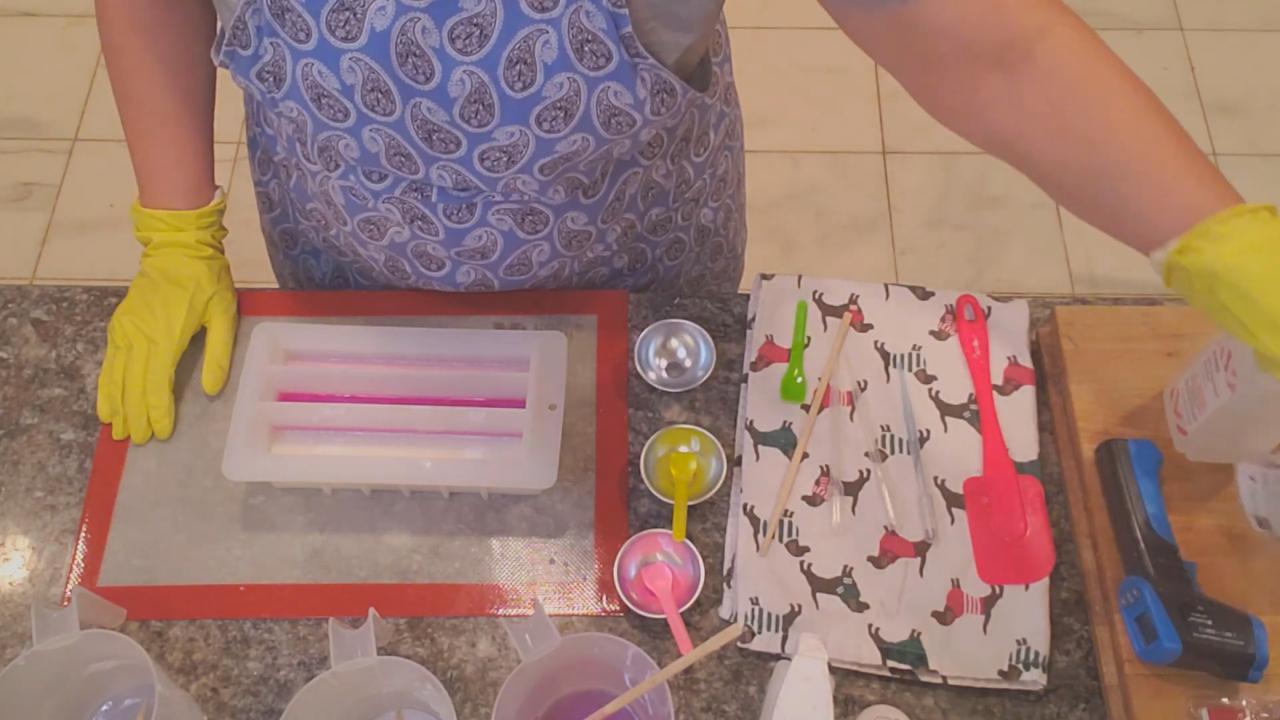
Let the soap cool into the 130s so it’s thicker and less likely to seep under the dividers. I poured the white and light pink on the outside and the clear pink in the middle. Spray with alcohol.
4. Pull the Dividers
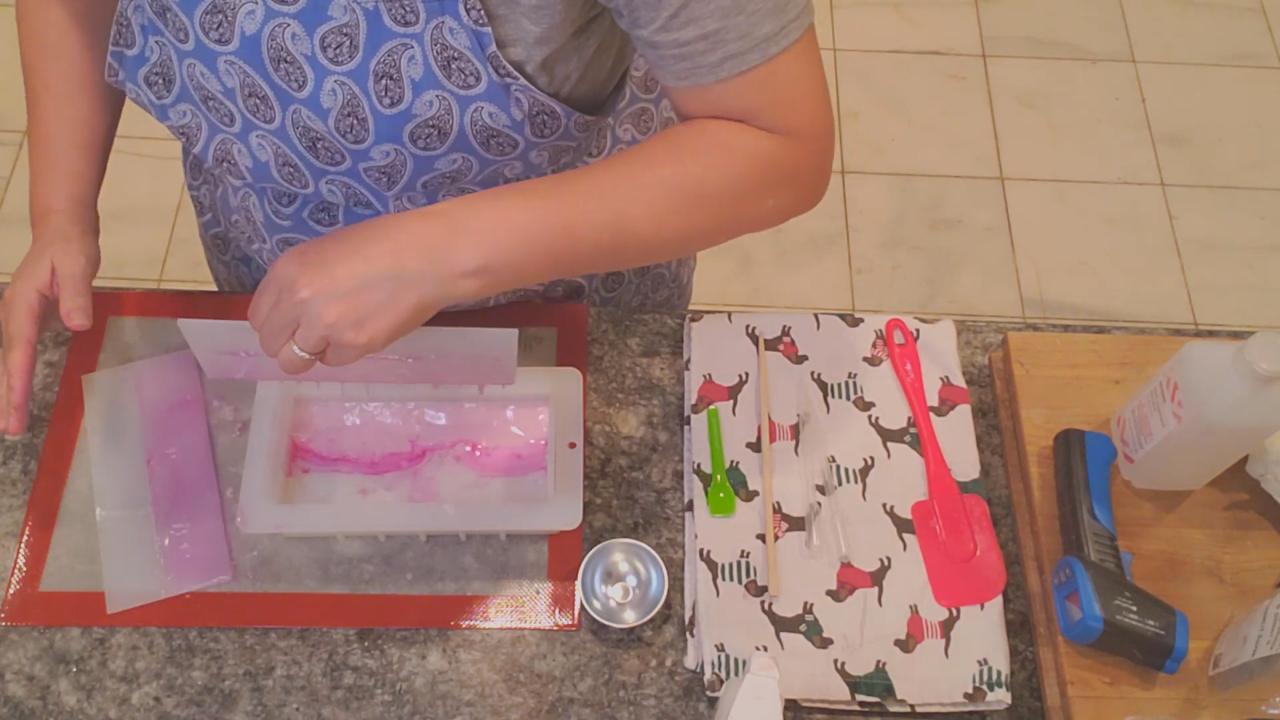
Once each section had a light skin, I pulled the dividers out to try for a swirl. This is where it got messy. The colors rushed together, and the top looked a bit like a rose.
5. Add Glitter
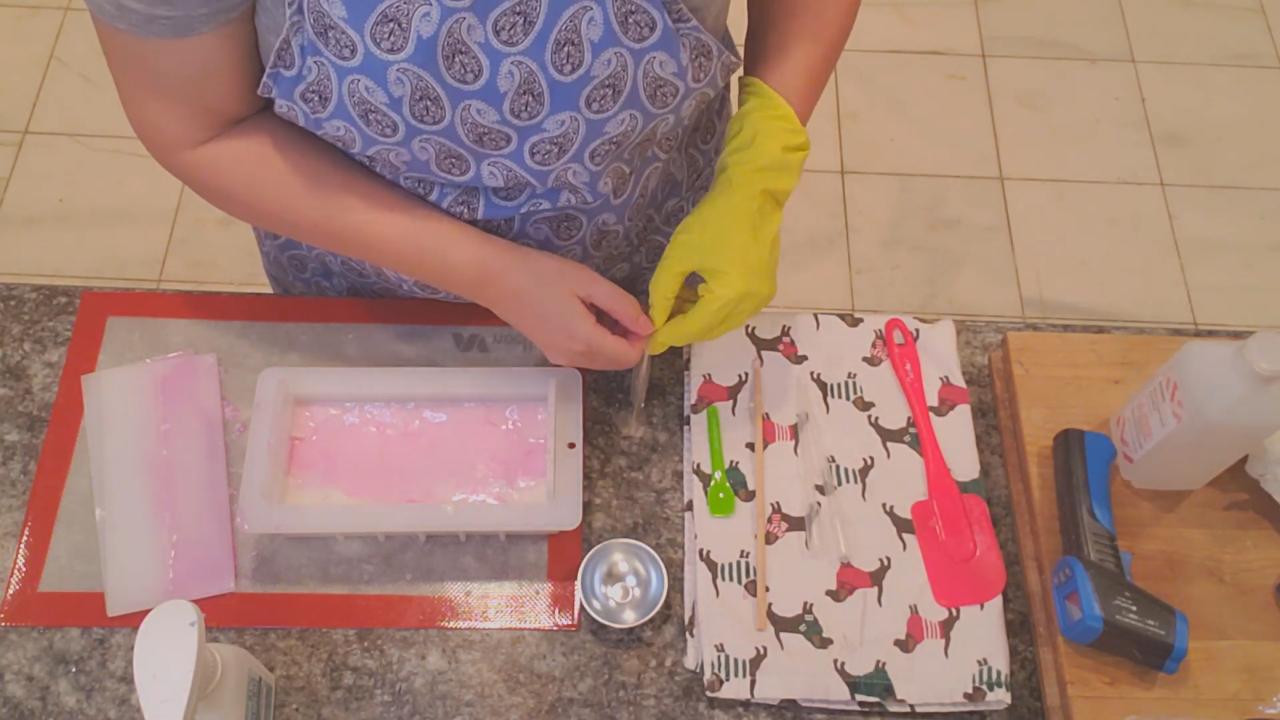
Wearing gloves, sprinkle bio glitter on top while the soap is still a little wet so it sticks. Glitter makes any soap look better.
6. Fix the Top
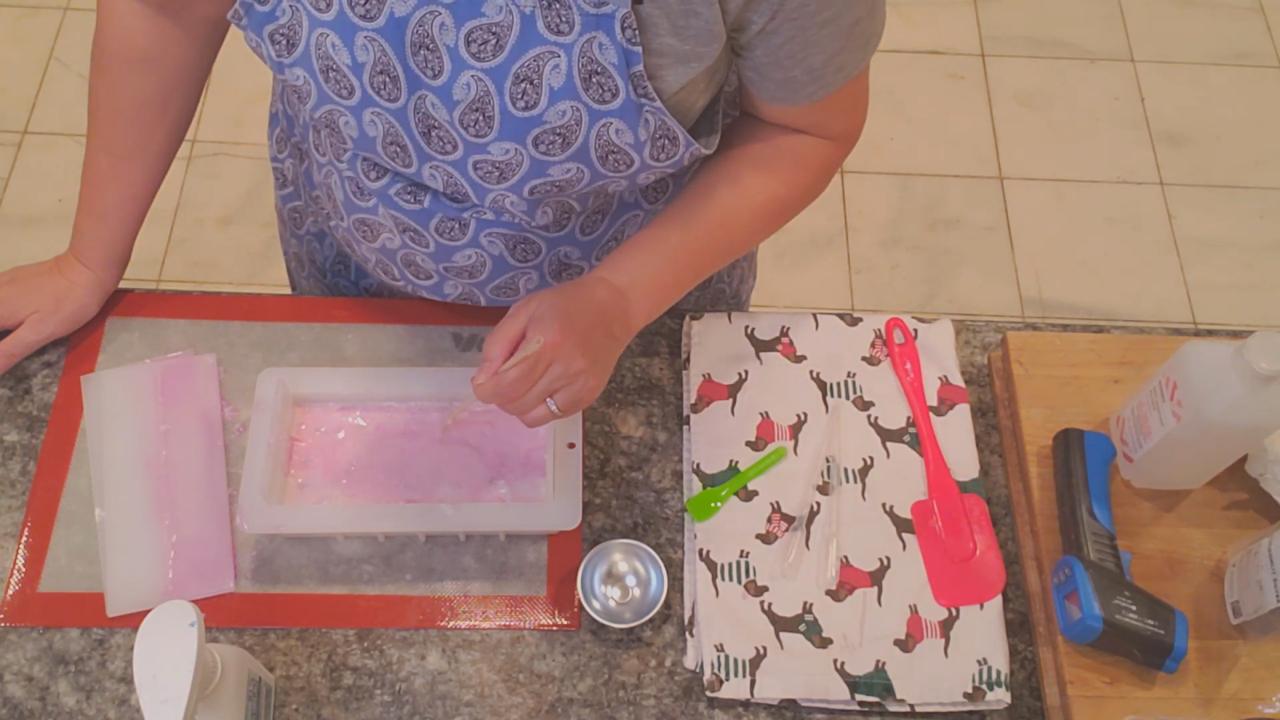
One section had set higher than the others, which would have left an angled top. I gently stirred up the top to level it out, which gave it a soft watercolor pink look. You could also cover a top like this with whipped soap.
7. Unmold and Cut
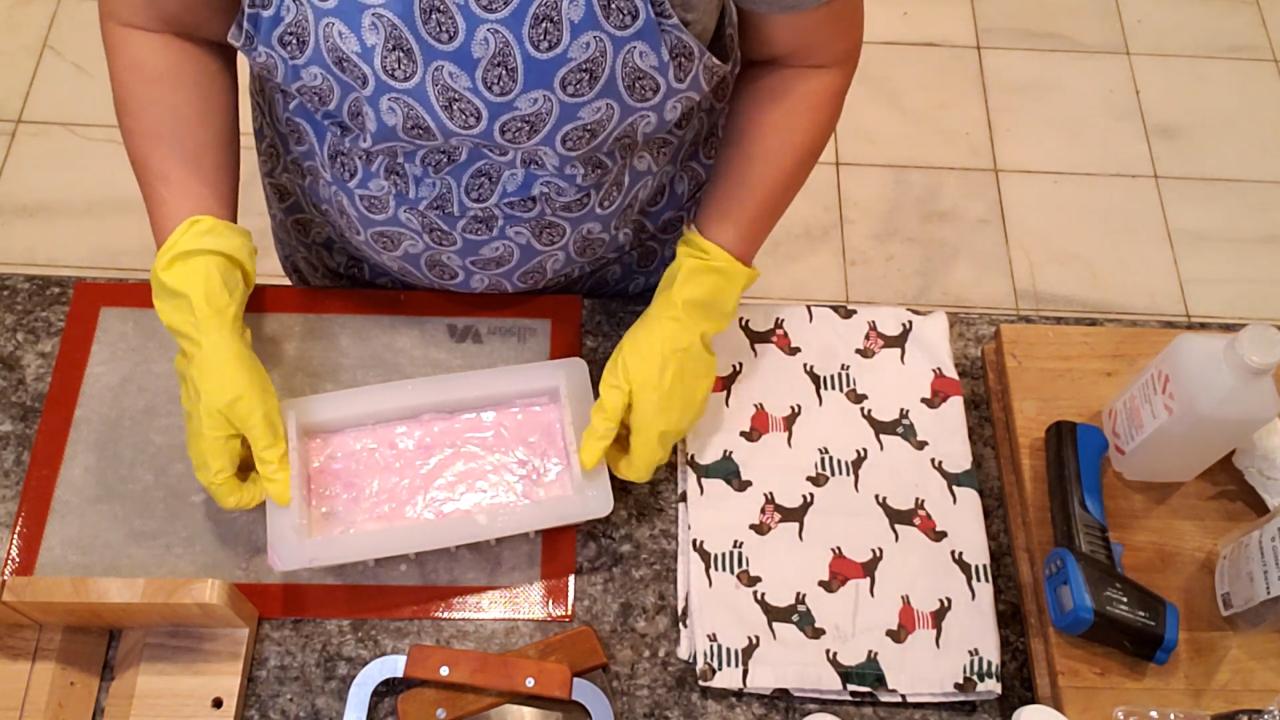
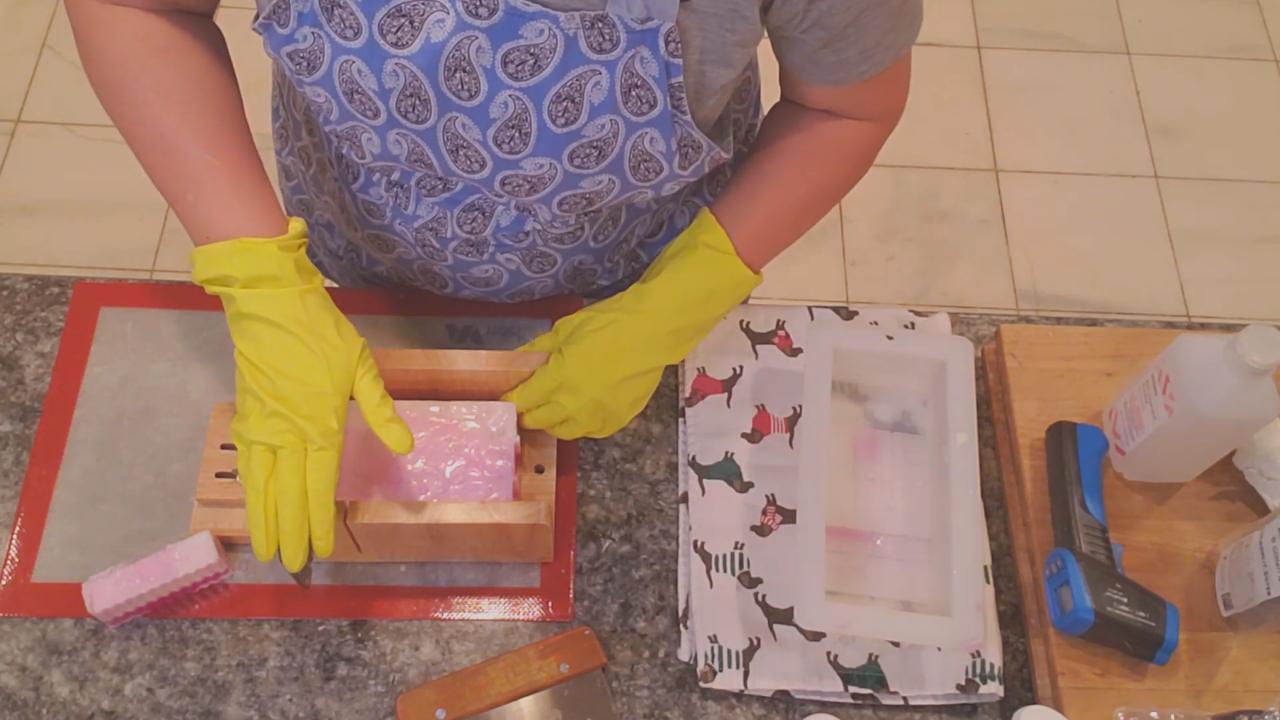
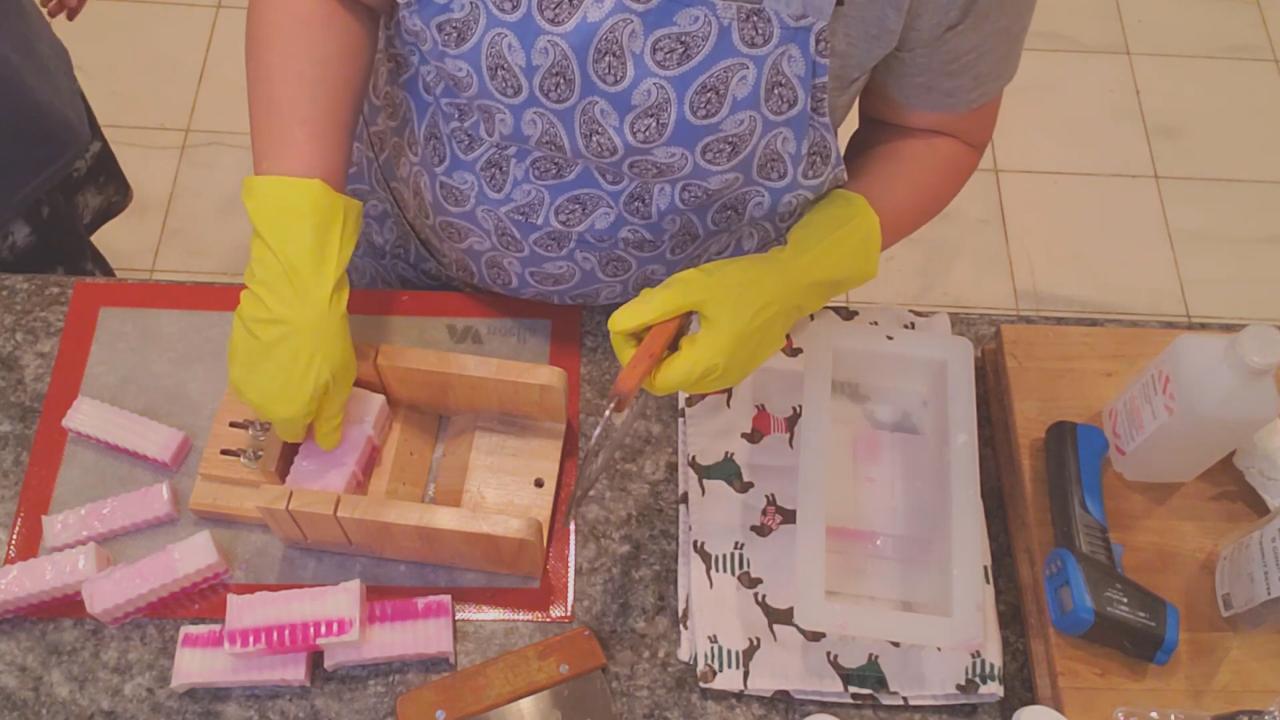
Loosen the sides and lift the loaf out. I cut a few bars one way and the rest the other way to see the inside.
8. The Result
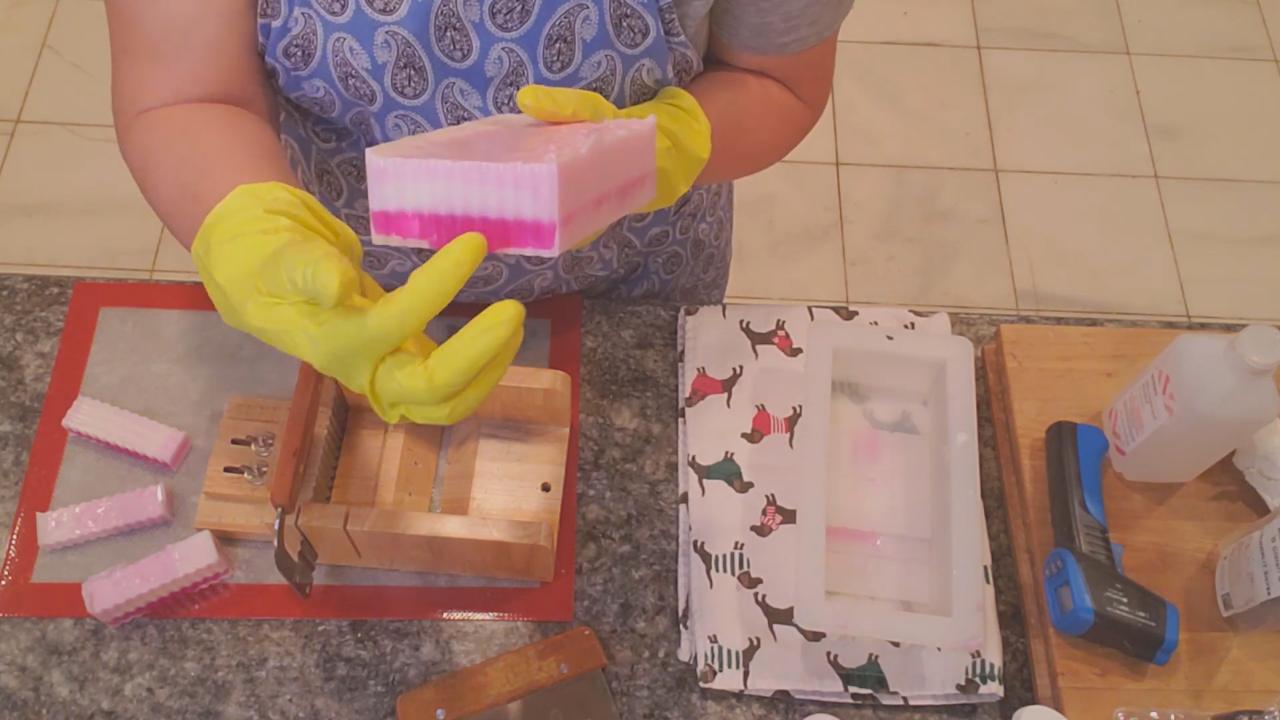
The clear base sank to the bottom even though I poured it in the middle. Clear base is heavier than shea butter and settles if it isn’t cool enough. The bars ended up as a three-color pink soap. Not what I planned, but still pretty and great for using at home.
Tips & What I Learned
- Clear base sinks. It’s heavier than opaque bases, so let it cool and thicken more before pouring next to shea butter.
- Wait longer before pulling dividers. A thicker skin would hold the sections better.
- Measure molds with water. It’s an easy way to figure out how much soap you need.
- Pour extra into a backup mold. Keep a small mold nearby for leftovers.
- Fix a sliding cutter. If your cutter slides, adding a couple of washers can steady it.
- Dividers shine with cold process. They hold colors well, but melt and pour needs more practice.
Troubleshooting
Soap seeped under the dividers. Pour cooler, in the 130s, so the soap is thicker.
One section set higher than the others. Fill each section to the same height, or level the top while it’s still soft.
The colors mixed when I pulled the dividers. The soap wasn’t set enough. Give it more time before pulling.
FAQ
How do I know how much soap my mold holds?
Fill it with water on a kitchen scale. The weight of the water is a close estimate for ounces of soap.
Can I fix a soap that didn’t turn out?
Usually. Level or texture the top, add glitter or whipped soap, or cut it up and use it as embeds in a new soap.
More Soap Ideas
- Recycled Soap Embeds Melt and Pour Soap
- How to Swirl Melt and Pour Soap
- Pink Fun Melt and Pour Soap
- Tie-Dye Soap from Leftover Shavings
- All my melt and pour soap tutorials on YouTube
If you make this, I’d love to see it! Tag me on Instagram or Pinterest, and subscribe on YouTube for new soap tutorials.
