
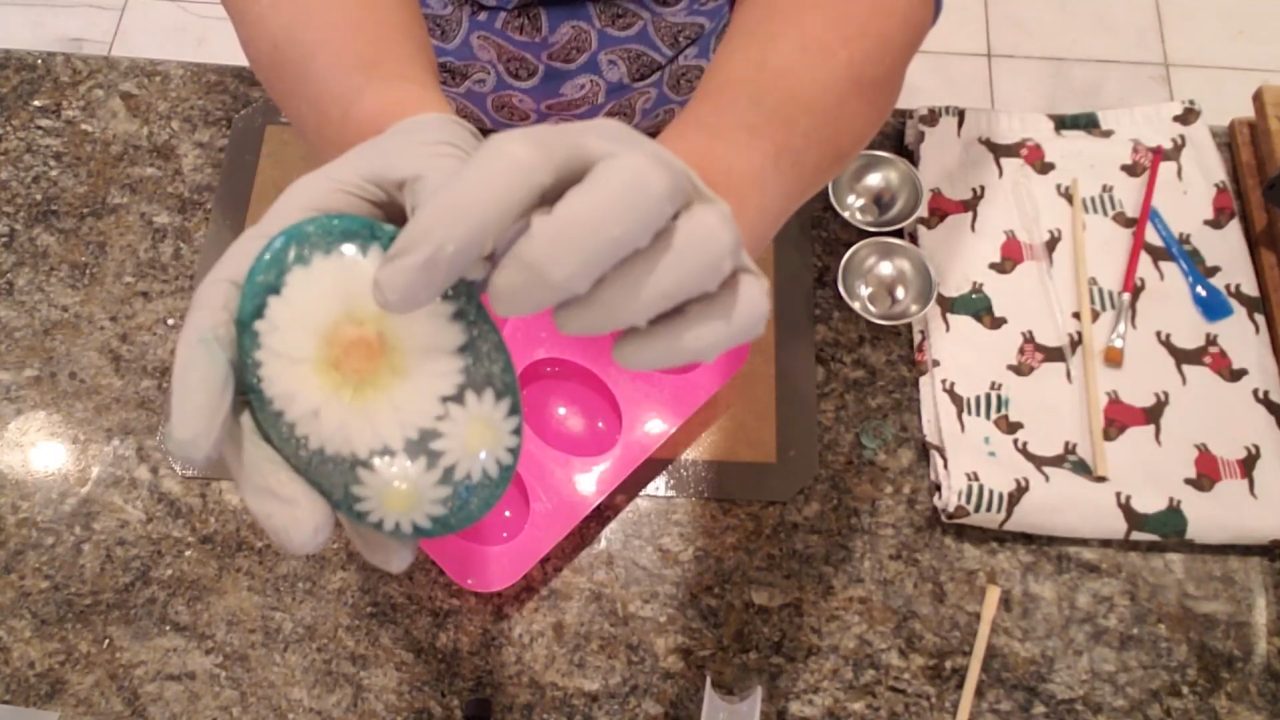
This daisy flower embed melt and pour soap has white shea butter daisies with yellow centers, set in crystal clear soap against a teal glitter background. I painted a little mica onto the daisies for depth, then sealed it with clear melt and pour so the color wouldn’t run into the soap. The most important rule here: don’t pour over your embeds until the soap is under 135°F.
As an Amazon Associate I earn from qualifying purchases. Some links in this post are affiliate links. They cost you nothing extra and help support Koala Soap.
Materials & Tools
Soap Bases
- Shea butter melt and pour soap base (for the daisies)
- Premium clear melt and pour soap base (unscented, for sealing and the background)
Color, Scent & Glitter
- Yellow Lemon, Bronze Age and Tail Green from this Stardust mica set or individual Stardust micas
- Sandalwood fragrance oil for the daisies (try Barnhouse fragrance oils)
- Bio glitter
Tools
- Big daisy silicone mold
- Small daisy silicone mold
- Oval 6 cavity soap mold
- A small dry paintbrush
- Funnel pour cups
- Pipettes, a skewer and a small knife
- Spray bottle of 91% isopropyl alcohol
- Thermometer
Fragrance Amount
Use up to 5 ml of fragrance oil per 16 oz (1 lb) of soap base. You can always use less if you like a lighter scent, but don’t go over 5 ml per 16 oz. Keep the clear base unscented so it stays crystal clear.
How to Make Daisy Flower Embed Melt and Pour Soap
1. Pour the Yellow Centers
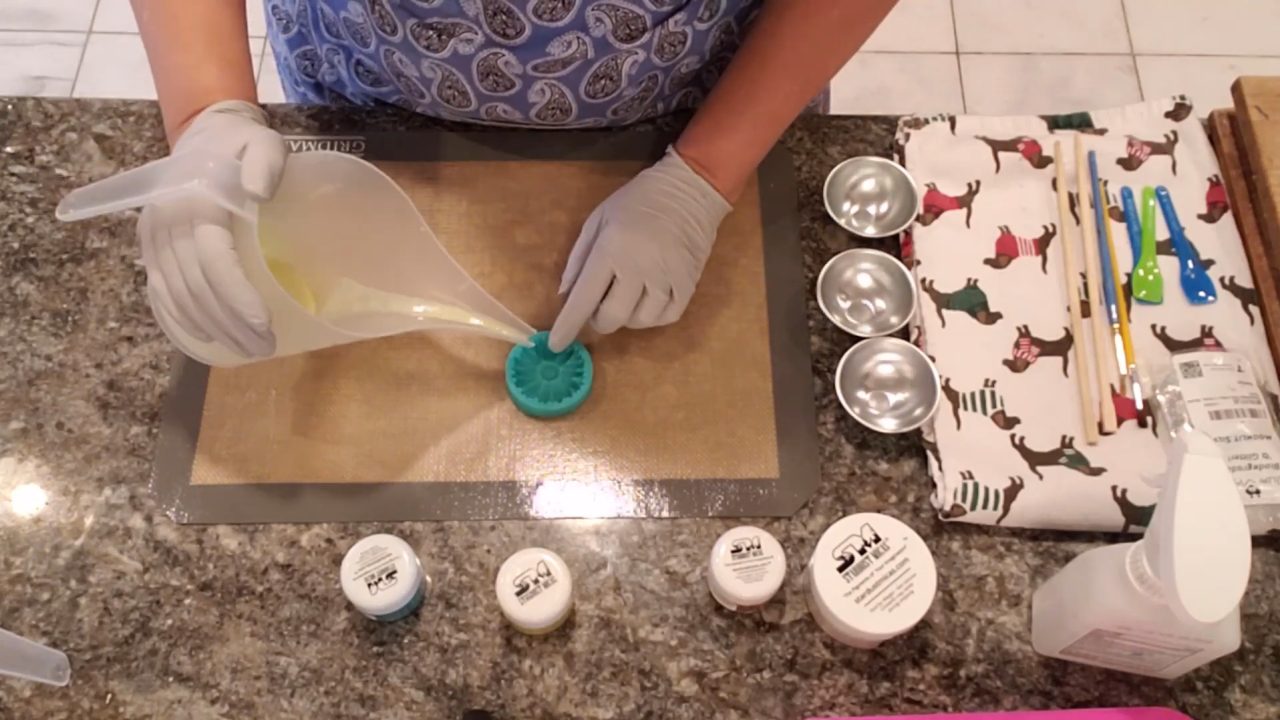
Mix a little Yellow Lemon mica into a small amount of melted shea butter base. Pour or drop it into the center of the daisy mold. If you drip outside the center, just let it dry and pick it off. Spray with alcohol.
2. Pour the White Petals
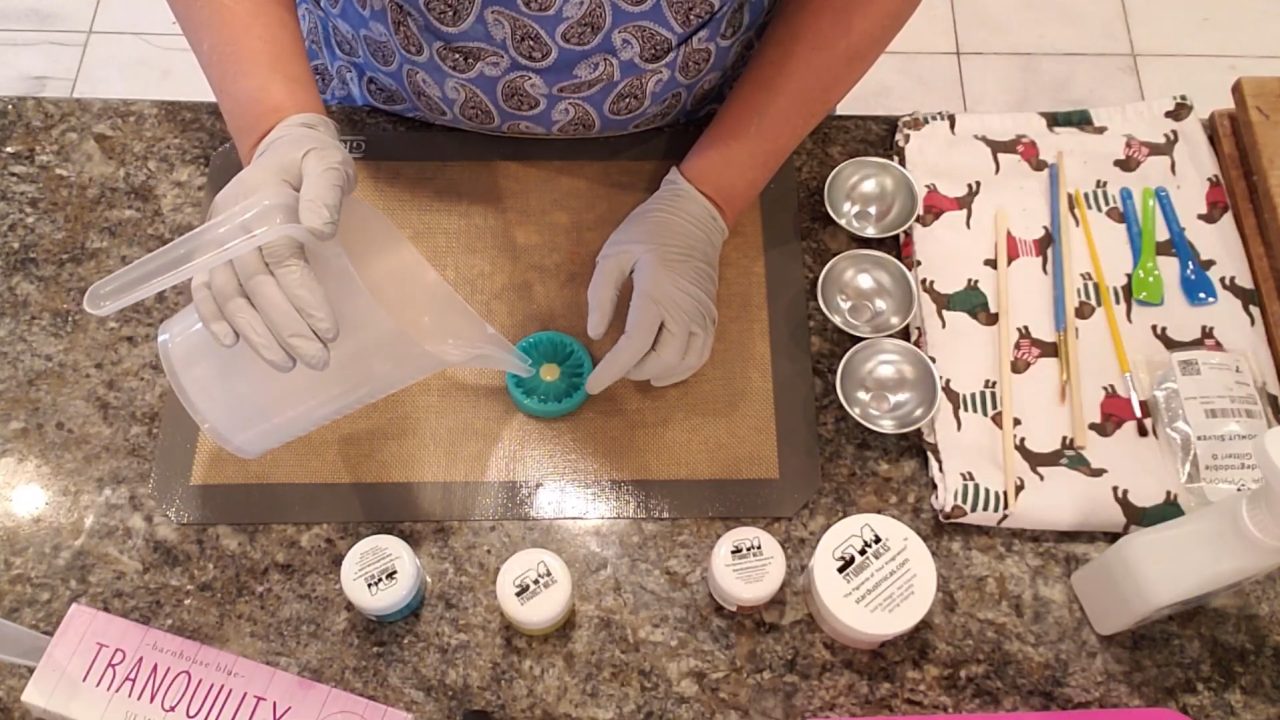
Melt white shea butter base and add your sandalwood fragrance. Let it cool to under 135°F (mine was 131°F) so it doesn’t melt the yellow. Pour around the yellow center, not directly on top, and let it fill up over it. Spray with alcohol and let it set. I made one big daisy and two small ones with a dropper, in case there was room for more in the mold.
3. Unmold the Daisies
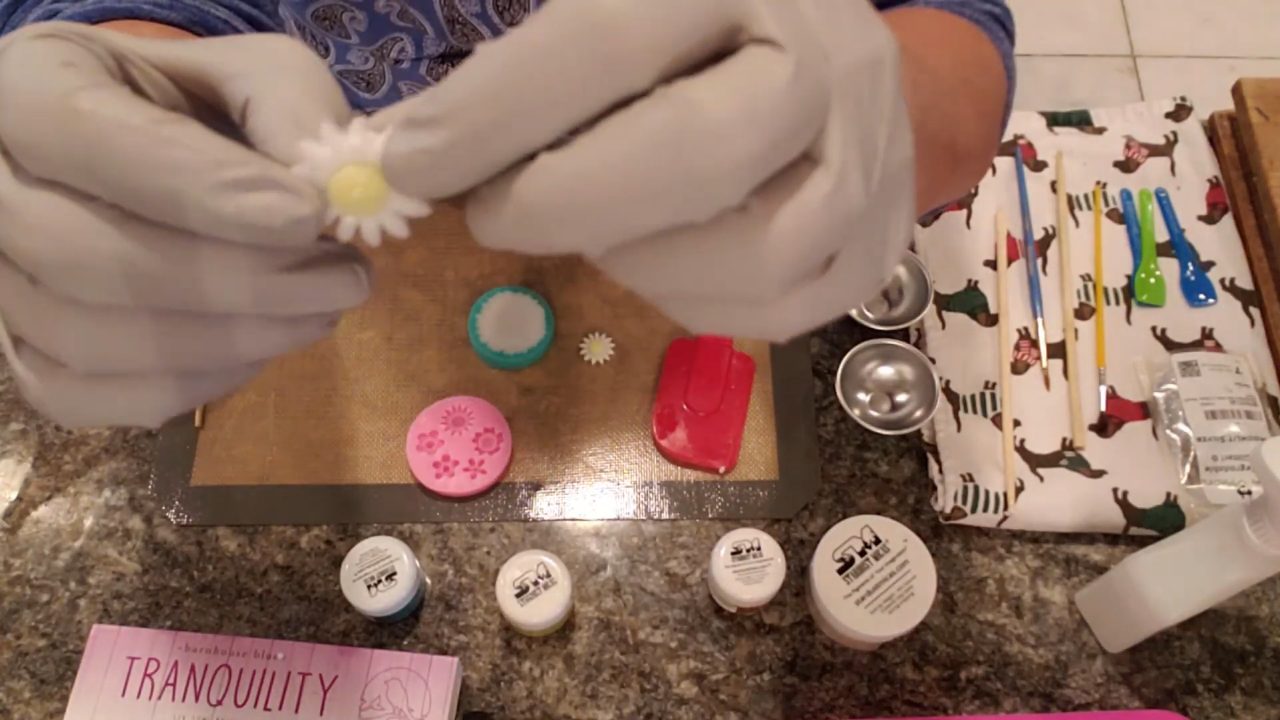
Unmold the daisies and peel off any residue around the edges. While they’re still a little pliable, test how they fit in the oval mold.
4. Dry Brush Mica for Depth
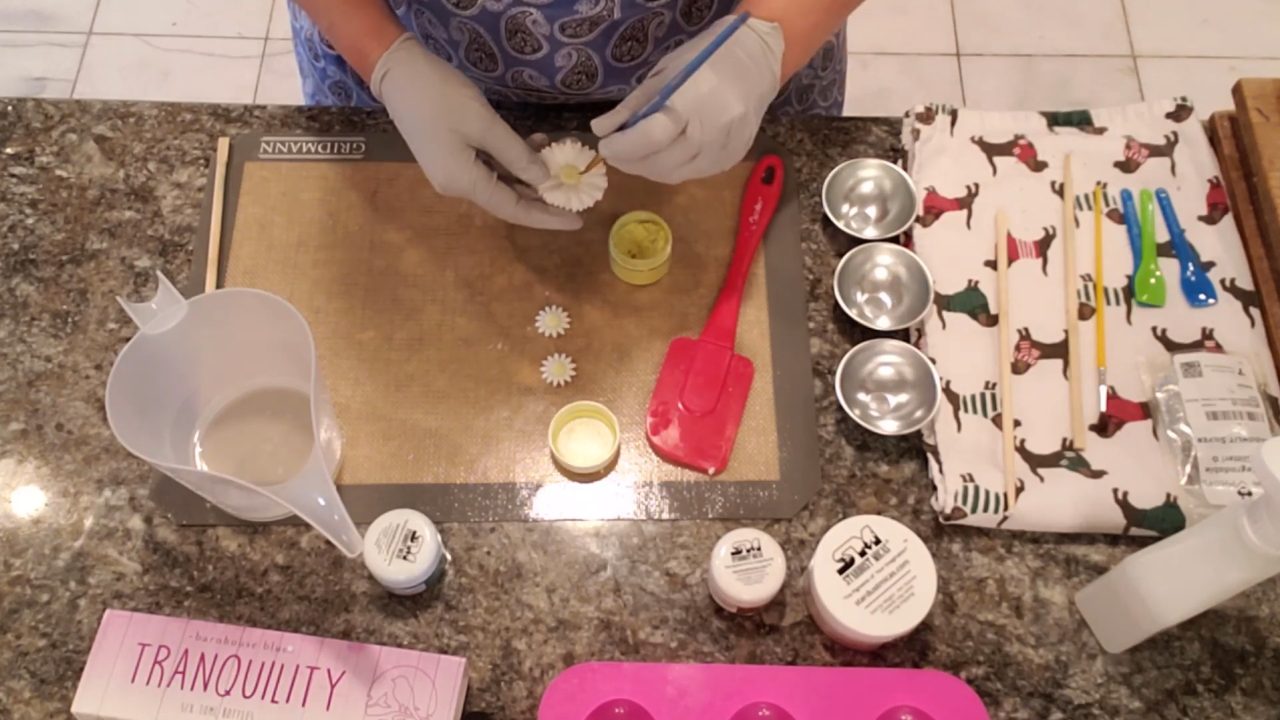
Dip a dry paintbrush in Yellow Lemon mica and lightly brush it onto the petals, then add a touch of Bronze Age near the center. It doesn’t need to be perfect. You can paint with mica mixed in alcohol instead, but dry brushing keeps the color right where you put it.
5. Seal the Color with Clear Soap
Melt unscented clear base and let it cool to under 135°F. Spray the daisies with alcohol and slowly pour a little clear soap over the middle of each one with a funnel cup. This seals the mica in so it won’t spread, and it helps prevent air bubbles when the daisy goes into the mold.
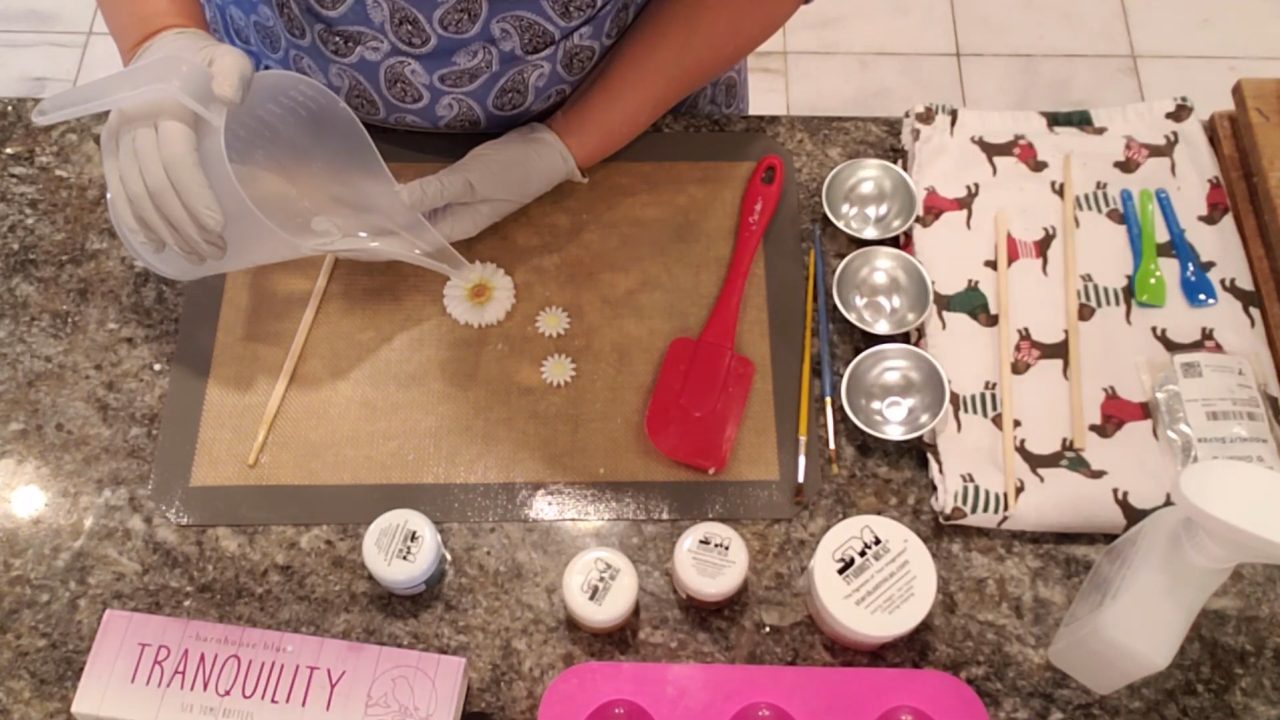
6. Place the Daisies in the Mold
Pour a thin layer of clear soap into the oval mold and let it form a thin skin. Spray with alcohol, then place the daisy face down without plopping it in, holding it in place. Spray again and carefully pour more clear soap on top, keeping skin out of the pour.
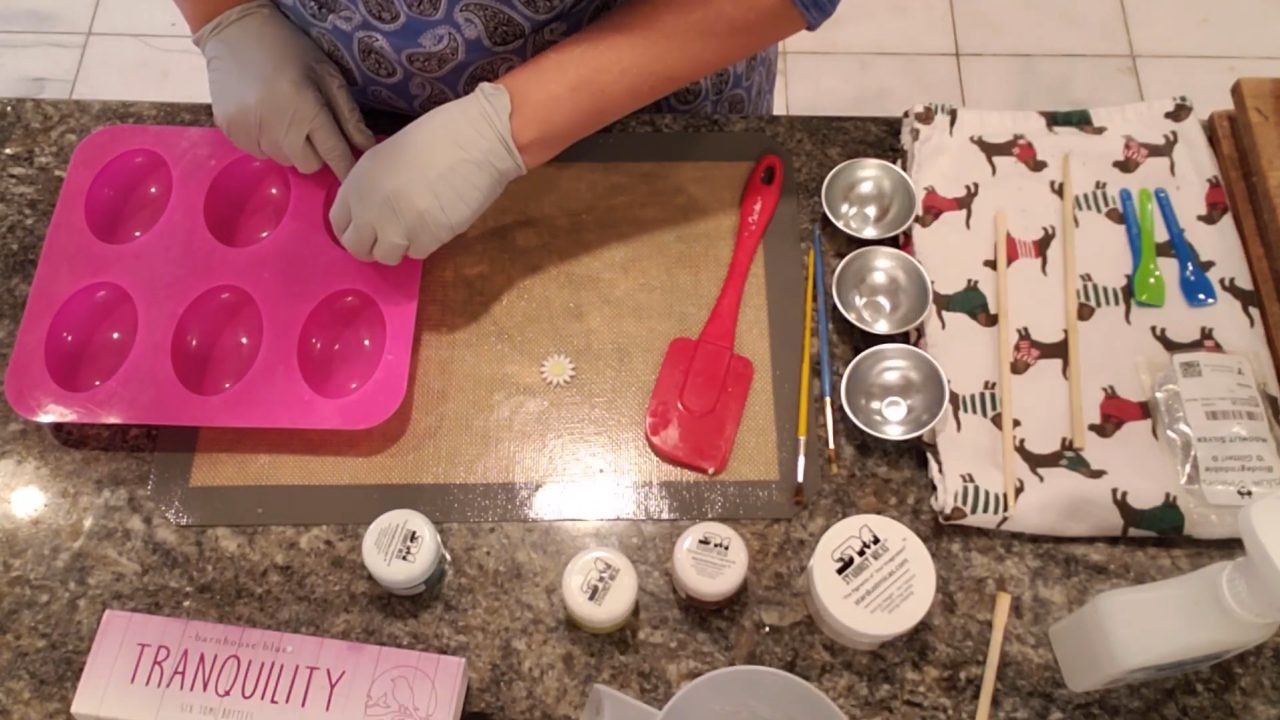
7. Add Another Clear Layer
Reheat the clear soap and let it cool to about 130°F. Score a few hash marks into the soap behind the flowers, where they won’t show from the front. This helps the next layer stick. Spray with alcohol and pour another clear layer, leaving room for the background.
8. Pour the Teal Glitter Background
Mix Tail Green mica with a little alcohol and stir it into the remaining clear soap. Let it cool to around 105°F before adding bio glitter, because reheating can dull the glitter’s shine. Add a small spoonful of glitter. Score hash marks again behind the flowers, spray with alcohol and pour quickly, since it starts to set fast. Spray the top with alcohol and let it harden.
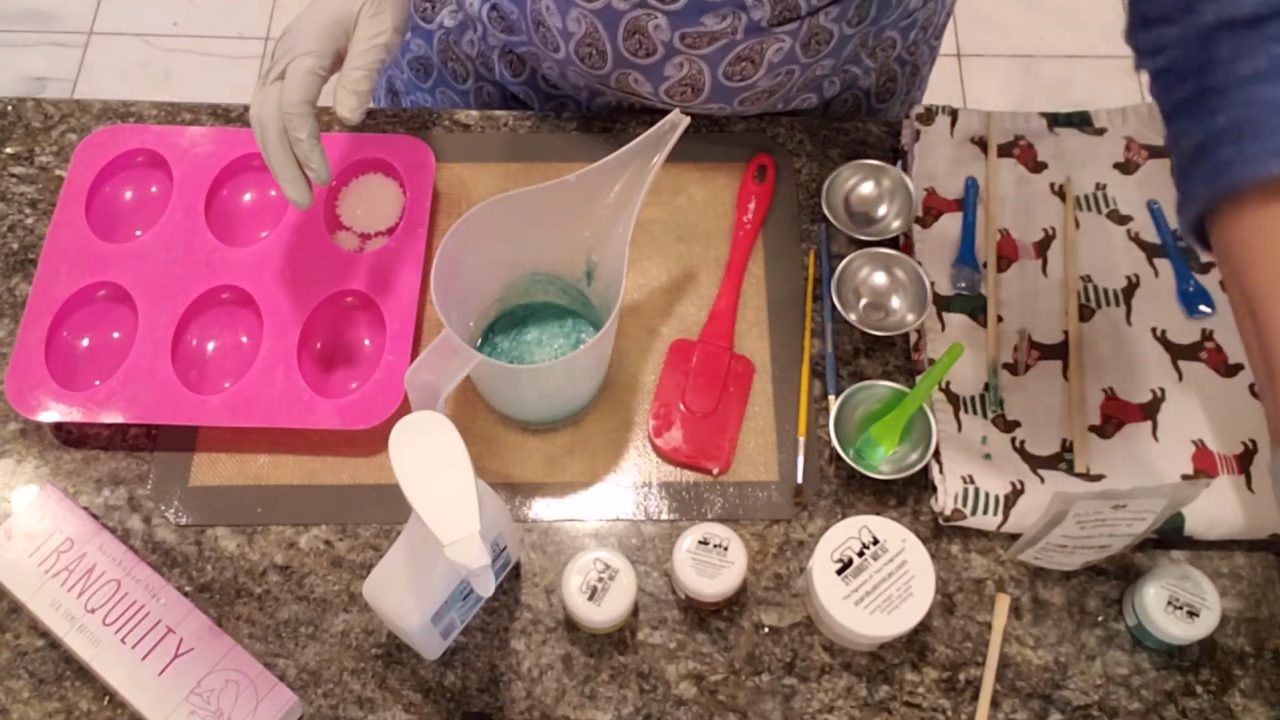
9. Unmold
Once the soap is fully cool, unmold it. The mica stays put, the glitter makes the flowers stand out, and there are no air bubbles.
Tips & What I Learned
- Stay under 135°F. Pouring hotter than that over embeds can start to melt them.
- Seal painted mica with clear soap. It keeps the color from running into the rest of the soap.
- Score behind the flowers. Hash marks help layers stick, so put them where no one will see them.
- Add glitter to cooler soap. Reheating glitter can make it lose its shine.
- Use funnel cups. They let you pour slowly and exactly where you want.
Troubleshooting
My embed started to melt.
The soap was too hot. Let it cool under 135°F before pouring over embeds.
There’s skin in my soap.
Stir it out, or lift it out with a skewer and save it for the background layer.
The background set up before I could pour.
Glittered soap near 105°F sets fast. Have everything ready and pour quickly.
The layers separated.
Score the soap and spray with alcohol before each new pour.
FAQ
How much fragrance oil should I use?
Up to 5 ml per 16 oz of soap base. You can always use less, but don’t use more than 5 ml per 16 oz.
Why leave the clear base unscented?
Some fragrance oils can cloud or tint clear soap. Keeping it unscented keeps the window around the daisy crystal clear.
Can I make just one daisy per bar?
Yes. One big daisy looks great on its own. I liked the bars with a few more flowers too, so do what you like.
More Embed Soap Ideas
- Rose Embed Melt and Pour Soap
- Heart Embed Melt and Pour Soap
- Pretty Flowers Melt and Pour Soap
- Summer Meadow Melt and Pour Soap
- All my melt and pour soap tutorials on YouTube
If you make this, I’d love to see it! Tag me on Instagram or Pinterest, and subscribe on YouTube for new soap tutorials.
