
Summer Meadow melt and pour soap is a fresh green and white bar with twisted soap ribbons inside, scented with a light floral. It’s made entirely from shea butter base, so it’s creamy, beginner-friendly and easy to color. A thin white “barrier” layer keeps the design crisp.
As an Amazon Associate I earn from qualifying purchases. Some links in this post are affiliate links. They cost you nothing extra and help support Koala Soap.
Materials & Tools
- About 21 oz shea butter melt and pour soap base, divided into three equal portions (about 7 oz each)
- Stardust Tail Green mica (from this Stardust mica set)
- Daisy Chain fragrance oil (or any light floral fragrance oil)
- Square 18–20 oz soap mold
- Silicone cake pan for the soap slab
- Skewer, knife and small spatula
- Spray bottle of isopropyl alcohol (99% works best for layers)
- Thermometer
Fragrance Amount
I added about 2.5 ml of Daisy Chain to each of the first two portions (about 5 ml total), and it was plenty strong, so I didn’t scent the final pour. My rule is 5 ml of fragrance oil per 16 oz of soap base. You can always use less, but I wouldn’t go over 5 ml per 16 oz.
How to Make Summer Meadow Melt and Pour Soap: Step by Step
1. Melt, Scent and Color
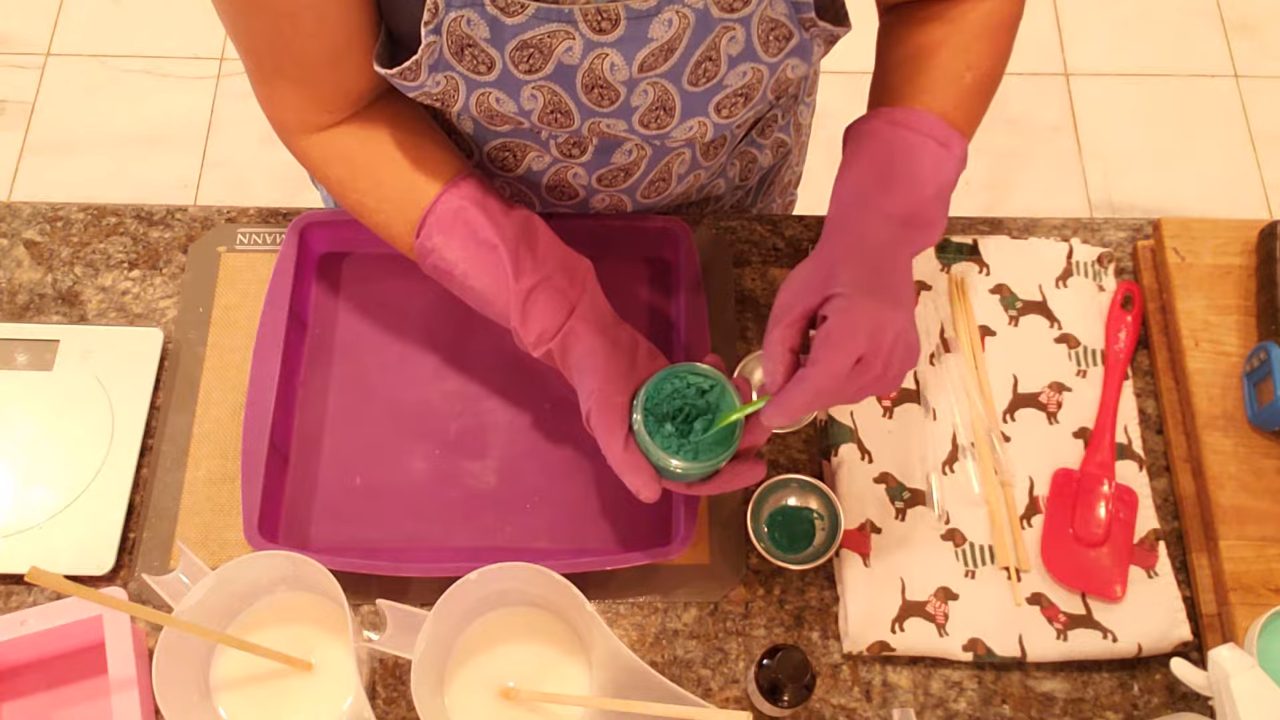
Divide the shea butter base into three equal portions. Melt two of them (mine were about 146–151°F) and add fragrance to each. Leave one portion white and color the other with Tail Green mica. Make the green a little deeper than you think, because it lightens next to white. Set the third portion aside for the final pour.
2. Pour the Green Bottom Layer
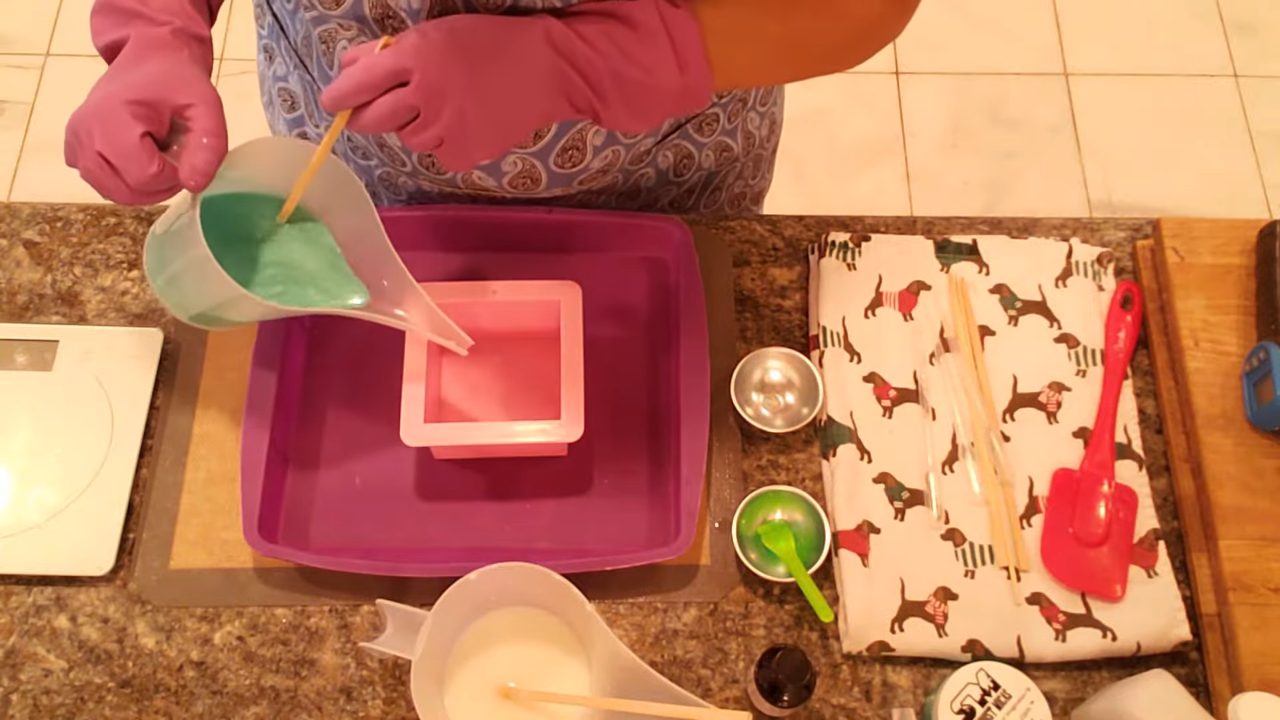
Pour green soap into the square mold until it’s about a third full. Spray with alcohol to pop bubbles.
3. Make a Green Slab
Pour the rest of the green soap into a silicone cake pan to make a thin slab. Spray with alcohol and let it firm up.
4. Add the White Layers
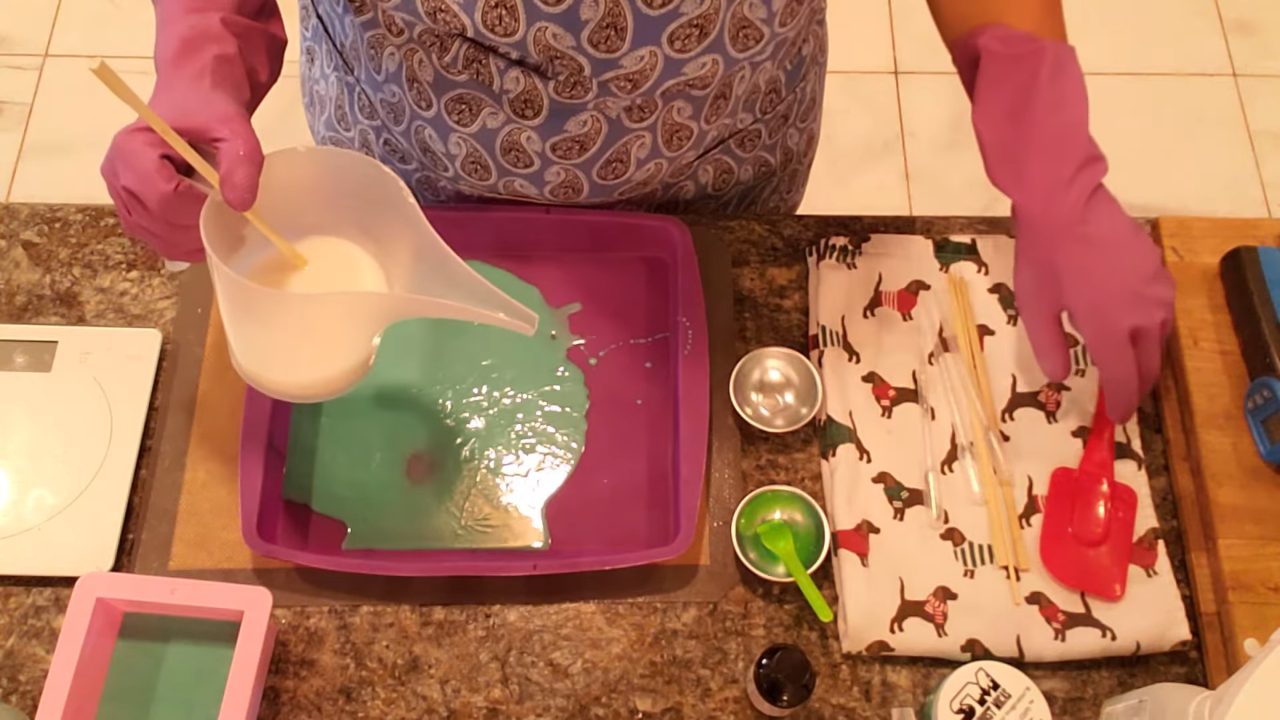
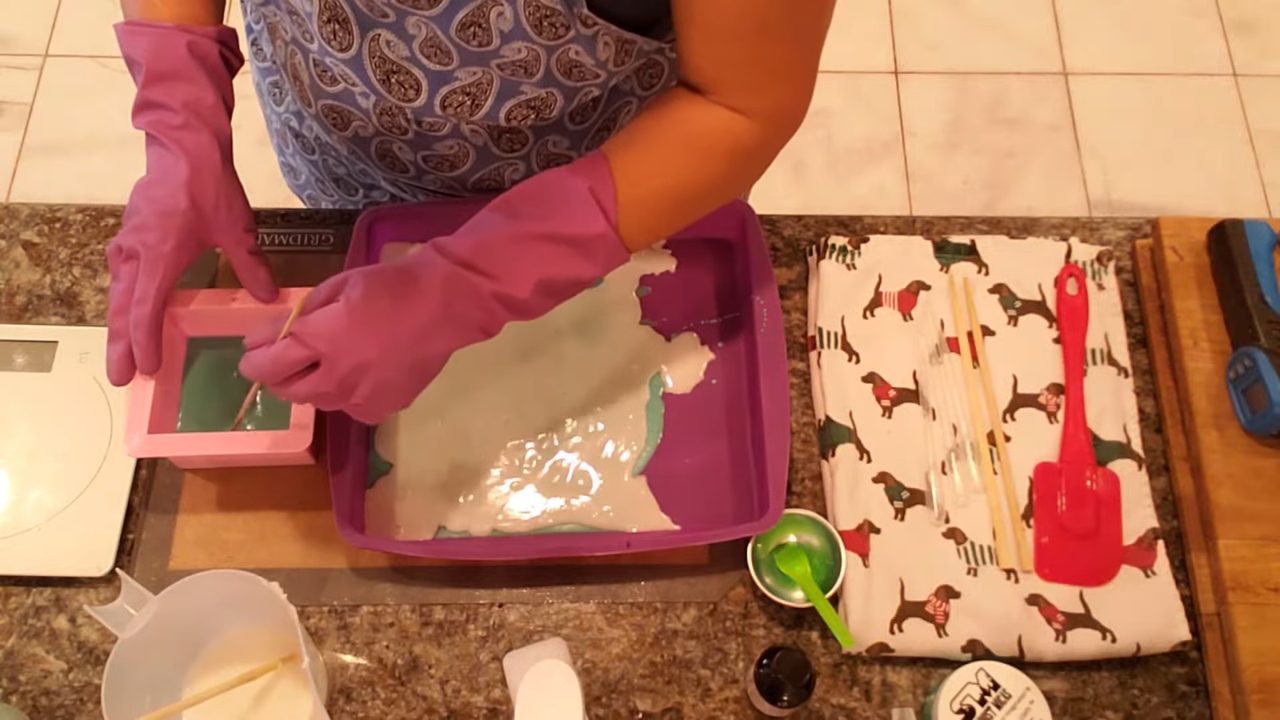
Once the green slab has a skin, spray it with alcohol and slowly pour a thin layer of white soap over it (mine was about 131°F). Pour gently so it doesn’t break through. Save a little white soap. When the green layer in the mold is firm, scratch light hash marks on top with a skewer (don’t cut through), spray generously with alcohol, and spread a thin layer of white over it with a spatula. This white layer acts as a barrier later.
5. Cut the Slab Into Strips
When the green and white slab is set, cut it into strips with a knife. Some strips will be extra. Save them for another soap.
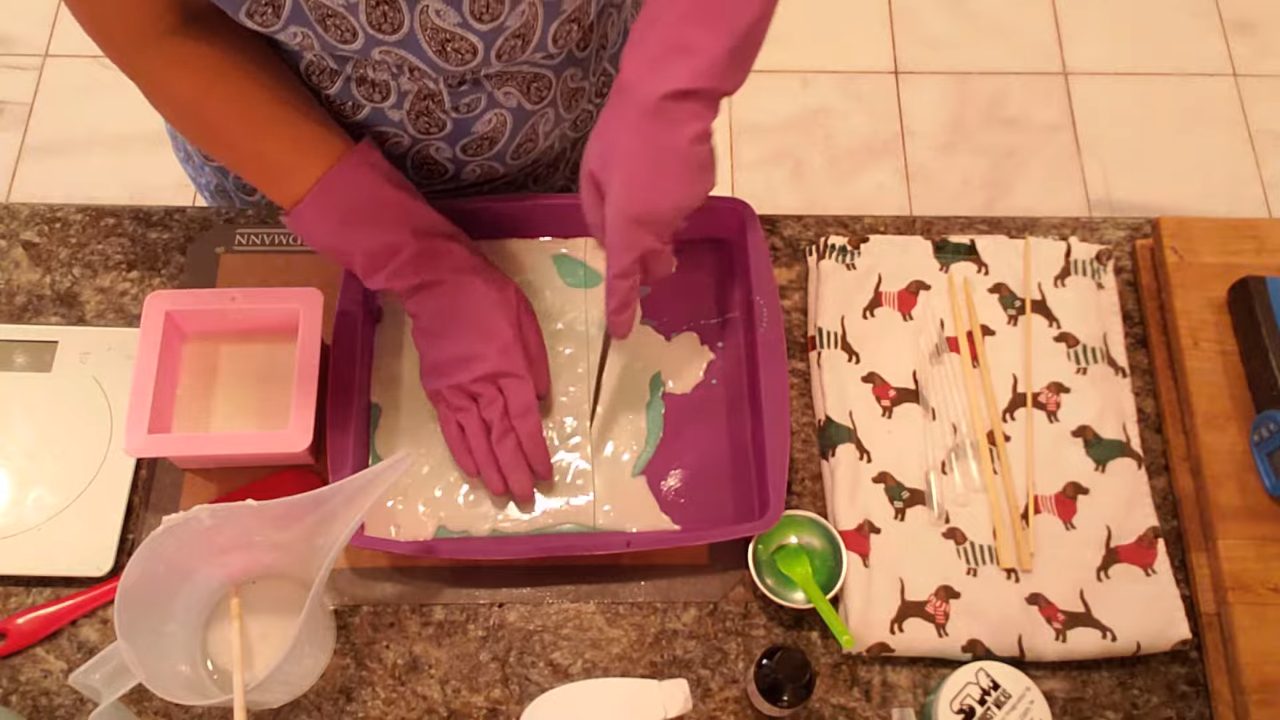
6. Twist the Strips Into the Mold
Give each strip a gentle twist and arrange them on top of the white layer in the mold. Keep them away from the edges and below the top of the mold so you can get a flat top. You can crimp them together a bit if needed.
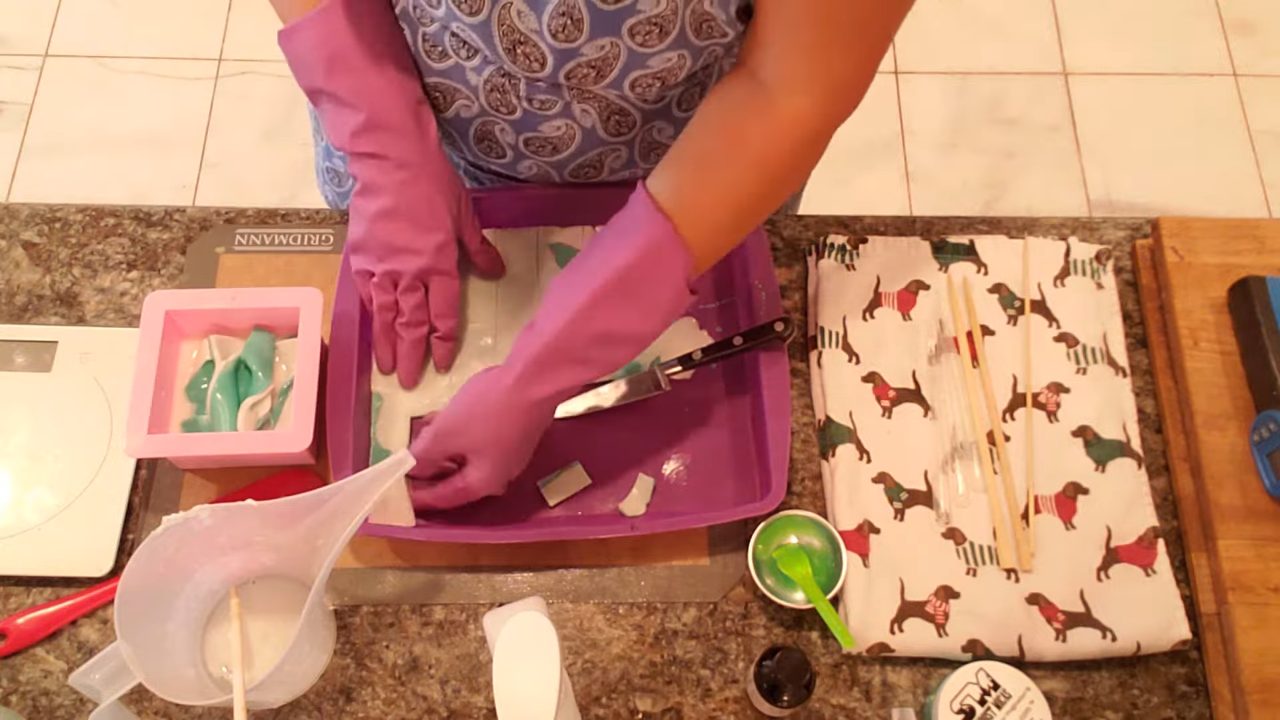
7. Pour the Final White Layer
Melt the last portion of shea butter base. Give the strips a generous spray of alcohol, then pour slowly over them so the hot soap doesn’t break through to the green layer. That’s what the white barrier layer is for. Push any floating pieces down and gently massage the top. Expect air bubbles to rise for a few minutes. Let it set completely.
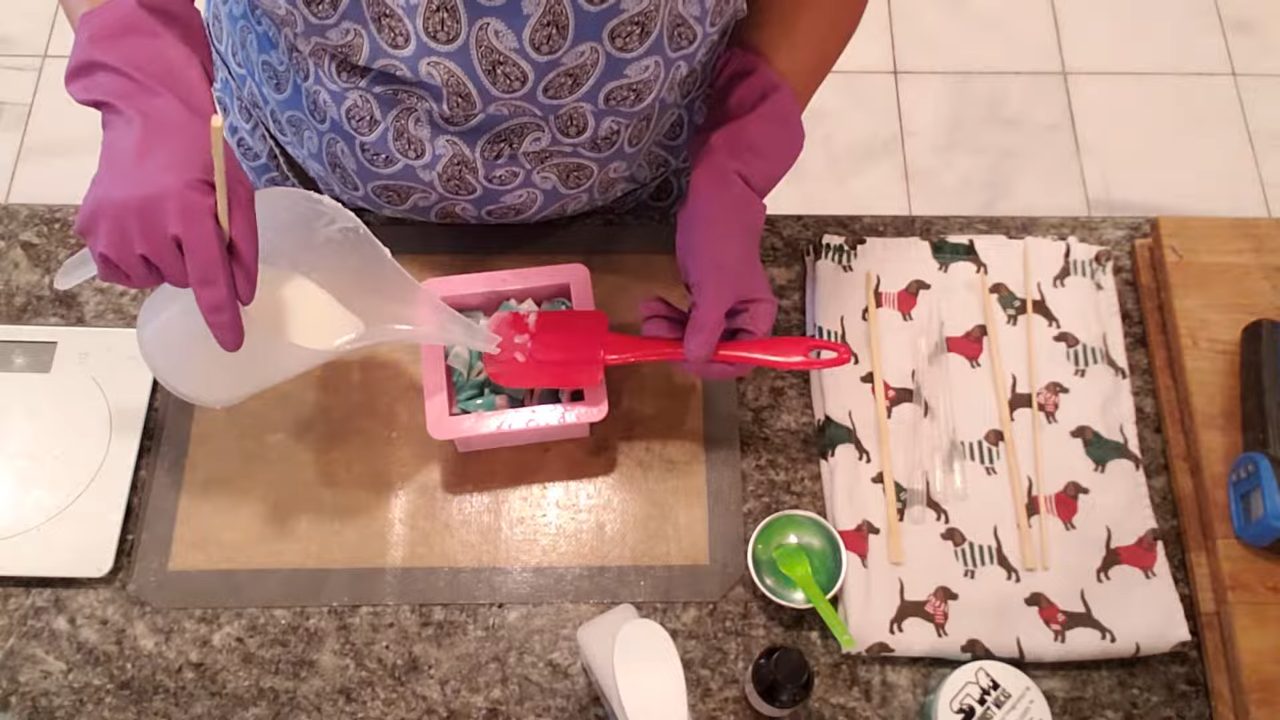
8. Unmold and Cut
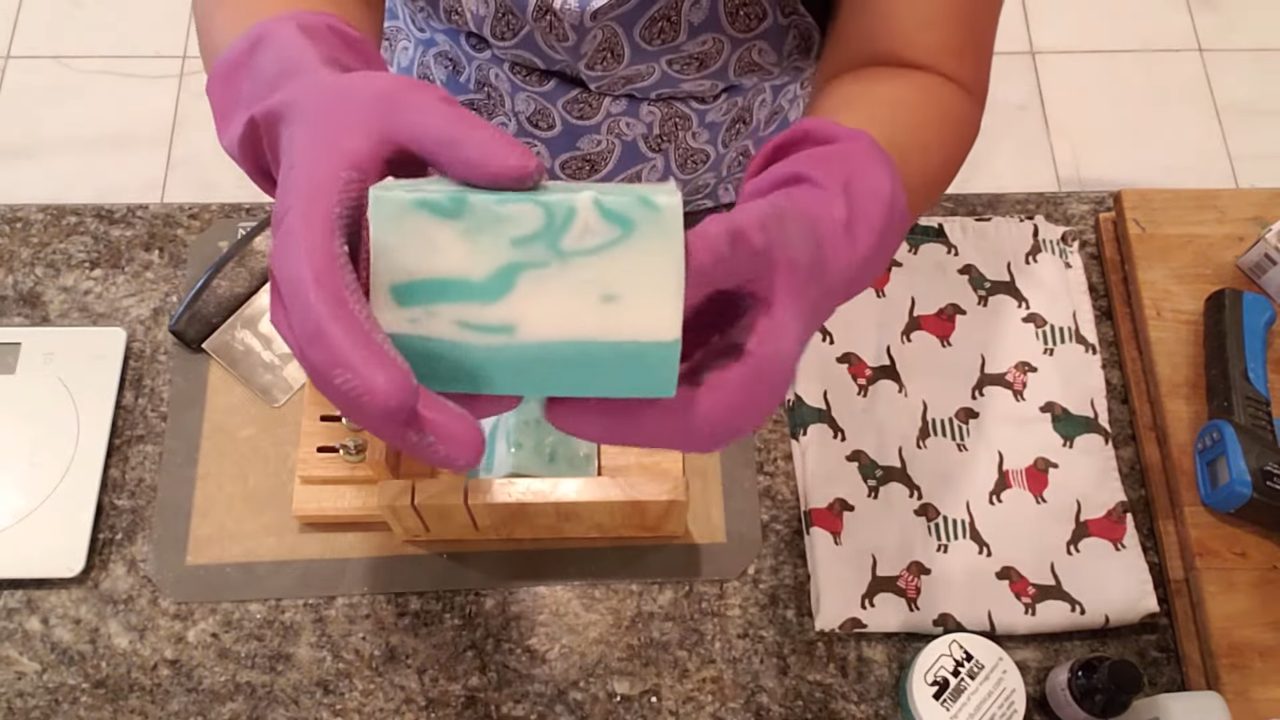
Unmold the loaf and cut it into bars. You’ll see a solid green base, a crisp white line, and twisted green and white ribbons in a creamy white top.
Tips & What I Learned
- Use a barrier layer. A thin white layer between the bottom and the final pour keeps hot soap from melting into the green.
- Hash marks + alcohol. Lightly scratch each set layer and spray well (99% alcohol is best) so the layers don’t separate.
- Pour slowly. Slow pours keep the layers from breaking through.
- Keep strips below the top. You’ll get a flatter, neater top.
- Save the extras. Leftover strips are great in a future confetti soap.
Troubleshooting
My layers separated after cutting.
Scratch hash marks into each set layer and spray generously with alcohol before pouring the next one.
The final pour melted my bottom layer.
Add a thin barrier layer first, and pour the last layer slowly once it has cooled a bit.
The top isn’t flat.
Keep the twisted strips below the rim of the mold and push down any that float.
FAQ
Can I use a different color?
Yes. Any mica works. Pastels look lovely with white, too.
What’s the silicone cake pan for?
It’s used to pour a thin slab of soap that gets cut into strips for the twisted ribbons inside the bar.
How much fragrance should I use?
I use 5 ml per 16 oz of soap base. You can always use less, but I wouldn’t use more than 5 ml per 16 oz.
More Soap Ideas
- Summer Meadow Bloom Melt and Pour Soap
- Summer Roses Melt and Pour Soap
- Wave Embed Melt and Pour Soap
- All my melt and pour soap tutorials on YouTube
If you make this, I’d love to see it! Tag me on Instagram or Pinterest, and subscribe on YouTube for new soap tutorials.
