
This peppermint foaming bath soap is one of my favorite quick holiday gifts. Fluffy whipped soap swirled in red and white like a candy cane, piped into jars, and scented with peppermint candy. This time I tried press-and-seal wrap for piping, and it made a big difference.
As an Amazon Associate I earn from qualifying purchases. Some links in this post are affiliate links. They cost you nothing extra and help support Koala Soap.
Materials & Tools
- Foaming bath whip soap base (I used Crafter’s Choice)
- Peppermint fragrance oil (I used Crafter’s Choice Peppermint Candy)
- Stardust Red Strawberry mica (from this Stardust mica set)
- Hand mixer with whisk attachment or an immersion blender with whisk
- Press-and-seal plastic wrap
- Piping bags and tips (I used a 2D tip) and a bag clip
- 8 oz jars with lids
- Two mixing bowls, a spatula and a silicone mat
- Optional: pink Himalayan salt for sprinkling on top
Fragrance Amount
Peppermint is strong, so I only used about 2 ml in my batch. My rule is no more than 5 ml of fragrance oil per 16 oz of base. You can always use less, but I wouldn’t go over 5 ml per 16 oz.
How to Make Peppermint Foaming Bath Soap: Step by Step
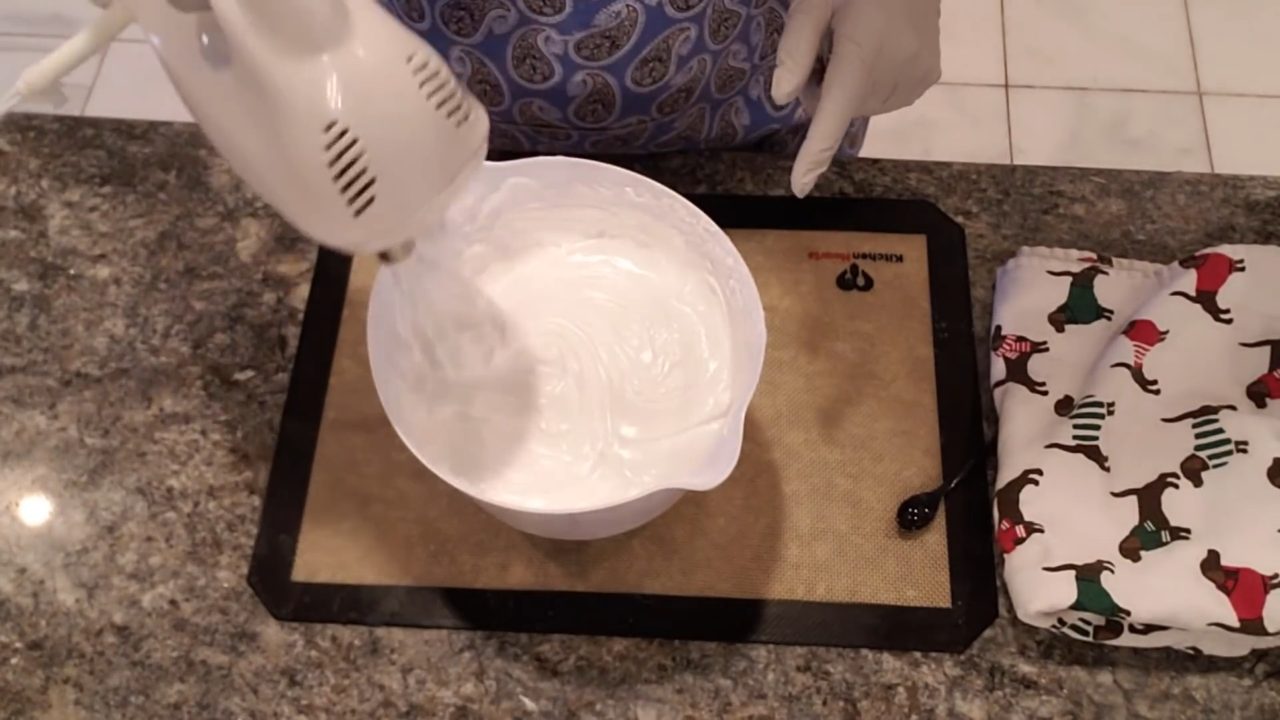
1. Whip the Base
Whip the foaming bath whip with a hand mixer and whisk attachment for about 7–8 minutes. It will get thick and fluffy, grow by about a third, and hold soft peaks on the whisk. Add the peppermint fragrance while you whip.
2. Split and Color
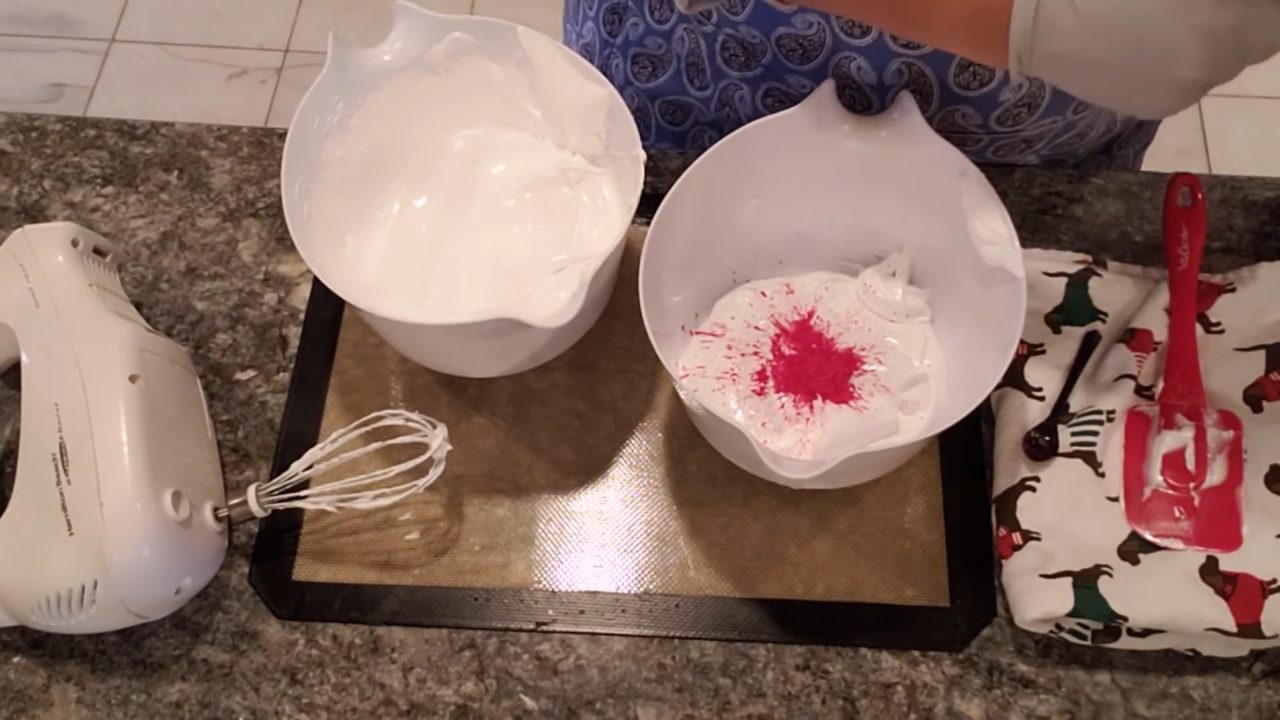
Scoop about half of the whipped soap into a second bowl. Leave one bowl white, and mix Red Strawberry mica into the other. In whipped soap it turns a pretty peppermint pinkish red. Add more if you want a deeper color.
3. Lay Out Press-and-Seal Wrap
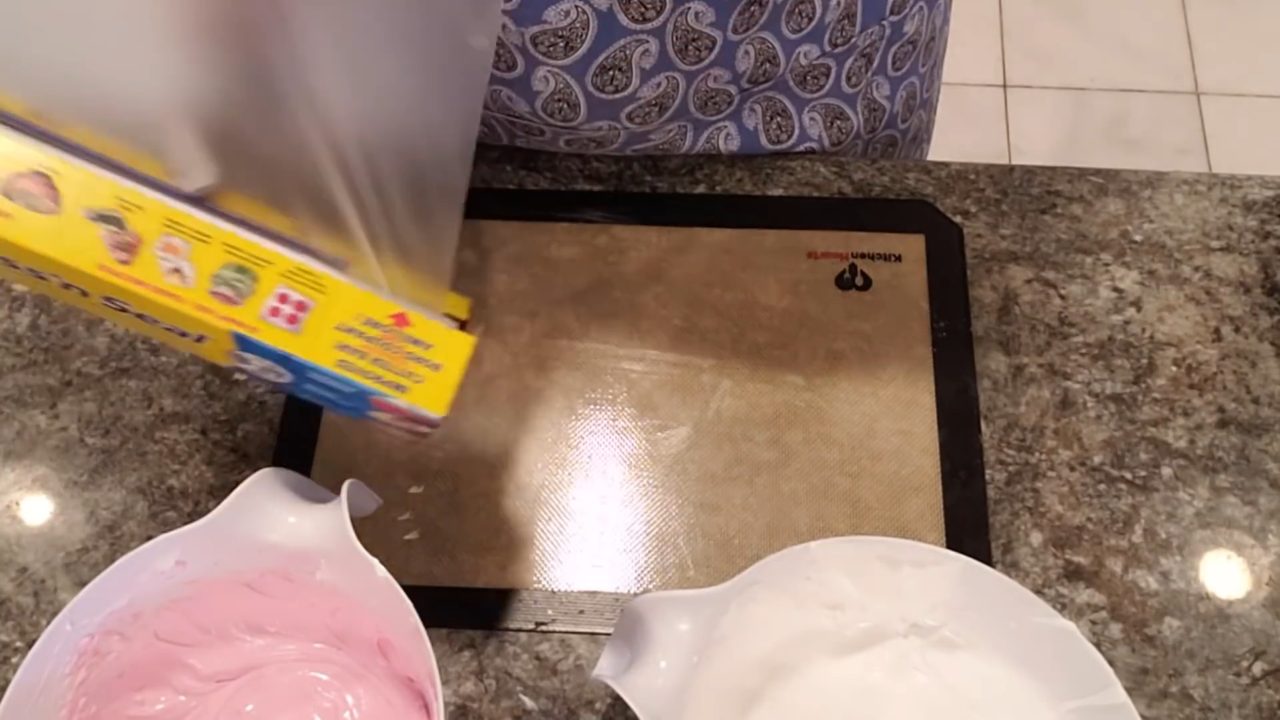
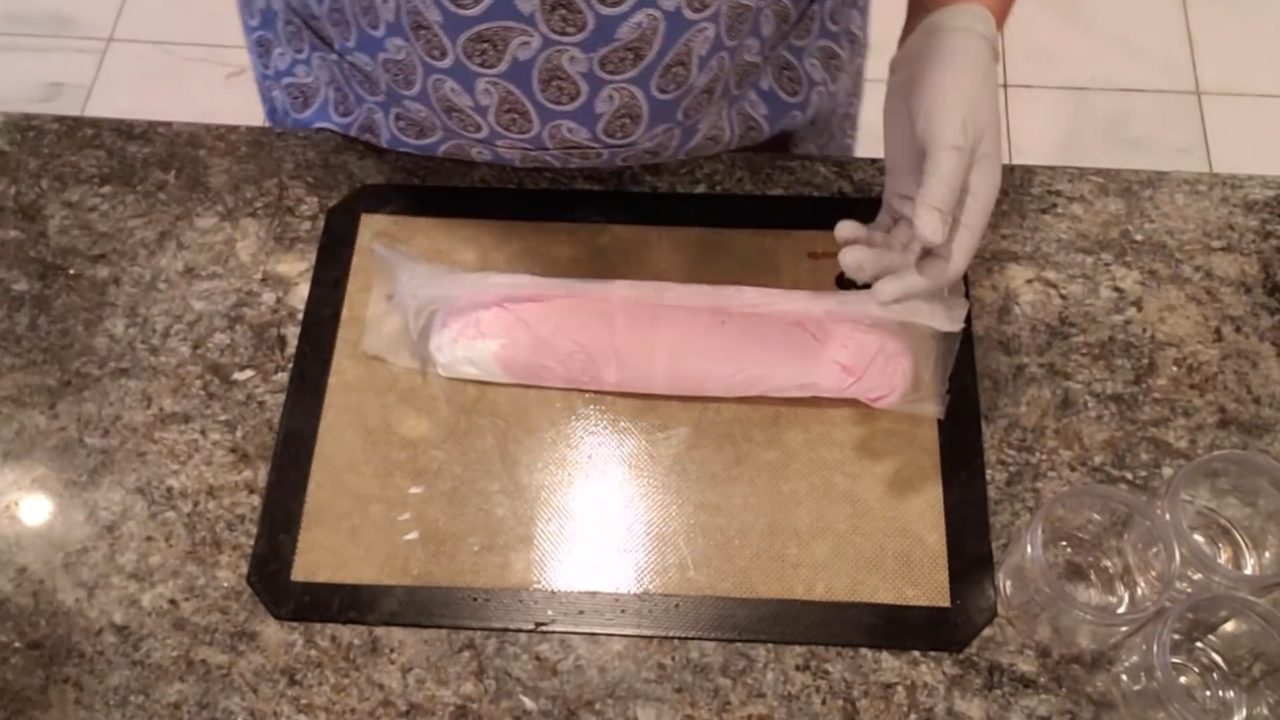
Tear off a long sheet of press-and-seal wrap and lay it flat on a silicone mat so it doesn’t slide around. Regular cling wrap didn’t work well for me, but press-and-seal holds its shape.
4. Spoon On the Two Colors
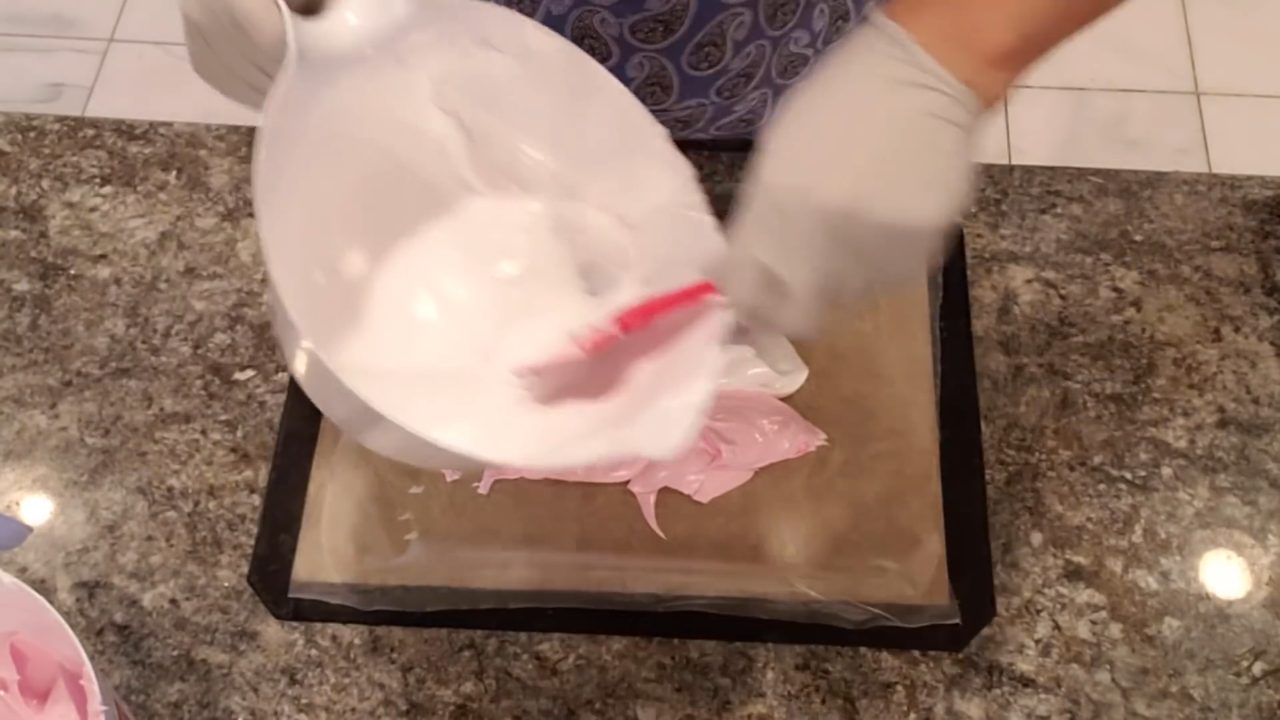
Spoon the white and red whipped soap in two strips side by side down the middle of the wrap.
5. Roll It Into a Log
Fold the wrap over and roll it into a log, squeezing the soap toward one end as you go. Twist the ends closed.
6. Load the Piping Bag
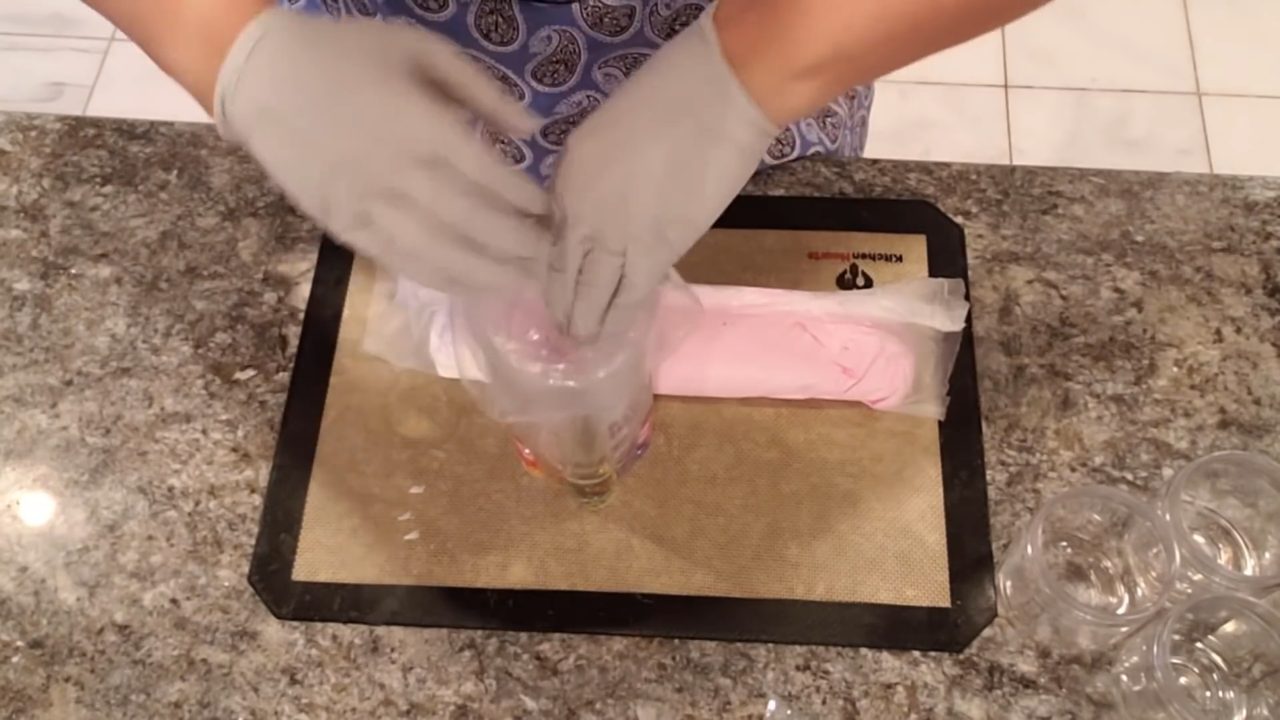
Fit a piping bag with a large star tip (I used a 2D). Cut the end off the wrapped log and slide it into the bag, cut end first. Clip the top of the bag so the soap doesn’t squeeze out the back.
7. Pipe Into Jars
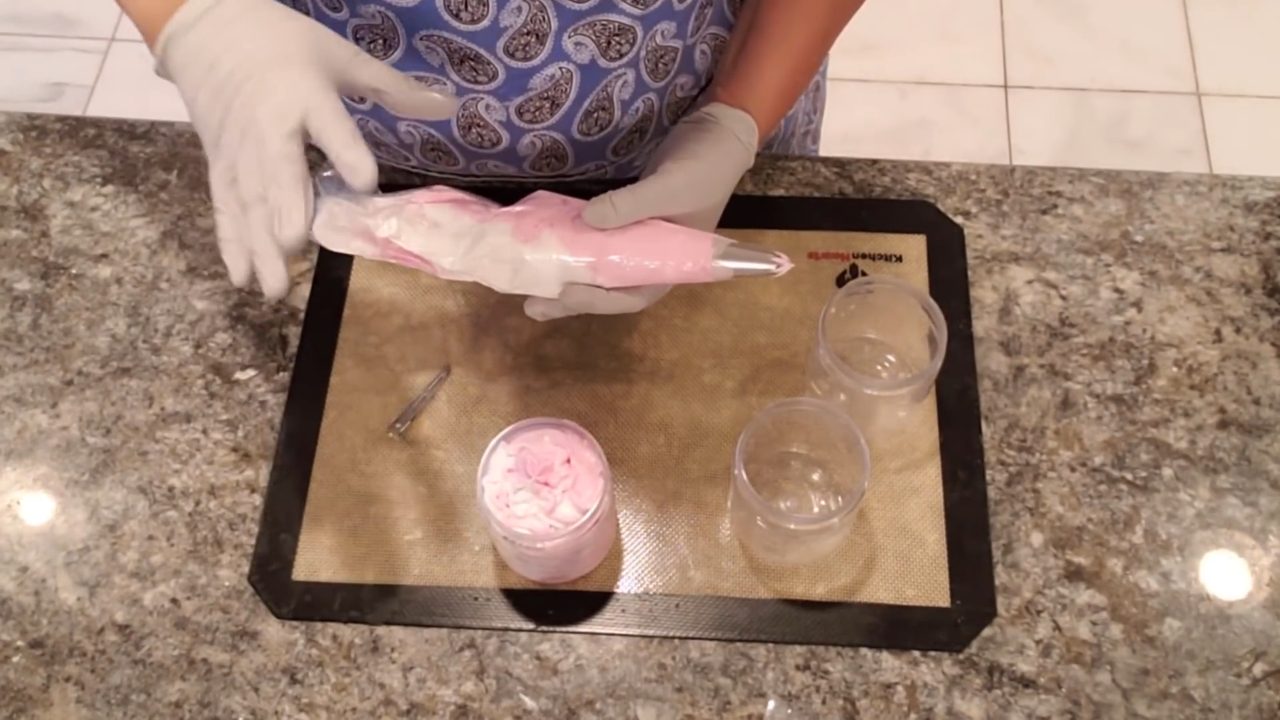
Pipe a little tester first, then fill each jar with swirls of red and white. Both colors come out together for a candy cane look.
8. Add a Finishing Touch (Optional)
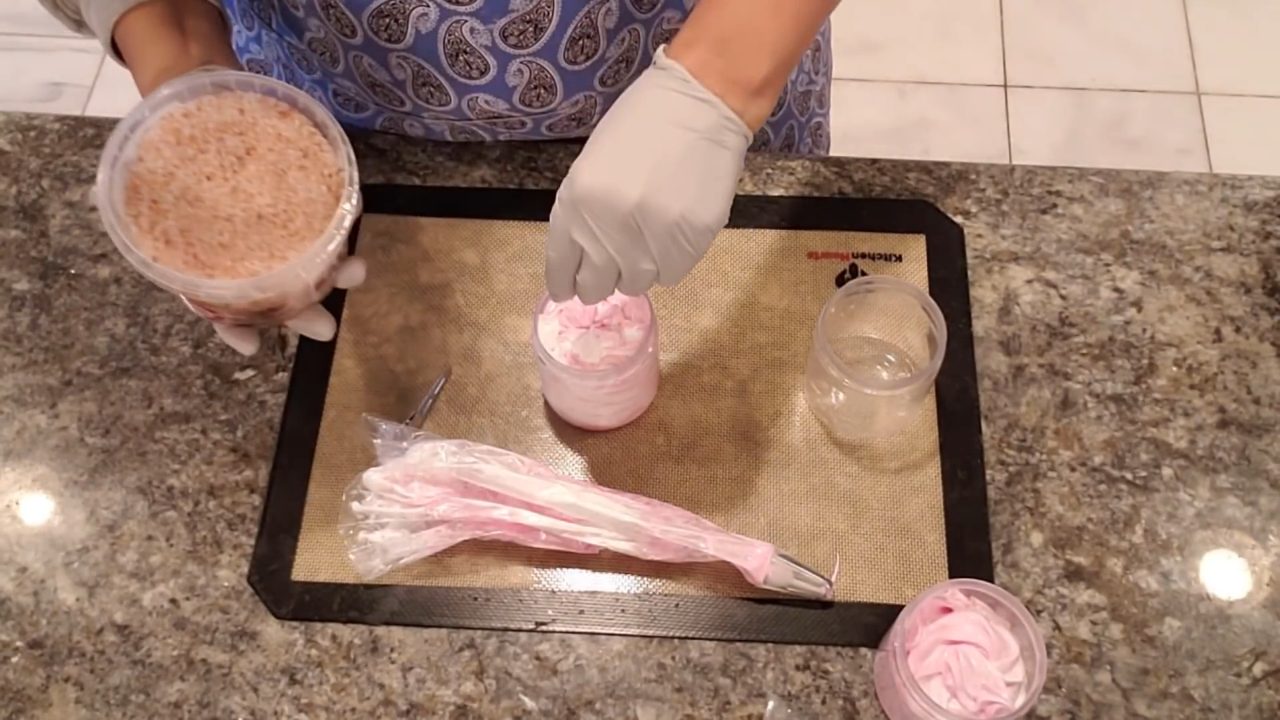
For extra sparkle, sprinkle a few grains of pink Himalayan salt on top. Put the lids on and they’re ready to gift.
Tips & What I Learned
- Whip long enough. About 7–8 minutes gives you stiff, pipeable soap.
- Press-and-seal is worth it. It holds the two colors together and makes piping much cleaner than regular cling wrap.
- Color after splitting. Divide the whipped soap first, then color one half.
- Work on a silicone mat. Nothing slides around, and cleanup is easy.
- Make extra jars. One batch fills more jars than you might expect.
Troubleshooting
My whipped soap is too soft to pipe.
Keep whipping. It needs to hold peaks on the whisk.
The colors blended together.
Spoon them side by side in the wrap and don’t stir. Each color stays in its own strip until it’s piped.
Soap is squeezing out the back of the bag.
Clip or twist the top of the piping bag closed.
FAQ
Is foaming bath whip the same as melt and pour soap?
No. Foaming bath whip is a soft, ready-made base that you whip with a mixer. You don’t melt it.
How do I use foaming bath soap?
Scoop a little and use it like a body wash in the bath or shower. It lathers into a rich foam.
How much fragrance should I use?
No more than 5 ml per 16 oz of base. Peppermint is strong, so I used just about 2 ml.
More Whipped Soap Ideas
- How to Make Whipped Soap
- Wonder Whip Soap
- Peppermint Melt and Pour Soap with Soap Frosting
- All my soap tutorials on YouTube
If you make this, I’d love to see it! Tag me on Instagram or Pinterest, and subscribe on YouTube for new soap tutorials.
