
Whipped soap is fluffy, foamy, and looks just like frosting, which is exactly why kids love it in the bath. In this tutorial I make a half batch of foaming bath whip in three colors, scent it with Monkey Farts fragrance, and pipe it into jars for gifts. I’ll also show you what went wrong with my batch, how I saved it, and a tip about vanilla fragrance oils that can save you a headache.
As an Amazon Associate I earn from qualifying purchases. Some links in this post are affiliate links. They cost you nothing extra and help support Koala Soap.
What Is Whipped Soap?
Whipped soap (sometimes sold as “foaming bath whip” or “foaming bath butter”) is a ready-made soap base with a soft, creamy texture. You don’t melt it like melt and pour soap. Instead, you add fragrance and color and whip it with a mixer until it’s light and fluffy. Then you scoop or pipe it into jars. A little goes a long way in the bath or shower, and it makes a fun, frosting-style gift.
Materials & Tools
Soap Base & Fragrance
- 4 lb foaming bath whip base (I used Crafter’s Choice; this is a half batch): whipped soap base
- Monkey Farts fragrance oil – a fun, kid-friendly citrusy scent
- Vanilla stabilizer – needed because this fragrance contains vanilla
Colorants
- Three colors of your choice. I used Radiant Plum colorant from Bramble Berry, my favorite Blue Slushie, and a third color. Micas like these Stardust micas work well too.
Tools
- Digital scale
- Hand mixer with whisk attachment or an immersion blender with whisk
- 3 mixing bowls (whipped soap grows as you whip it, so give it room)
- Piping bags and tips
- Press-and-seal or a good, clingy plastic wrap (optional, for the roll method)
- 8 oz jars with lids (or 4 oz jars for gifts)
- Spatula, spoons, tape, and gloves
- Shrink wrap bags or jar seals for packaging
How to Make Whipped Soap: Step by Step
1. Weigh the Base
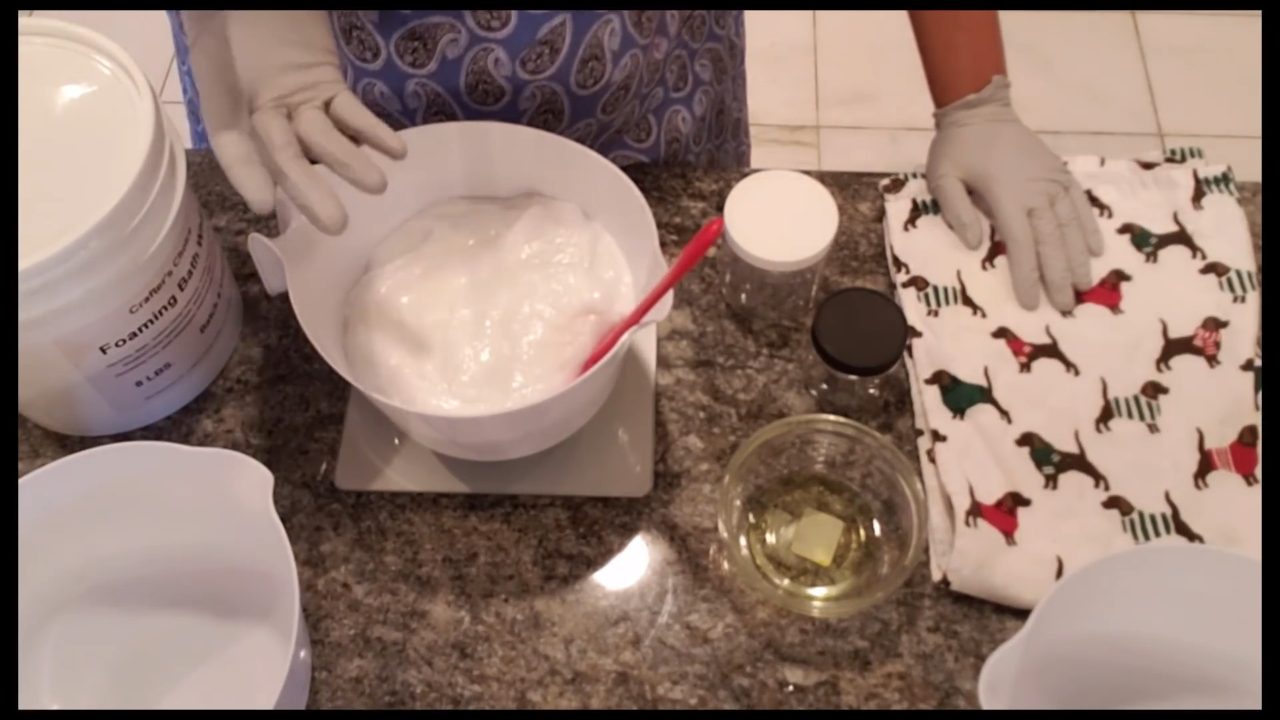
Weigh out 4 pounds of foaming bath whip on your scale. That’s half a batch of the tub I use, and it still fills a lot of jars. It’s plenty for gifting to family.
2. Mix In the Fragrance and Vanilla Stabilizer
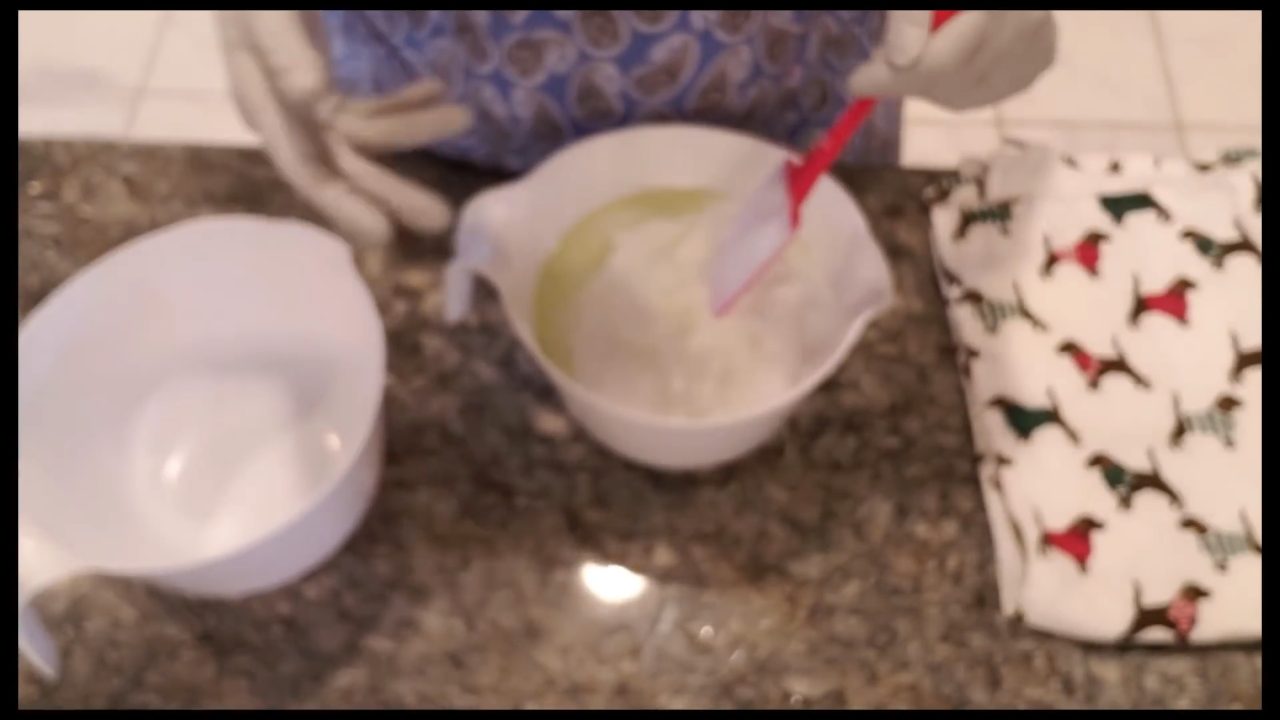
Mix the fragrance oil and vanilla stabilizer into the whole batch before you divide it, so every color smells the same. I use 5 ml of fragrance oil per 16 oz of base, so about 20 ml for this 4 lb batch. You can always use less if you prefer a lighter scent, but I wouldn’t go over 5 ml per 16 oz. Monkey Farts contains some vanilla, which can turn soap tan or brown over time, so the stabilizer helps keep the colors true.
3. Divide the Batch
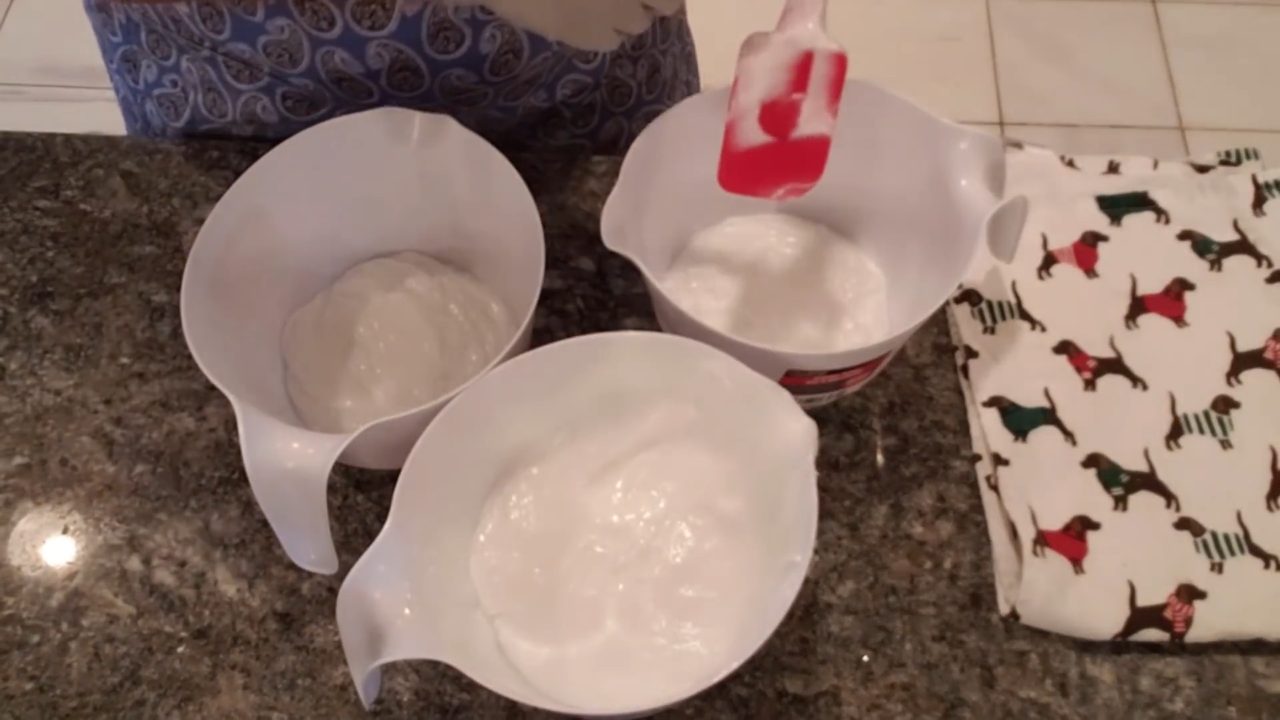
Split the scented base into separate bowls, one per color. Whipped soap gets much bigger as you whip it and can overflow a single bowl. I planned on two colors but went with three, because three colors just look more fun, especially for kids. You can weigh each portion, but eyeballing it works fine.
4. Add Color and Whip
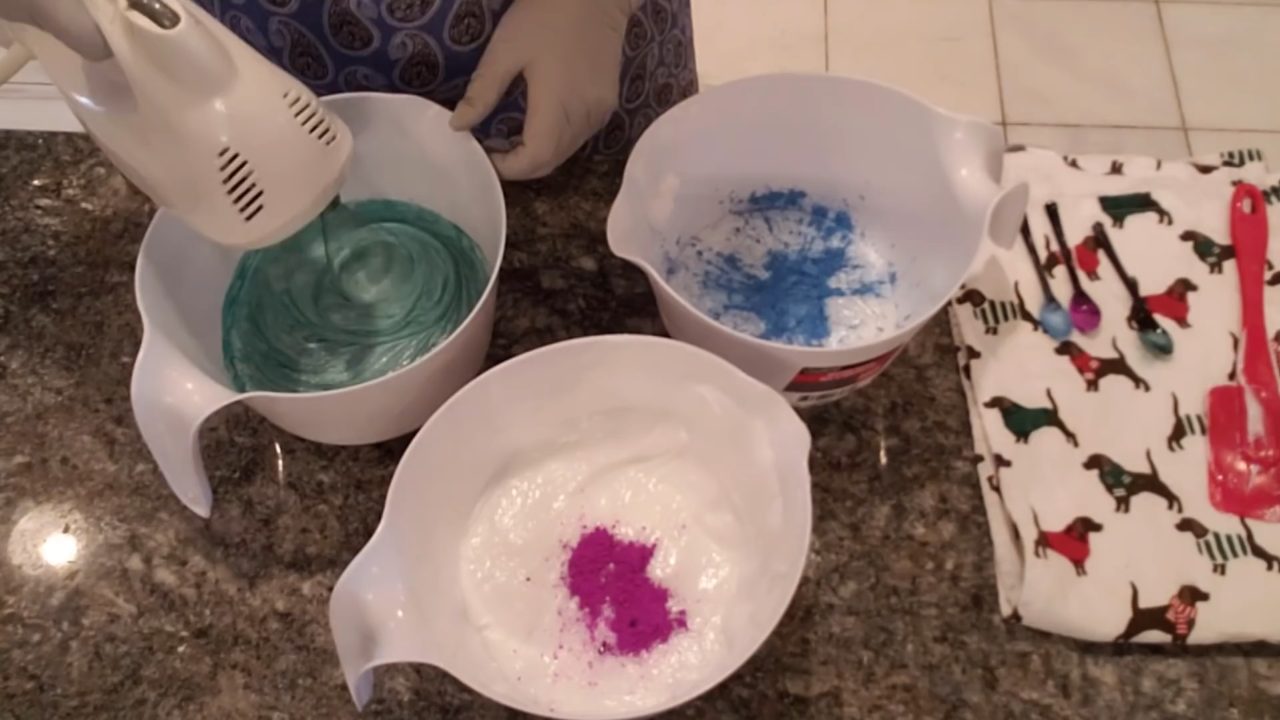
Add color to each bowl and stir it in a little by hand first. If you turn on the mixer right away, the powdered colorant can puff up into the air. Then whip each bowl with a hand mixer and whisk attachment until it’s fluffy. You want a thick, frosting-like texture (a bit like trace) that holds its shape when you pipe it. A gentle whisk works well because it doesn’t overbeat the soap.
5. Fill the Piping Bag
My plan was to lay the three colors side by side on plastic wrap, roll them into a log, and drop the log into a piping bag. My cling wrap just wouldn’t cling, so I went to plan B. I cut the tip off a piping bag, taped the end to keep it from leaking, and spooned all three colors straight into the bag. It’s messier (wear gloves!), but it still gives you pretty multicolor swirls.
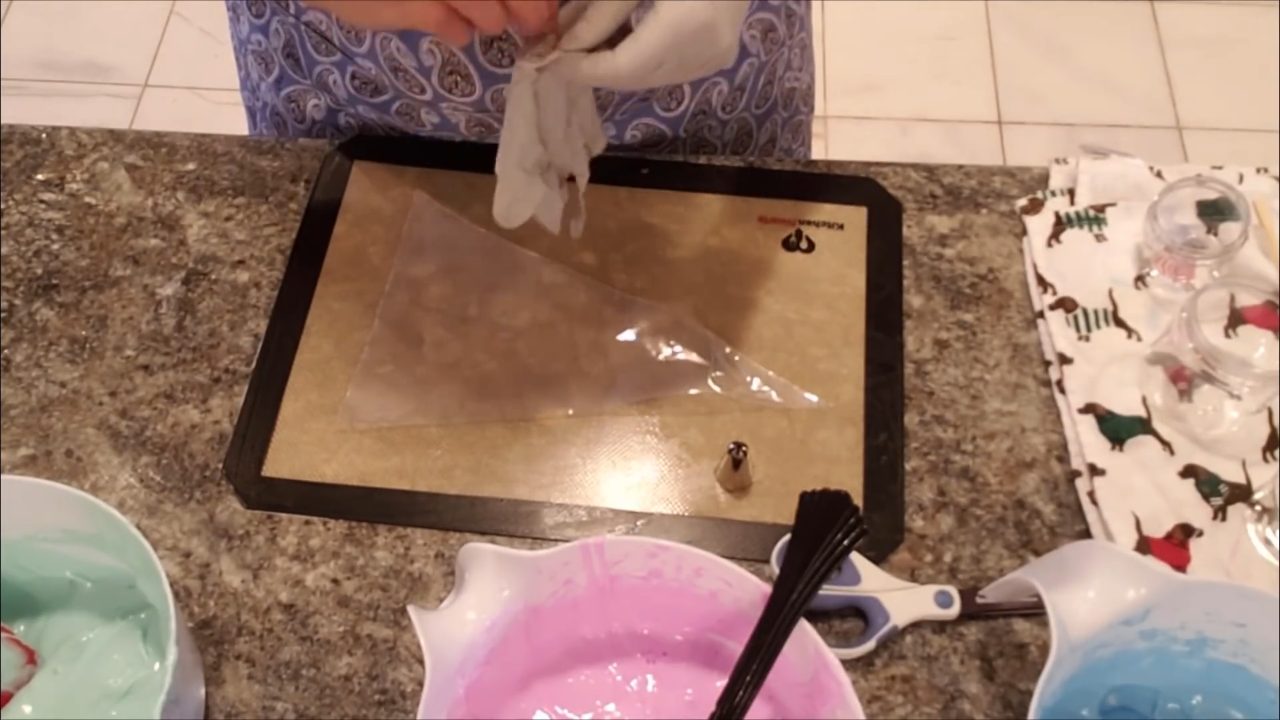
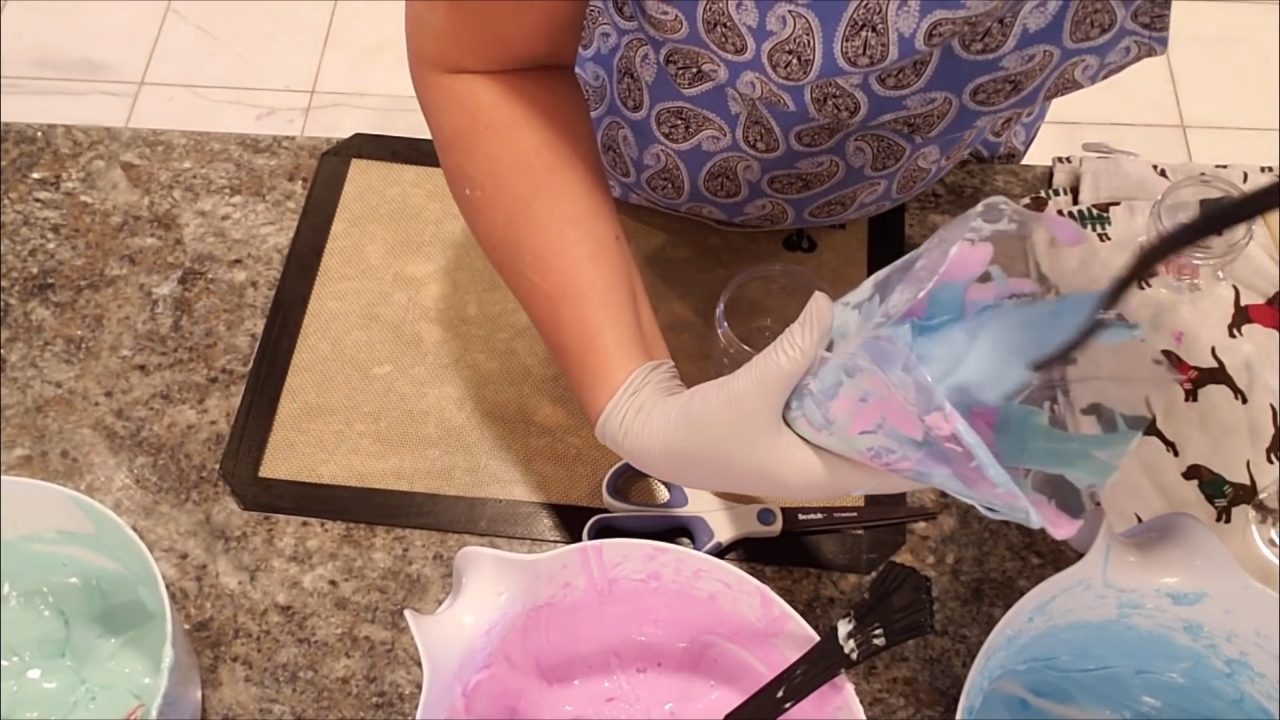
6. Pipe Into Jars
Pipe a small dollop in the center of the jar, then circle around it to fill the jar. Keep going until all three colors show through the sides. Tap the jar gently on the counter to settle the soap and release air pockets. Wipe the rims clean before putting the lids on.
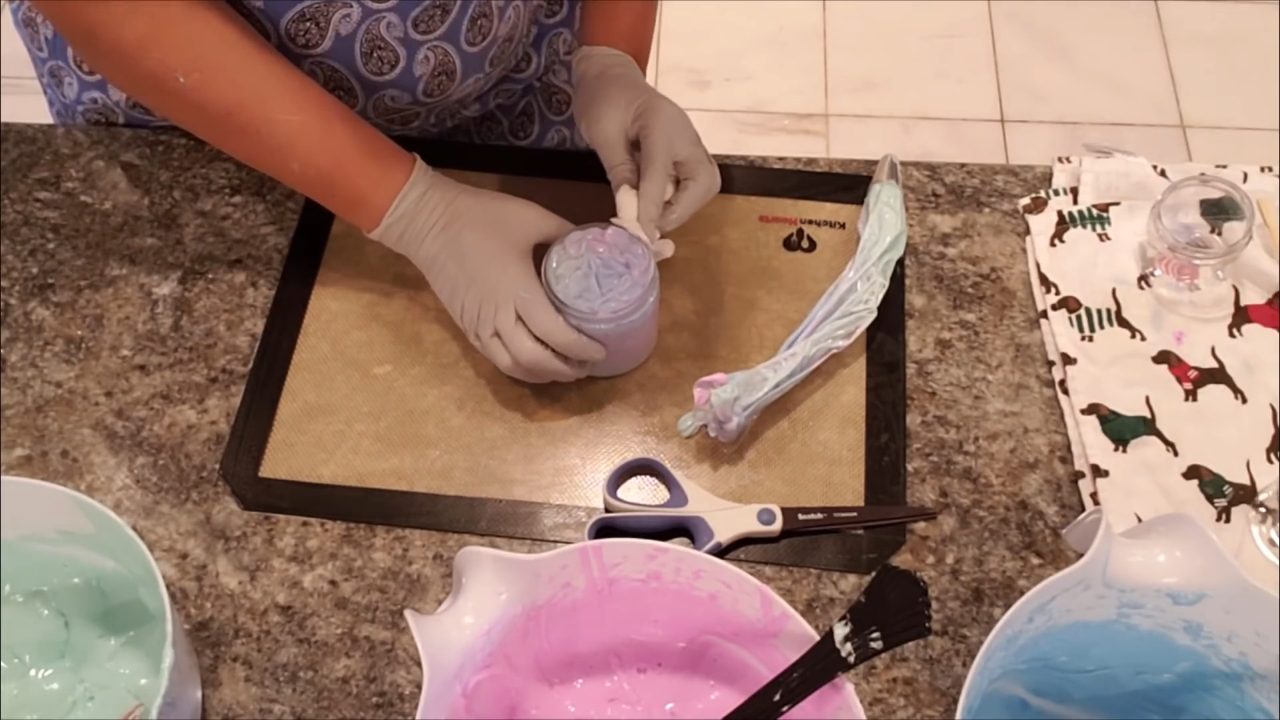
7. Package
If you’re mailing jars or giving them as gifts, add a jar seal or slip each jar into a shrink wrap bag so the lid stays put in transit. For more ideas, see how I package melt and pour soap with labels and shrink wrap.
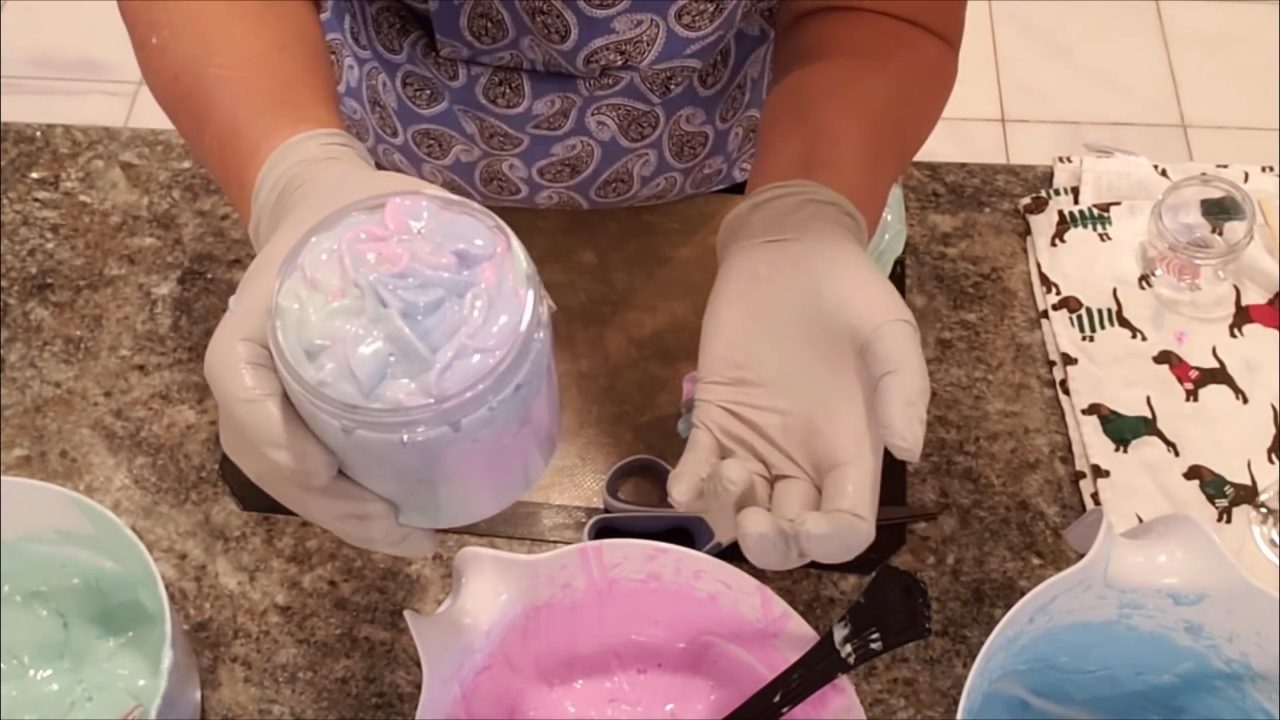
Tips & What I Learned
- Be careful with vanilla fragrances. A new foaming whipped soap calculator gave me the wrong amounts for a fragrance that needs vanilla stabilizer, and that caused problems with this batch. For now I’m sticking with scents that don’t contain vanilla.
- Use real press-and-seal or a cake piping bag. Cheap cling wrap doesn’t work well for the roll method. Proper pastry bags make the job much cleaner.
- Whip in separate bowls. The soap expands a lot, so don’t try to whip a big batch in one small bowl.
- Mix color in by hand first. It keeps powdered colorant from flying everywhere when you turn on the mixer.
- Don’t stress over mistakes. Even when things get messy, whipped soap still turns out beautiful in the jar.
Troubleshooting
My whipped soap is too runny to pipe.
Keep whipping until it thickens to a frosting-like texture that holds a peak.
There are air pockets along the sides of the jar.
Tap the jar firmly on the counter a few times to settle the soap.
My soap is turning brown.
Your fragrance likely contains vanilla. Use a vanilla stabilizer or choose a vanilla-free scent.
The piping bag is leaking out the end.
Tape the tip closed while you fill the bag, then remove the tape when you’re ready to pipe.
FAQ
Is whipped soap the same as melt and pour soap?
No. Melt and pour soap is melted and poured into molds. Whipped soap base is soft at room temperature and is whipped with a mixer, not melted.
How many jars does 4 pounds make?
It depends on how much the soap expands when whipped and how full you fill each jar, but a 4 lb half batch fills a lot of jars. I use 8 oz jars for home and 4 oz jars for Christmas and other gifts.
How do I use whipped soap?
Scoop out a small amount and use it like a body wash in the bath or shower. It lathers into a rich foam.
Can I use any fragrance oil?
Use a skin-safe fragrance oil made for soap or bath products, and use no more than 5 ml per 16 oz of base. Less is fine if you want a lighter scent. If the fragrance contains vanilla, add a vanilla stabilizer to prevent browning.
More Whipped Soap Ideas
If you make this, I’d love to see it! Tag me on Instagram or Pinterest, and subscribe on YouTube for new soap tutorials.
