
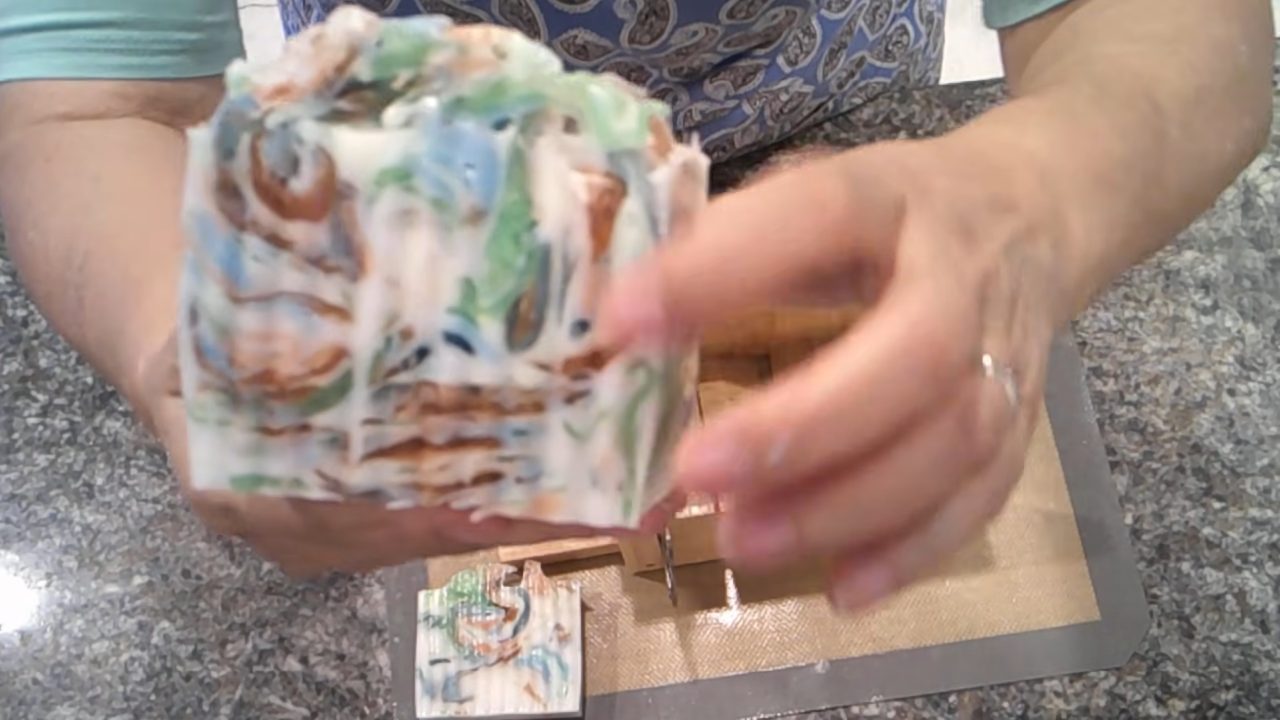
Coral Lagoon melt and pour soap is a colorful “mix and match” chunk soap that looks like peeking into an underwater lagoon. Chunks of green, blue and bronze soap in both clear and opaque versions sit in a creamy shea butter base, with a sprinkle of bio glitter on top. It smells like Strawberry Lemonade and is easy enough for beginners.
As an Amazon Associate I earn from qualifying purchases. Some links in this post are affiliate links. They cost you nothing extra and help support Koala Soap.
Materials & Tools
Soap Bases (for a 24–26 oz square mold)
- 7.5 oz shea butter melt and pour soap base + 7.5 oz clear melt and pour soap base for the colored chunks (six 2.5 oz portions, 15 oz total)
- About 10–11 oz shea butter melt and pour base for the main pour
Color, Fragrance & Glitter
- Stardust mica in Green Jade, Blue Lagoon and Bronze Age (Stardust micas)
- Strawberry Lemonade fragrance oil
- Bio glitter
Molds & Tools
- Square soap mold (holds about 24–26 oz)
- Silicone baking pan for pouring the colored soap
- Pour cups, a skewer and gloves
- Spray bottle of isopropyl alcohol
- Thermometer
- Soap cutter and a wavy cutter
Fragrance Amount
My rule is 5 ml of fragrance oil per 16 oz of soap base, so this 25 oz loaf could take up to about 7.5 ml. I used about 5 ml and added a little more to the final pour. You can always use less, but I wouldn’t go over 5 ml per 16 oz.
How to Make Coral Lagoon Melt and Pour Soap: Step by Step
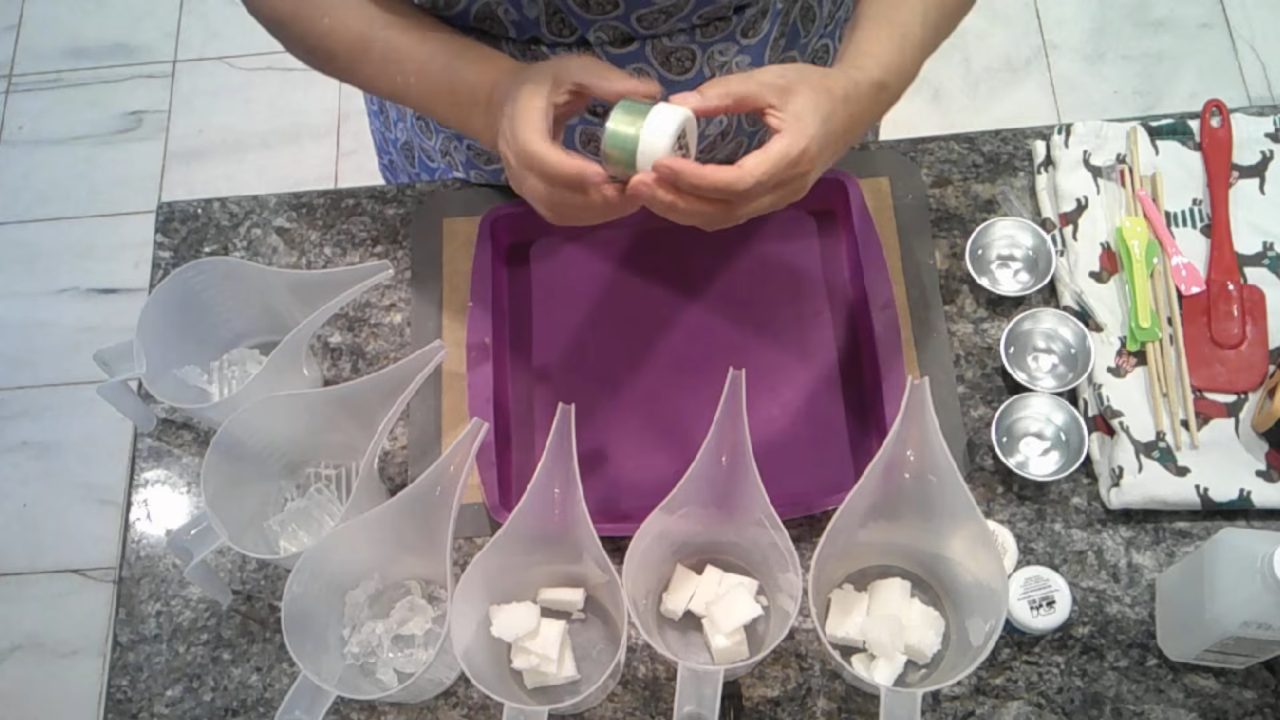
1. Divide and Color Six Portions
Melt the shea butter and clear bases and divide them into six 2.5 oz cups: three shea butter and three clear. Color one shea butter cup and one clear cup with each mica: Green Jade, Blue Lagoon and Bronze Age. Each color gives you two shades, a soft opaque version and a deeper, true-to-color clear version.
2. Pour the Colors Into a Pan
Pour the six colors into a silicone baking pan, mostly the clear colors first. Pour slowly so the colors don’t run together and turn muddy. Toss any skins from the cups on top. Let everything set.
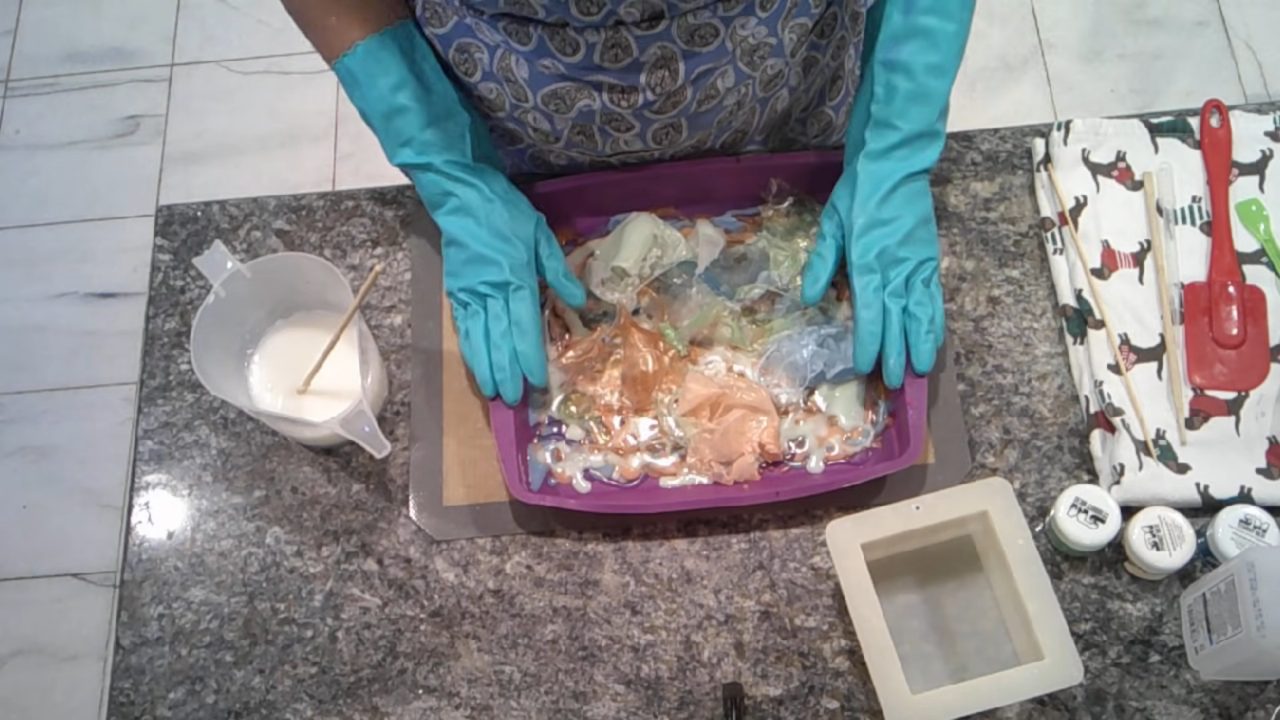
3. Break It Into Chunks
Once it’s firm, tear and break the colored soap into chunks. Mix the colors together so each bar gets a little of everything.
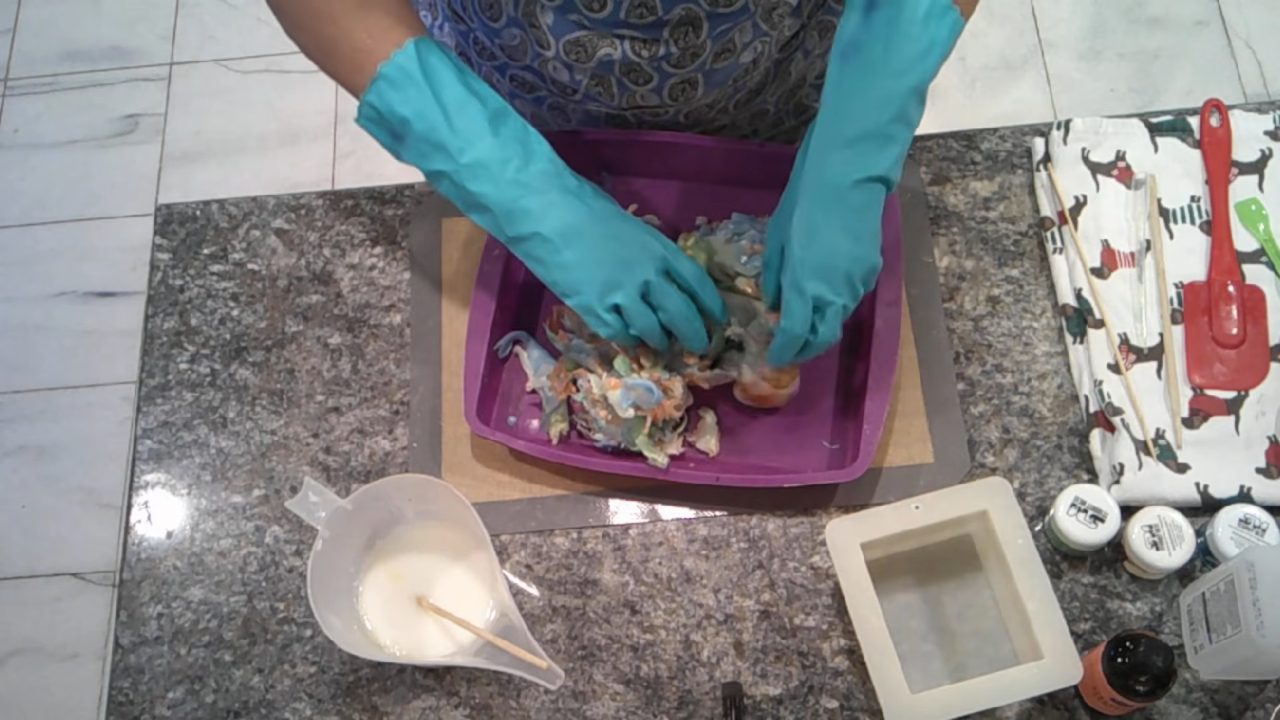
4. Fill the Mold
Pack the chunks into the square mold, but not too tightly. You want the base to flow into all the nooks and crannies. Poke a few holes down through the chunks with a skewer, then spray generously with alcohol so everything sticks.
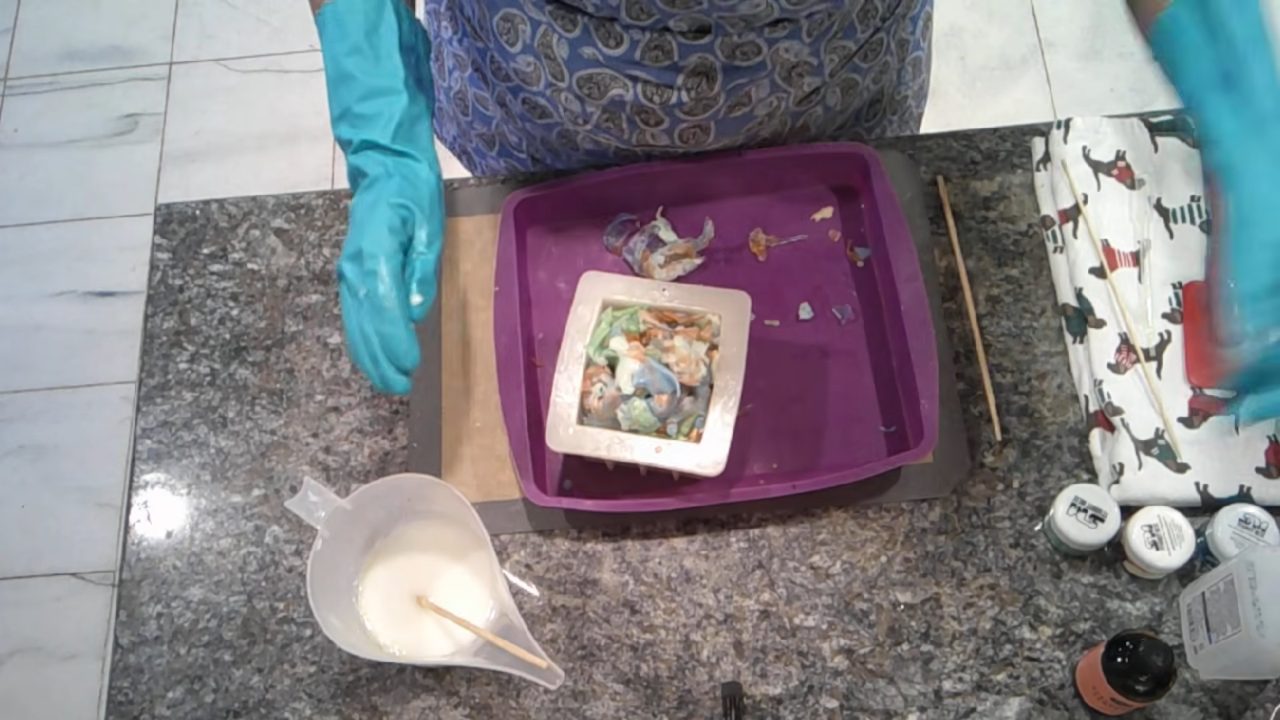
5. Pour the Shea Butter Base
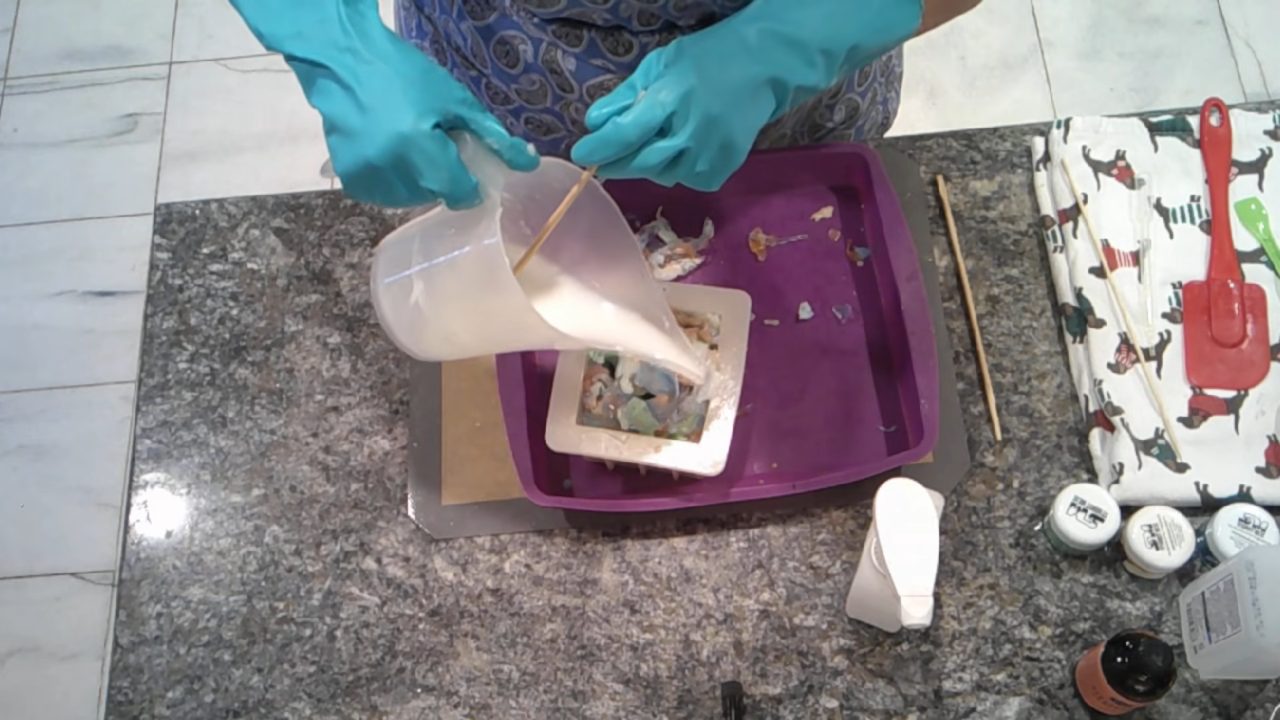
Melt about 10 oz of shea butter base and add the rest of your fragrance. Fragrance cools the base down, so check that it’s still runny with no skin. Mine was about 144°F, which is warm enough to flow but cool enough not to melt the colors. Stir and pour slowly so it doesn’t overflow while it works its way down. I needed about one more ounce to bring it up to the lip of the mold.
6. Add Bio Glitter
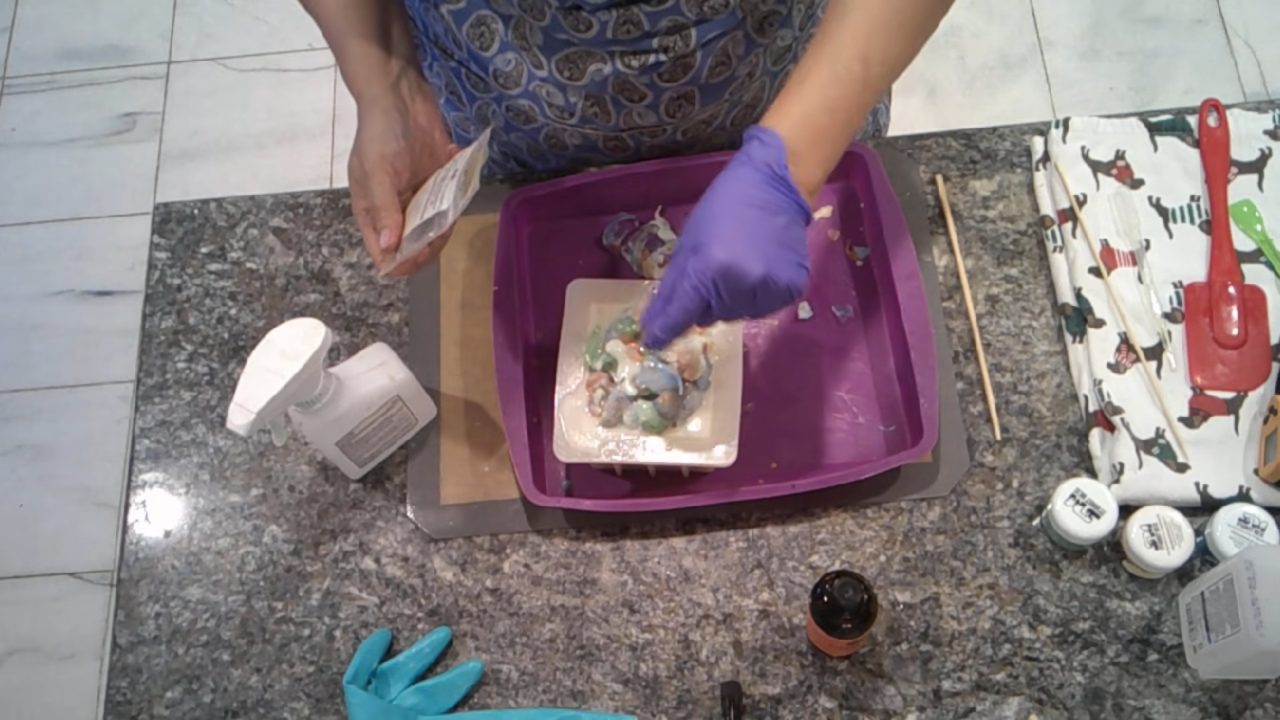
Wearing a glove so the oils from your fingers don’t get on the glitter, gently sprinkle bio glitter over the top. Let the soap set completely.
7. Unmold and Cut
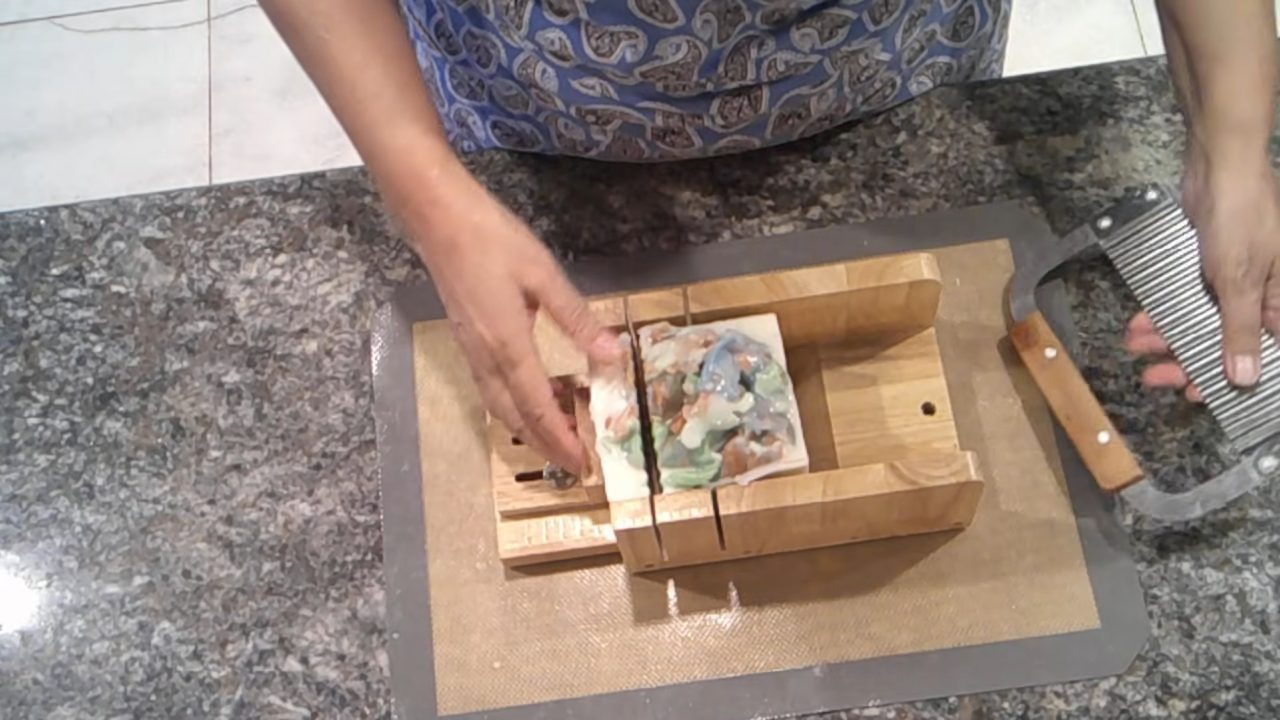
Unmold the loaf. A square mold can be a bit of a fight! Push the loaf all the way against the side of your soap cutter so it doesn’t slide. This loaf has a tall top, so check that the blade will clear it before you cut. I love using a wavy cutter on the sides for a pretty finish.
Tips & What I Learned
- Use each color twice. Putting each mica in both clear and shea butter base doubles your shades.
- Bronze looks best in clear base. In opaque base, Bronze Age turns a pale tan. Next time I’ll use it only in clear base for a deep, striking color.
- Don’t pack the chunks too tightly. The base needs room to flow between them.
- Pour runny, not hot. Around 144°F with no skin worked well.
- Wear a glove for glitter. Oily fingers make bio glitter clump.
Troubleshooting
My colors turned muddy.
Pour the colored soap slowly and let each color firm up a little so they don’t run together.
There are gaps between the chunks.
Poke holes with a skewer before pouring, and pour slowly so the base reaches the bottom.
The bars fell apart when I cut them.
Spray the chunks well with alcohol before pouring so the base bonds to them.
I didn’t have enough soap to fill the mold.
Melt another ounce or two and top it off. It’s better to have a little extra than not enough.
FAQ
How much soap does this recipe make?
It fills a square mold that holds about 24–26 oz: 15 oz of colored chunks plus about 10–11 oz of shea butter base.
Can I use different colors?
Yes. Any three micas work. Just remember some colors, like bronze, look very different in opaque base than in clear.
How much fragrance should I use?
I use 5 ml per 16 oz of soap base. You can always use less, but I wouldn’t use more than 5 ml per 16 oz.
More Confetti Soap Ideas
- Confetti Melt and Pour Soap
- Aqua Bloom Melt and Pour Soap
- Mocha Sky Confetti Melt and Pour Soap
- All my melt and pour soap tutorials on YouTube
If you make this, I’d love to see it! Tag me on Instagram or Pinterest, and subscribe on YouTube for new soap tutorials.
