
A checkered melt and pour soap looks tricky, but it’s really just white bars cut into squares and set back in the mold with a bright contrasting color poured around them. I got a request to show how to make a checker soap, so here’s one simple way to build the pattern, with a straight cutter and a wavy cutter.
As an Amazon Associate I earn from qualifying purchases. Some links in this post are affiliate links. They cost you nothing extra and help support Koala Soap.
Materials & Tools
Soap Bases
- Goat’s milk melt and pour soap base (for the white squares)
- An opaque melt and pour base for the colored part, like shea butter melt and pour
Color & Scent
- A hot pink mica for contrast (I used Bramble Berry’s Electric Bubblegum). Any bright, dark color from a Stardust mica set works too.
- Fragrance oil (I used Sun Ripened Raspberry)
Tools
- Pink 6 cavity bar mold
- A straight soap cutter or knife and a wavy cutter
- Funnel pour cups for a precise pour
- Spray bottle of 91% isopropyl alcohol
- Thermometer
- A soap planer (helpful, but not necessary)
Fragrance Amount
Use up to 5 ml of fragrance oil per 16 oz (1 lb) of soap base. You can always use less if you like a lighter scent, but don’t go over 5 ml per 16 oz.
How to Make Checkered Melt and Pour Soap
1. Pour the White Bars
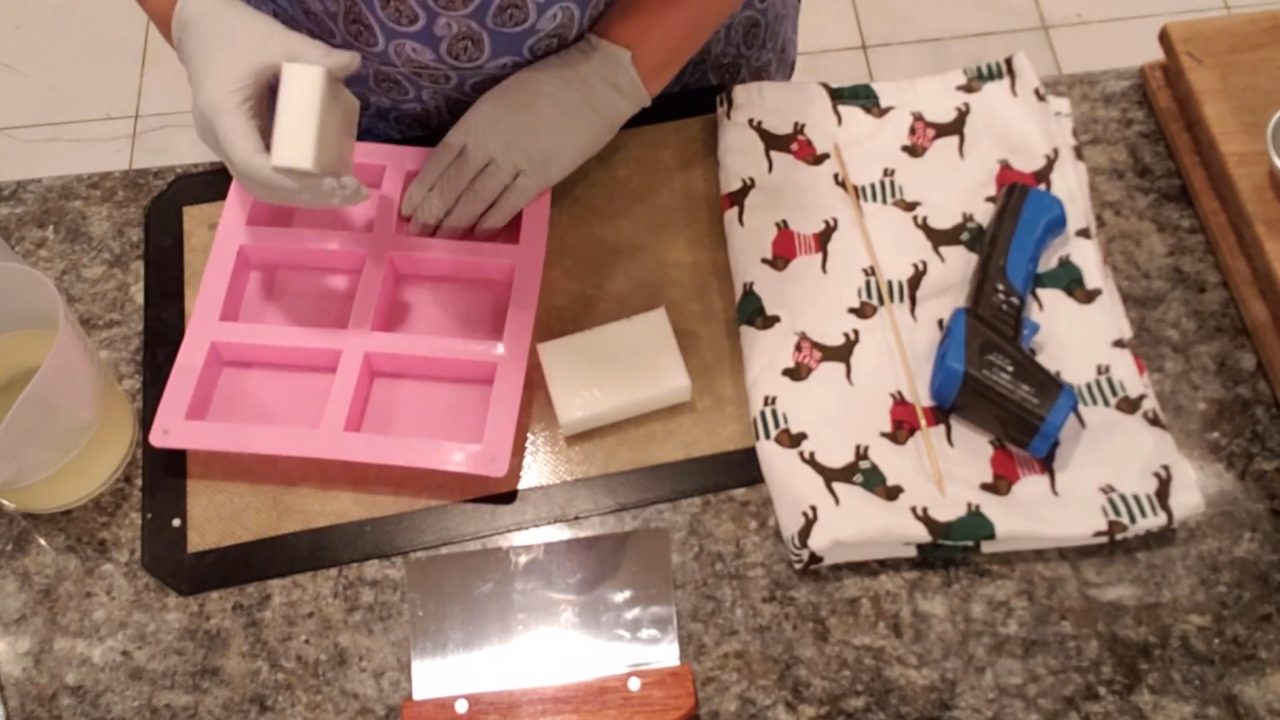
Melt the goat’s milk base. Mine was about 170°F, so I let it cool to about 140°F before adding the fragrance. Fill two cavities of the mold all the way, spray with alcohol and let them set. Then unmold the bars.
2. Mix the Contrasting Color
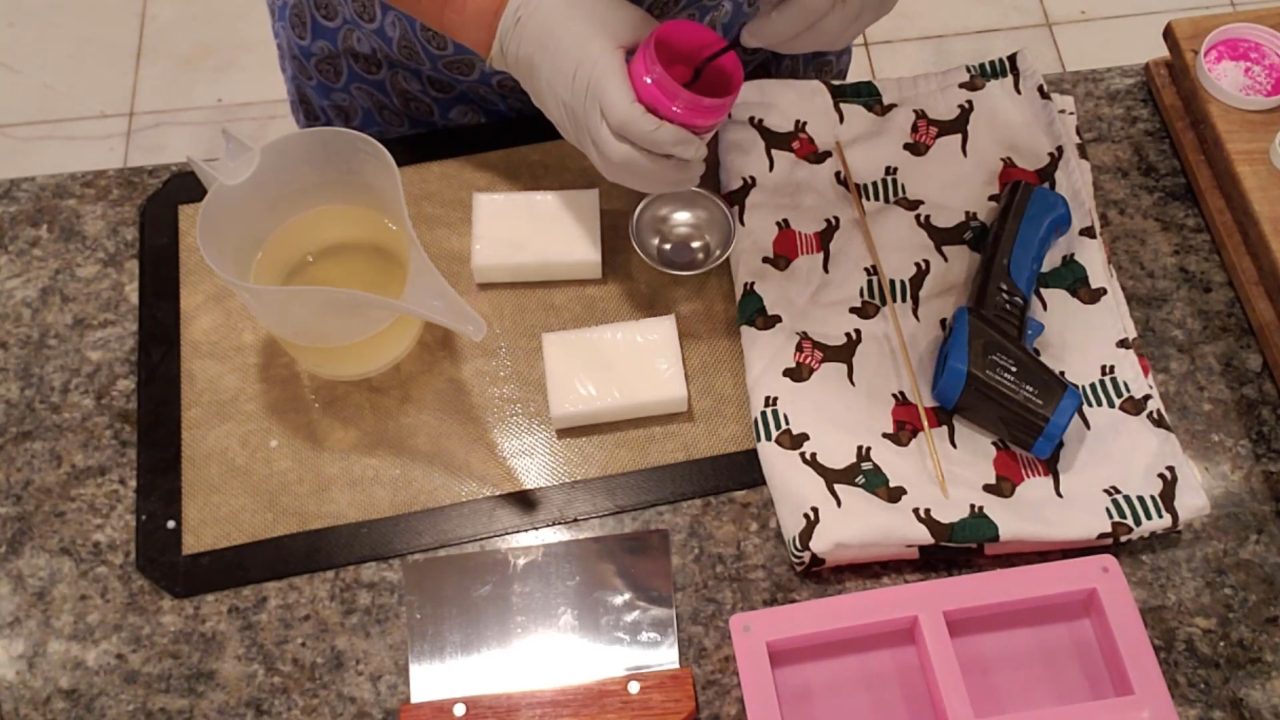
Melt the opaque base and mix in the pink mica with a little alcohol. A dark or very bright color makes the checkered pattern stand out, but a gradient of colors works well too.
3. Cut the Bars into Squares
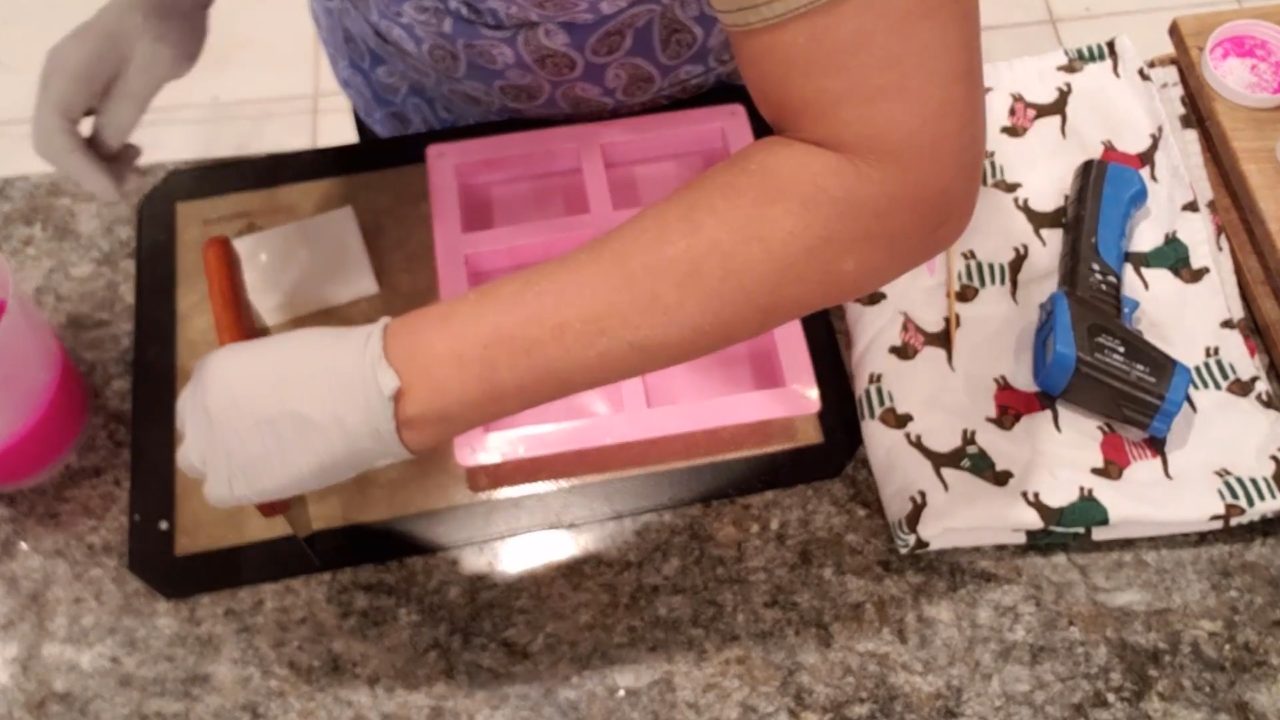
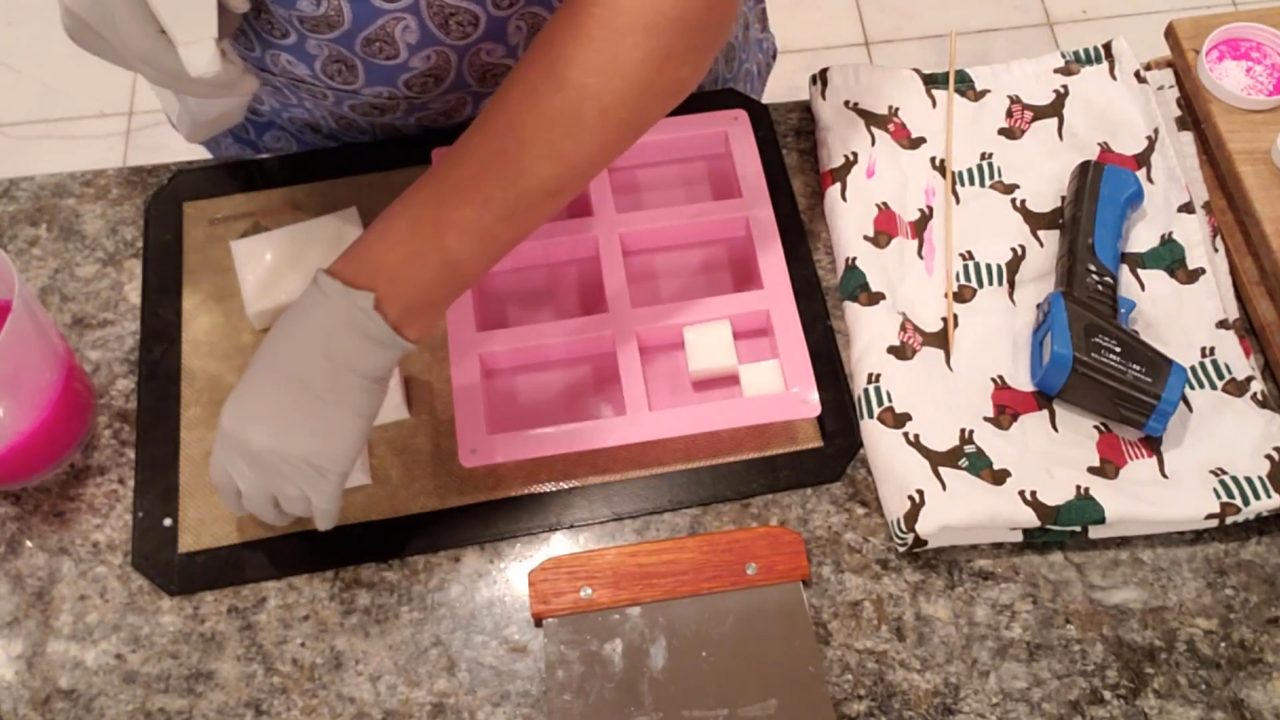
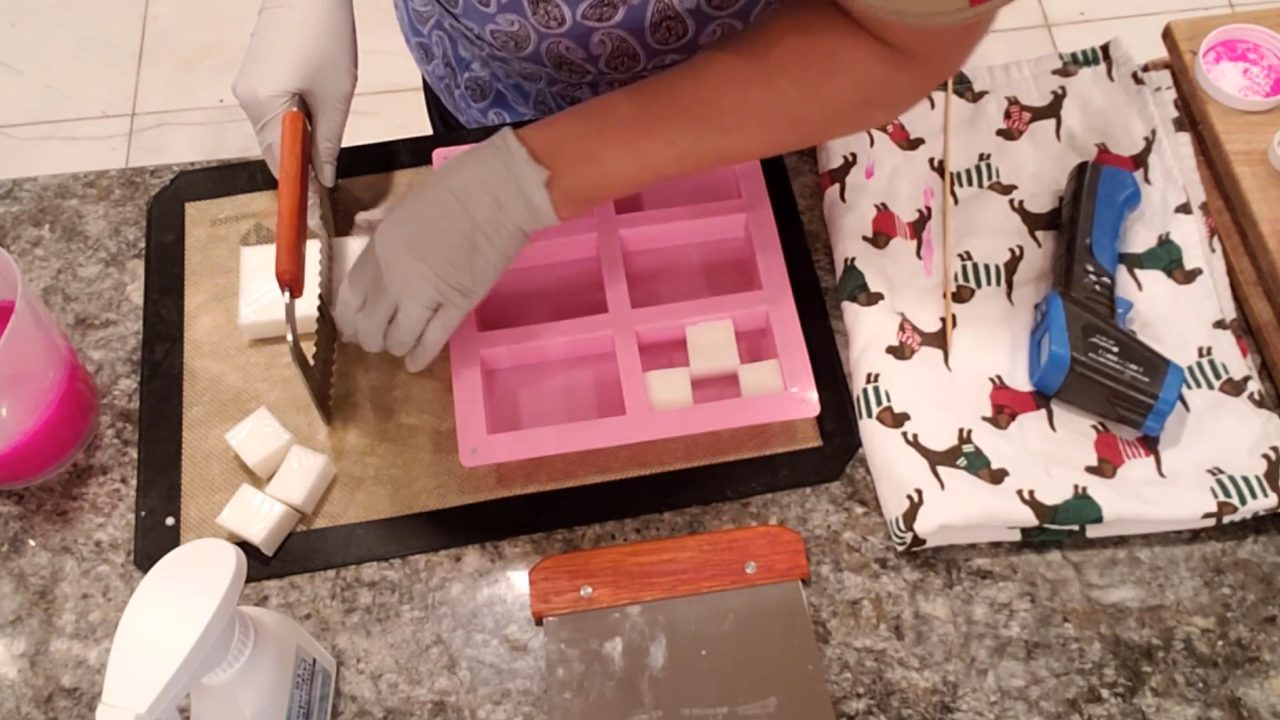
Keep the mold close by. Cut the first white bar into thirds, then cut each piece in half. Spray the pieces with alcohol and put every other one back in the mold in exactly the same spot it came from, so you get a checkerboard of white and empty spaces. Save the extra pieces for another soap.
4. Try a Wavy Cutter
For a second bar, cut the white soap into thirds and halves with a wavy cutter instead. Place every other piece back in the mold the same way.
5. Pour the Color
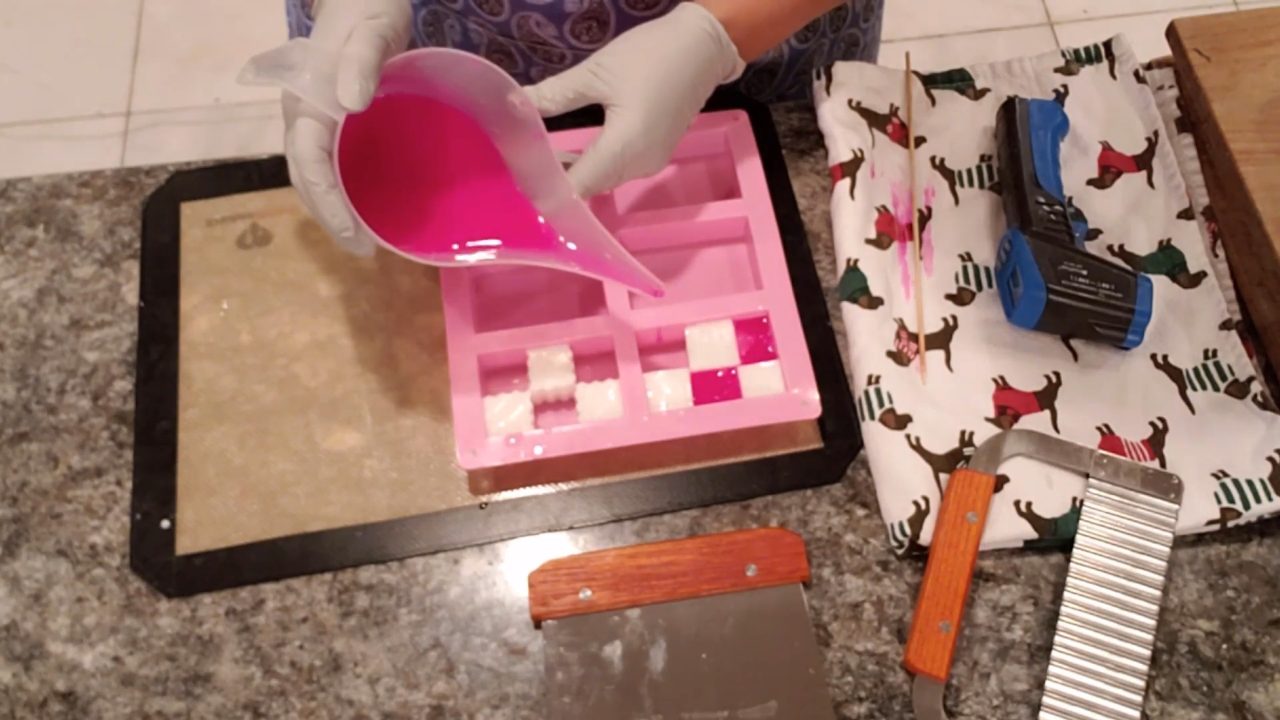
Let the pink soap cool to about 140°F. Patience is key here: if you pour too hot, you can melt part of the design. Pour slowly into the empty spaces with a funnel cup so the white pieces don’t move. Fill until the colored soap is flush with the top of the white squares. Spray with alcohol and let it set.
6. Unmold and Clean Up
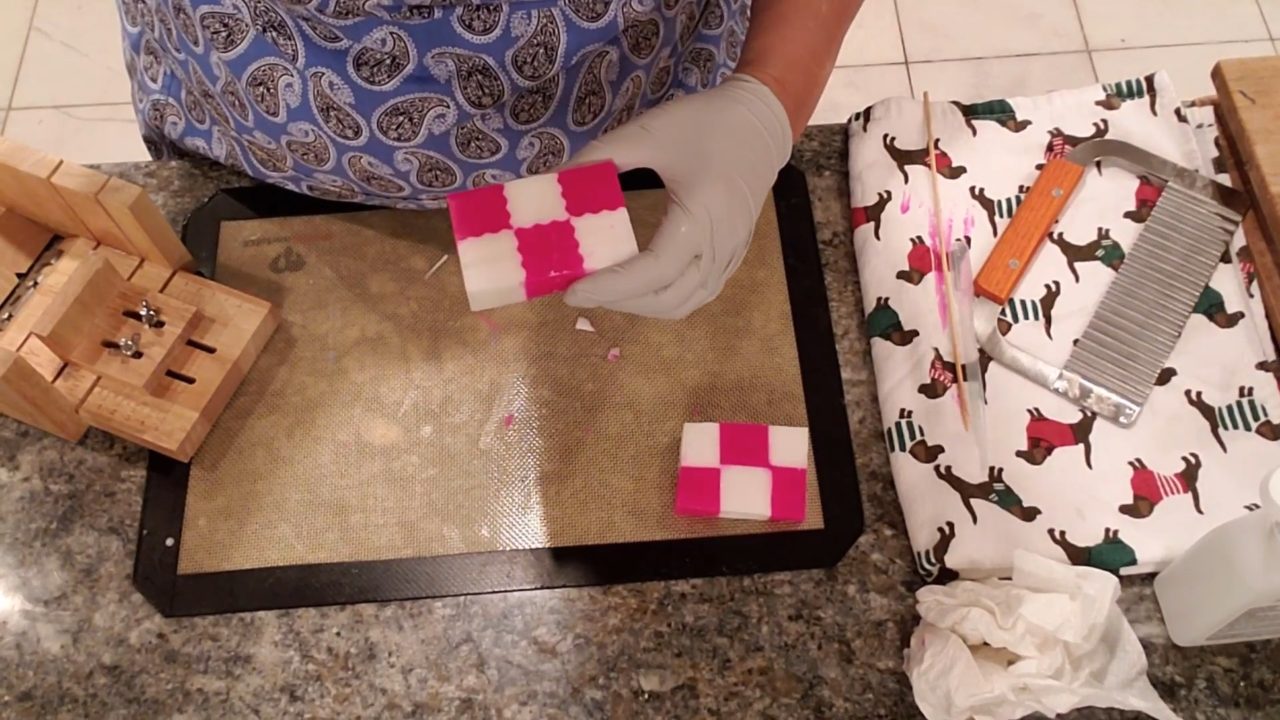
Unmold the bars. A little color may run under the white, or a bit of white may show at the edges. Just trim or scrape it off. The top can be a little rough from pouring flush, so a soap planer makes it easy to smooth out.
Tips & What I Learned
- Pour slowly and not too hot. Around 140°F keeps the white squares from melting or moving.
- Use a funnel cup. Regular pour cups drip everywhere. A funnel cup lets you fill each space precisely.
- Choose a bold contrast. Hot pink and white makes the checkerboard pop.
- Put pieces back exactly where they came from. They fit snugly, and the pattern lines up.
- Get a planer if you make these often. It smooths the top quickly.
Troubleshooting
The colors ran into each other.
That’s normal at the edges. Trim the extra soap off once the bars are set.
My white squares moved when I poured.
Pour slower and closer to the mold with a funnel cup.
The top of the bar is uneven.
Shave it with a knife or use a soap planer.
FAQ
How much fragrance oil should I use?
Up to 5 ml per 16 oz of soap base. You can always use less, but don’t use more than 5 ml per 16 oz.
Do I need a soap planer?
No, but it helps. Without one, you can tidy the tops with a knife.
Can I use more than two colors?
Yes. A gradient of colors in the squares looks great too.
More Melt and Pour Soap Ideas
- Cupcake Melt and Pour Soap 3 Ways
- Neon Pink Charcoal Melt and Pour Soap
- How to Use Soap Embossing Stamps
- How to Package Melt and Pour Soap
- All my melt and pour soap tutorials on YouTube
If you make this, I’d love to see it! Tag me on Instagram or Pinterest, and subscribe on YouTube for new soap tutorials.
