
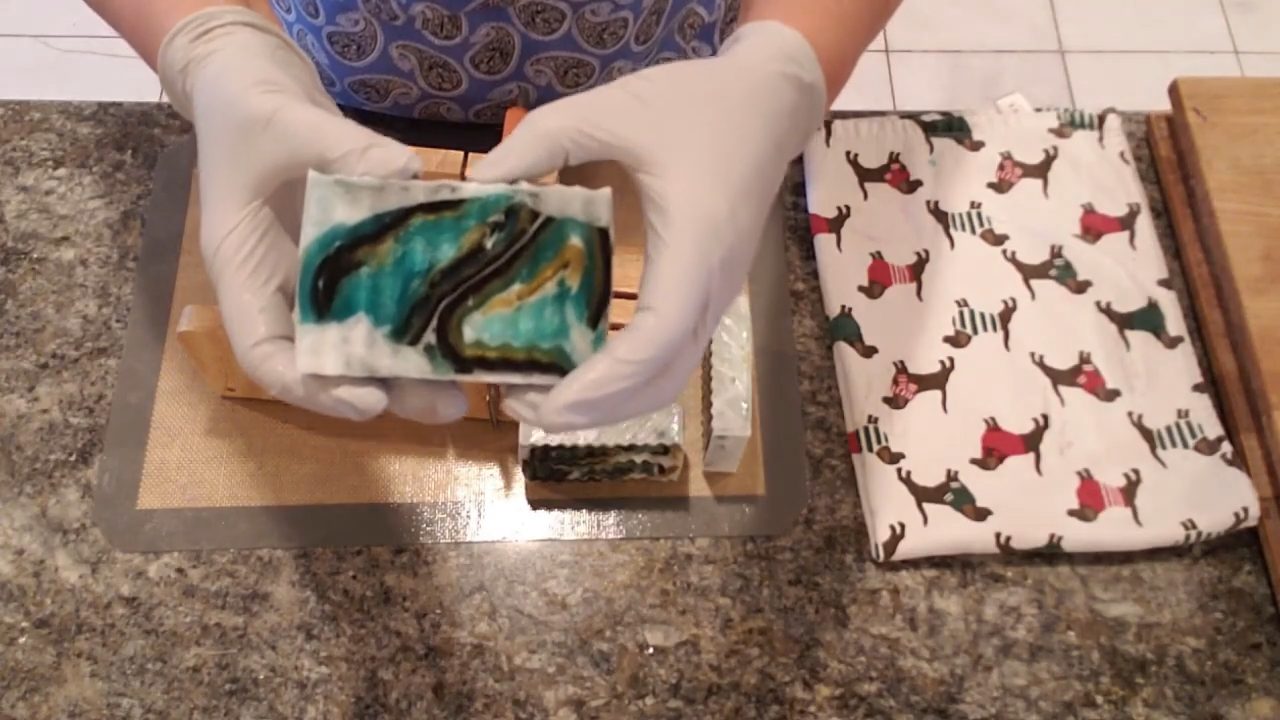
This Irish swirl melt and pour soap has marbled ribbons of green, gold and black inside a creamy white shea butter bar. It’s a fun St. Patrick’s Day soap, and it uses a layering method that keeps the colors from turning muddy: pour thin layers of color, roll them up, press them into the mold, then pour hot shea butter base around them.
As an Amazon Associate I earn from qualifying purchases. Some links in this post are affiliate links. They cost you nothing extra and help support Koala Soap.
Materials & Tools
Soap Bases
- Premium clear melt and pour soap base, about 4–5 oz for each of the three colors
- Shea butter melt and pour soap base to fill the rest of the mold
- In total I used about 22 oz of melt and pour for an 18–20 oz square mold
Color & Scent
- Tail Green and King Midas Gold from this Stardust mica set or individual Stardust micas
- Activated charcoal for the black
- Alpine Frost fragrance oil (try Barnhouse fragrance oils)
Tools
- Square 18–20 oz silicone soap mold
- Silicone mat for pouring the thin layers
- Wavy cutter or a soap cutter
- Skewers
- Spray bottle of 91% isopropyl alcohol
- Thermometer
- Pipettes and pour cups
Fragrance Amount
Use up to 5 ml of fragrance oil per 16 oz (1 lb) of soap base. For about 22 oz of soap, that’s up to roughly 7 ml in total. You can always use less if you like a lighter scent, but don’t go over 5 ml per 16 oz.
How to Make Irish Swirl Melt and Pour Soap
1. Melt and Color the Clear Base
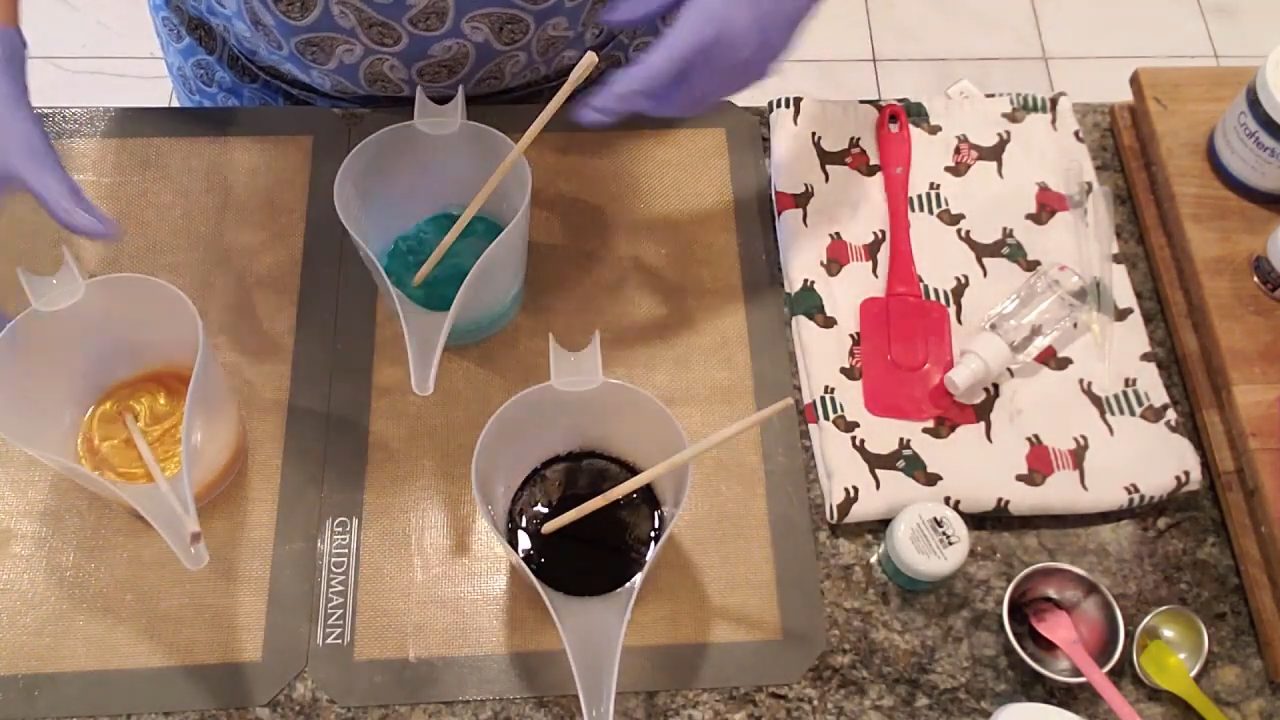
Melt the clear base in three cups. Add fragrance, then stir Tail Green into one, King Midas Gold into another and activated charcoal into the third. Don’t pour above 140°F. Mine were around 120–127°F. A little skin is fine. It helps each layer set a bit faster.
2. Pour the Black Layer
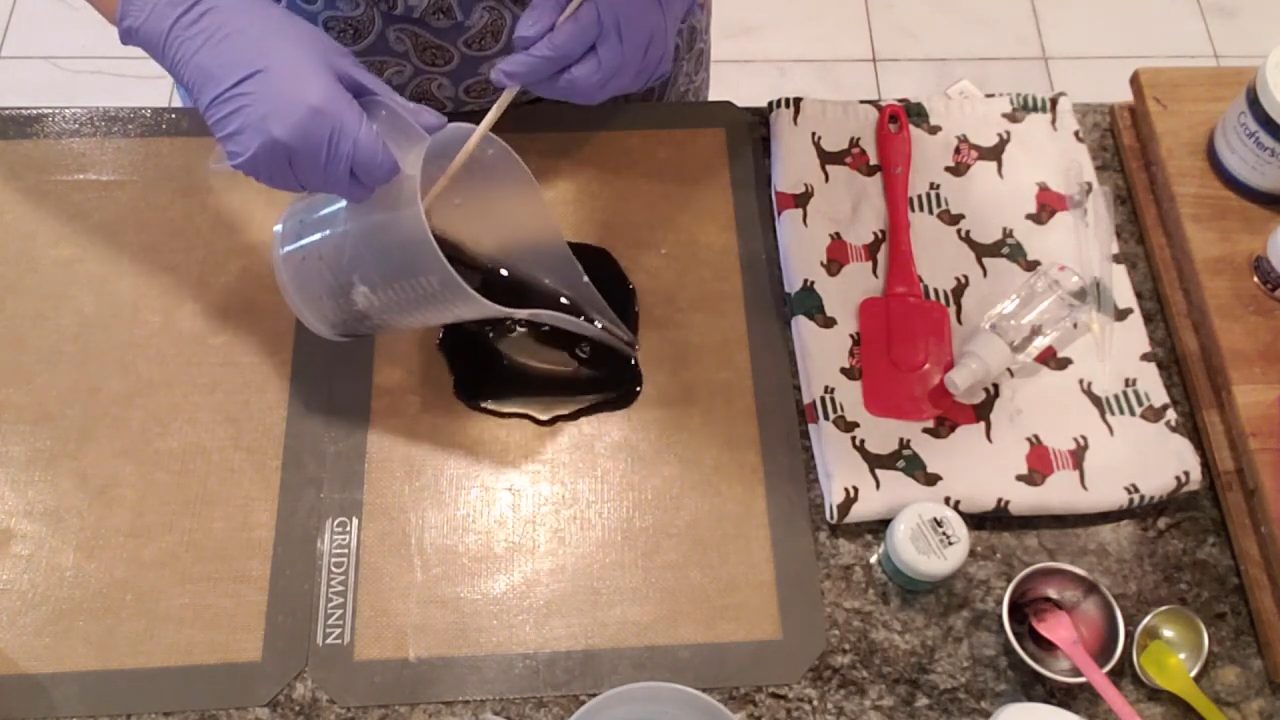
Pour the charcoal soap onto a silicone mat in one puddle. Let it firm up a little so the next color sits on top instead of mixing in.
3. Layer the Gold
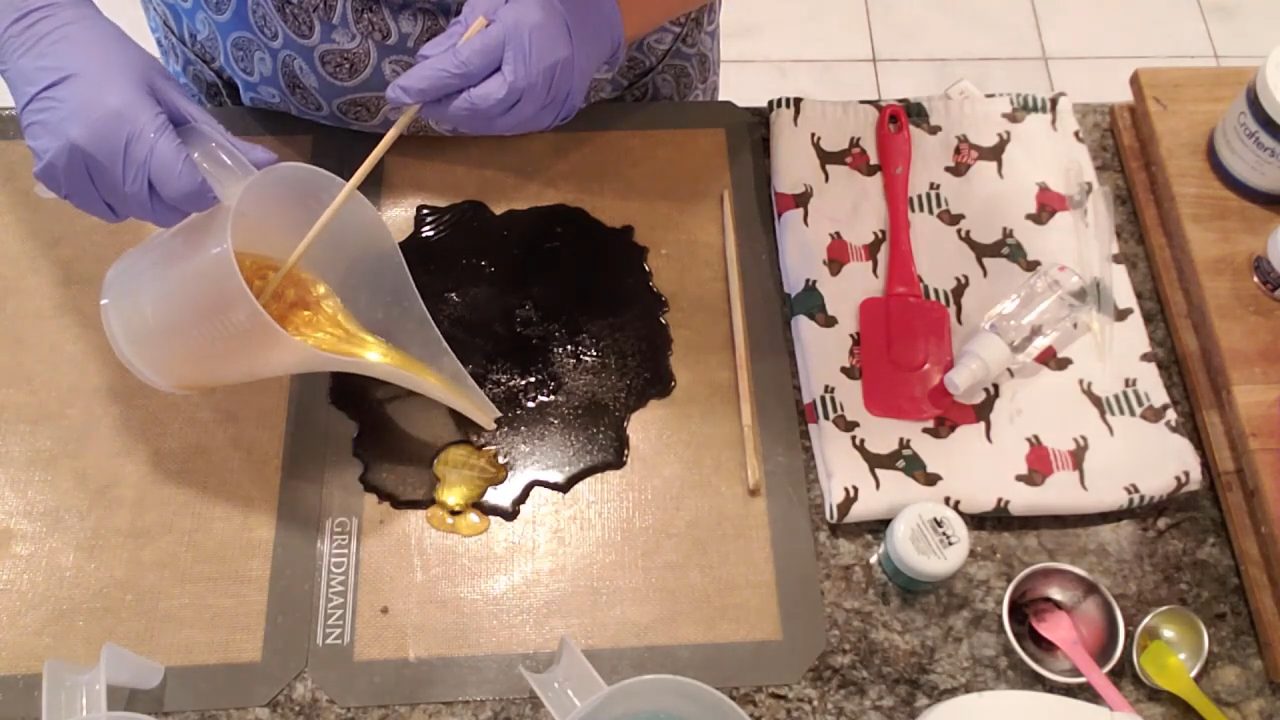
King Midas Gold sets up faster than the other colors, so pour it second. Test a little on the edge first. If it stays on top of the black, pour slowly and lightly over the charcoal. It’s fine if you poke through in a few places.
4. Finish with Green
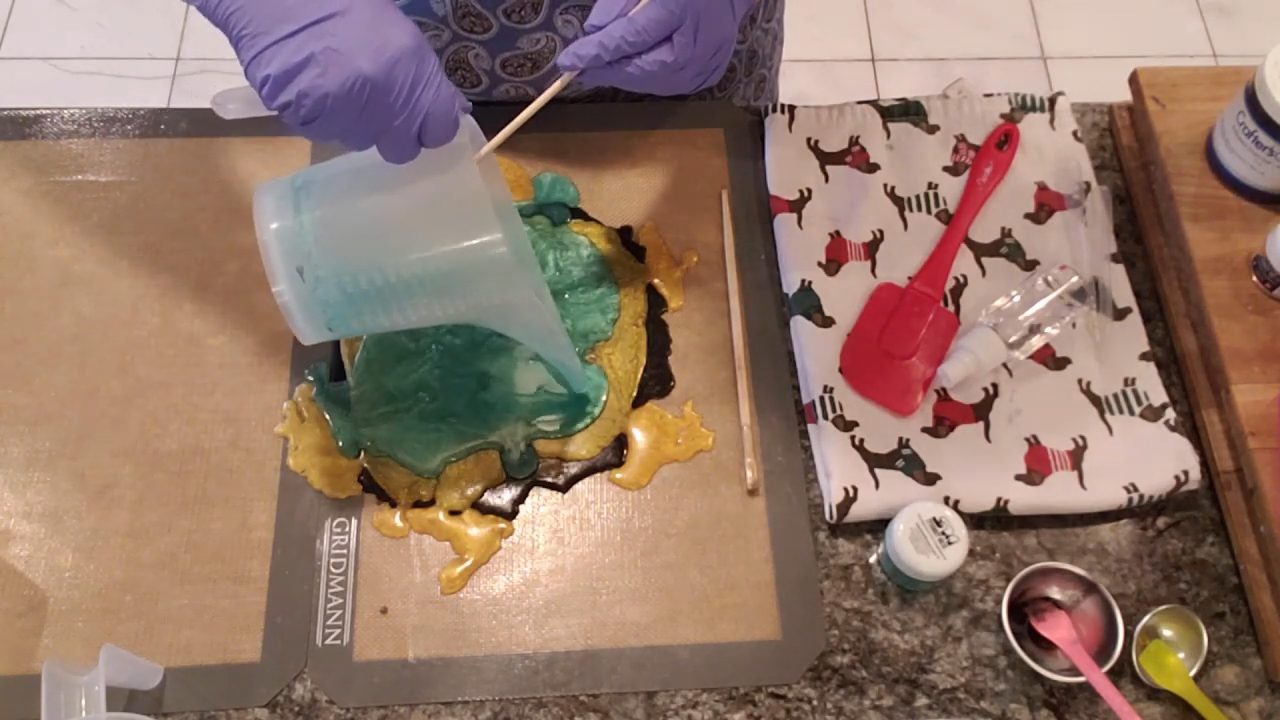
Let the gold cool and set for a few minutes, then pour the Tail Green on top. Let all the layers set until they’re firm but still flexible.
5. Roll the Layers Into a Ball
Peel the layered soap off the mat while it’s still malleable. Roll it into one big ball and give it a twist. Using clear (glycerin) base for the layers helps here because it firms up faster than shea butter.
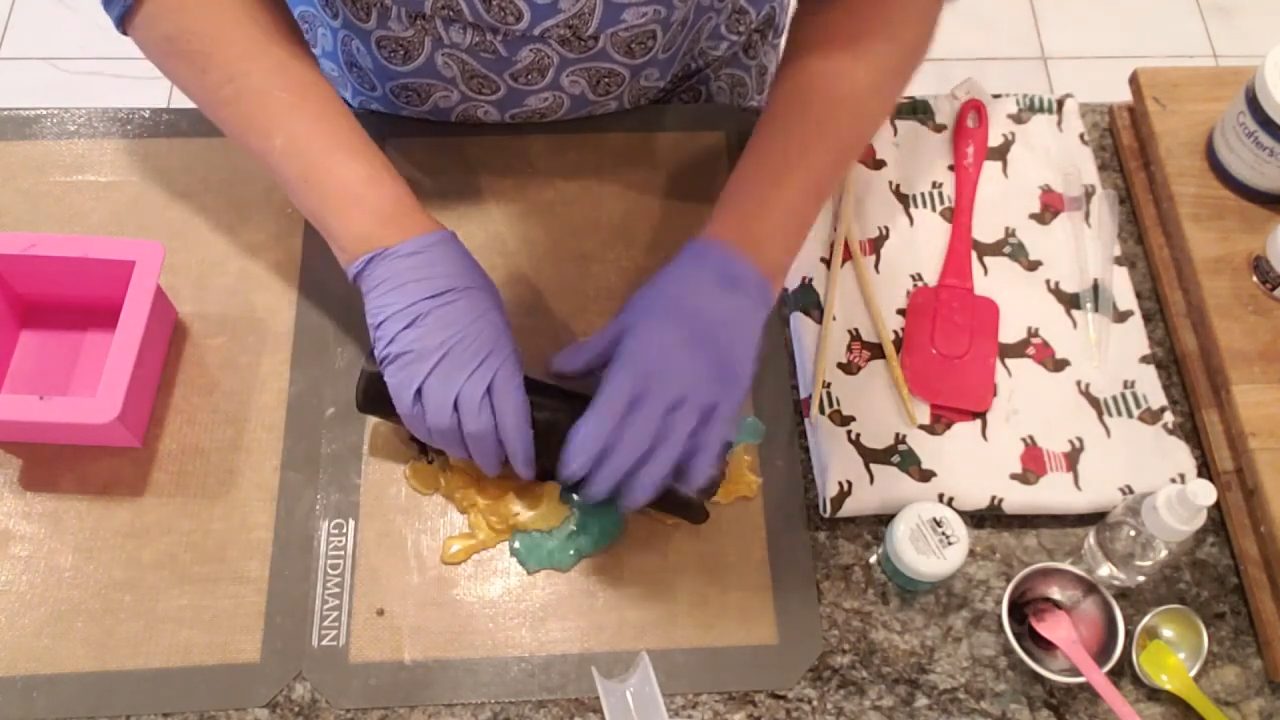
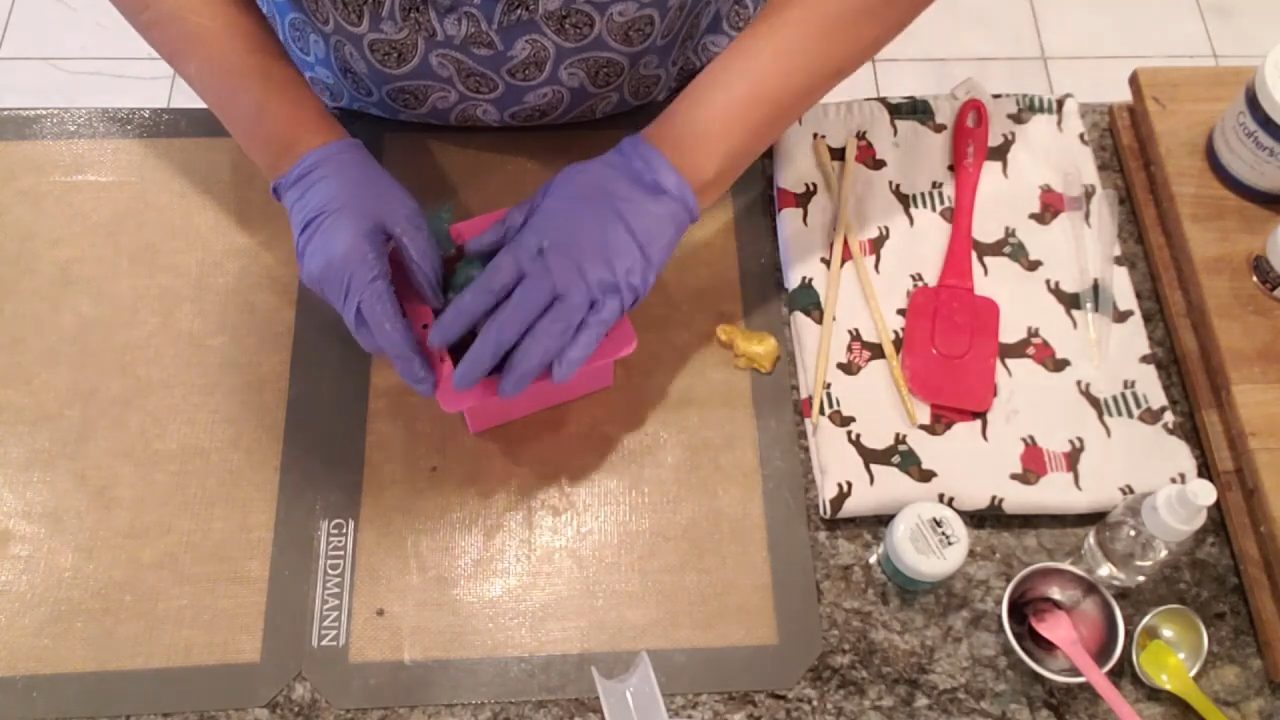
6. Press It Into the Mold
Press the ball into the square mold, filling the space. Keep the mold square as you press, so the sides don’t bow out.
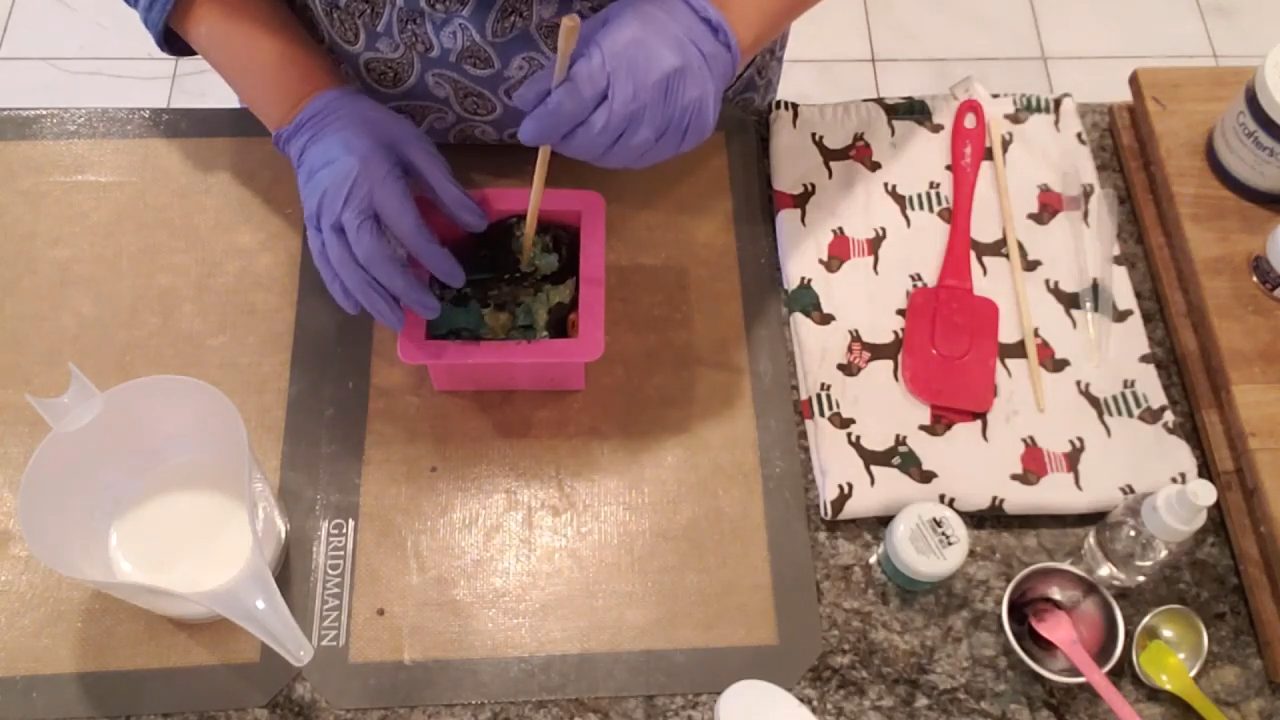
7. Poke Holes
Poke holes all over the soap with a skewer so the hot shea butter can flow down into the gaps.
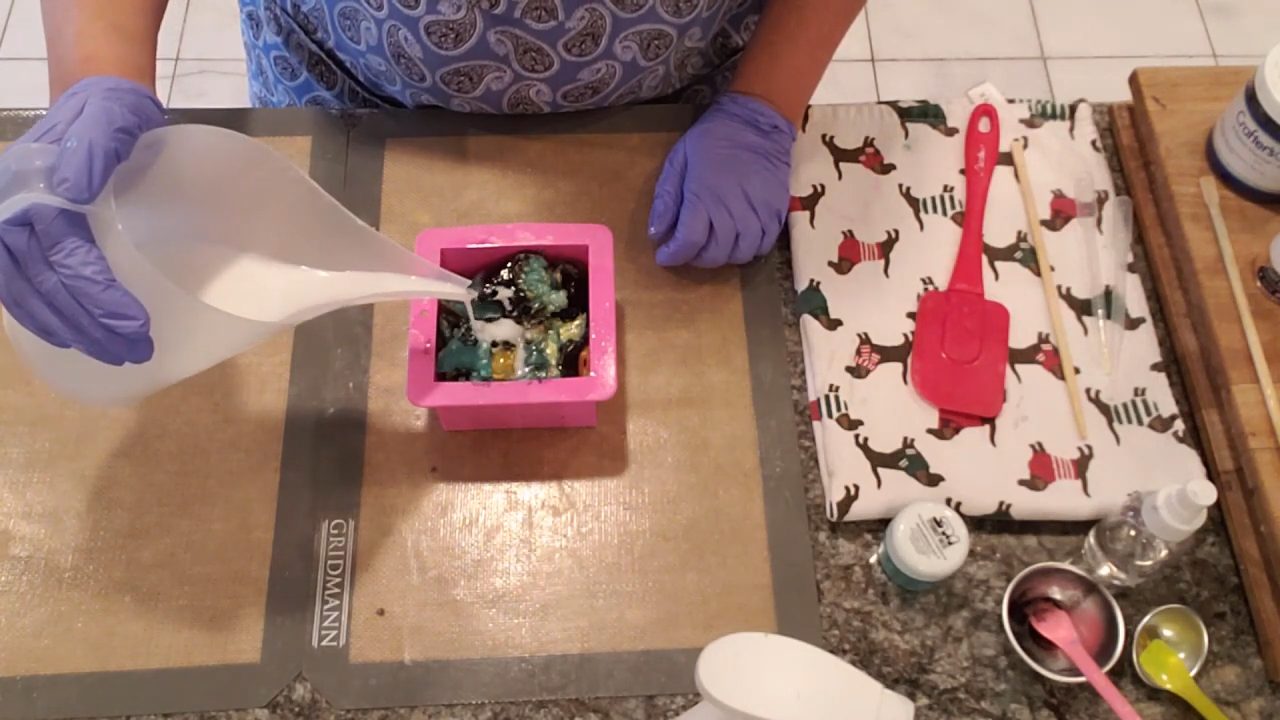
8. Pour the Hot Shea Butter Base
Melt the shea butter base and let it cool to the mid-180s°F. You want it hot enough to melt into the layers slightly, but not so hot that the charcoal bleeds and turns everything gray. Spray with alcohol, then pour from the middle. Tap the mold to bring air bubbles up, and spray them with alcohol. Melt a little more base if you come up short.
9. Unmold and Cut
Let the loaf harden, then unmold it and cut your bars. With a wavy cutter, push the loaf to the edge of the cutter before you cut so it doesn’t go sideways.
Tips & What I Learned
- Pour the color layers cool. Under 140°F keeps the layers separate.
- Pour gold second. King Midas Gold sets up quickly, so it works well between the black and the green.
- Use clear base for the layers. It firms up faster than shea butter, so it’s easier to roll.
- Watch the shea butter temperature. Around 180–185°F fuses the soap without making the charcoal bleed.
- Keep the mold square. Pressing too hard can bow the sides out.
Troubleshooting
My colors turned muddy or gray.
The shea butter was too hot. Let it cool to the low-to-mid 180s°F before pouring.
The layers mixed together on the mat.
Let each layer firm up a little before pouring the next.
There are air pockets in my bars.
Poke more holes before pouring, tap the mold, and spray bubbles with alcohol.
My cut went sideways.
Push the loaf against the edge of the cutter before cutting.
FAQ
How much fragrance oil should I use?
Up to 5 ml per 16 oz of soap base. You can always use less, but don’t use more than 5 ml per 16 oz.
Can I use different colors?
Yes. Any three contrasting colors work. You could also make the outer soap green instead of white.
Why roll the layers instead of chopping them?
Rolling keeps the colors in long ribbons, so you see distinct layers when you cut the bars.
More Swirl Soap Ideas
- How to Swirl Melt and Pour Soap
- Neon Pink Charcoal Melt and Pour Soap
- Galaxy Melt and Pour Soap
- Lavender Royale Melt and Pour Soap
- All my melt and pour soap tutorials on YouTube
If you make this, I’d love to see it! Tag me on Instagram or Pinterest, and subscribe on YouTube for new soap tutorials.
