
Cupcake melt and pour soap is one of the most fun soaps to make, and it makes the cutest gifts. In this tutorial I make cupcake soaps three ways: a tall frosted top, a low rose-style top, and a separate top and bottom glued together and decorated with drips, soap balls and fondant-cut shapes. They’re all made with shea butter base in purple and yellow.
As an Amazon Associate I earn from qualifying purchases. Some links in this post are affiliate links. They cost you nothing extra and help support Koala Soap.
Materials & Tools
Soap Base & Colors
- Shea butter melt and pour soap base (melt and pour base, not raw shea butter)
- Stardust Violet Purple and a yellow mica (from this Stardust mica set)
Molds & Tools
- Cupcake mold with a large frosted top
- Cupcake mold with a small rose-style top
- Cupcake bottom mold
- Small ball mold for embeds
- Flat flower mold and fondant cutters for decorations
- A bath bomb mold or muffin pan to hold the molds steady
- Skewer, knife, pour cups
- Spray bottle of isopropyl alcohol
- Thermometer
Fragrance Amount
These were test soaps, so I didn’t scent them. If you add fragrance, wait until the soap is under about 150°F, and use up to 5 ml of fragrance oil per 16 oz of soap base. You can always use less, but I wouldn’t go over 5 ml per 16 oz.
How to Make Cupcake Melt and Pour Soap: Step by Step
1. Set Up Your Molds
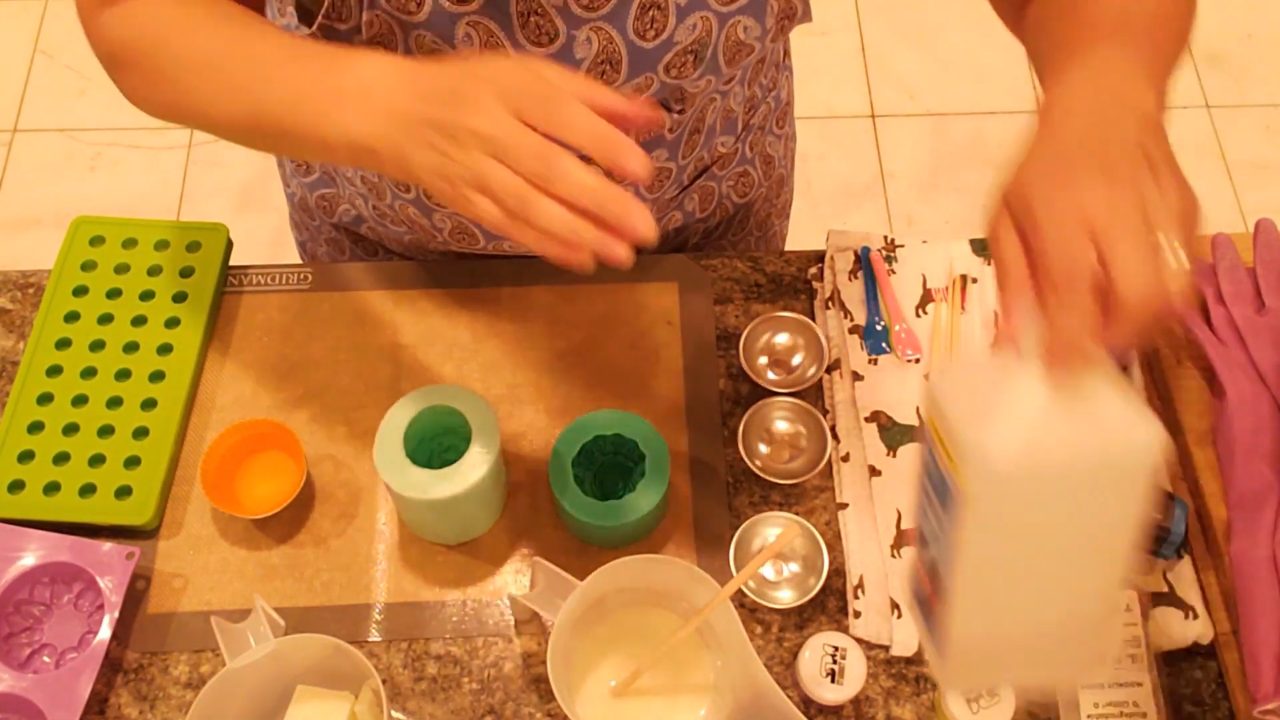
Instead of pulling out a whole muffin pan for one or two cupcakes, I set each cupcake mold inside a bath bomb mold. It holds the mold steady and makes it easy to adjust so it sits level.
2. Make the Purple Frosting
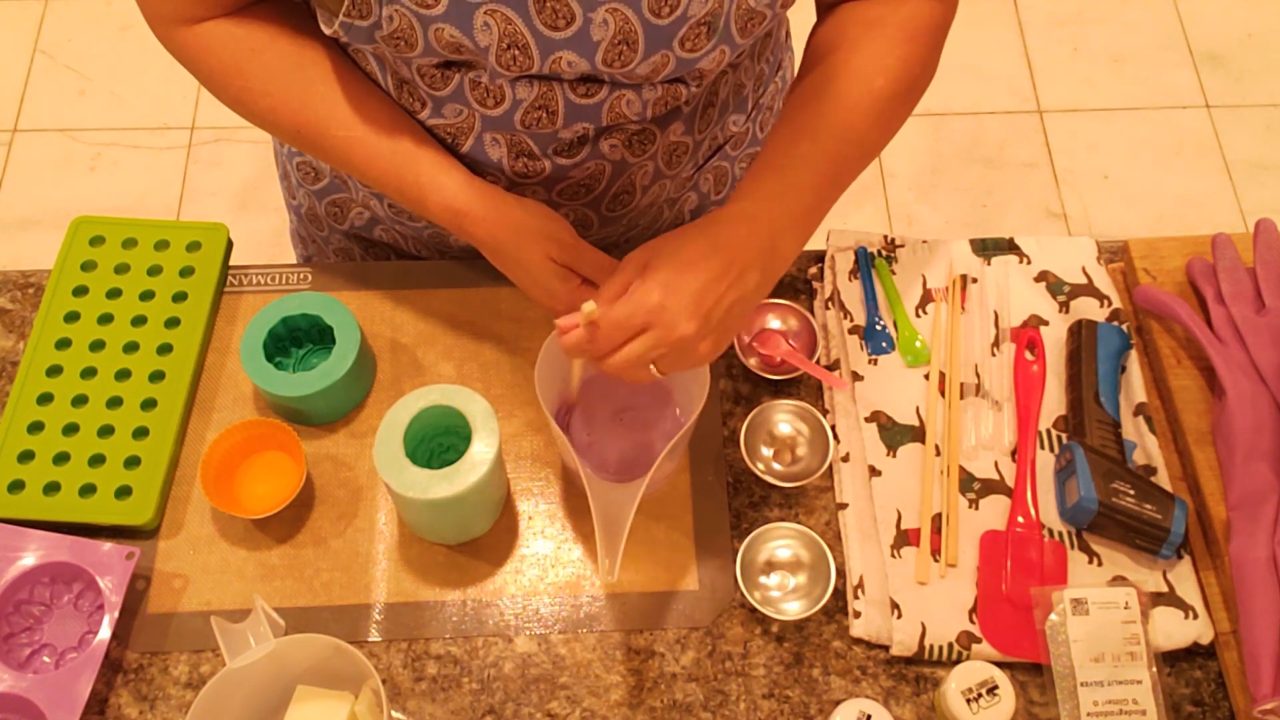
Melt shea butter base and stir in Violet Purple mica mixed with a little alcohol. Add a bit more mica if you want it darker.
3. Pour the Frosting Tops First
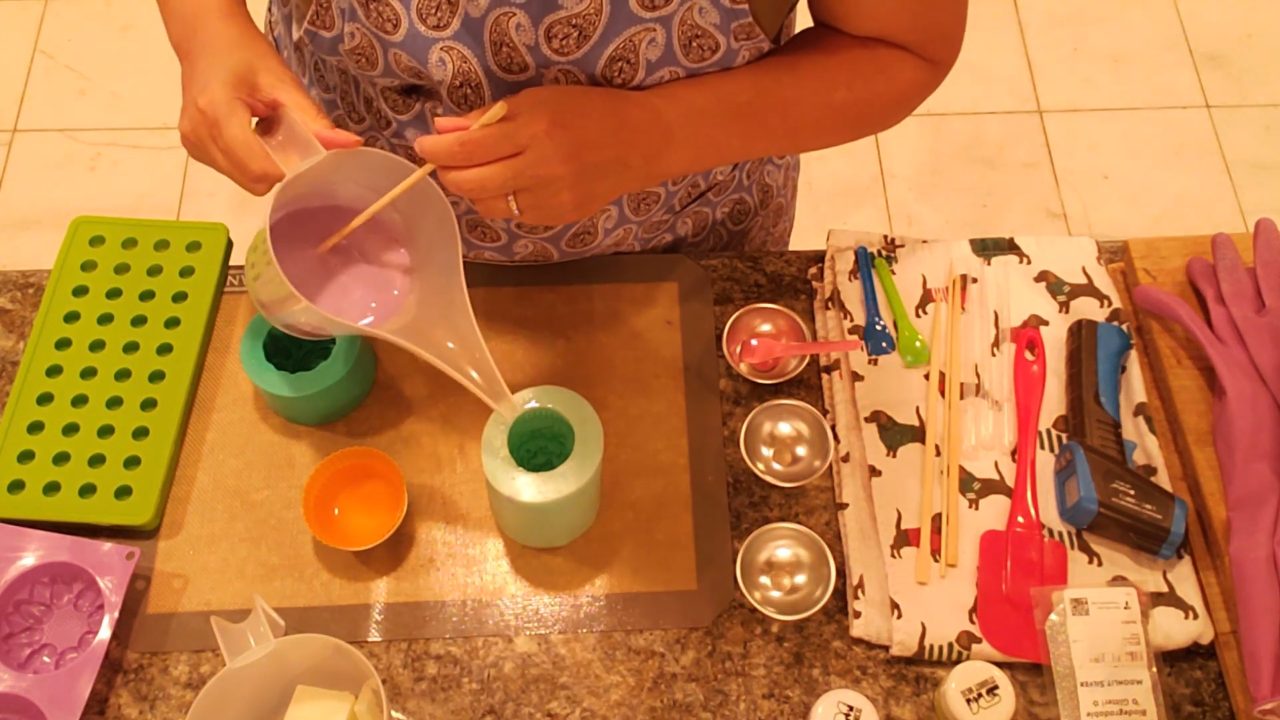
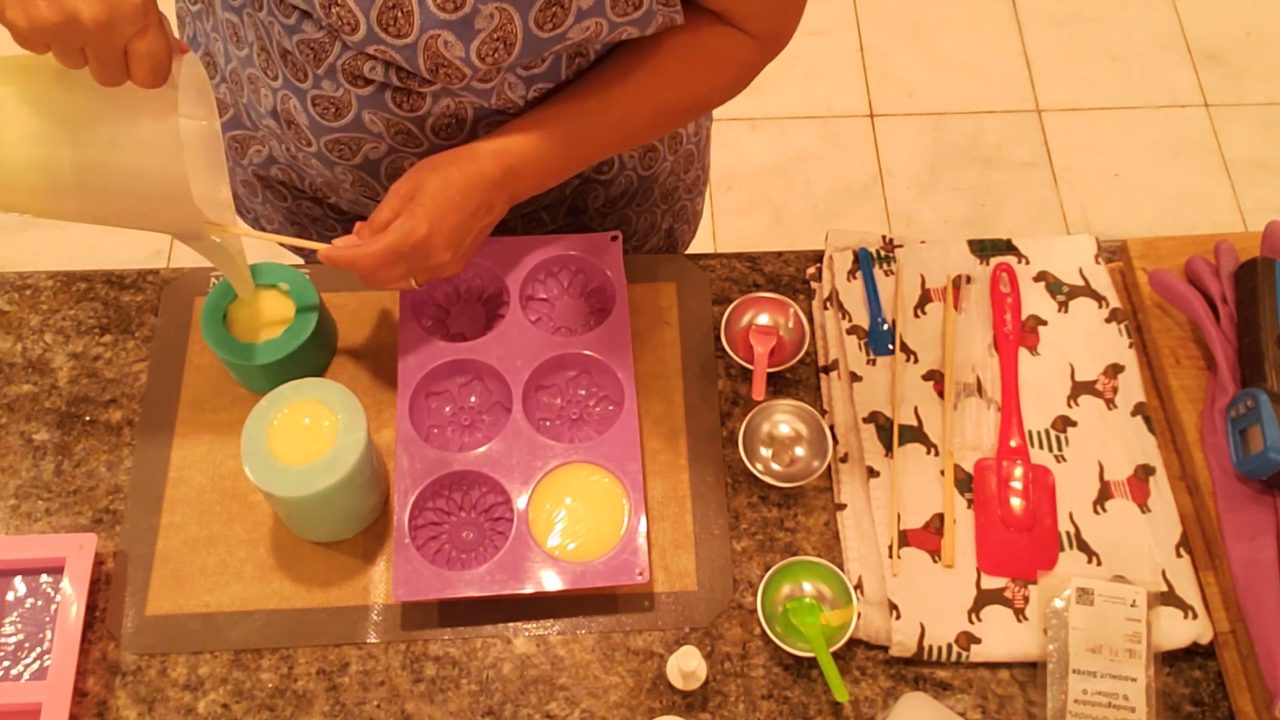
The frosting is the bottom of the mold, so it gets poured first. Spray the mold with alcohol to help the soap get into all the little details, then pour up to the line where the frosting meets the cupcake liner. Gently massage the bottom of the mold to work the soap into every nook, without jiggling it too much. Use any extra to pour a thin layer in a flat mold (for fondant cut-outs) and a few soap balls for decorating.
4. Make the Yellow Cupcake Bottoms
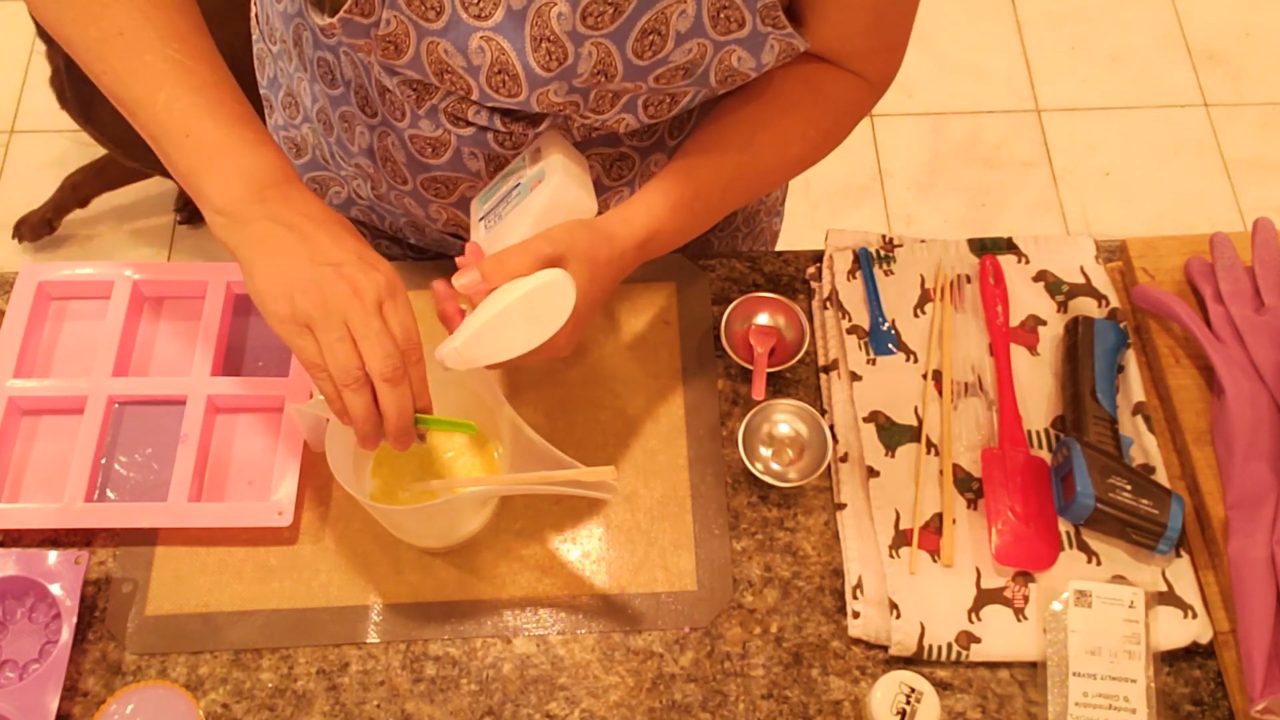
While the frosting sets, melt more shea butter base and color it yellow. Add more mica until you have a nice, full yellow. Pour some into the separate cupcake bottom mold.
5. Pour the Bottoms Over the Frosting
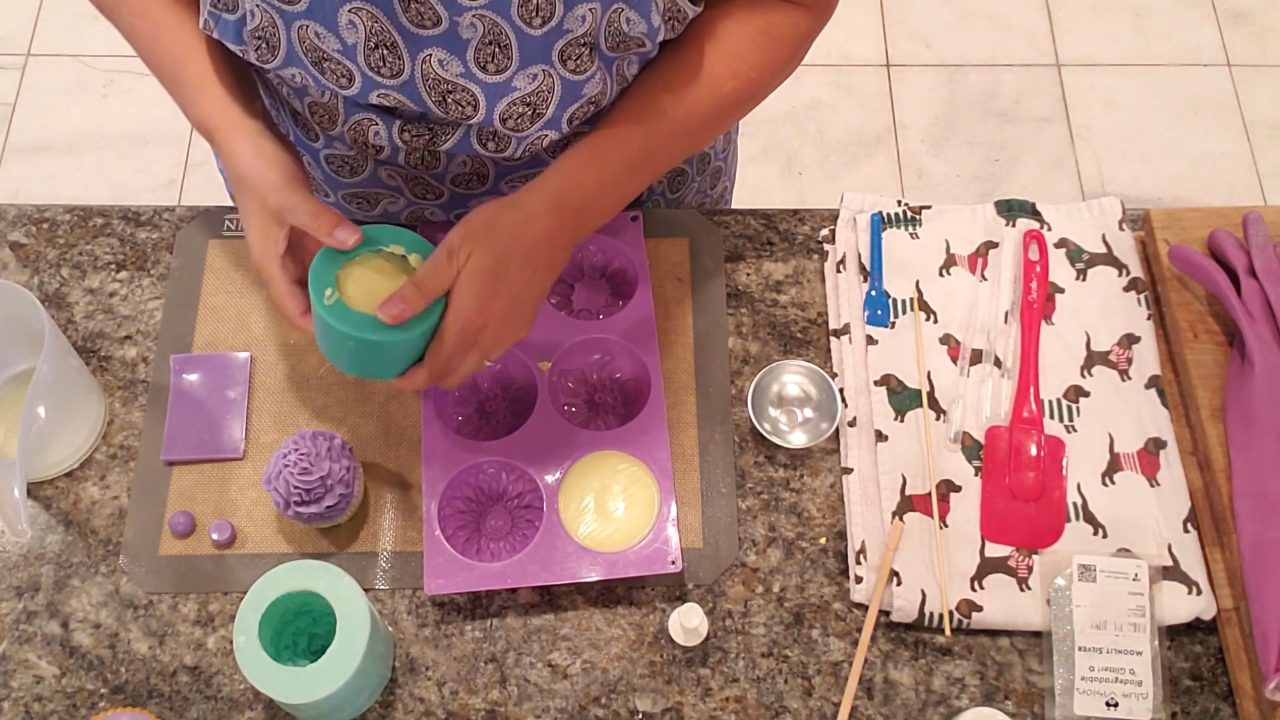
Let the yellow cool. Mine was 158°F, which is too hot to pour over the frosting, so I waited until it was about 135°F. Scratch little hatch marks into the set frosting with a skewer, spray with alcohol, and pour the yellow over it to fill the molds.
6. Unmold
Once they’re set, unmold the cupcakes. The large-top cupcake weighs about 5–6 oz, and the low rose-top cupcake about 4 oz.
7. Assemble and Decorate the Third Cupcake
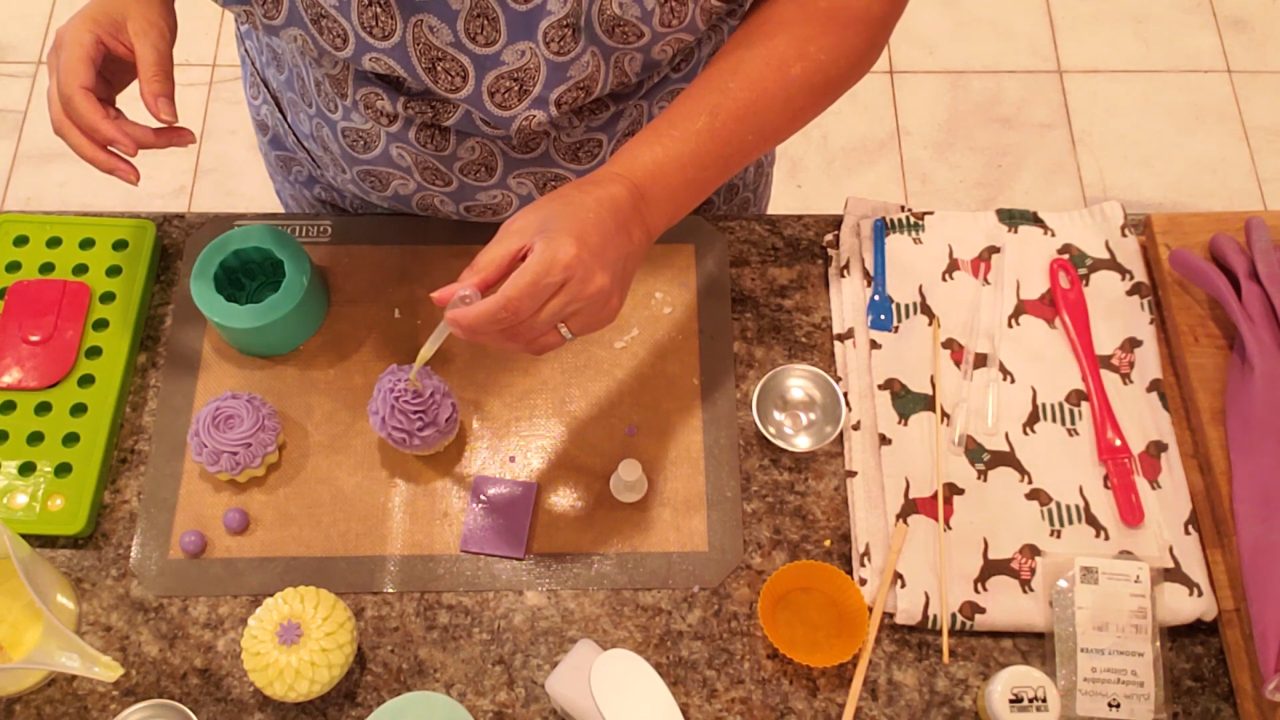
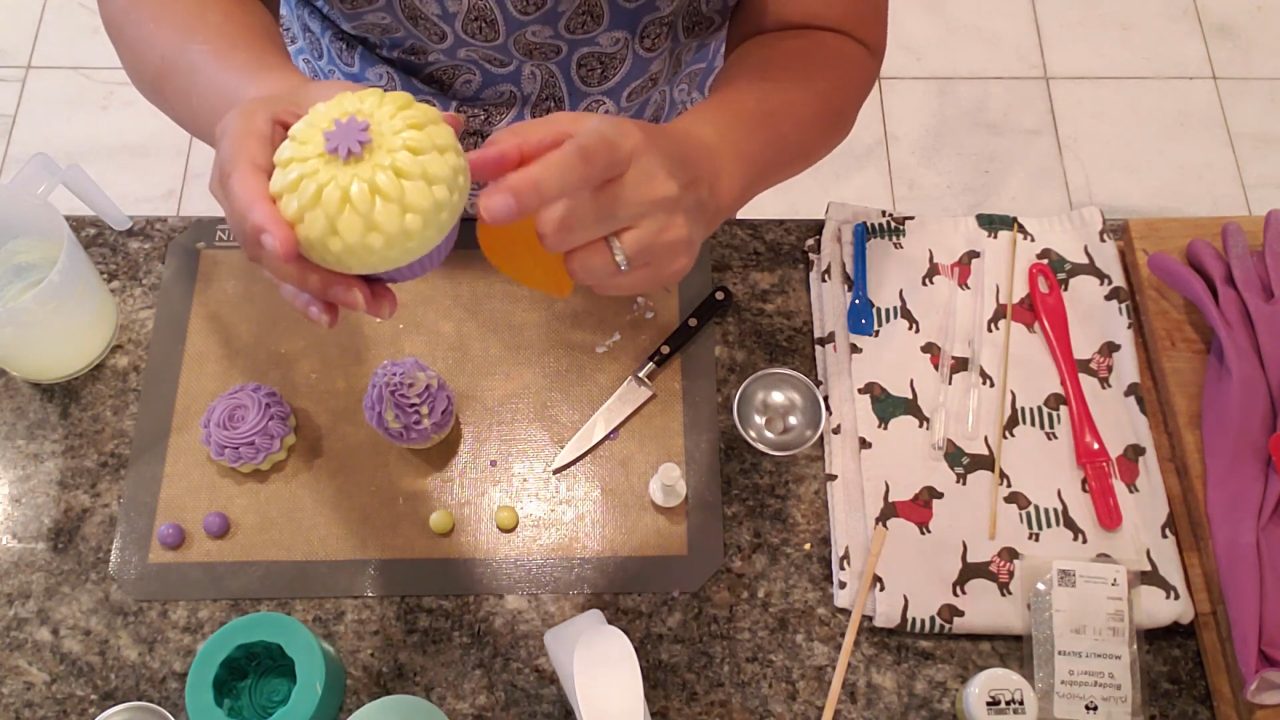
For the two-piece cupcake, take the frosting top out of its silicone mold first, because the lip of the mold makes it hard to glue. Trim a little off the tip of the bottom so it sits flat. Scratch hatch marks on both pieces, spray with alcohol, add a dab of warm melted soap as glue, and press them together firmly. Then drip a little melted soap down the sides in a few spots for a frosting drip look. Glue soap balls on top, and use fondant cutters to cut small shapes from the thin flat layer and glue them on with a dab of soap.
Tips & What I Learned
- Pour the frosting first. In most cupcake molds the frosting is at the bottom.
- Steady your molds. A bath bomb mold or muffin pan keeps them level.
- Massage, don’t jiggle. Gently work the soap into the details without sloshing it over the liner line.
- Cool before layering. Pour the second color around 135°F so it doesn’t melt the frosting.
- Hatch marks + alcohol help every layer and glued piece stick.
- Remove tops from the mold before gluing. The mold’s lip makes gluing tricky.
Troubleshooting
My frosting and cupcake separated.
Scratch hatch marks into the set frosting and spray with alcohol before pouring the bottom.
The colors bled together.
The second layer was too hot. Wait until it cools to about 135°F.
The glued top keeps sliding off.
Trim the bottom so it’s flat, use a dab of warm (not hot) melted soap, and press firmly until it sets.
FAQ
How big are these cupcake soaps?
The large-top cupcake is about 5–6 oz, the low rose-top is about 4 oz, and the two-piece cupcake is about 5 oz.
Can I scent cupcake soaps?
Yes. Add fragrance when the soap is under about 150°F, up to 5 ml per 16 oz of soap base.
Can I add glitter?
Yes. A sprinkle of bio glitter on the frosting looks great.
More Fun Soap Ideas
- Peppermint Melt and Pour Soap with Soap Frosting
- Heart Embed Melt and Pour Soap
- Galaxy Melt and Pour Soap
- All my melt and pour soap tutorials on YouTube
If you make this, I’d love to see it! Tag me on Instagram or Pinterest, and subscribe on YouTube for new soap tutorials.
