
This holiday melt and pour soap swirls red and green goat’s milk soap in a mini loaf mold, with impression mat panels on the sides for a pretty texture. It’s a great way to start making Christmas gift soaps early, and it smells like peppermint candy.
As an Amazon Associate I earn from qualifying purchases. Some links in this post are affiliate links. They cost you nothing extra and help support Koala Soap.
Materials & Tools
Soap Base
- About 3 cups of low sweat goat’s milk melt and pour soap base, split into two cups
Color & Scent
- Green (aqua pearl) and red mica. Oxide-type colors are less likely to bleed. I used Stardust Red Strawberry from a Stardust mica set, which came out more of a deep pink.
- Distilled water for mixing the mica
- Peppermint fragrance oil
- Bio glitter for the top
Tools
- Mini loaf soap mold (the cutter it came with works as a divider)
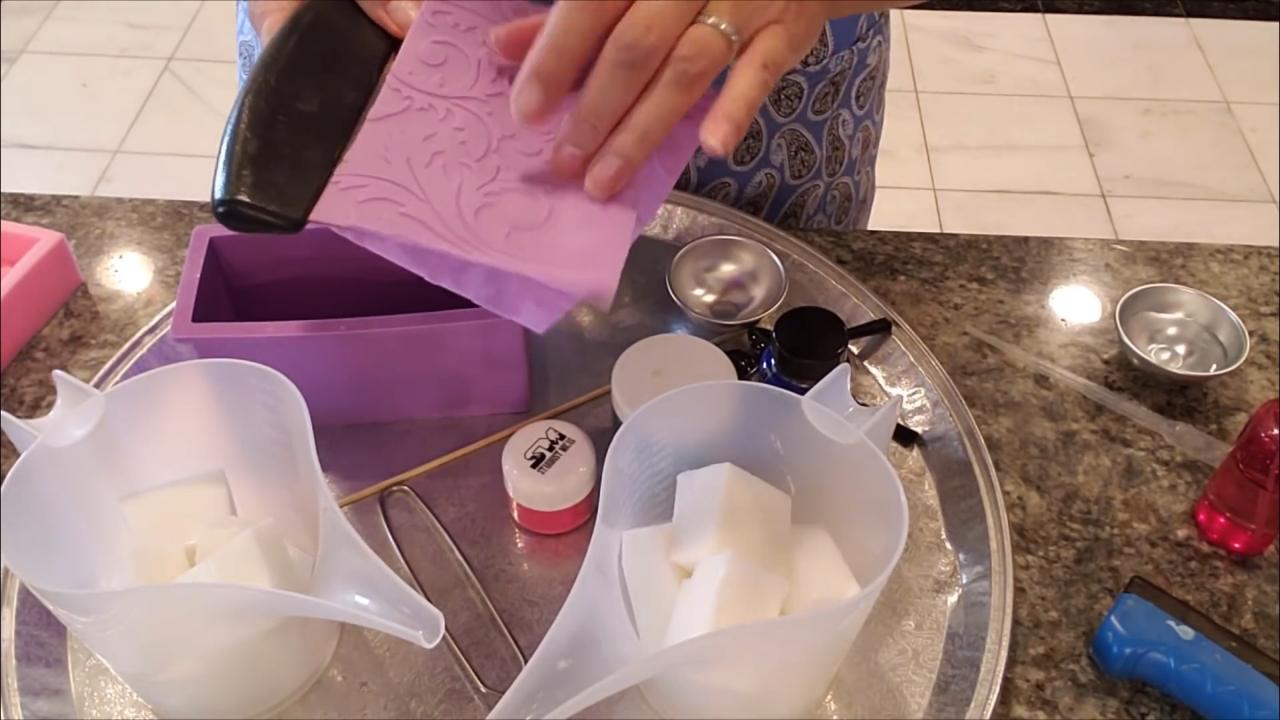
- Impression mat, cut to fit the sides of the mold
- Pipette
- Flat whisk and a chopstick
- Small spoons
- Spray bottle of 91% isopropyl alcohol
- Thermometer
- Pour cups
- Shrink wrap and a heat gun for packaging
Fragrance Amount
Use up to 5 ml of fragrance oil per 16 oz (1 lb) of soap base. You can always use less if you like a lighter scent, but don’t go over 5 ml per 16 oz.
How to Make Holiday Impression Mat Soap
1. Set the Impression Mats
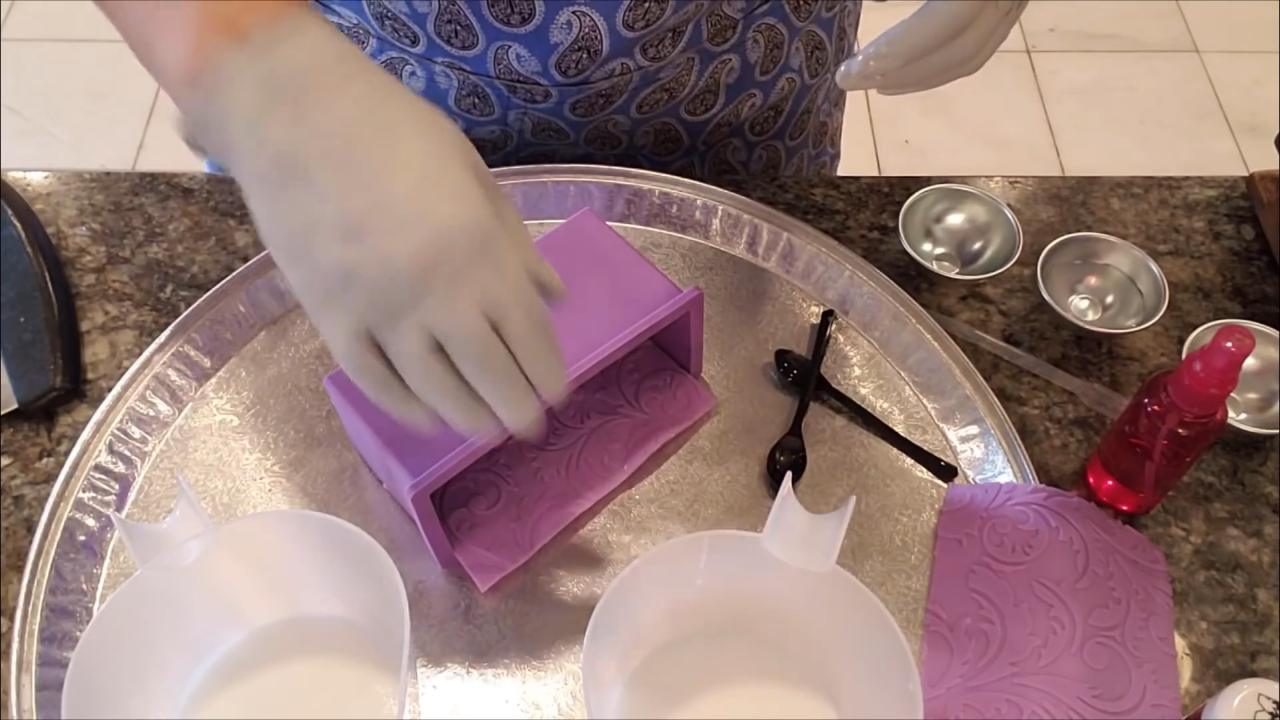
Cut the impression mat to fit the sides of the mold. Smear a little melted soap on the mold wall with your finger and press the mat in place so it doesn’t move. Let it set.
2. Color the Soap
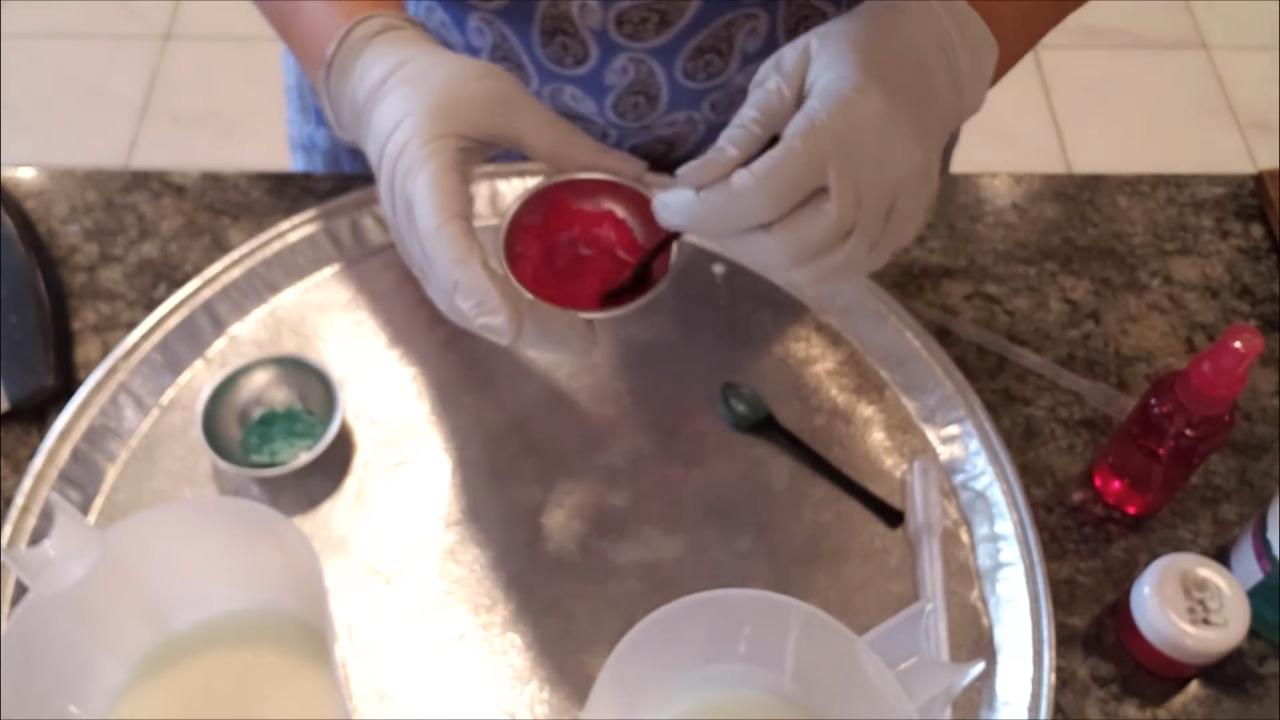
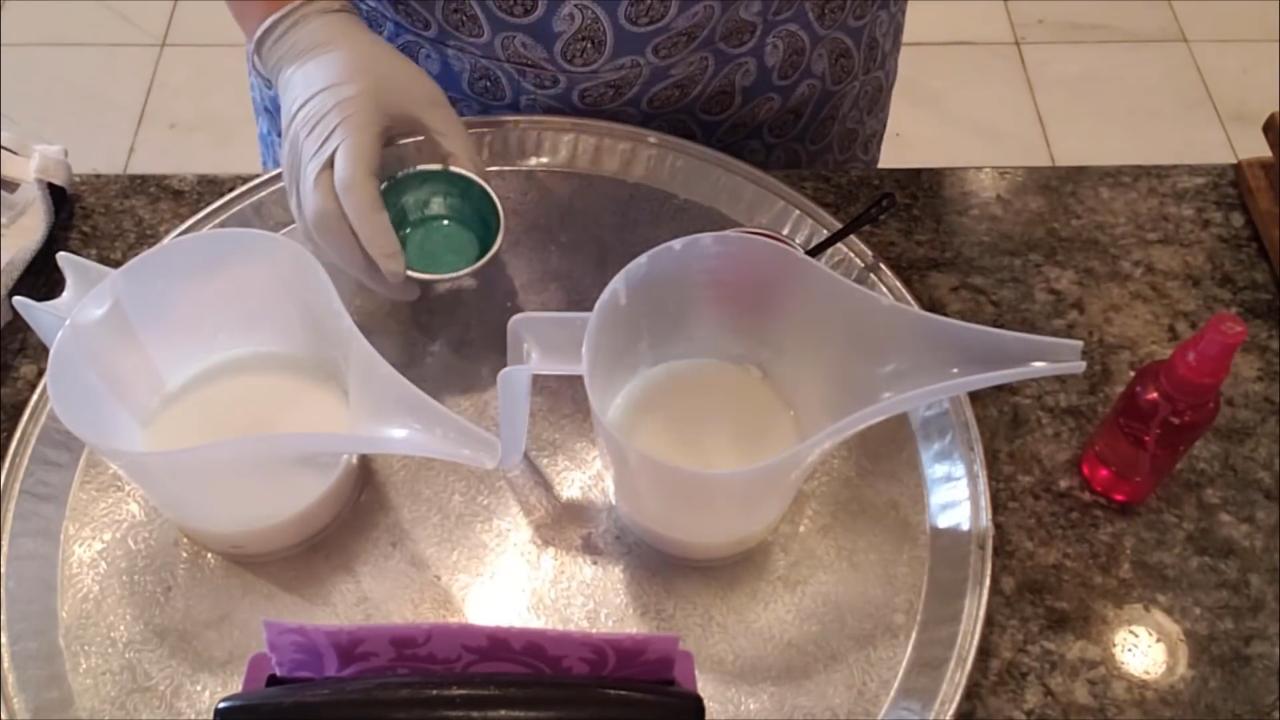
Melt the goat’s milk base and split it into two cups. Add fragrance. Mix the red and green micas with a little distilled water instead of alcohol. Water takes a bit longer to evaporate, which gives a little more time for swirling.
3. Pour with a Divider
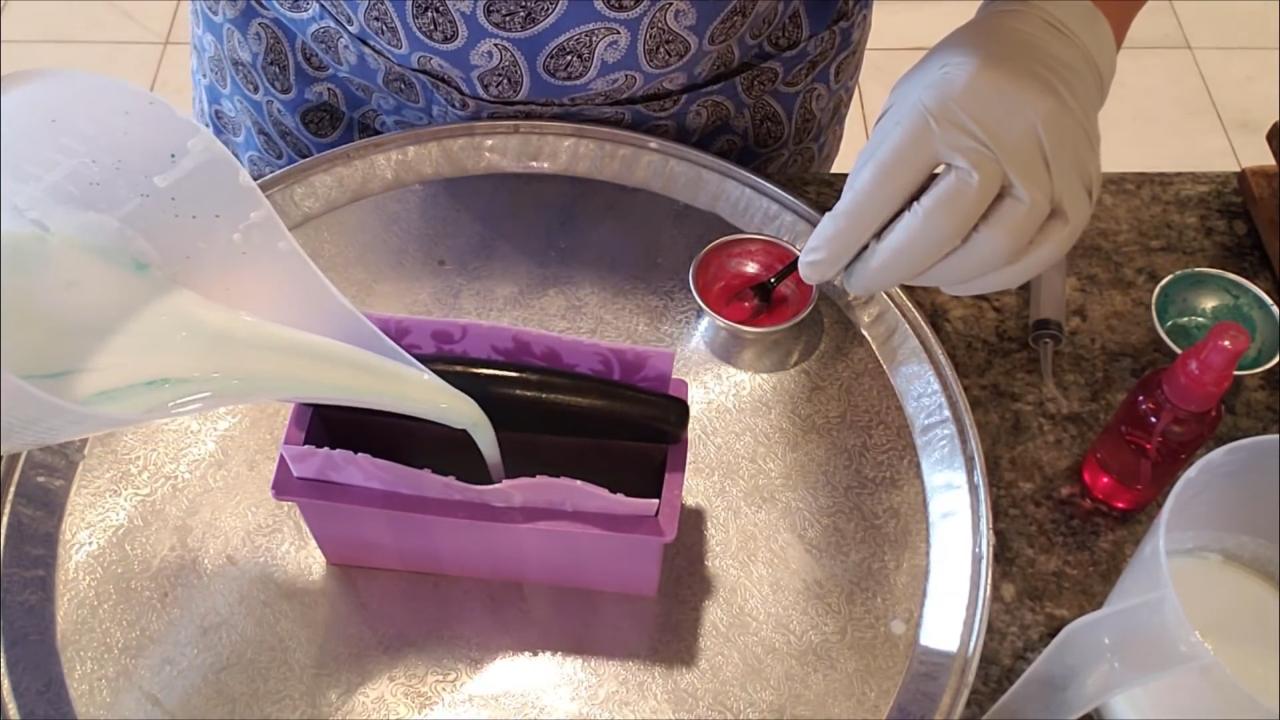
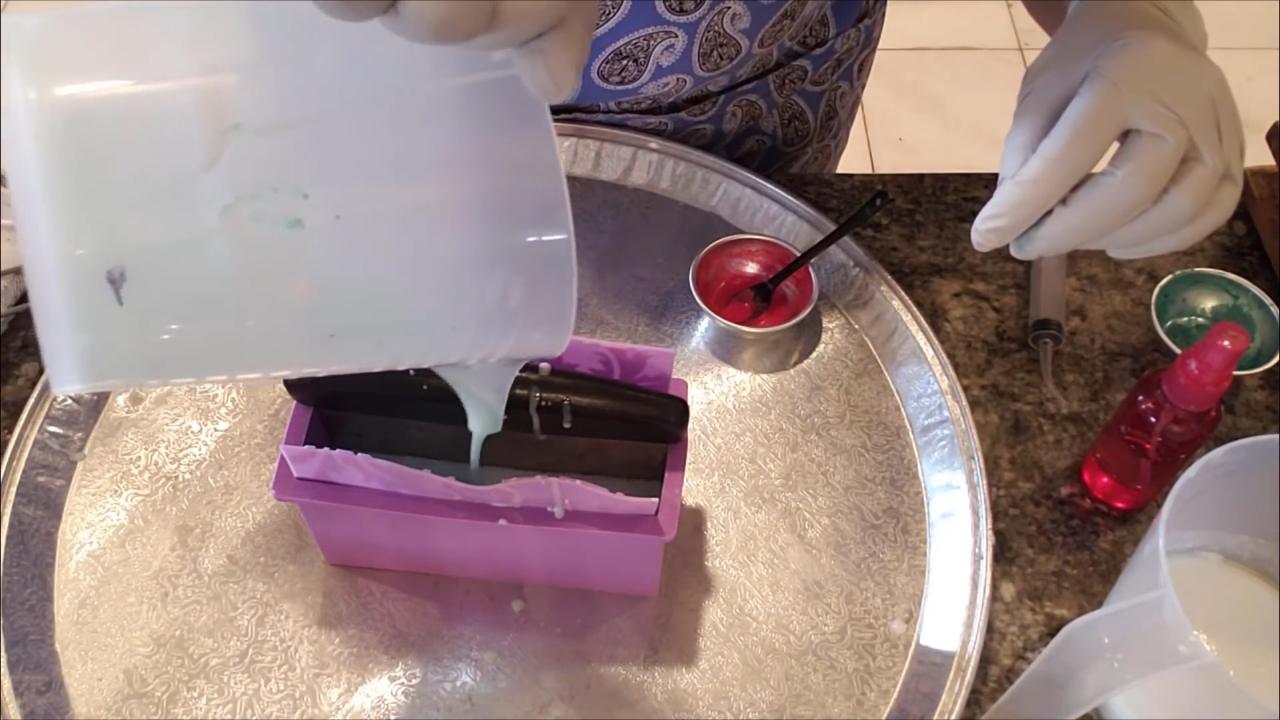
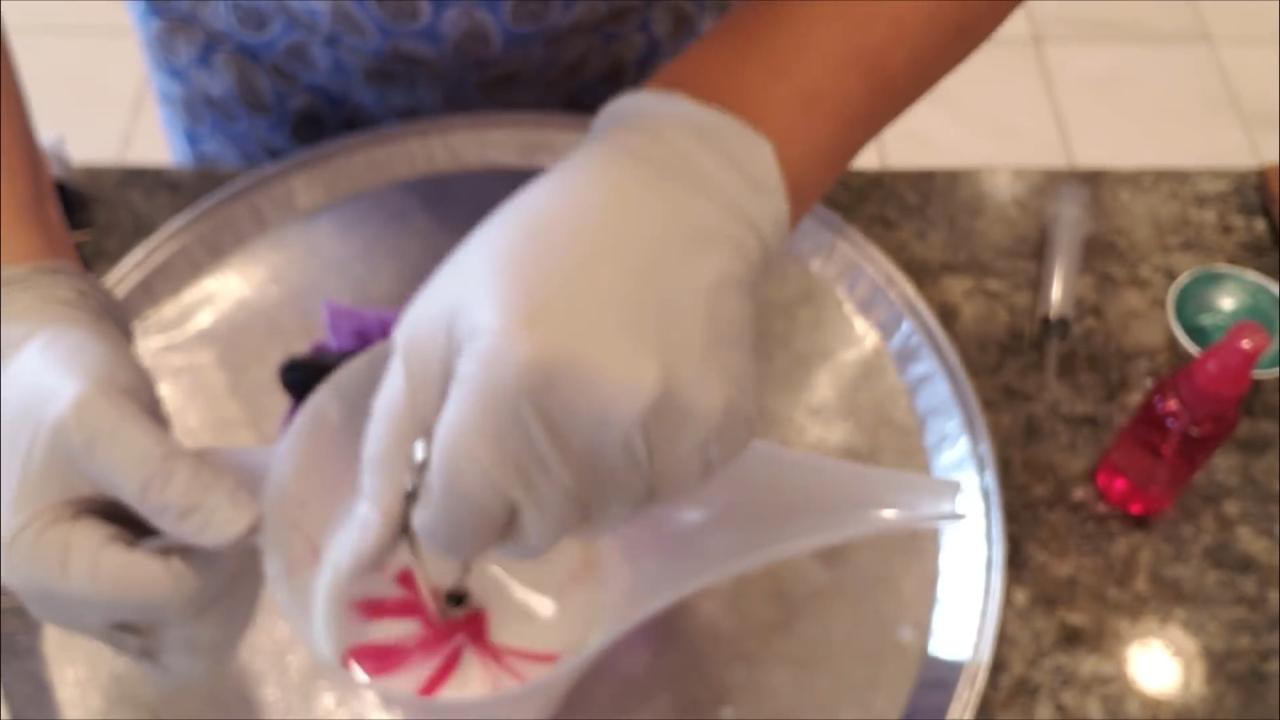
Wait until the soap is in the 110s and starting to skin. Set the divider in the middle of the mold. Pour green on one side, adding pipette drops of red and turning the cup as you pour.
4. Lift the Divider and Swirl
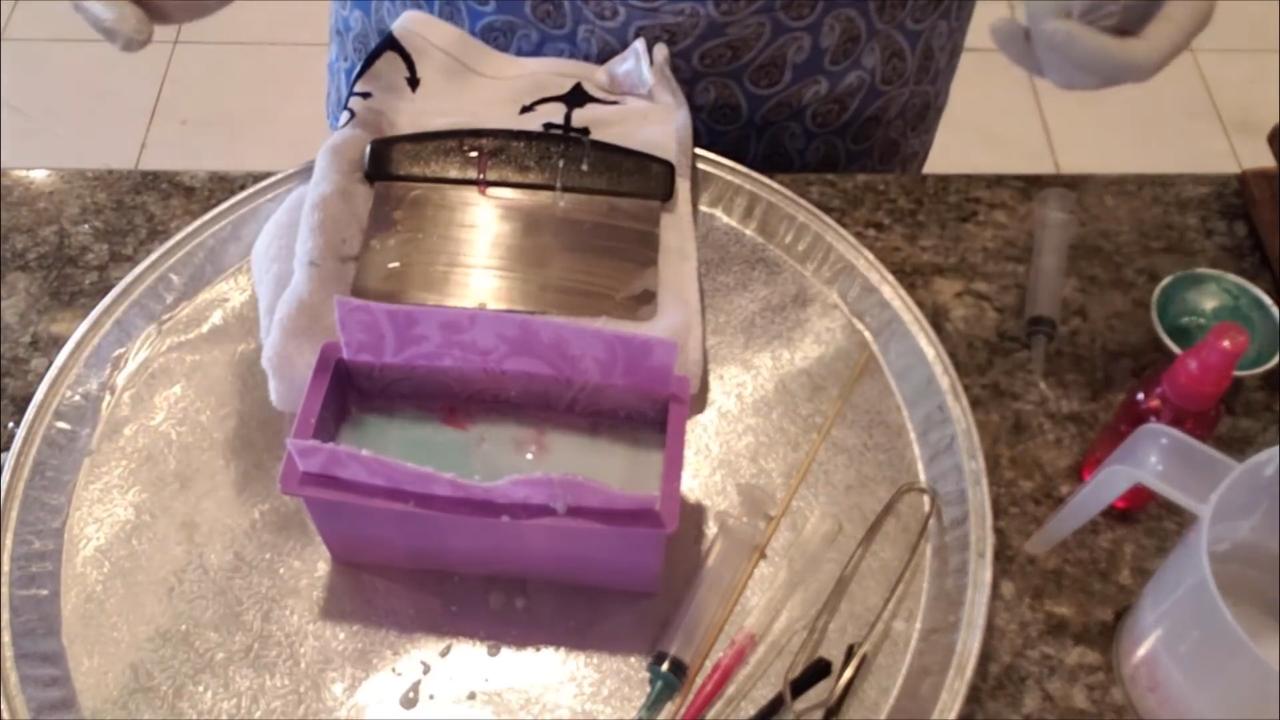
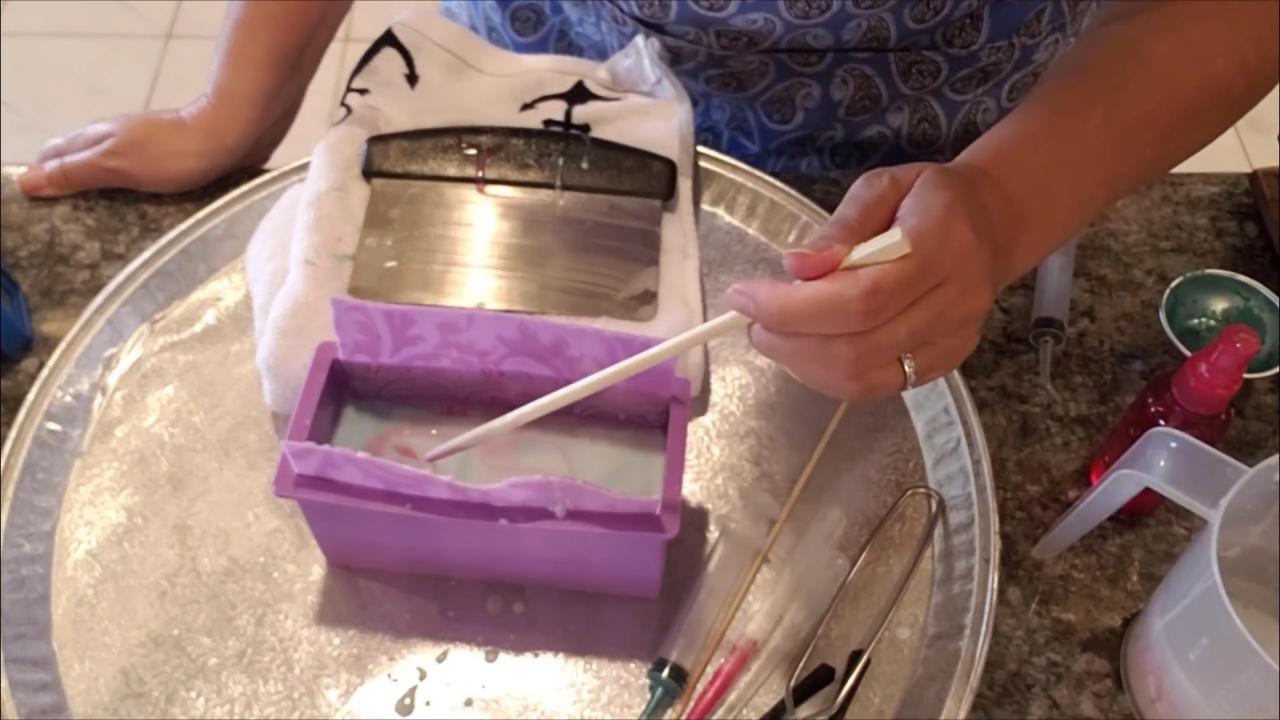
Lift the divider straight up. Swirl gently with a chopstick in a zigzag. A chopstick works better than a thin skewer. Spray with alcohol and sprinkle a little bio glitter on top.
5. Unmold
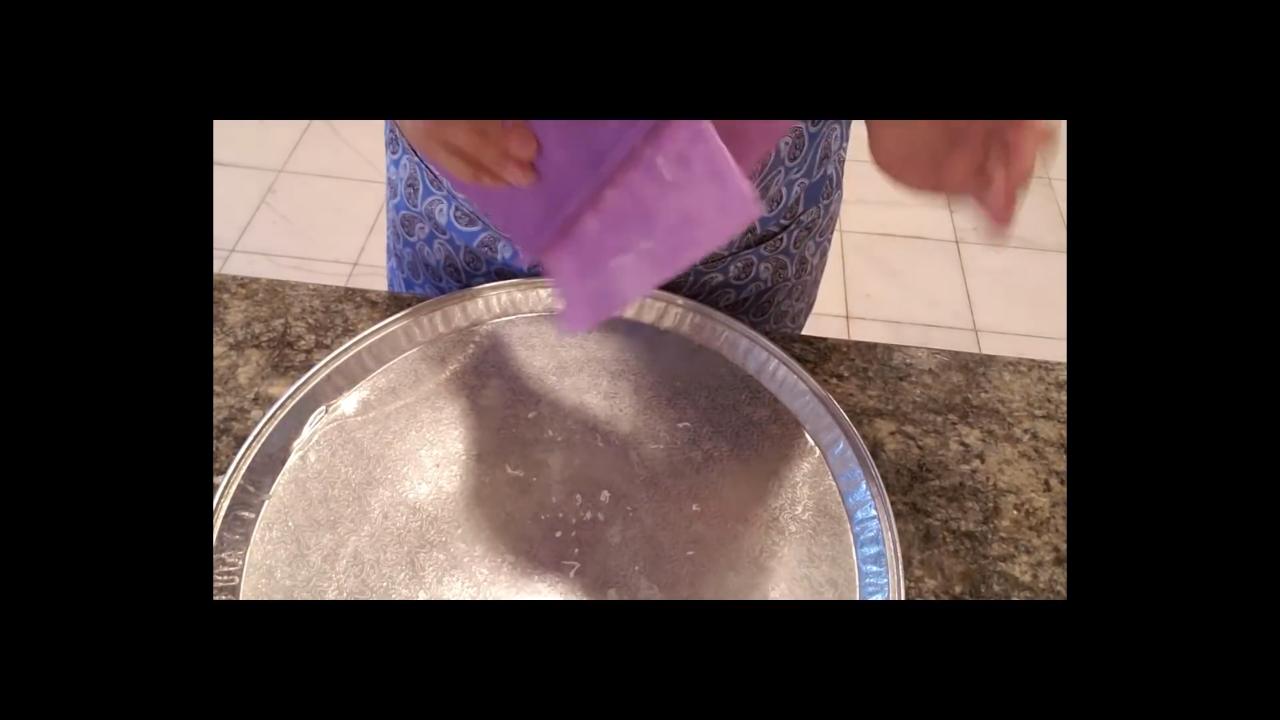
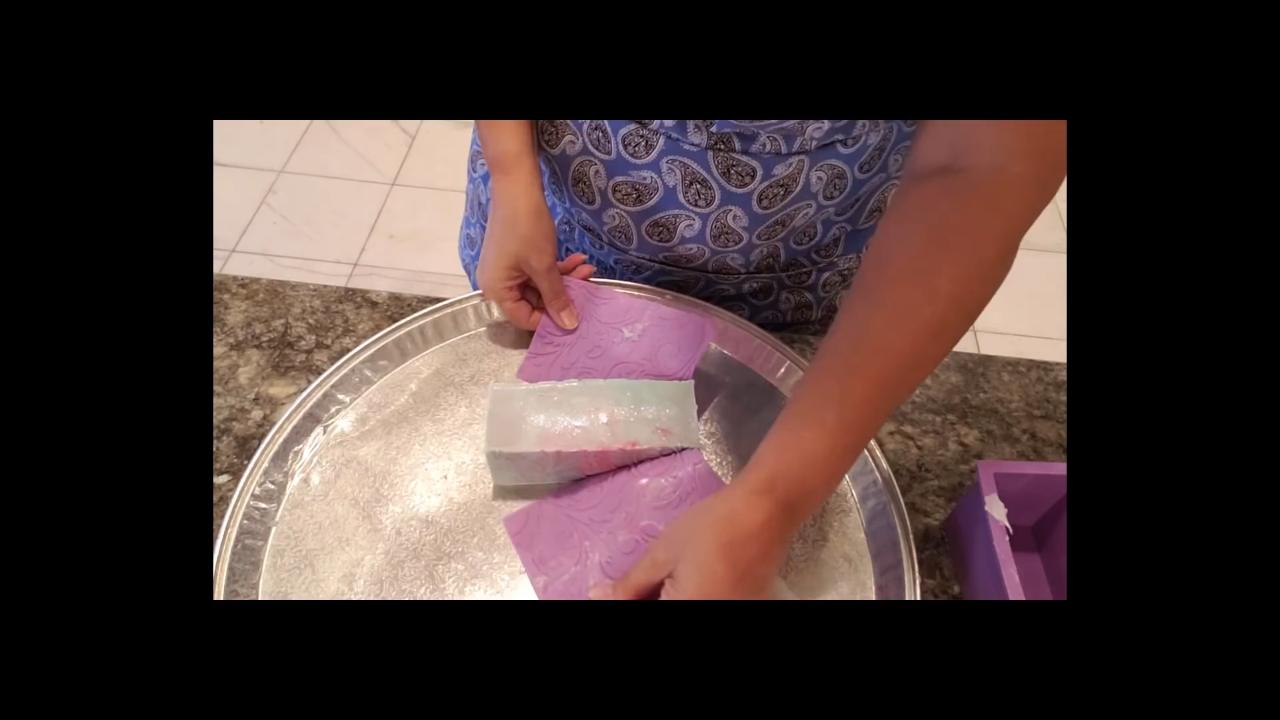
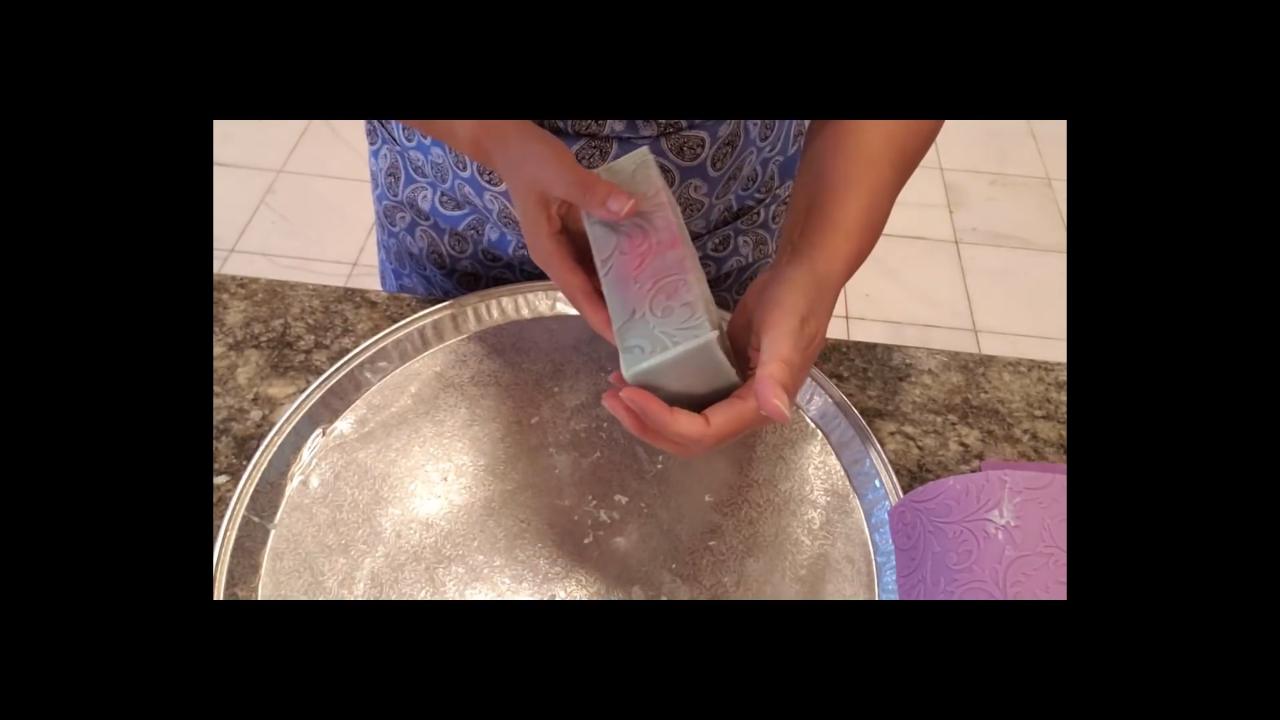
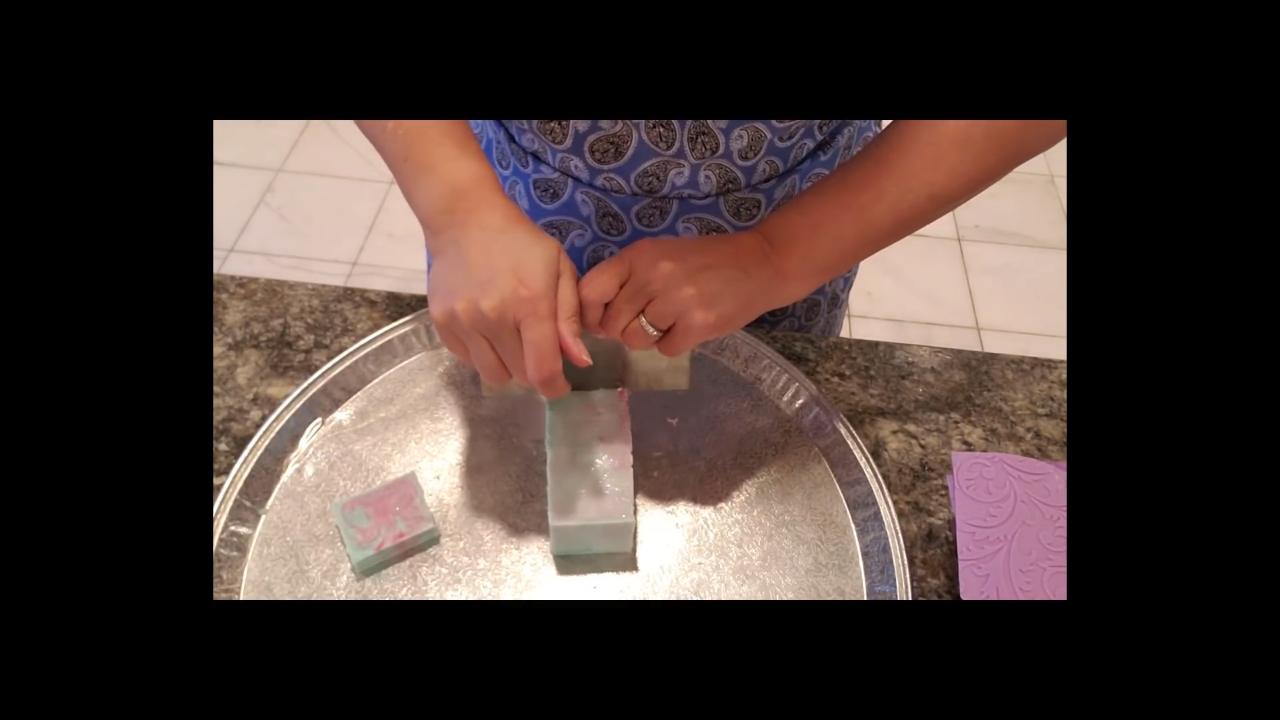
Small molds can be tricky. Turn it upside down and push from the top so you don’t pull on the impression mat sides. Peel the mats off.
6. Cut and Wrap
If the sides feel a little soft (common when you mix mica with water), give it a few more minutes, then cut. Shrink wrap the bars with a heat gun for gifts.
Tips & What I Learned
- Glue the impression mats in place. A little melted soap keeps them from shifting.
- Pour in smaller amounts. Small pours swirl more easily.
- Use a chopstick to swirl. It works better than a skewer.
- Water-mixed mica needs more set time. The sides may feel soft at first.
- Use non-bleeding colors. Oxides are less likely to run, especially reds.
Troubleshooting
The soap is soft when unmolding. Give it more time to set, especially if you mixed mica with water.
The impression mat shifted. Glue it to the mold wall with a smear of soap.
Not much swirl. Use smaller pours and a thicker tool like a chopstick.
FAQ
Why mix mica with water instead of alcohol?
Water evaporates more slowly, which gives a little more working time. Alcohol works too and dries faster.
How should I package these for gifts?
Shrink wrap bags and a heat gun make a tight, scent-free seal.
More Holiday Soap Ideas
- Holiday Swirl Melt and Pour Soap
- Peppermint Melt and Pour Soap with Soap Frosting
- How to Make a Curved Soap Mold at Home
- How to Package Melt and Pour Soap
- All my melt and pour soap tutorials on YouTube
If you make this, I’d love to see it! Tag me on Instagram or Pinterest, and subscribe on YouTube for new soap tutorials.
