
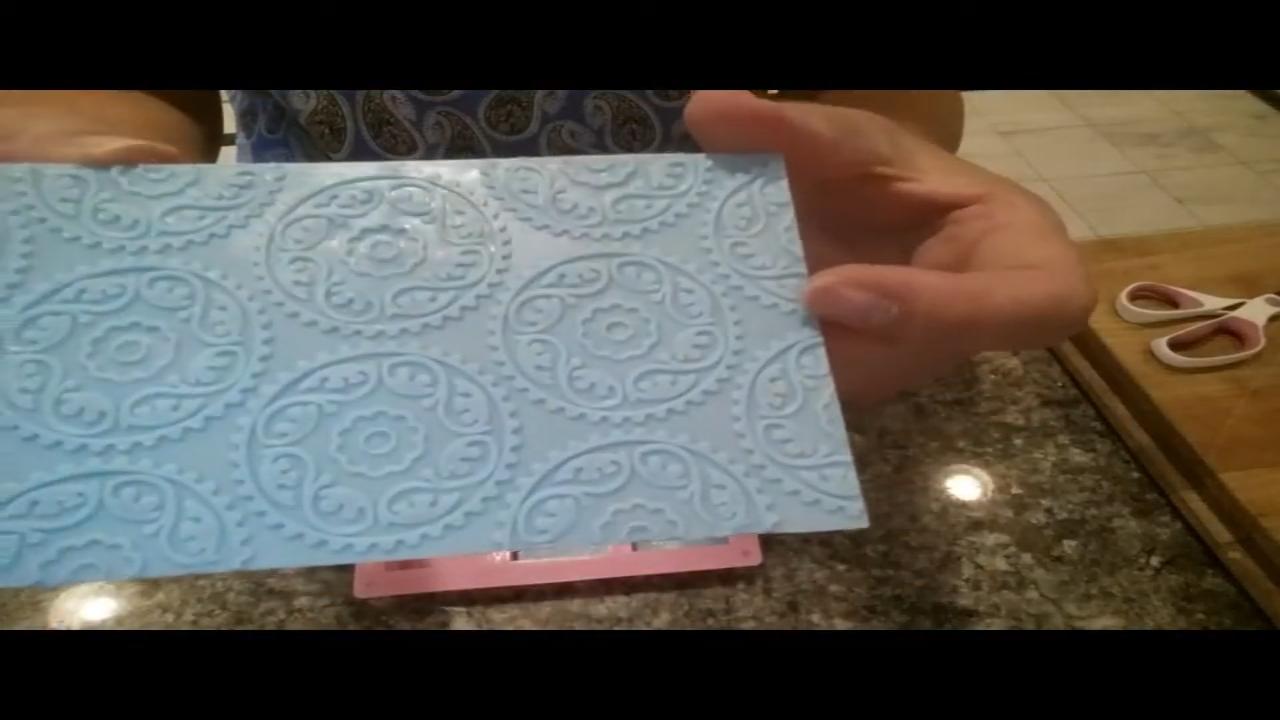
Texture sheets are an easy way to add a pattern to melt and pour soap. I found little reversible silicone sheets in the clay aisle at a craft store, cut them to fit my favorite cavity mold, and poured soap right over them. Any impression-type mat works the same way. Here’s how, plus the trick to keep them from floating up.
As an Amazon Associate I earn from qualifying purchases. Some links in this post are affiliate links. They cost you nothing extra and help support Koala Soap.
Materials & Tools
Soap Base
- Goat’s milk melt and pour soap base
- A little clear melt and pour to hold the sheets down
Color & Scent
- Blue and pink mica from a Stardust mica set or your favorite brand
- A sweet fragrance oil (I used a cotton candy scent)
Tools
- Silicone texture sheets from a craft store’s clay aisle, or an impression mat
- 6 cavity soap mold
- Scissors and a ruler
- Spray bottle of 91% isopropyl alcohol
- Pour cups
Fragrance Amount
Use up to 5 ml of fragrance oil per 16 oz (1 lb) of soap base. You can always use less if you like a lighter scent, but don’t go over 5 ml per 16 oz.
How to Use Texture Sheets
1. Pick Your Sheets
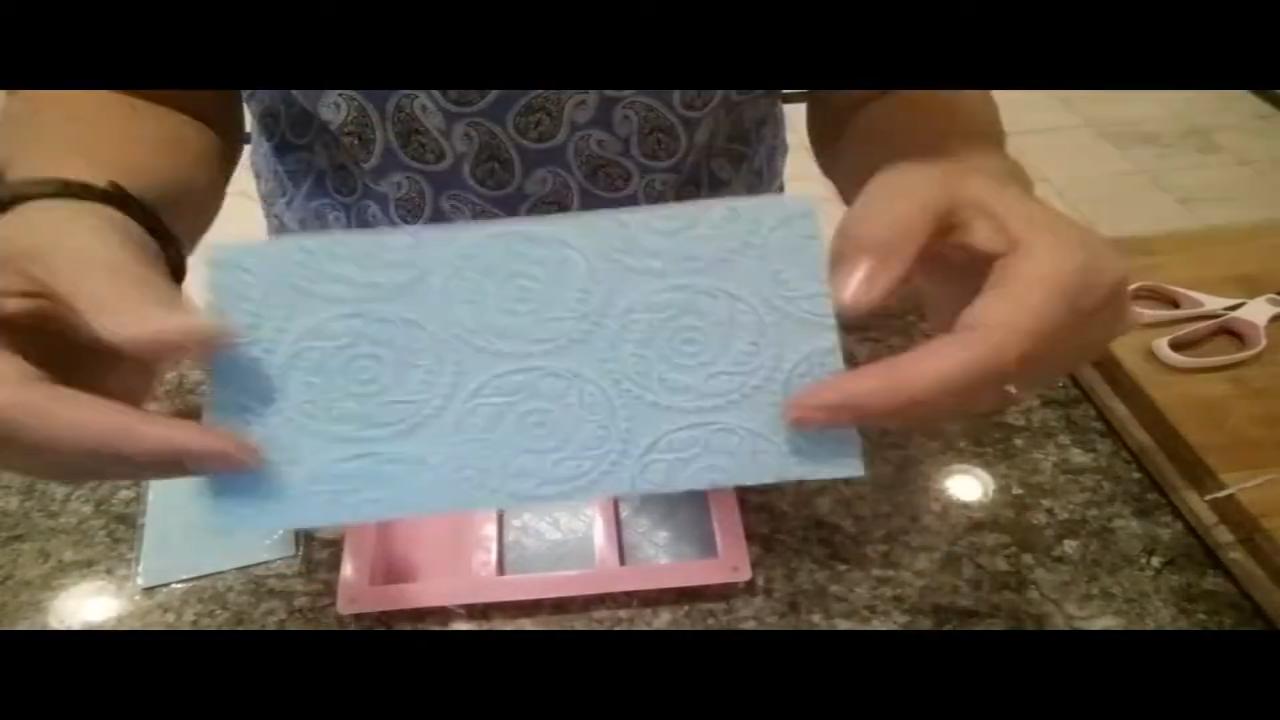
Clay texture sheets are small, about hand-sized, and many are reversible with a different pattern on each side, like diamonds, flowers or lace.
2. Measure and Cut
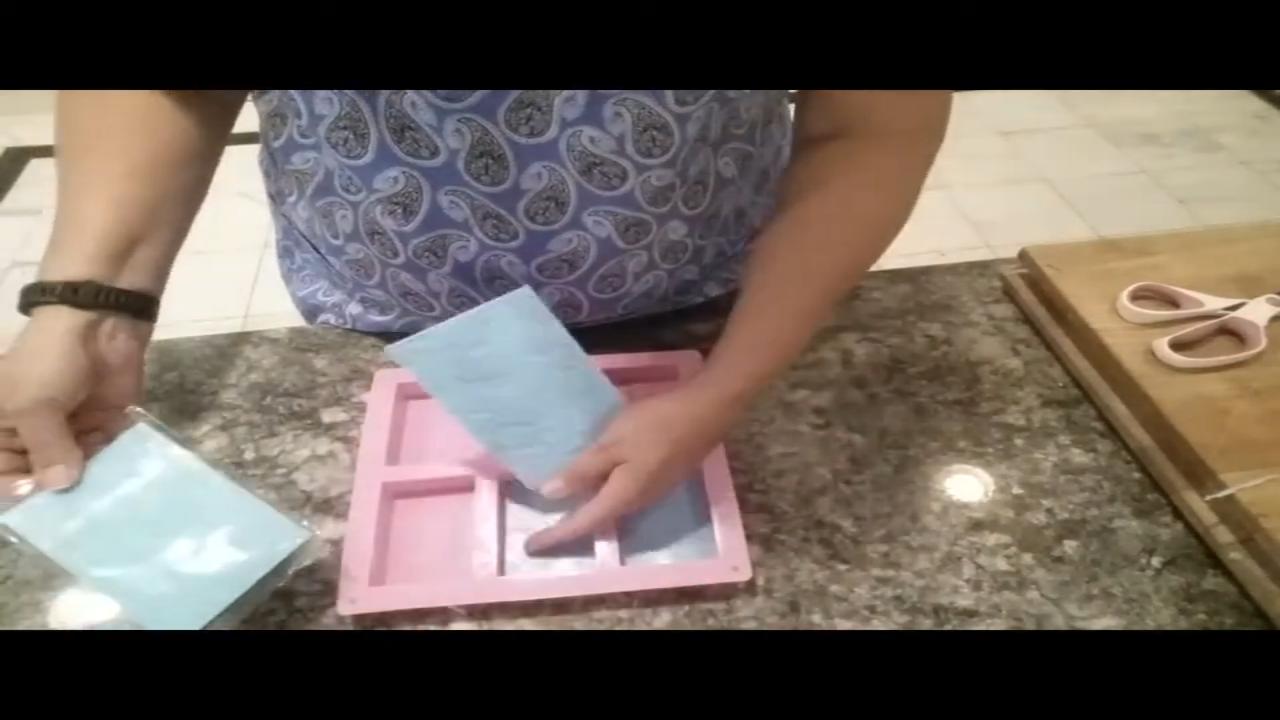
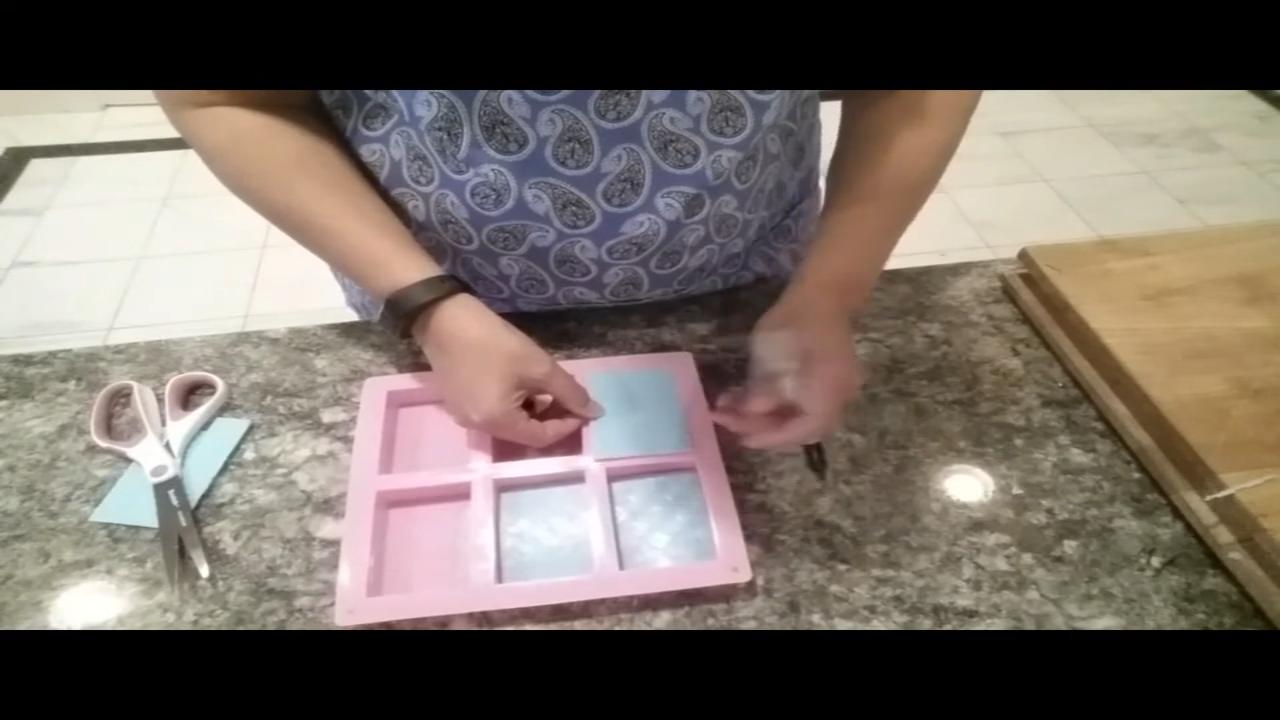
Set a sheet inside a cavity, make a small tick mark on each side, then cut it with a ruler so it fits snug against the bottom.
3. Glue the Sheets Down
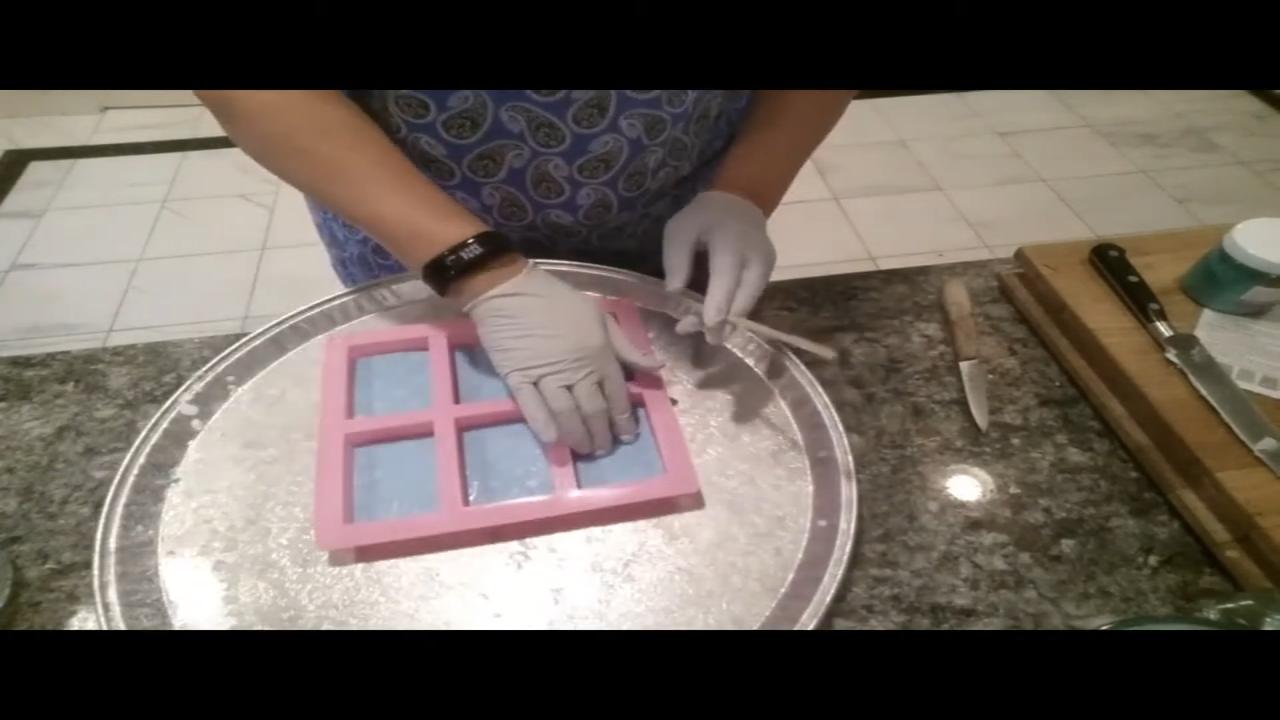
This is the important tip. Pour a very thin layer of clear soap in the cavity, or put a drop under the sheet, then press the sheet down and let it set. Otherwise the sheet can float up when you pour.
4. Pour the Soap
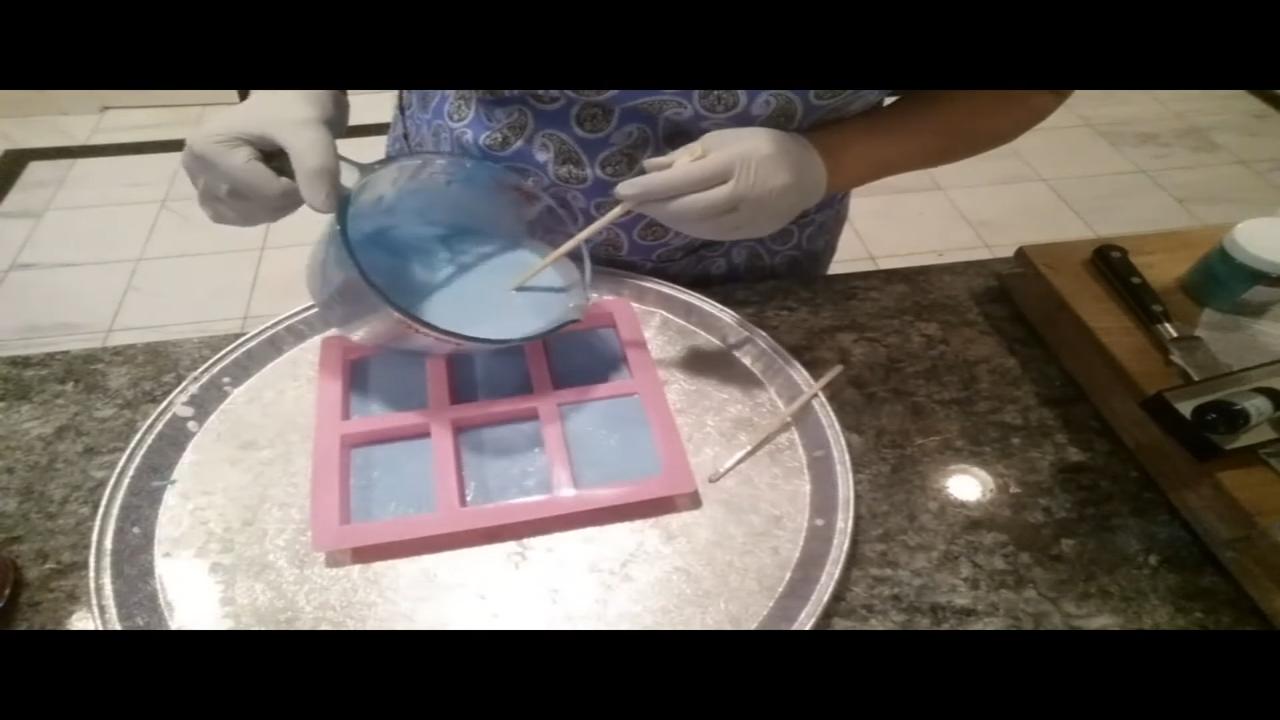
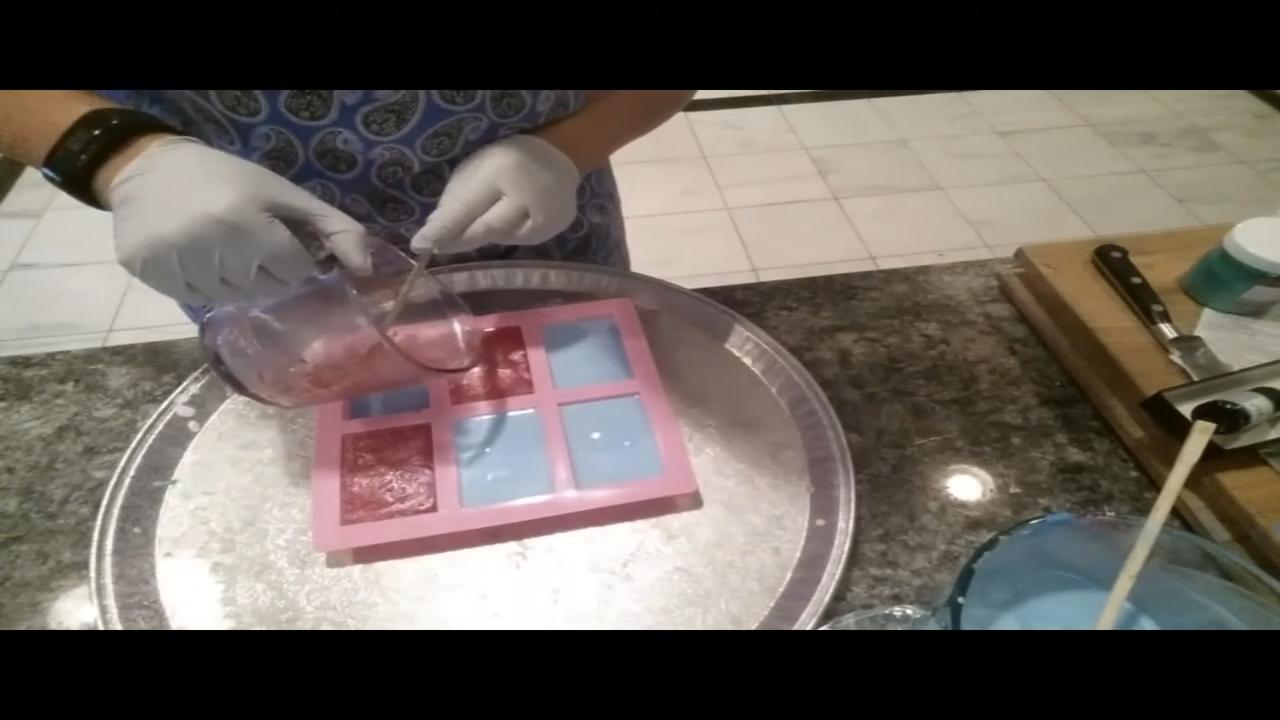
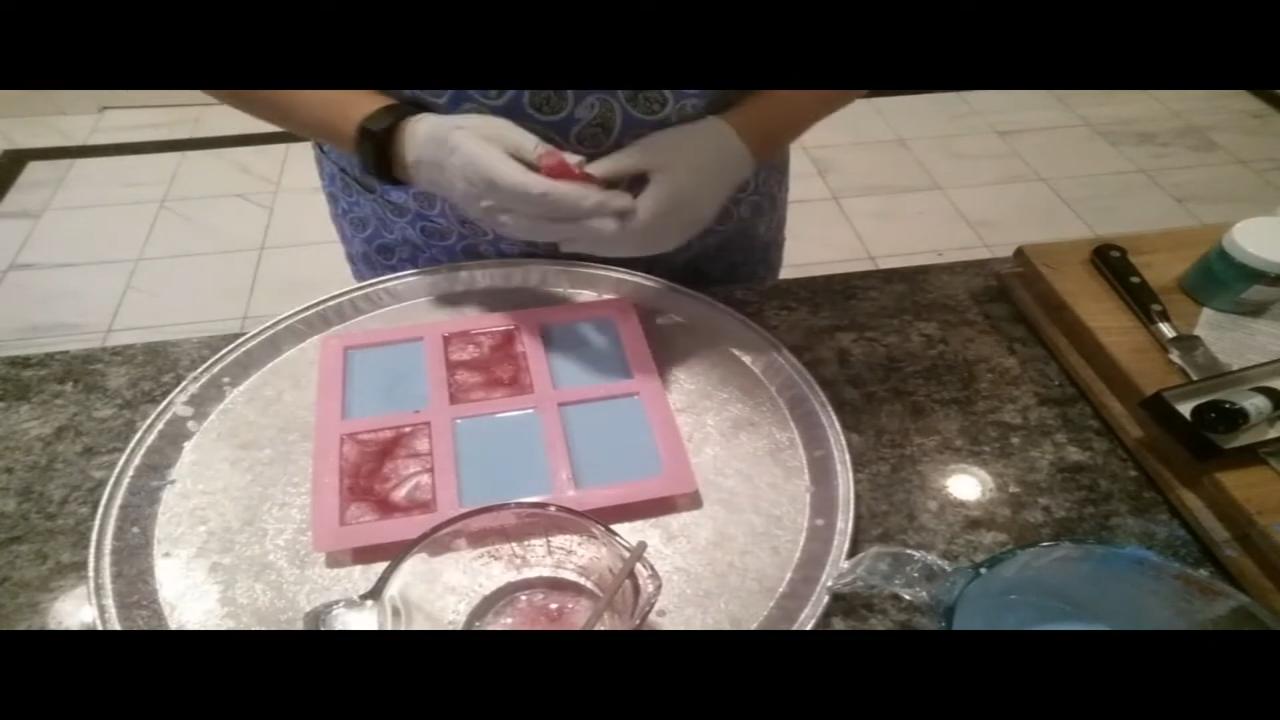
Melt the goat’s milk base, color it, and add fragrance. Spray the sheets with alcohol and pour. I made blue and pink bars. Spray the tops to remove bubbles.
5. Unmold
Let the soap set, then peel the bars out and peel off the sheets. Clean up the edges with a knife if needed.
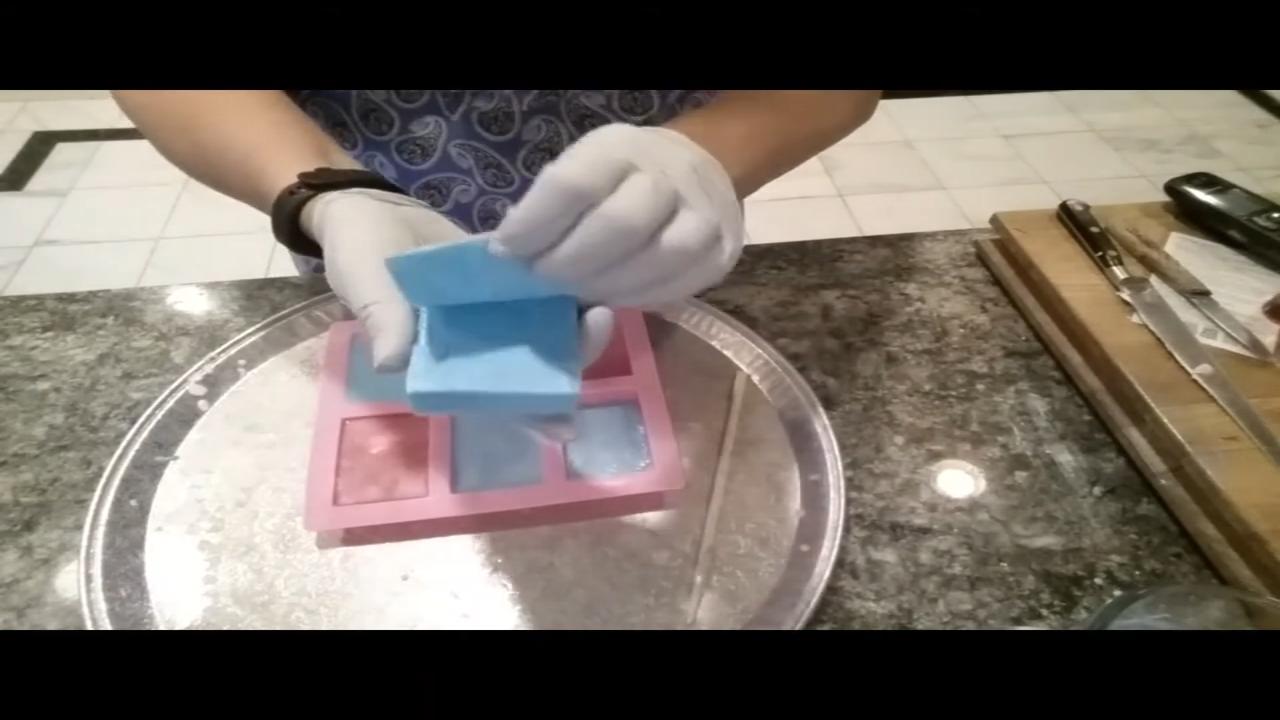
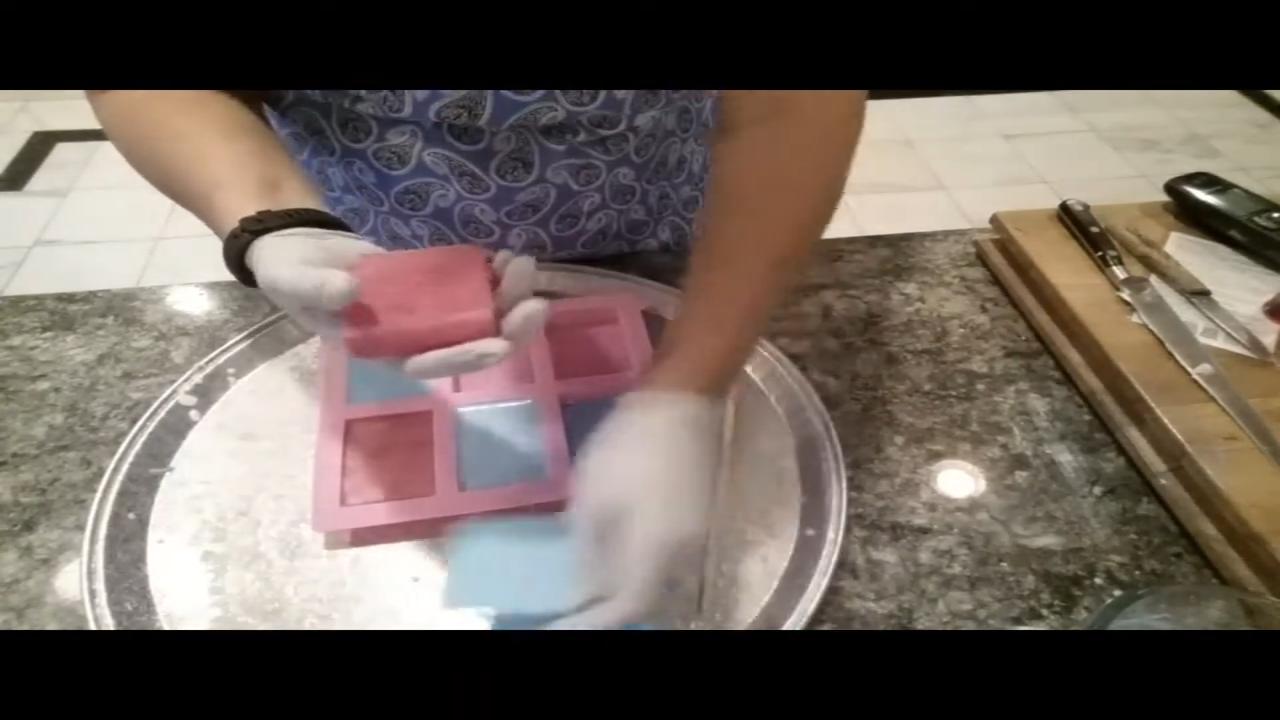
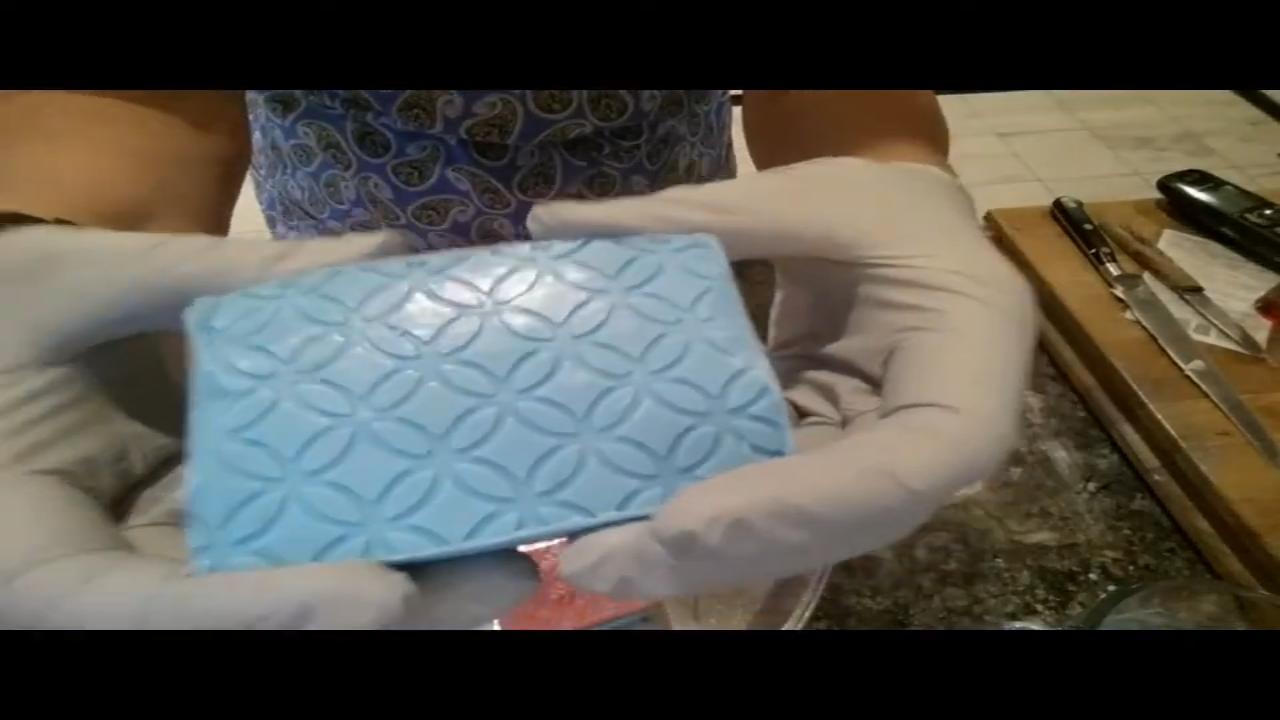
You can also paint the raised pattern with mica afterward for even more detail.
Tips & What I Learned
- Glue the sheets down. One of mine floated up because I skipped this step.
- Measure from the inside. A snug fit gives clean edges.
- Try both sides. Reversible sheets give you two patterns.
- Opaque base shows patterns best. Goat’s milk or shea butter really shows the texture.
- Paint the details. Mica brushed on afterward makes the pattern pop.
Troubleshooting
The sheet floated up. Glue it down with a thin layer of clear soap first.
The pattern looks faint. Use an opaque base, or paint it with mica.
Soap leaked under the sheet. Cut it to fit more snugly and glue it down.
FAQ
Where can I find texture sheets?
Check the polymer clay aisle at craft stores, or use a silicone impression mat.
Can I reuse them?
Yes. Wash them with warm soapy water and let them dry.
More Texture Soap Ideas
- How to Make a Curved Soap Mold at Home
- Blue Ice Melt and Pour Soap with an Impression Mat
- How to Paint Melt and Pour Soap with Mica
- Flower and Lace Melt and Pour Soap
- All my melt and pour soap tutorials on YouTube
If you make this, I’d love to see it! Tag me on Instagram or Pinterest, and subscribe on YouTube for new soap tutorials.
