
This Blue Ice melt and pour soap uses an impression mat to press a beautiful textured pattern into the top of each bar. A vivid icy-blue clear layer sits on top of creamy white shea butter soap, scented with lavender. It looks like frost on a winter window, and it makes a lovely holiday gift.
As an Amazon Associate I earn from qualifying purchases. Some links in this post are affiliate links. They cost you nothing extra and help support Koala Soap.
Materials & Tools
Soap Bases
- Clear melt and pour soap base for the blue patterned layer
- Shea butter melt and pour soap base to fill the loaf
Color & Fragrance
- Stardust Blue Ice mica (from this Stardust mica set)
- Lavender fragrance oil (I like Barnhouse fragrance oils)
Molds & Tools
- Impression mat
- Loaf soap mold
- Silicone mat to work on
- Flat rubber spatula and a butter knife
- Soap cutter
- Spray bottle of isopropyl alcohol
- Thermometer
Fragrance Amount
I use 5 ml of fragrance oil per 16 oz of soap base. You can always use less, but I wouldn’t go over 5 ml per 16 oz.
How to Make Blue Ice Melt and Pour Soap: Step by Step
1. Color the Clear Base
Melt the clear base. Mix Blue Ice mica with a little alcohol and stir it in. In clear base it turns a gorgeous deep icy blue. Add your lavender fragrance.
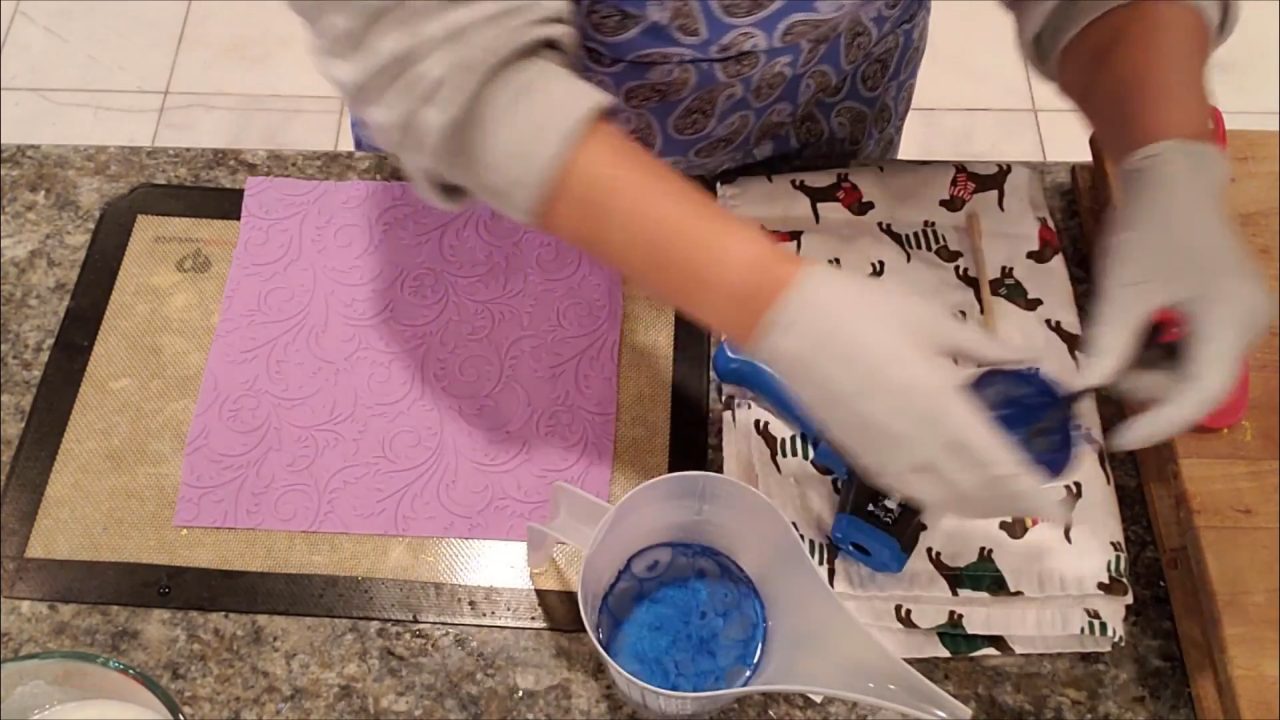
2. Set Up the Impression Mat
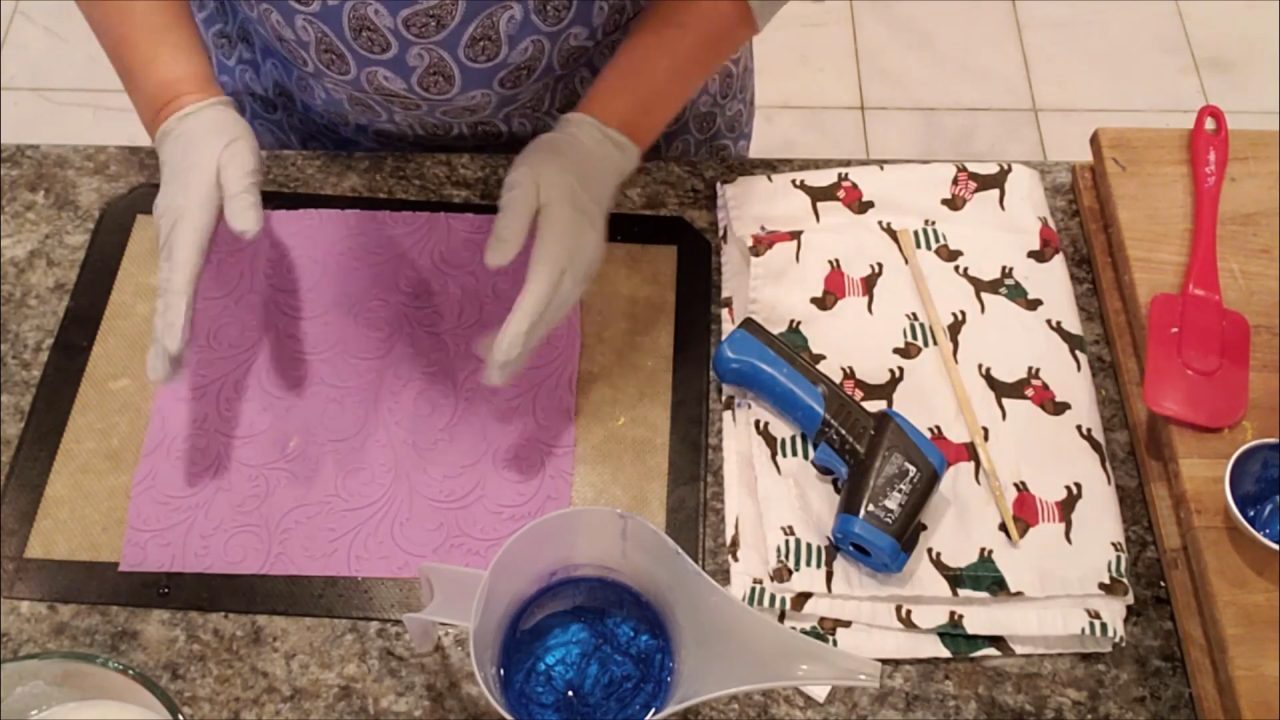
Lay the impression mat flat on a silicone mat, pattern side up. The silicone mat catches the extra soap so you can reuse it. Check that the mat will fit inside your loaf mold, covering the bottom and sides.
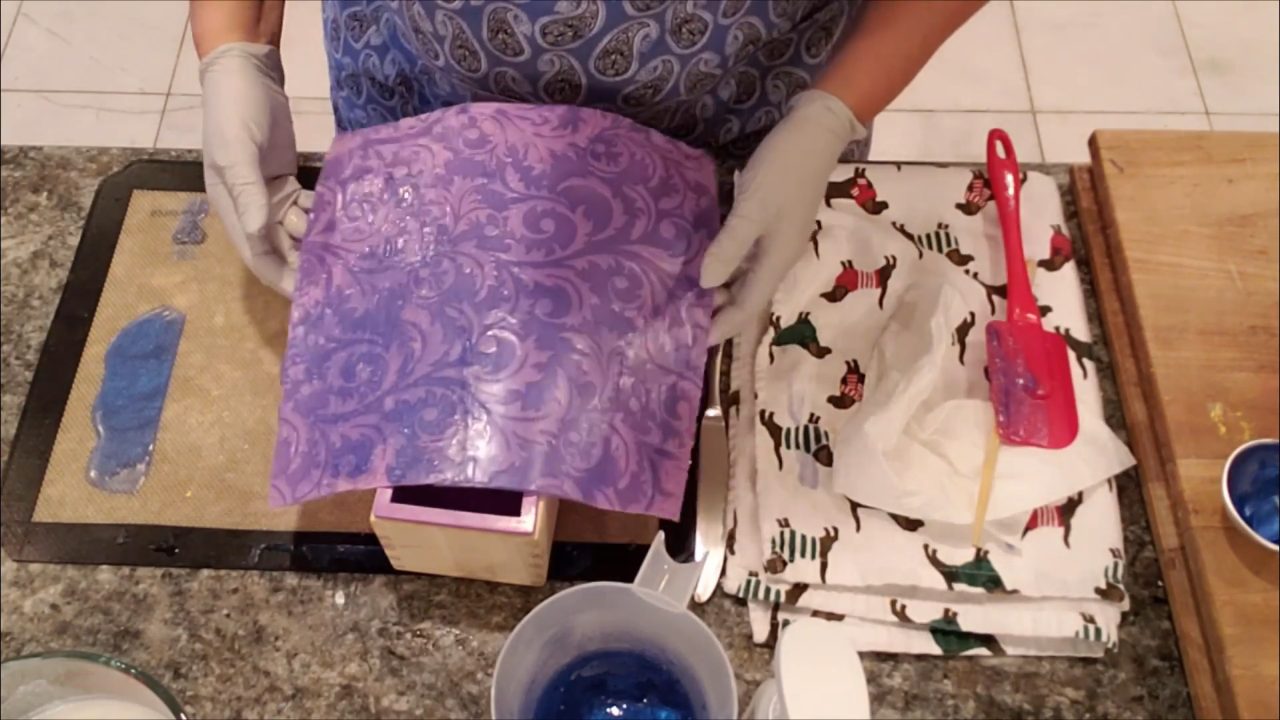
3. Spread the Blue Soap Over the Mat
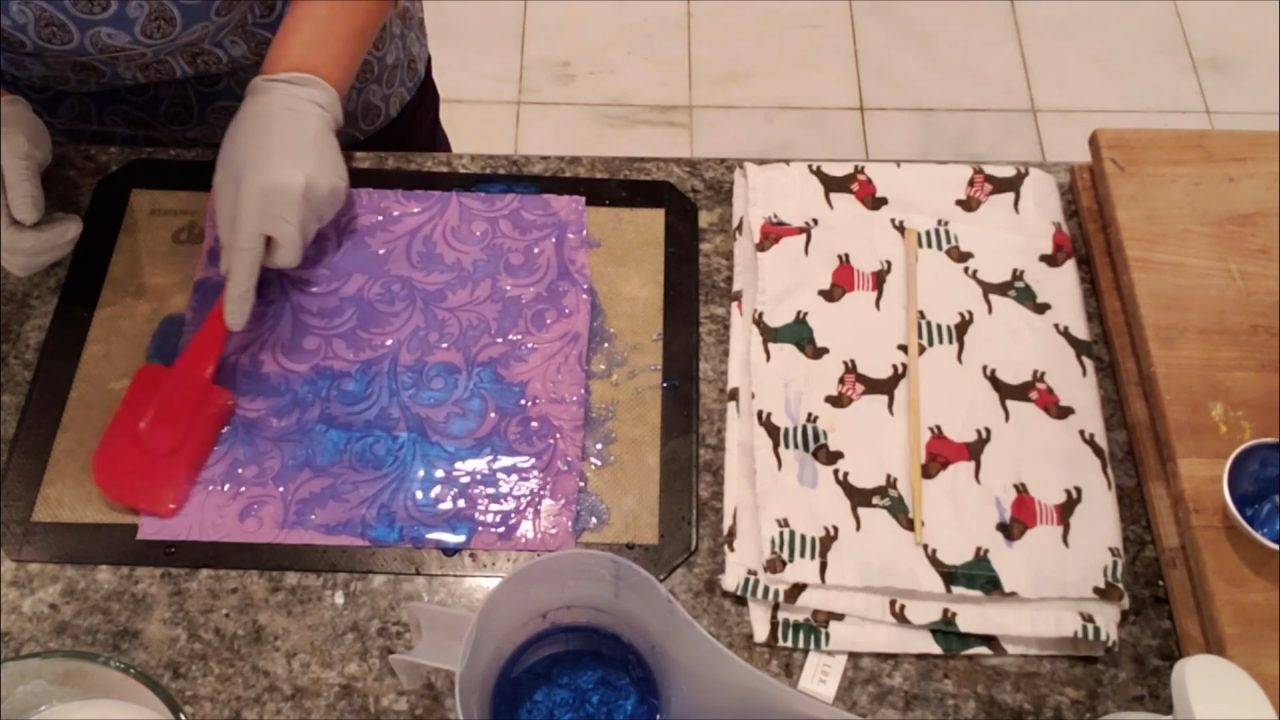
When the blue base cools to about 120°F (just before it forms a skin), spray the mat with alcohol and pour the soap on. Glide a flat rubber spatula gently across the mat to push the soap into every groove. Don’t scrape hard, or you’ll pull the soap back out. Fill in any bald spots, paying most attention to the part of the mat that will become the top of your bars.
4. Let It Set and Trim
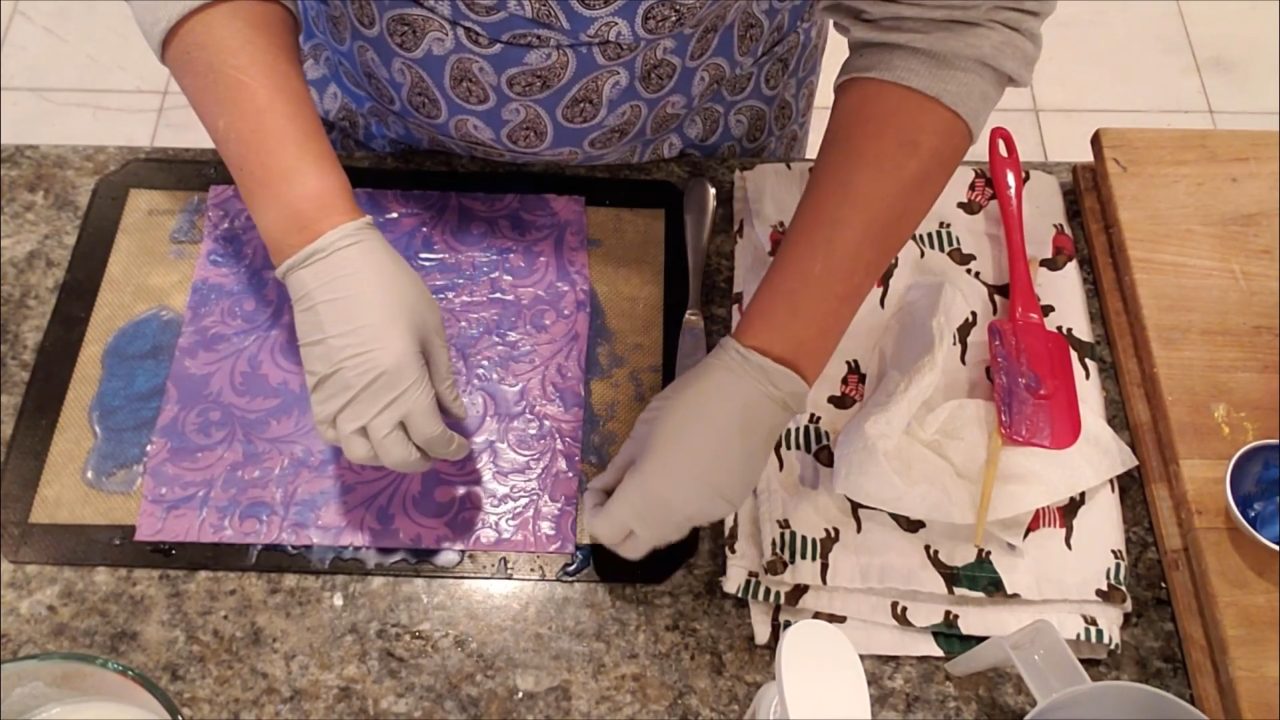
Let the soap on the mat set. Don’t peel it up early, because the open pattern can lift right out. Run a butter knife along the edges of the silicone mat to cut away the extra soap, then lift the mat. Save the scraps for another soap.
5. Fold the Mat Into the Loaf Mold
Put a thin dollop of warm soap in the mold to act as glue. Then gently fold the mat into the loaf mold with the soap facing in, making sure it’s the right way around. Press it gently into the corners with your fingers to make it as square as you can.
6. Pour the Shea Butter Base
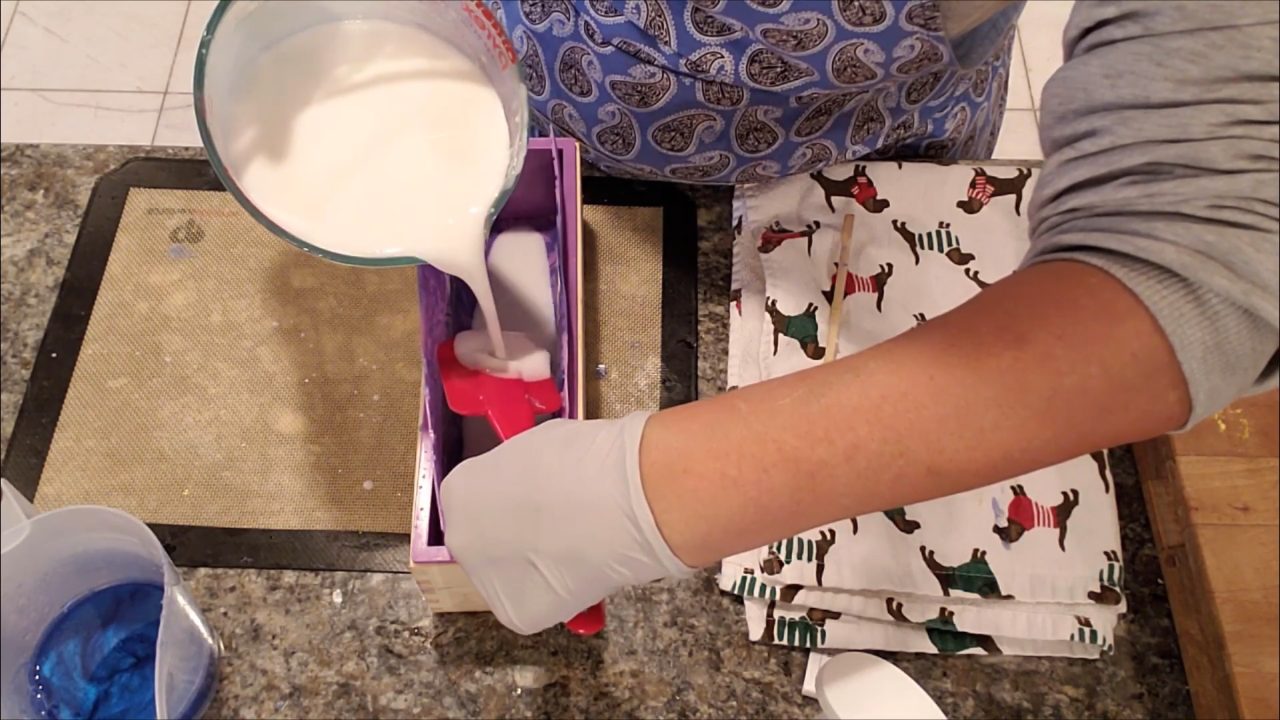
Melt the shea butter base. Mine was in the 160s °F, which is too hot. It would melt the blue pattern right off. Let it cool to about 129°F, spray the inside of the mold with alcohol so the layers stick, and pour. The weight of the soap also helps push the mat into a square shape. Spray the top with alcohol and let it set completely.
7. Unmold and Peel the Mat
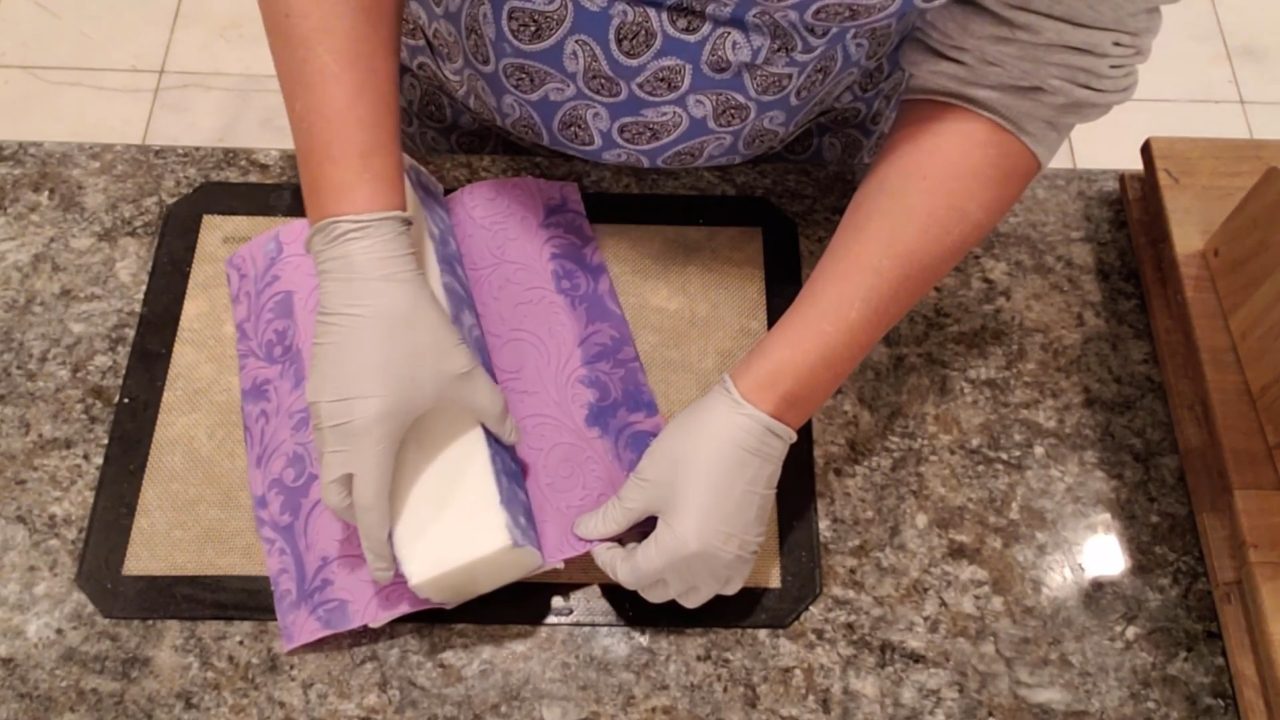
Loosen the mold on all sides and slide the loaf out. Then gently peel the impression mat away. The blue pattern stays on the soap. Trim off any extra blue that seeped around the edges with a knife.
8. Cut the Bars
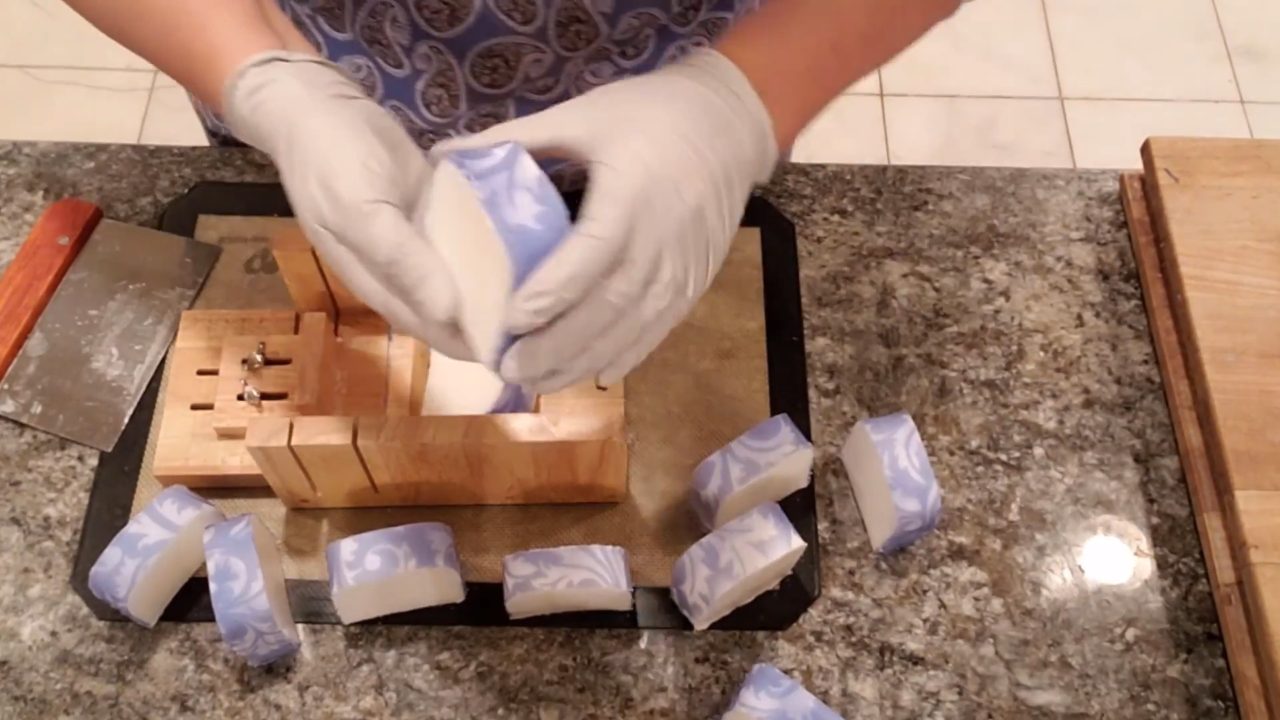
Slice the loaf into bars. Hold the end of the loaf steady as you cut so it doesn’t tip and give you an uneven bar. If you chilled the loaf, let it warm up a bit first, because cold soap is harder to cut.
Tips & What I Learned
- Clear base makes the color pop. Blue Ice looks much more vivid in clear base than in an opaque base.
- Pour onto the mat before a skin forms. Around 120°F is a good spot.
- Glide, don’t scrape. Gentle spatula strokes fill the grooves without pulling the soap out.
- Let the shea butter cool. Pour it at about 129°F so it doesn’t melt the pattern.
- Spray alcohol inside the mold before pouring so the blue layer bonds to the shea butter.
- Use up leftovers. Pour extra soap into a small mold so nothing goes to waste.
Troubleshooting
The pattern pulled off when I lifted the mat.
The soap wasn’t set yet. Let it firm up completely before trimming and moving the mat.
The blue layer melted into the white.
The shea butter was too hot. Let it cool to around 129°F before pouring.
My loaf has rounded corners.
Press the mat firmly into the corners before pouring. The weight of the soap helps too.
There are bald spots in the pattern.
Go back over thin areas gently with the spatula before the soap sets.
FAQ
What is an impression mat?
It’s a textured silicone mat, often used for cake decorating, that presses a raised pattern into soap.
Can I use an opaque base for the patterned layer?
Yes, but the color will look lighter. Clear base gives the deepest, brightest blue.
Why is my soap hard to cut?
Soap that’s been chilled is firmer. Let it come to room temperature first.
How much fragrance should I use?
I use 5 ml per 16 oz of soap base. You can always use less, but I wouldn’t use more than 5 ml per 16 oz.
More Soap Ideas
- Babies’ Breath Soap: Making Your Own Impression Mat
- Pastel Lace Dream Melt and Pour Soap
- Wave Embed Melt and Pour Soap
- All my melt and pour soap tutorials on YouTube
If you make this, I’d love to see it! Tag me on Instagram or Pinterest, and subscribe on YouTube for new soap tutorials.
