
Detailed soap molds look amazing when you paint the details. In this tutorial I made a black dragon eye soap, then tried three ways to paint melt and pour soap with mica: brushing on mica mixed with alcohol, painting with colored melt and pour, and filling the details with a syringe before pouring.
As an Amazon Associate I earn from qualifying purchases. Some links in this post are affiliate links. They cost you nothing extra and help support Koala Soap.
Materials & Tools
Soap Base
- About 4 oz of clear melt and pour soap base (that’s what this mold holds)
- A black color block or activated charcoal for the black soap
Color & Scent
- Orange mica plus any accent colors from a Stardust mica set
- A little cosmetic glitter (optional)
- Fragrance oil (I used a watermelon scent)
Tools
- Dragon (dinosaur) eye soap mold
- Small paintbrushes and a paint palette
- Dental syringes or pipettes
- Spray bottle of 91% isopropyl alcohol
Fragrance Amount
Use up to 5 ml of fragrance oil per 16 oz (1 lb) of soap base. For a 4 oz soap, that’s no more than about 1¼ ml. You can always use less.
How to Make and Paint Dragon Eye Soap
1. Make the Black Soap
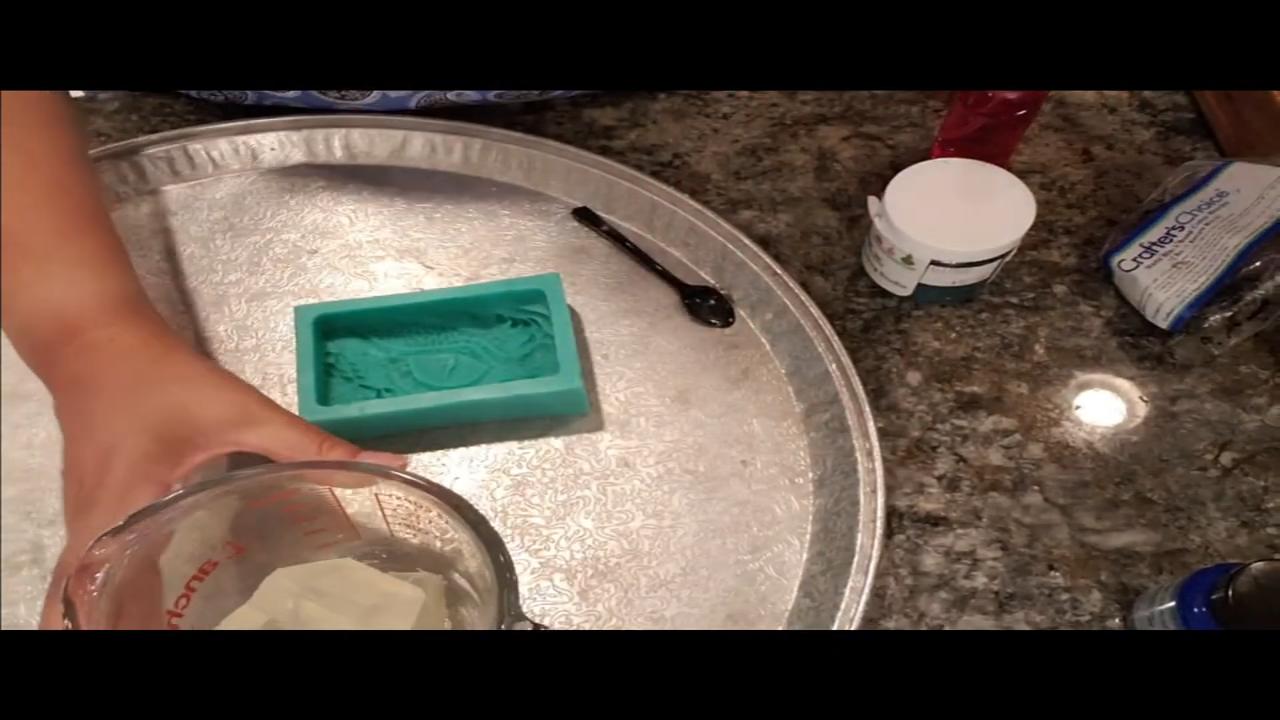
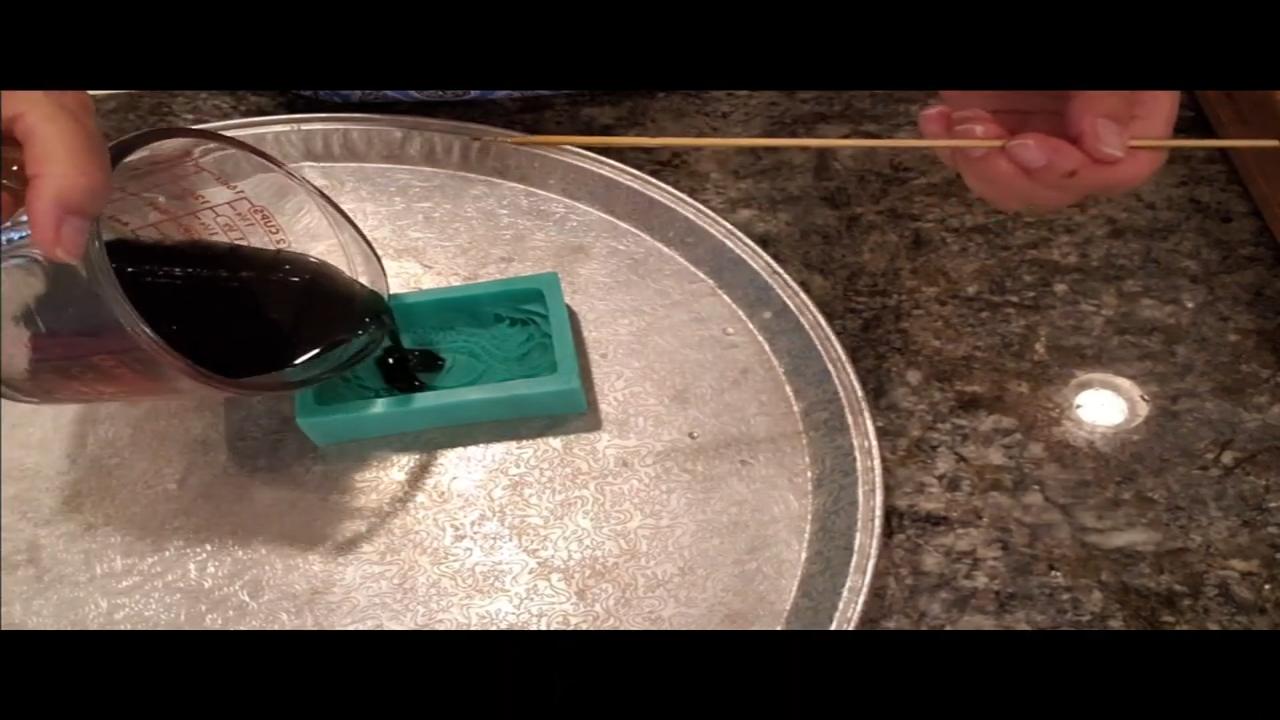
Melt about 4 oz of clear base with a black color block, then add fragrance and a little glitter. Pour it into the mold and spray with alcohol.
2. Unmold
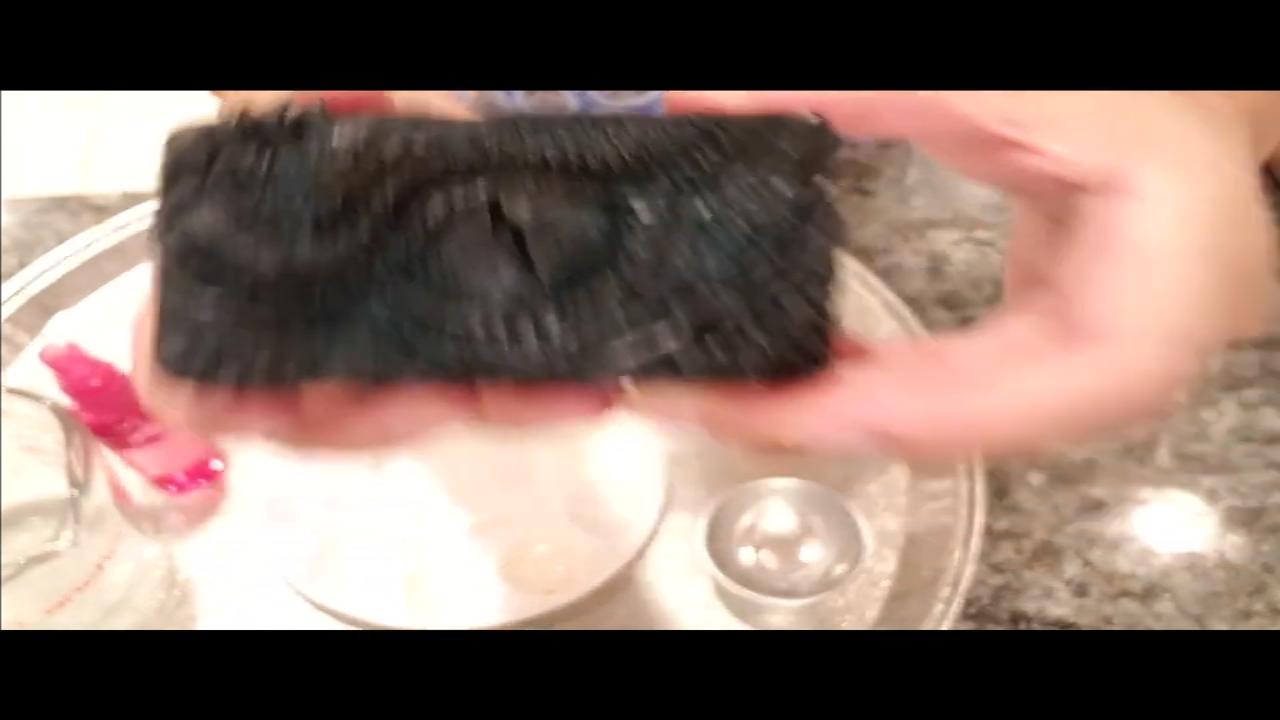
Once it’s set, unmold it. This mold pops out easily and has lots of scale detail to paint.
Method 1: Mica and Alcohol
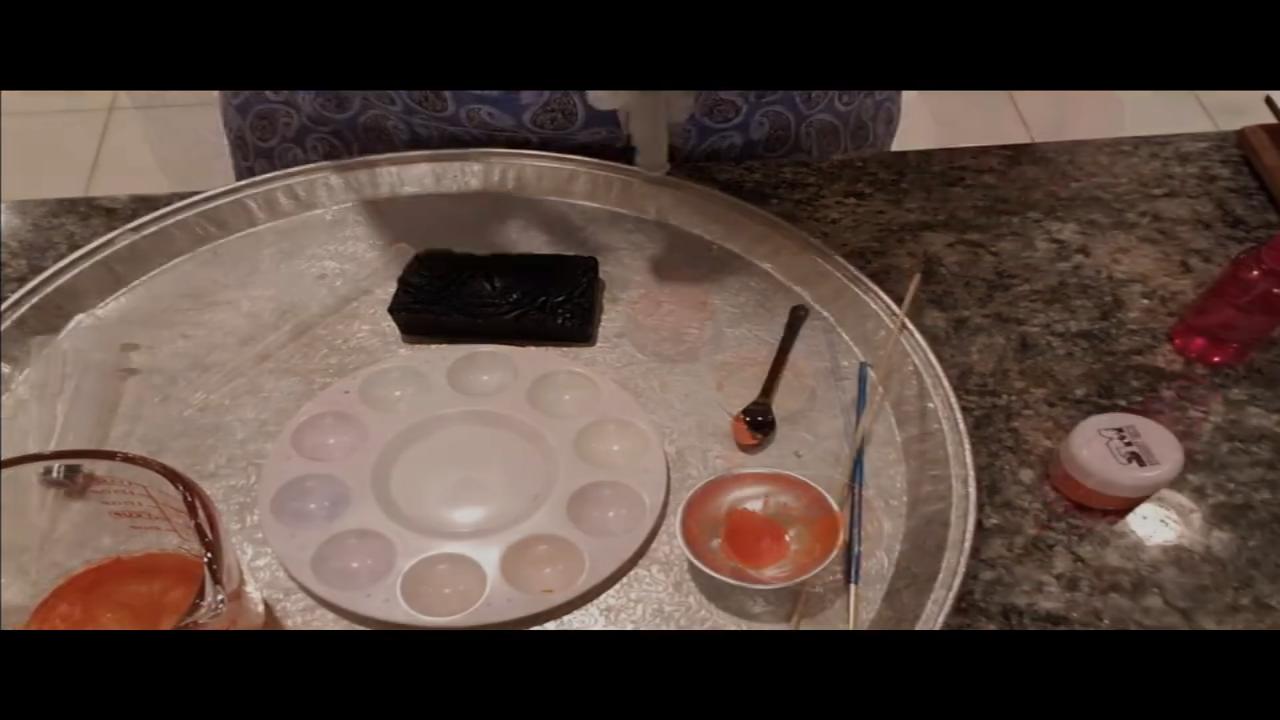
Mix a little mica with alcohol on a palette and brush it into the details. The alcohol evaporates and leaves bright color behind. It’s quick and easy, and you can wipe off mistakes. The downside is it washes off fairly quickly in the shower.
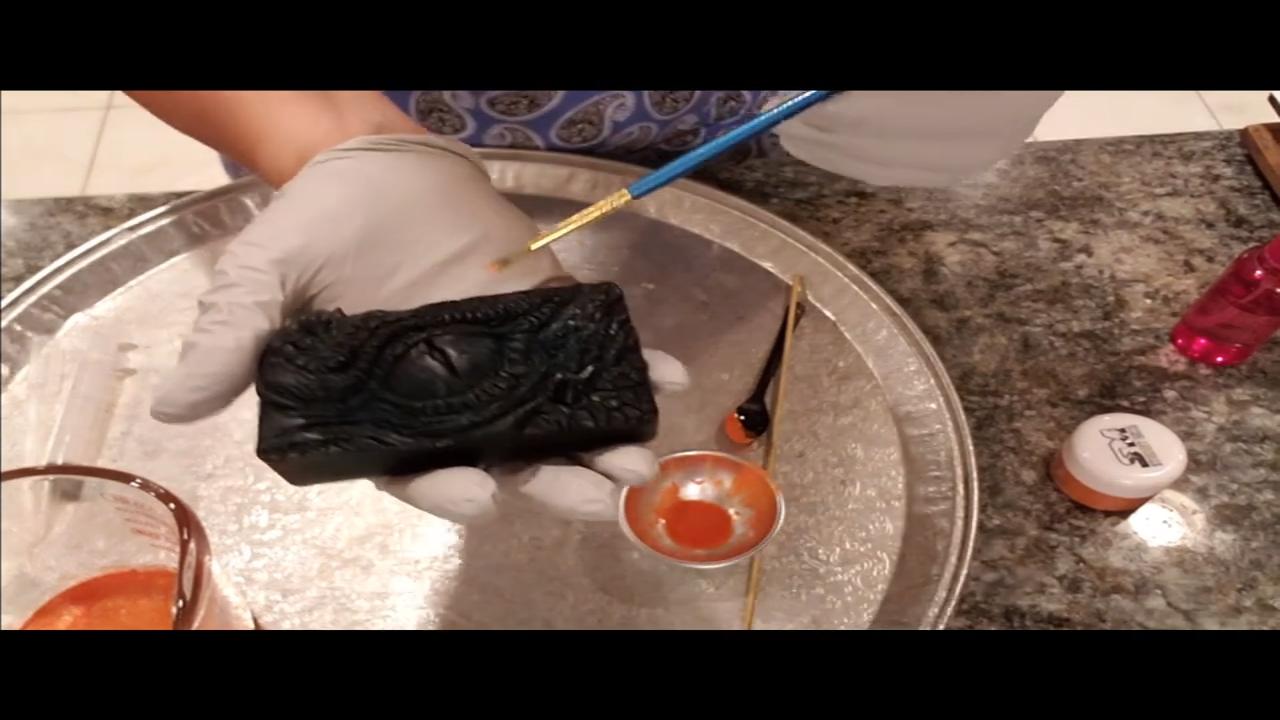
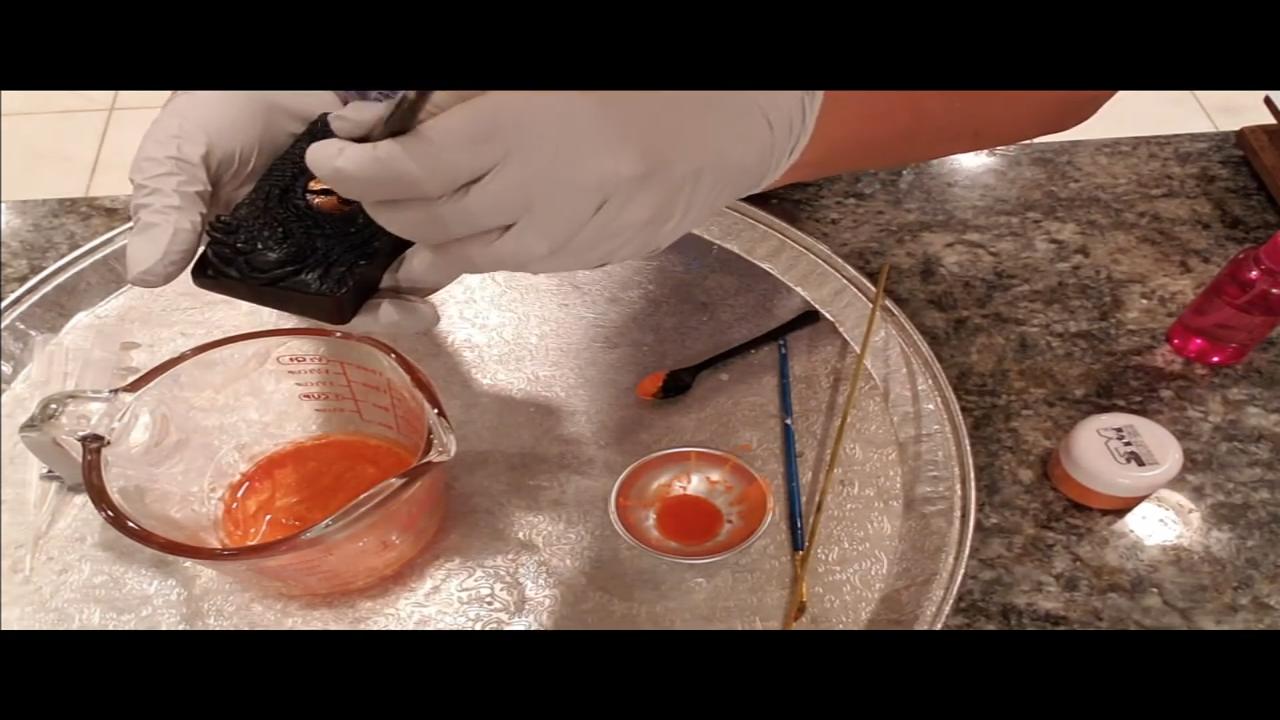
Method 2: Colored Melt and Pour
Melt a little clear base, mix in mica (wet it with alcohol first), and let it cool until it has a skin. If it’s too hot, it melts the details. Dip your brush and paint it on. It covers better in fewer layers and lasts longer because it’s part of the soap. The downside is you have to keep rewarming it and washing your brush.
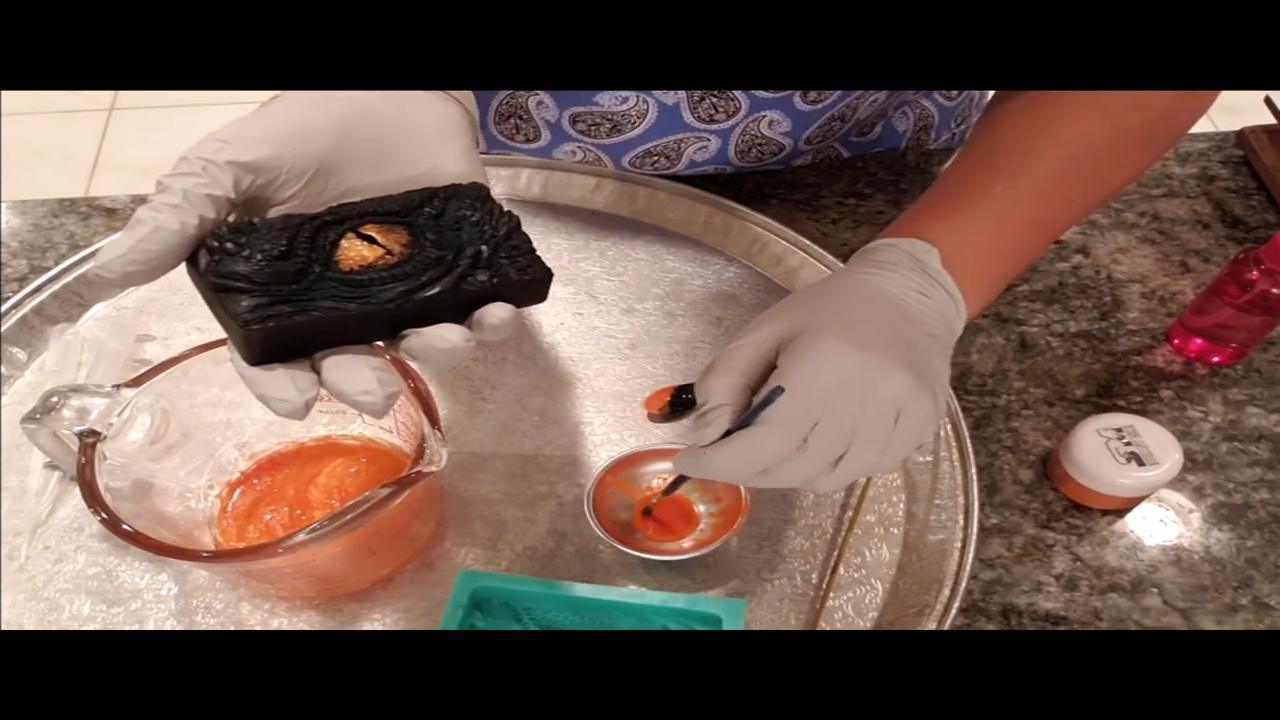
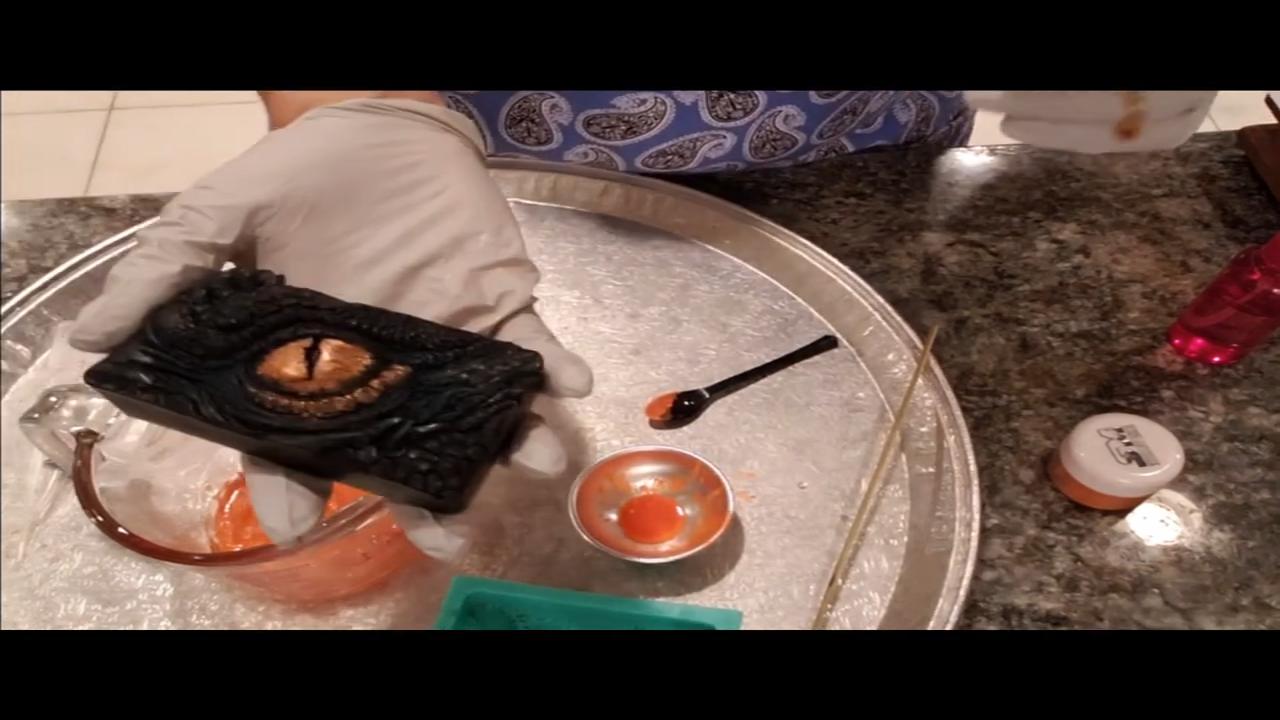
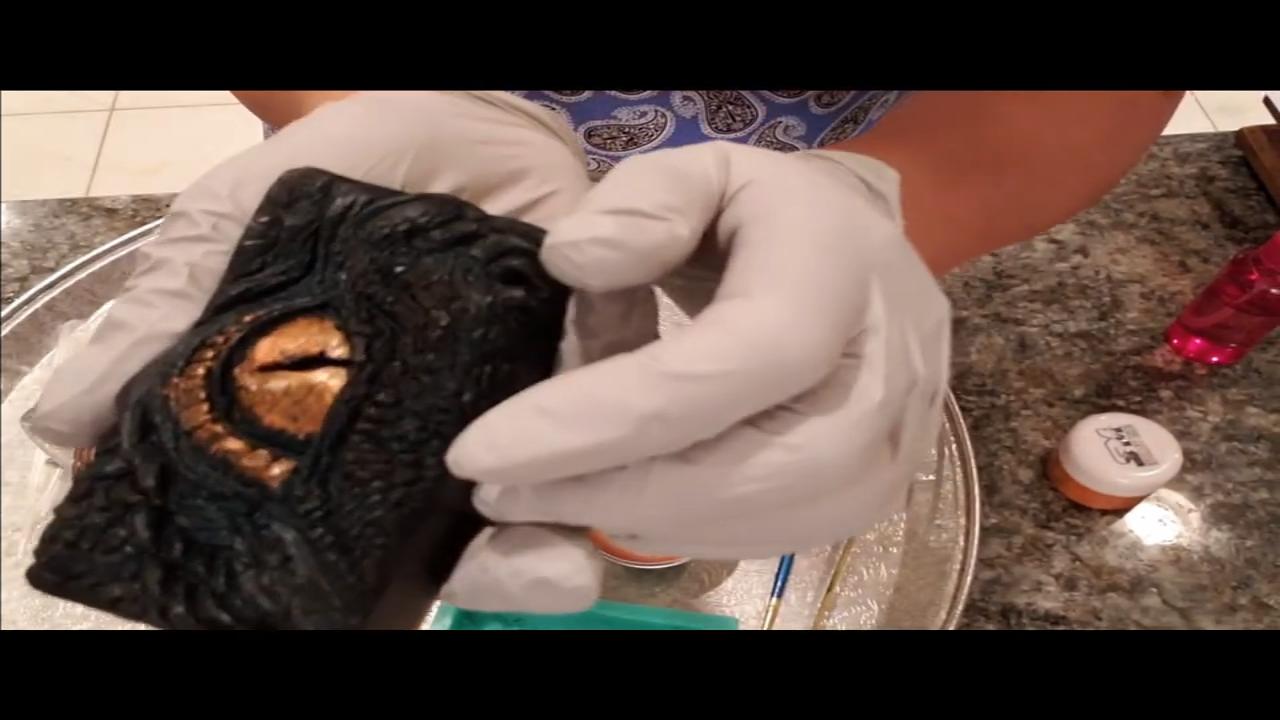
Add accent colors along the ridges of the scales for more detail. Let the painted soap dry a couple of hours before wrapping.
Method 3: Syringe Before Pouring
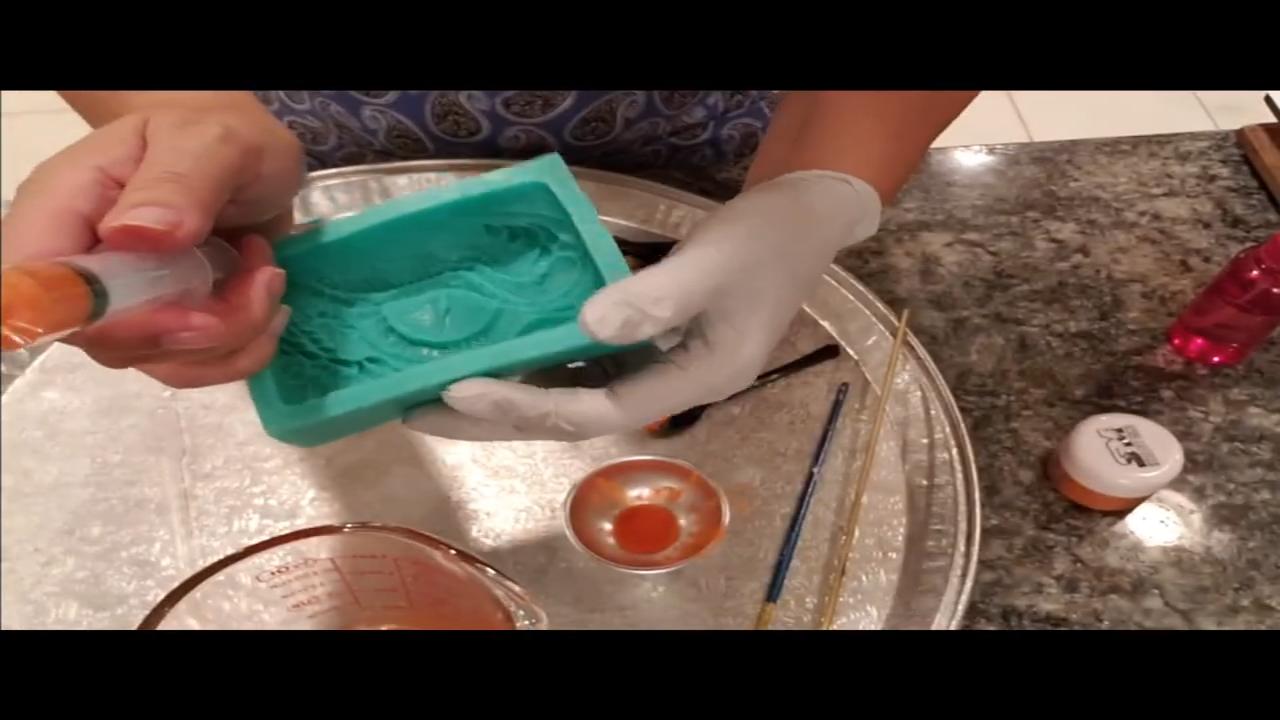
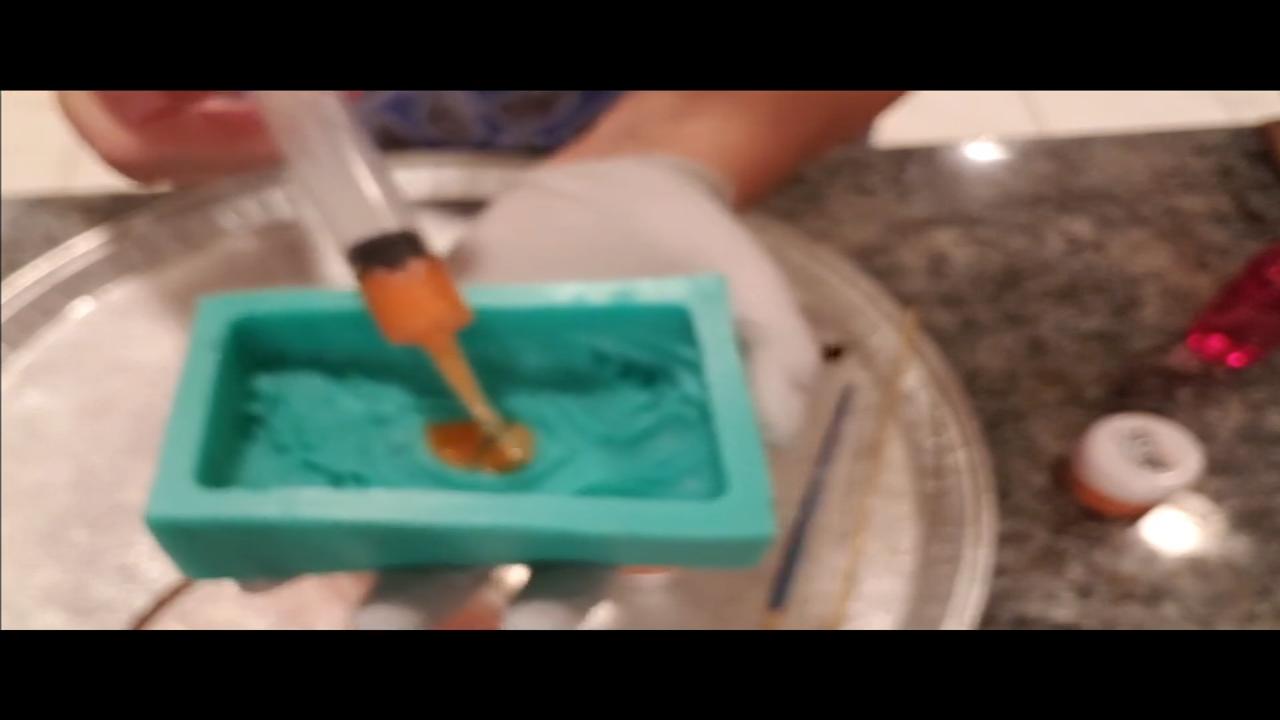
For the longest-lasting color, fill the details before you pour the main soap. Draw warm colored soap into a dental syringe and drop it right into the eye area of the empty mold. Then pour the black soap over it. Syringes are more precise than pipettes and easy to clean with warm water.
Tips & What I Learned
- Mica and alcohol is quickest. Great for display soaps or gifts.
- Melt and pour paint lasts longer. Let it cool so it doesn’t melt the details.
- Syringe color lasts the longest. It becomes part of the bar.
- Wipe off mistakes. Mica and alcohol wipes right off before it dries.
- Wash brushes often. Soap hardens on them quickly.
Troubleshooting
The paint melted the details. The soap paint was too hot. Let it skin over first.
The color looks patchy. Add another layer, or switch to melt and pour paint.
Syringe soap won’t stay in place. Tilt the mold and work quickly while the soap is warm.
FAQ
Does painted mica wash off soap?
Mica and alcohol usually washes off in the first use. Melt and pour paint and syringe color last much longer.
Can I use this on other molds?
Yes. These methods work on any detailed mold, like flowers, animals or stamps.
More Detailed Soap Ideas
- Orchid Bouquet Melt and Pour Soap
- Galaxy Melt and Pour Soap
- Soap Embossing Stamps Melt and Pour Soap
- Rose Embed Melt and Pour Soap
- All my melt and pour soap tutorials on YouTube
If you make this, I’d love to see it! Tag me on Instagram or Pinterest, and subscribe on YouTube for new soap tutorials.
