
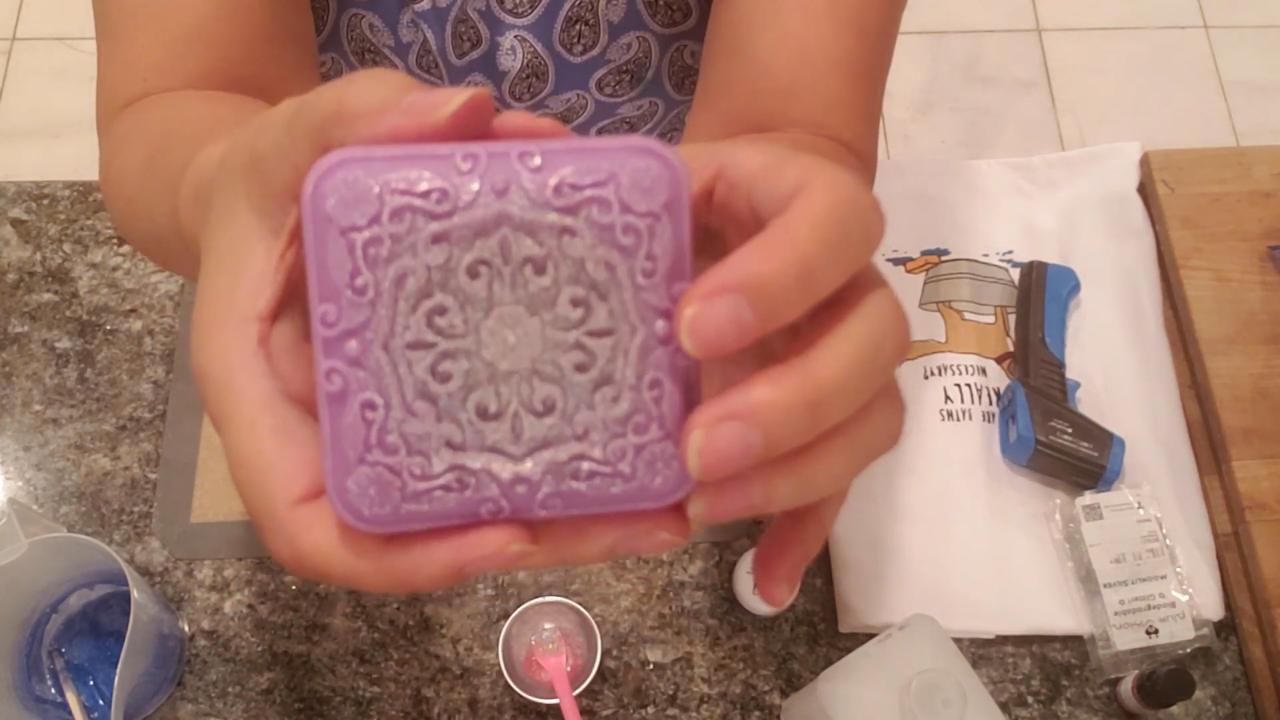
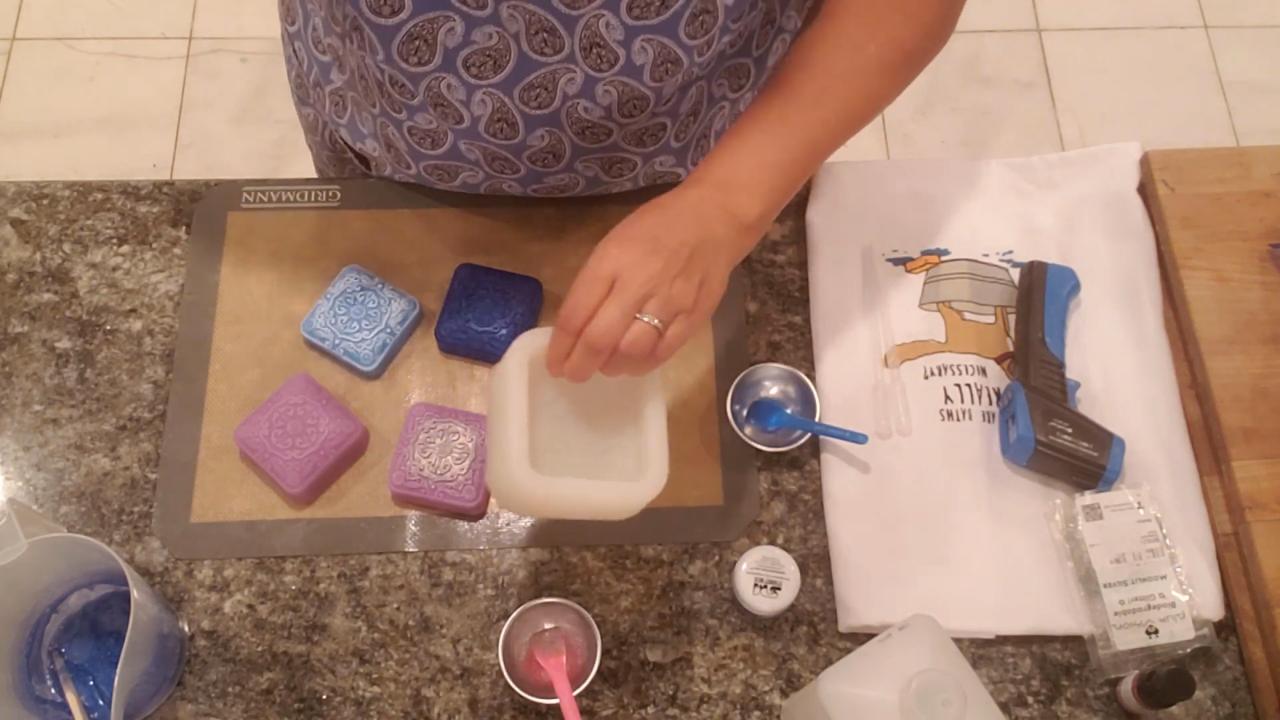
This Happiness melt and pour soap uses a detailed square flower mold and icy blue clear soap with a sprinkle of bio glitter. I show two ways to use glitter, poured cool so it stays suspended or poured warm for a different look, plus a trick for highlighting the mold details with white soap.
As an Amazon Associate I earn from qualifying purchases. Some links in this post are affiliate links. They cost you nothing extra and help support Koala Soap.
Materials & Tools
Soap Base
- About 5.1 oz of clear melt and pour soap base per bar
- A little goat’s milk or shea butter base for the highlight version
Color & Scent
- Blue Ice mica from a Stardust mica set, also sold individually
- Bio glitter
- A floral fragrance oil (I used a Rose Quartz sample)
Tools
- Square flower silicone soap mold
- A chopstick for stirring
- Paper towels
- Spray bottle of 91% isopropyl alcohol
- Thermometer
- Pour cups
Fragrance Amount
Use up to 5 ml of fragrance oil per 16 oz (1 lb) of soap base. For one 5 oz bar, that’s no more than about 1½ ml. You can always use less.
How to Make Happiness Soap
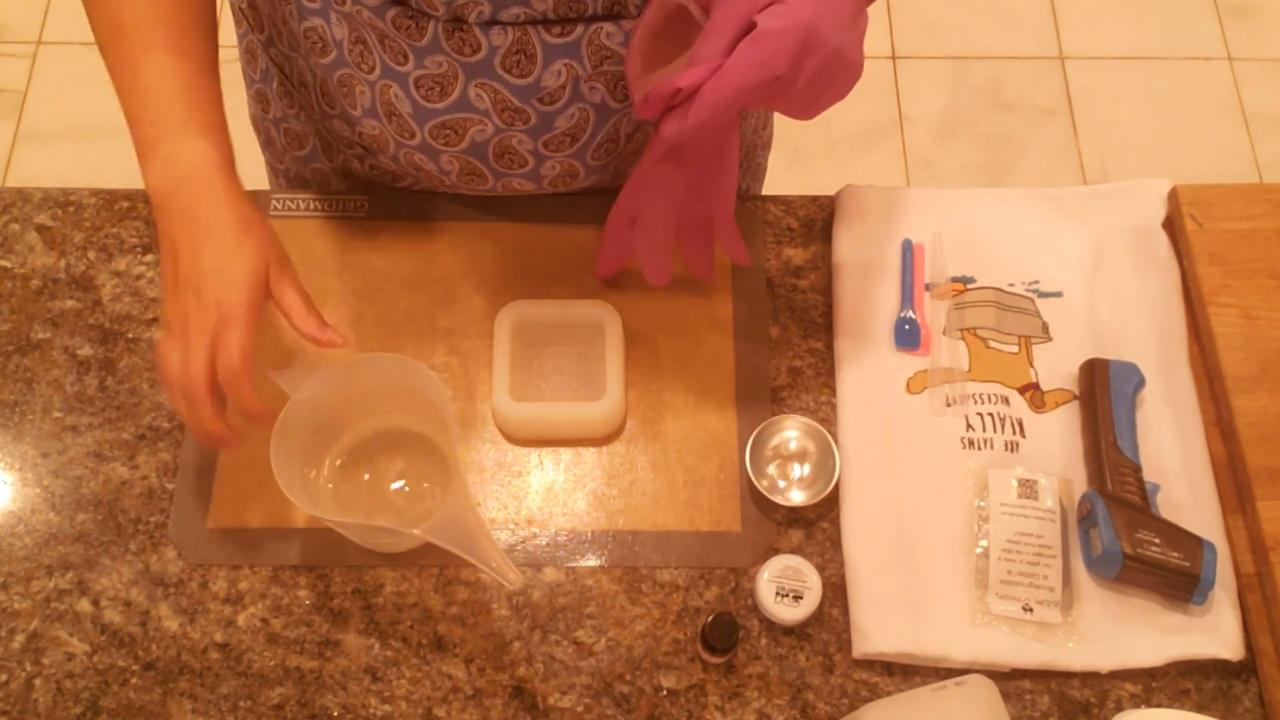
1. Measure the Mold
Fill the mold with water on a scale to see how much soap you need. This one holds about 5.1 oz.
2. Color the Base
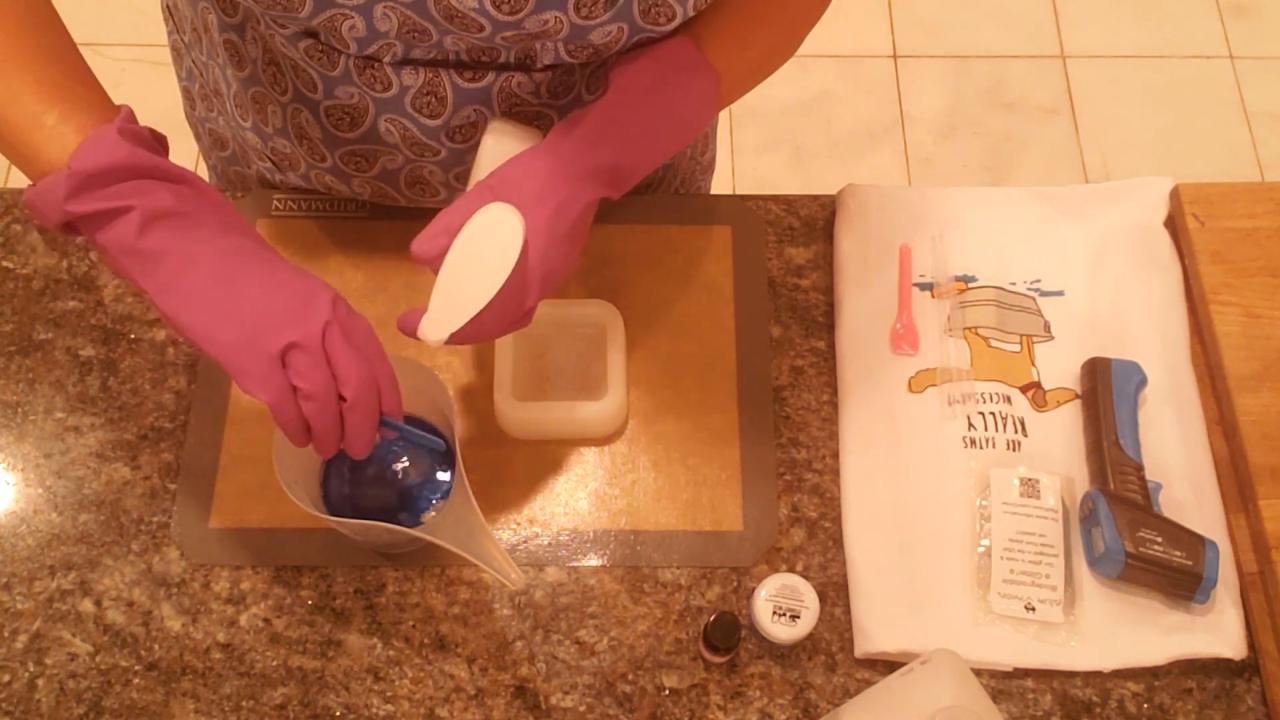
Melt the clear base (mine was about 170°F). Mix Blue Ice with alcohol and stir it in. Add fragrance once the soap has cooled a bit. All the alcohol cools it down quickly.
3. Cool, Then Add Glitter
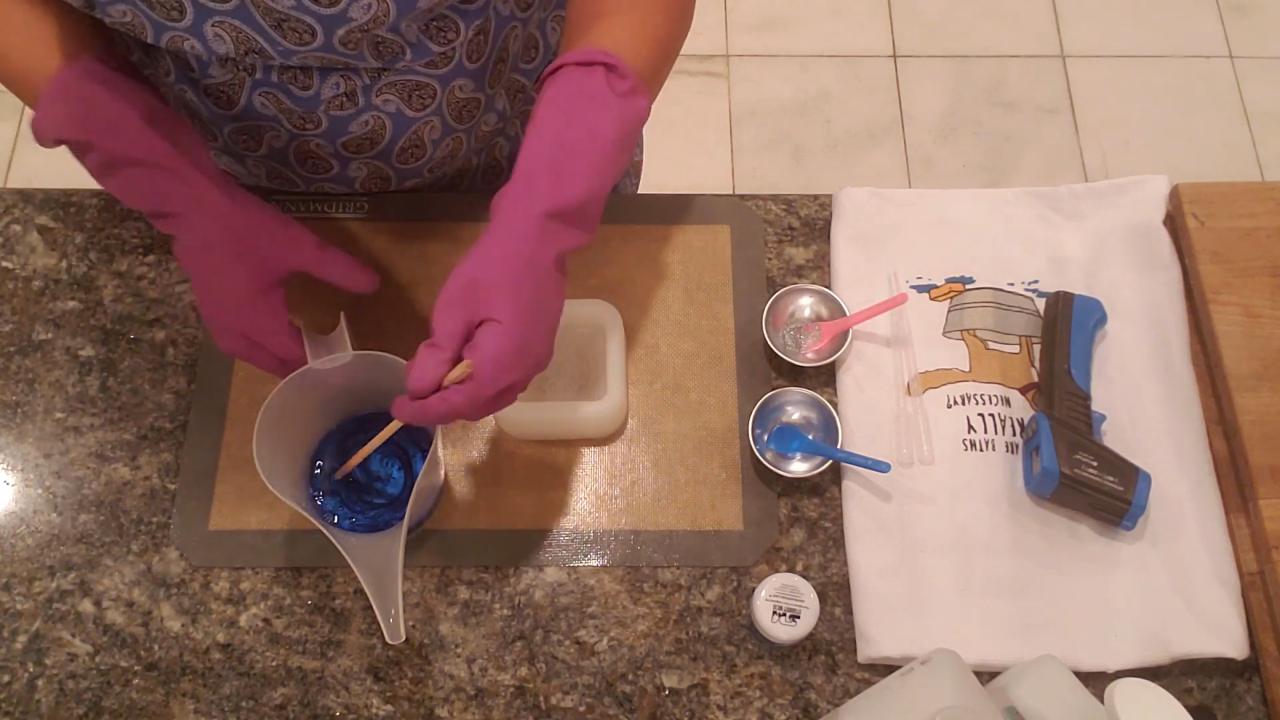
For suspended glitter, let the soap cool to about 122°F, so it’s thick. Stir in the bio glitter. If it hangs in the soap instead of sinking, you’re good.
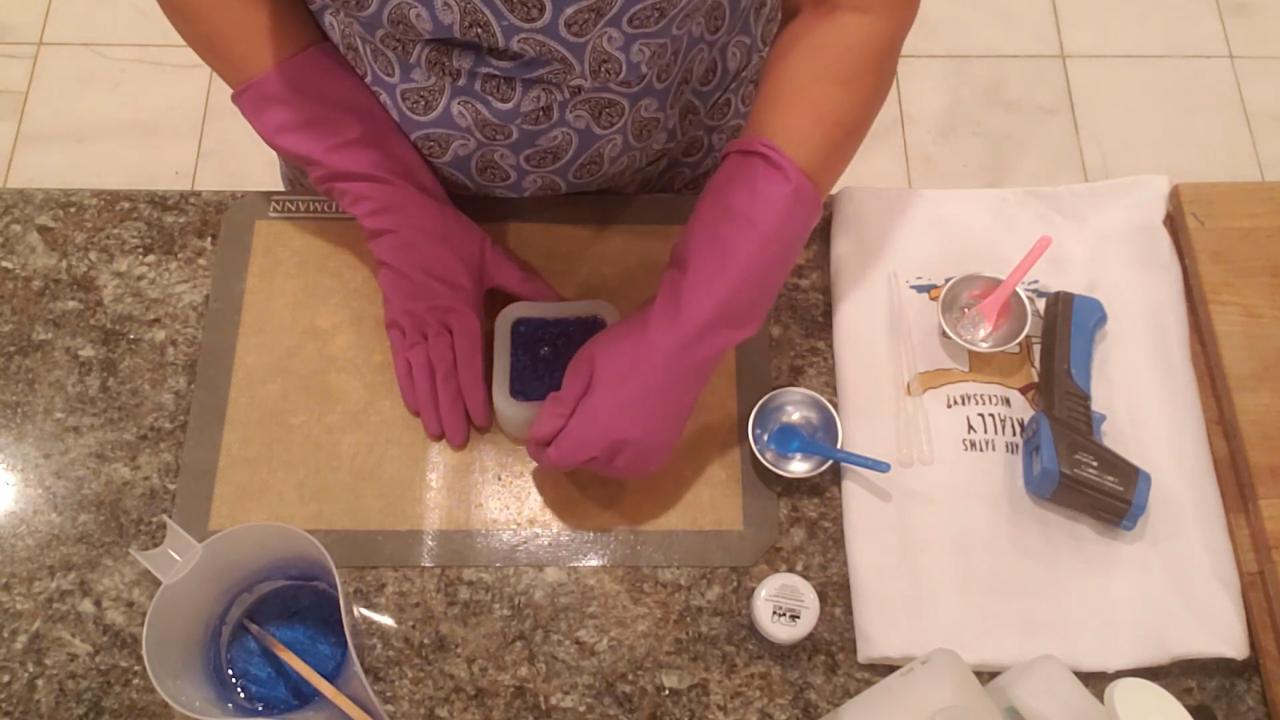
4. Pour Carefully
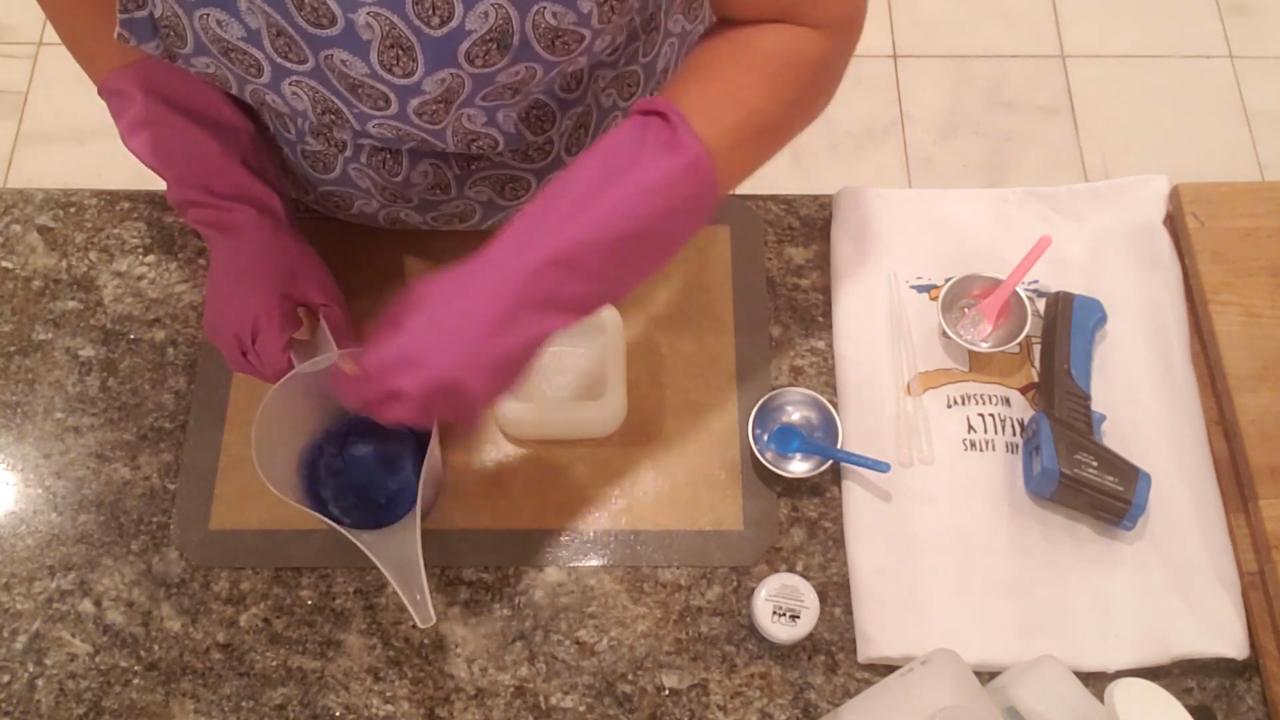
Pour slowly so the soap gets into all the little details of the mold. Spray with alcohol to pop the bubbles. Save any leftover skin for another project.
5. Unmold
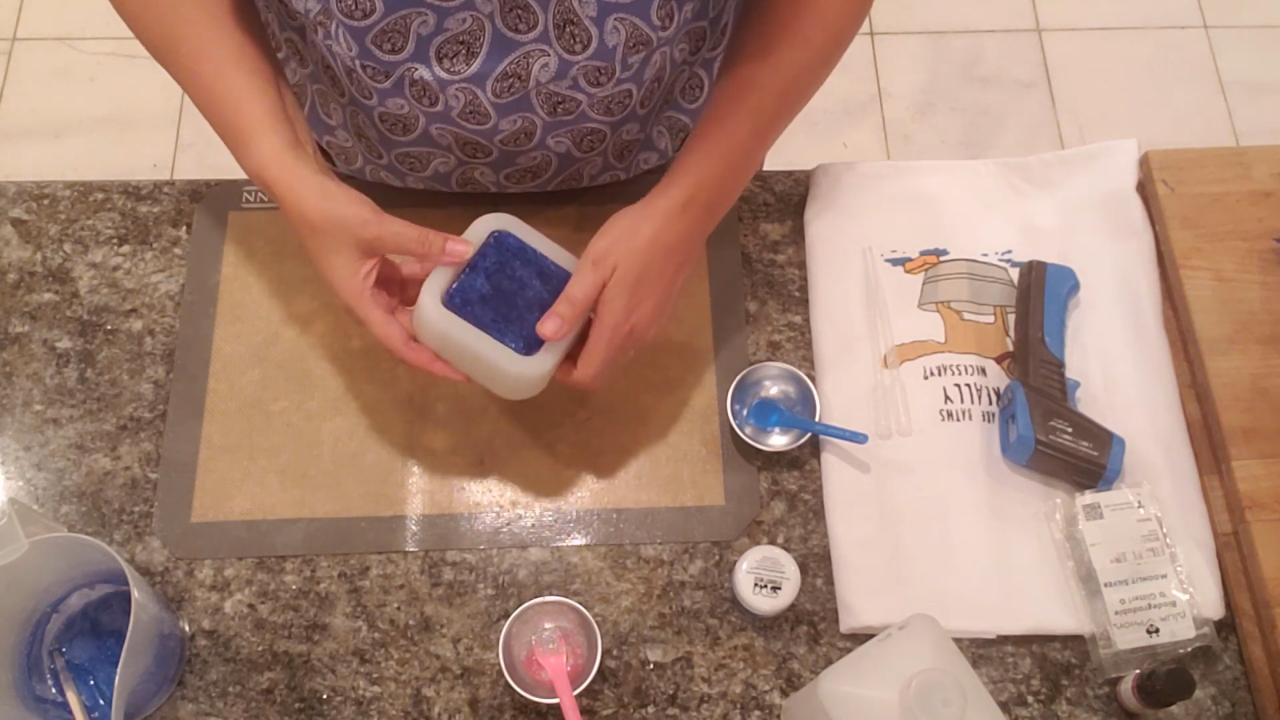
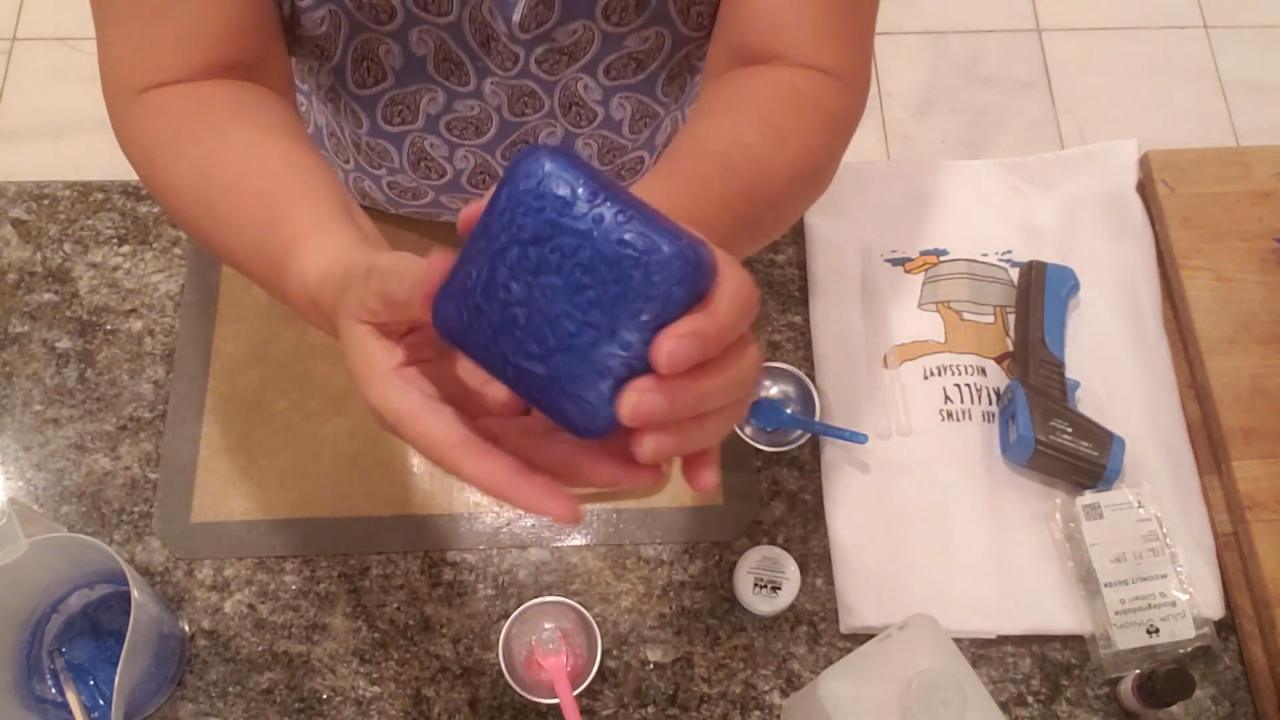
Once set, unmold. The glitter stays suspended through the whole bar.
Other Ways to Use This Mold
Warm Glitter Pour
Pour the glitter soap warmer, around 140–150°F, and the glitter settles toward the face of the soap for a different shimmery effect. It stays on and doesn’t rub off.
White Highlight
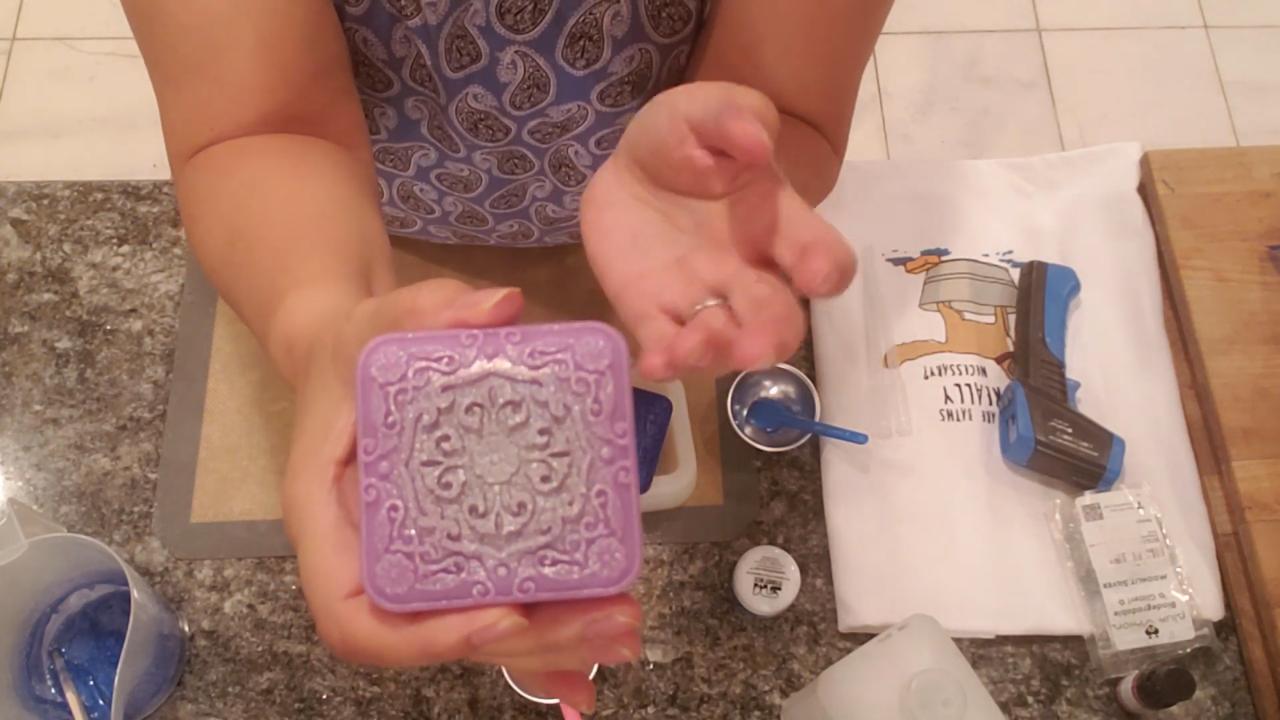
Pour hot goat’s milk base (about 140–150°F) into the mold, swirl it around, and drain it back into the cup. Dab out any puddles with a paper towel. After 5–10 minutes, spray with alcohol and pour your colored soap on top. The white stays in the details and makes the design stand out. It’s much faster than filling each detail with a pipette.
Tips & What I Learned
- Pour cool for suspended glitter. About 122°F keeps it floating.
- Pour warm for a glitter face. Around 140–150°F lets it settle on the design side.
- Swirl and drain for highlights. A thin coat of white makes the details pop.
- Pour slowly into detailed molds. It fills the little crevices.
- Spray with alcohol. It gets rid of bubbles in the details.
Troubleshooting
The glitter sank. The soap was too warm. Let it cool and thicken first.
The highlight layer is patchy. Drain longer and dab out puddles before pouring the color.
There are bubbles in the design. Spray with alcohol right after pouring.
FAQ
What is bio glitter?
It’s a plant-based glitter that’s an alternative to plastic glitter.
How many bars does this mold make?
One bar at a time, about 5.1 oz each.
More Glitter Soap Ideas
- Blue Waves Melt and Pour Soap
- Evil Queen Melt and Pour Soap
- Avocado Butter Blue Ice Melt and Pour Soap
- How to Paint Melt and Pour Soap with Mica
- All my melt and pour soap tutorials on YouTube
If you make this, I’d love to see it! Tag me on Instagram or Pinterest, and subscribe on YouTube for new soap tutorials.
