
I can swirl two colors in melt and pour soap, but could I do three? I tried a green, pink and white Christmas swirl using all clear base, and it didn’t turn out the way I hoped. The colors blended more than I wanted. A two-color version worked much better, so here’s what I learned from both.
As an Amazon Associate I earn from qualifying purchases. Some links in this post are affiliate links. They cost you nothing extra and help support Koala Soap.
Materials & Tools
Soap Base
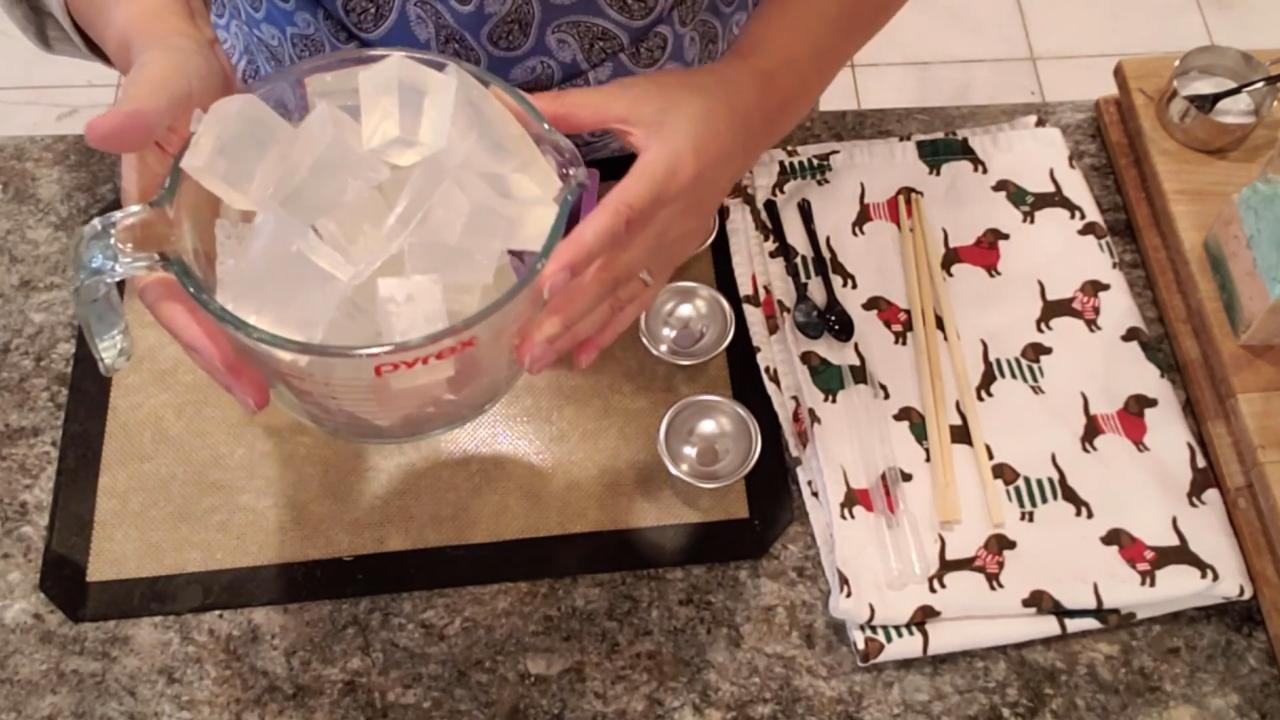
- About 3 cups of clear melt and pour soap base. I used all clear base so all the colors weigh the same and none sinks to the bottom.
Color & Scent
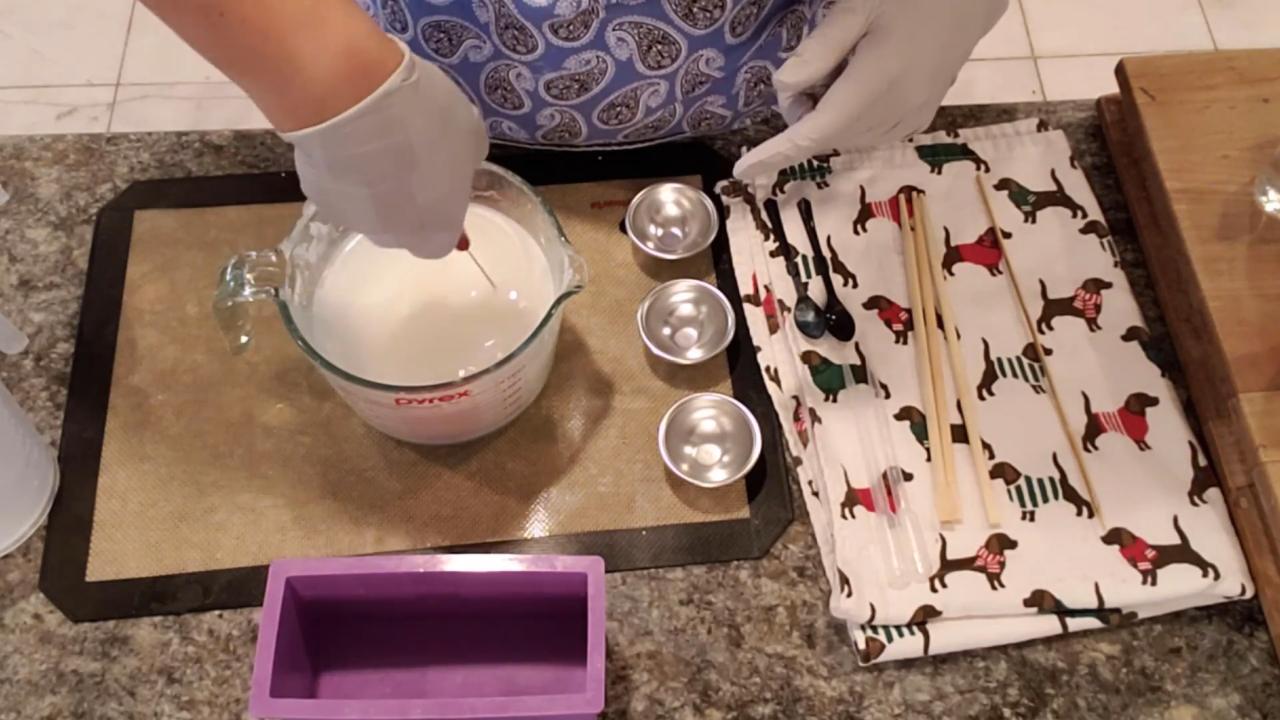
- Titanium dioxide to make the base white
- Green (I used an aqua pearl mica) and pink or red mica from a Stardust mica set
- A non-holiday fragrance oil (I used Energy), so the bars still smell great after the holidays
Tools
- Small loaf soap mold (holds about 3 cups)
- Milk frother for mixing titanium dioxide
- Soap cutter
- Spray bottle of 91% isopropyl alcohol
- Thermometer
- Pour cups
- Optional: a fondant lace mat for texture
Fragrance Amount
Use up to 5 ml of fragrance oil per 16 oz (1 lb) of soap base. You can always use less if you like a lighter scent, but don’t go over 5 ml per 16 oz.
What I Tried
1. Make the Base White
Melt the clear base. Mix titanium dioxide with alcohol first, then blend it in with a frother so there are no specks. Add fragrance.
2. Split and Color
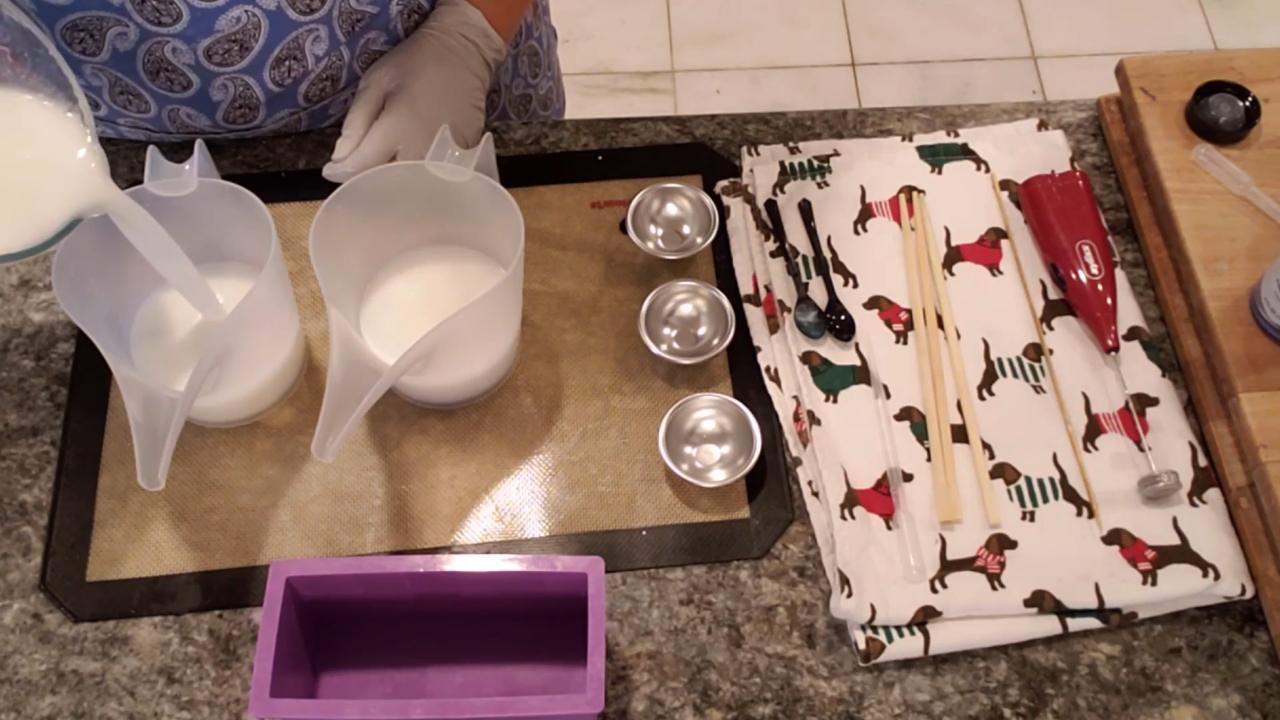
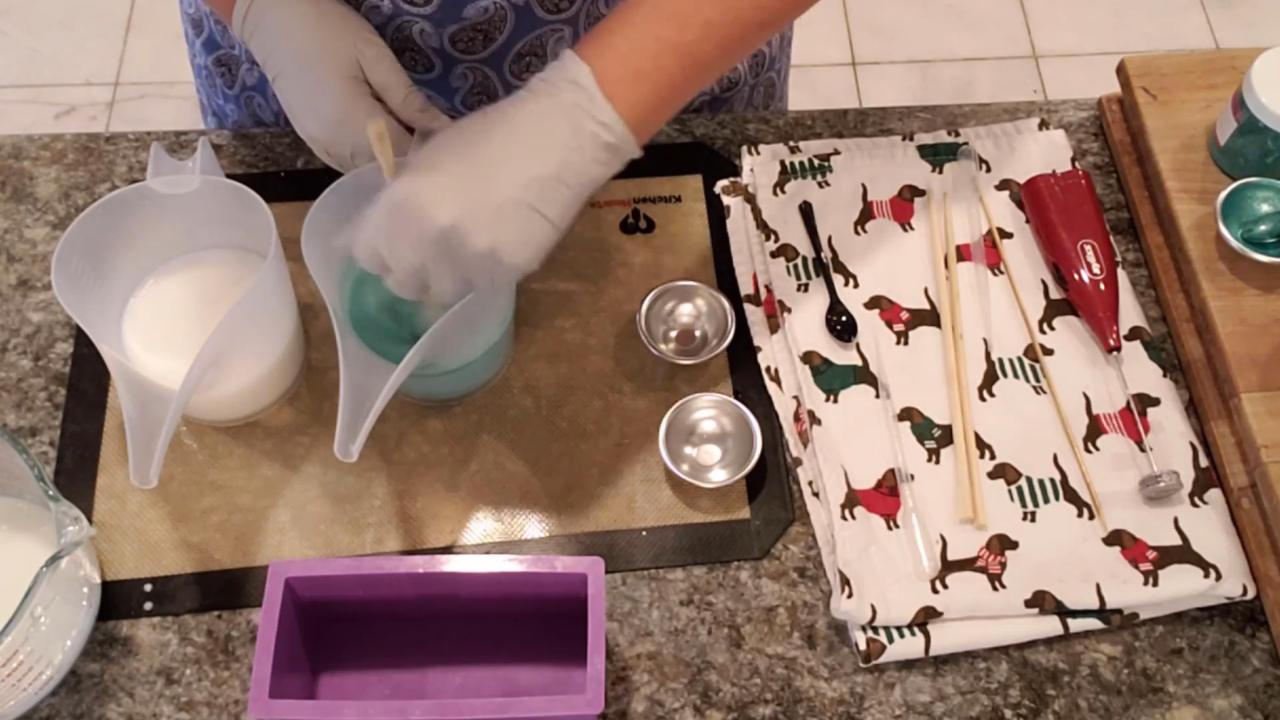
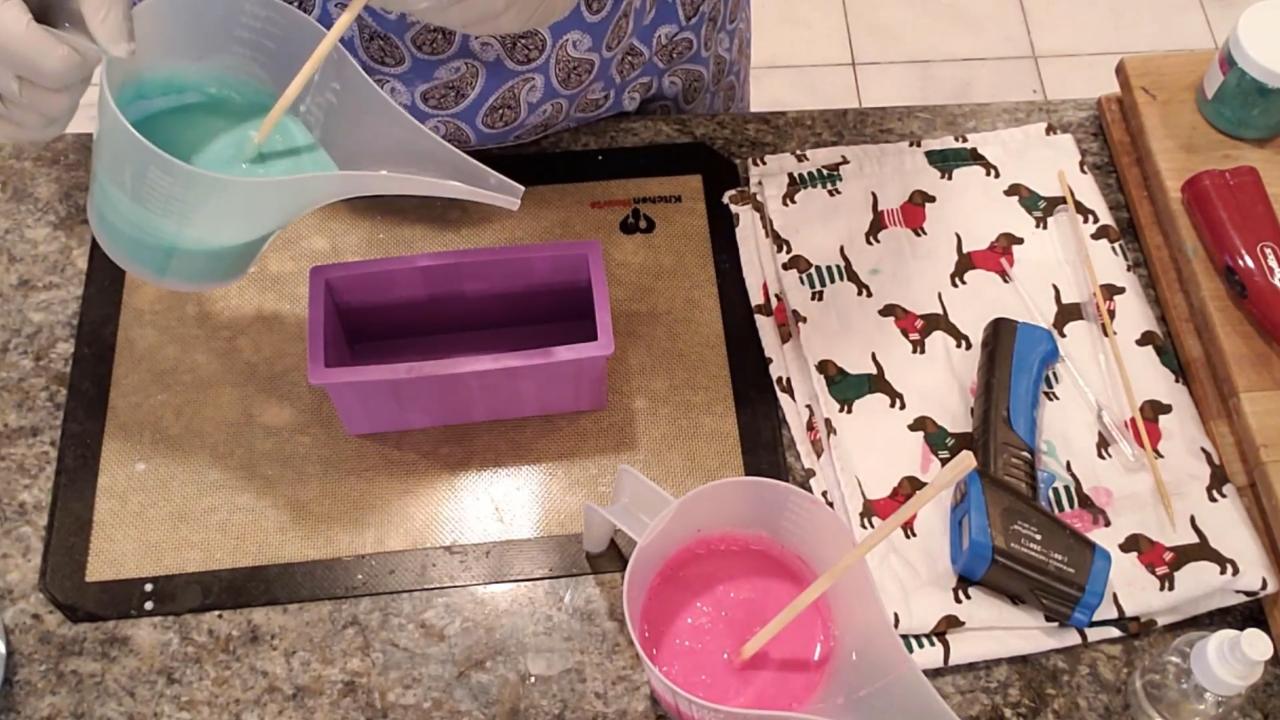
Split the white soap into three cups, with a little more for the colored cups. Leave one white. Mix green mica into one and pink into the other.
3. Let Them Cool
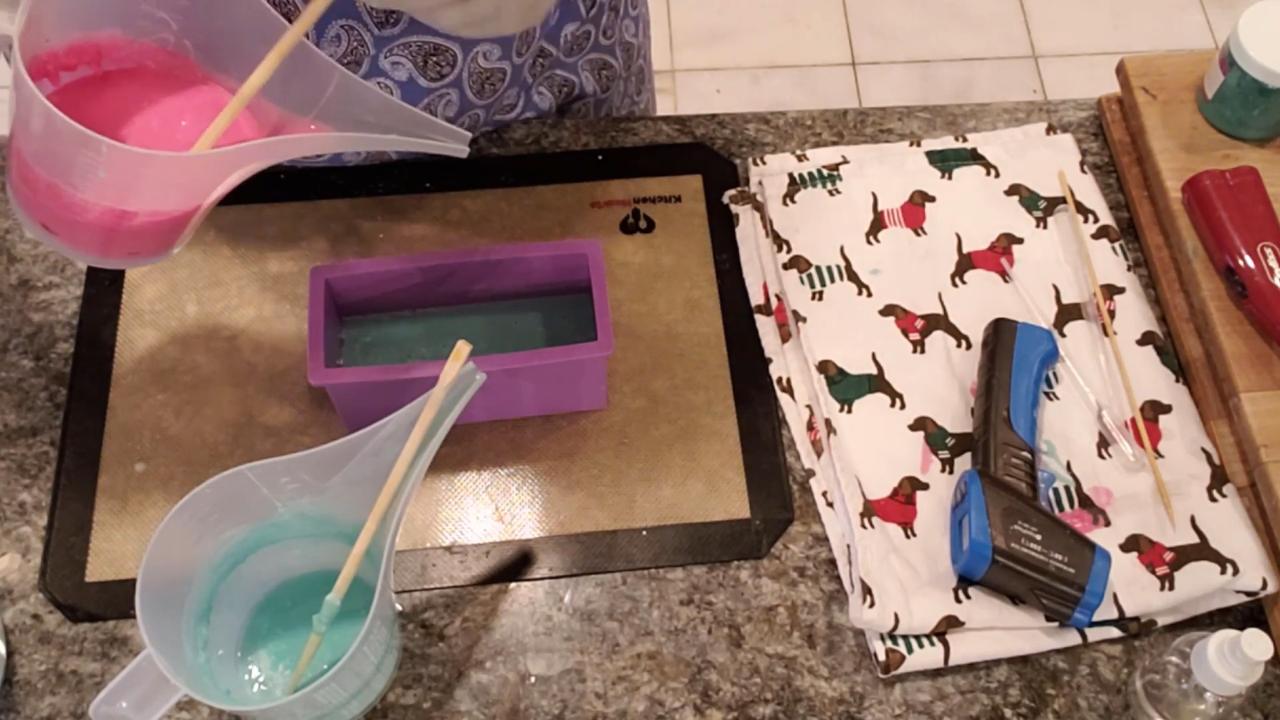
Let all three cool until they have a skin, into the 110s. Pour the hottest color first, since it cools the fastest. Re-stir the white right before pouring, because titanium dioxide settles.
4. Pour from Up High
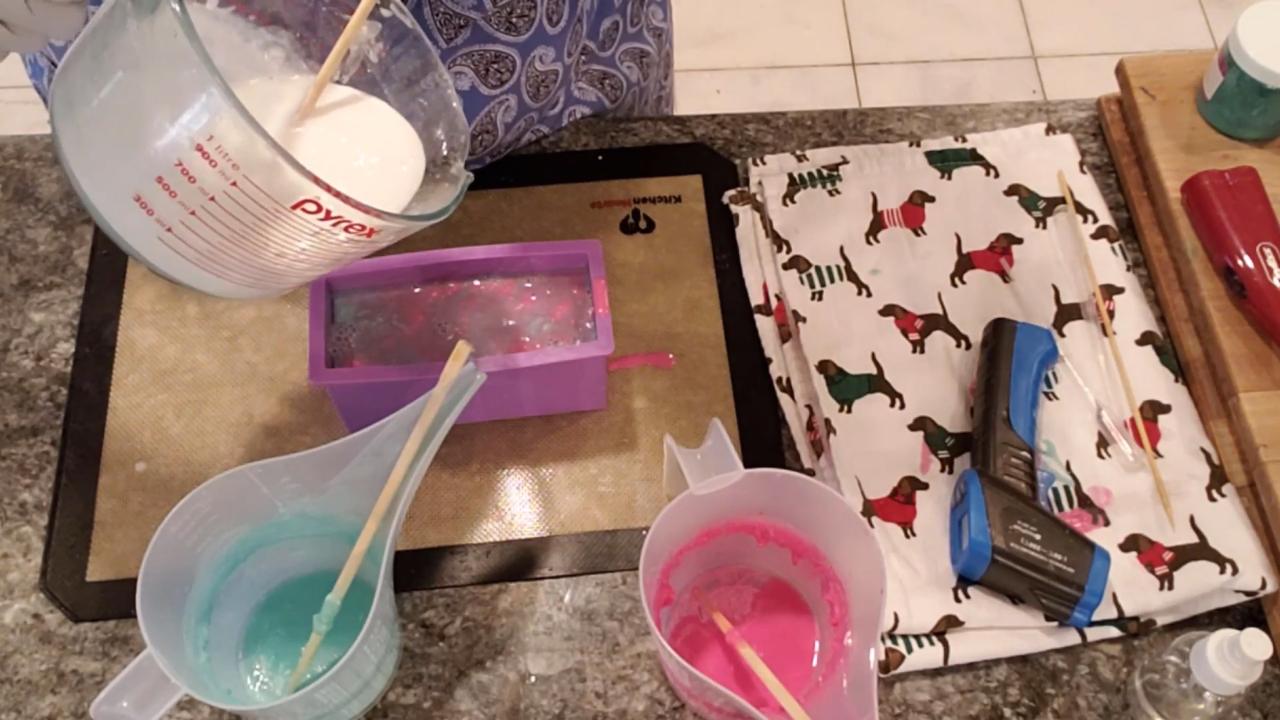
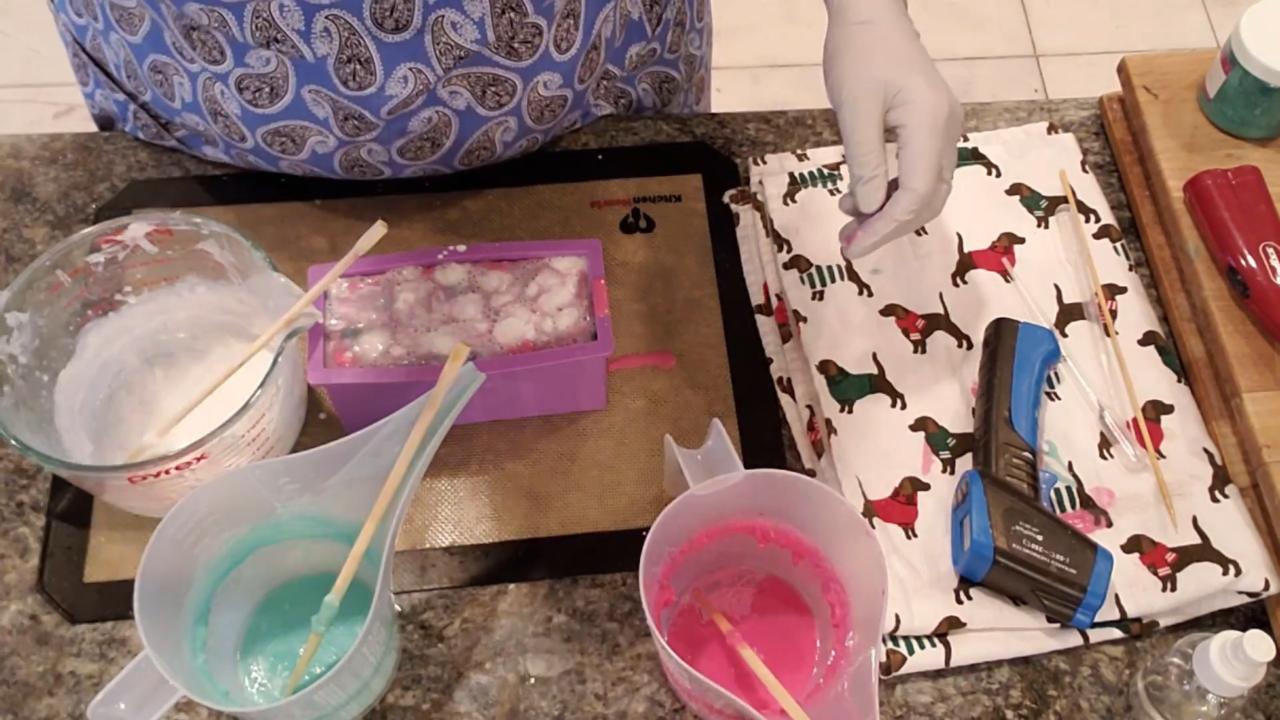
Pour the green, then the pink, then the white, going back and forth from as high as you safely can. Wear glasses in case it splashes. Don’t stir it in the mold. Stirring blends the colors into a drop swirl instead.
5. Unmold and Cut
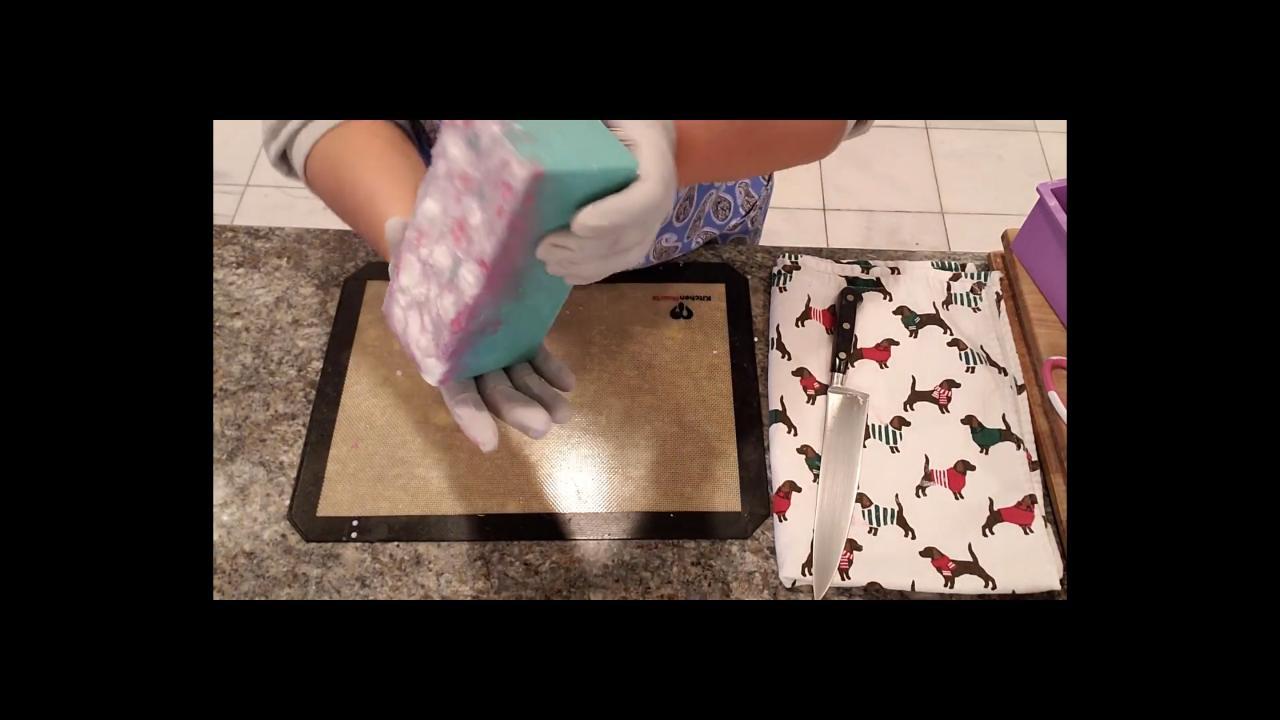
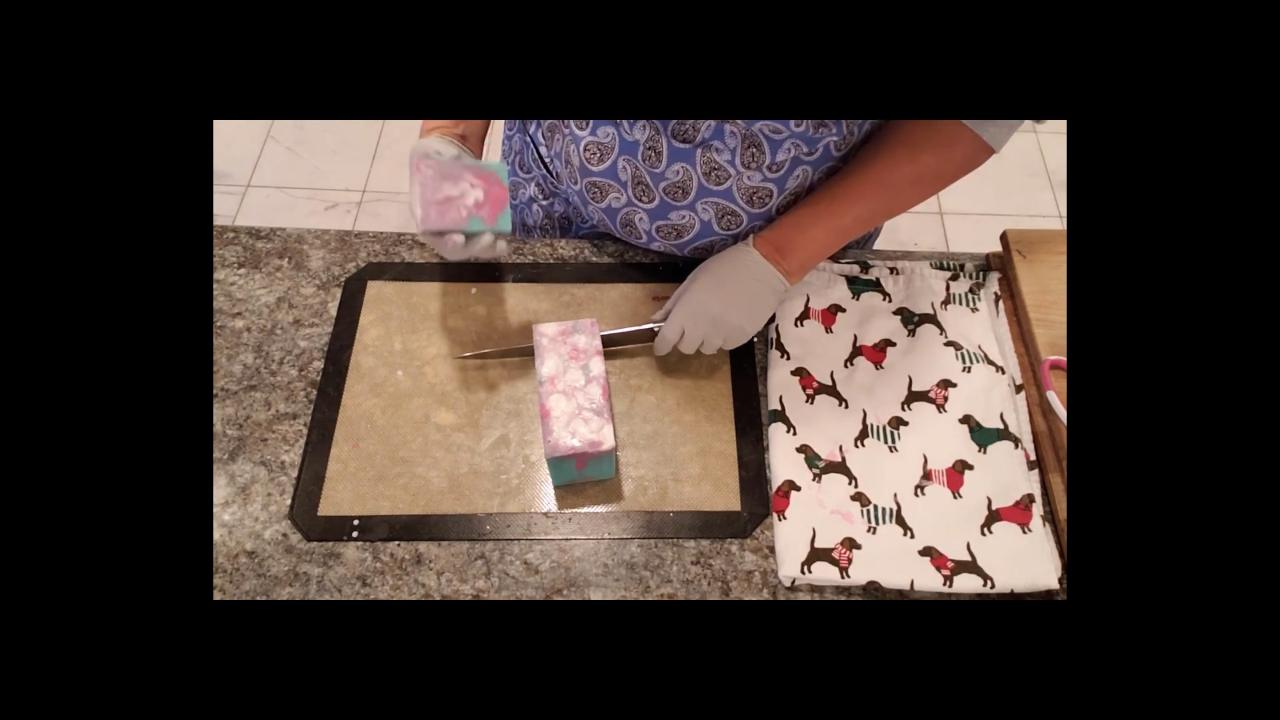
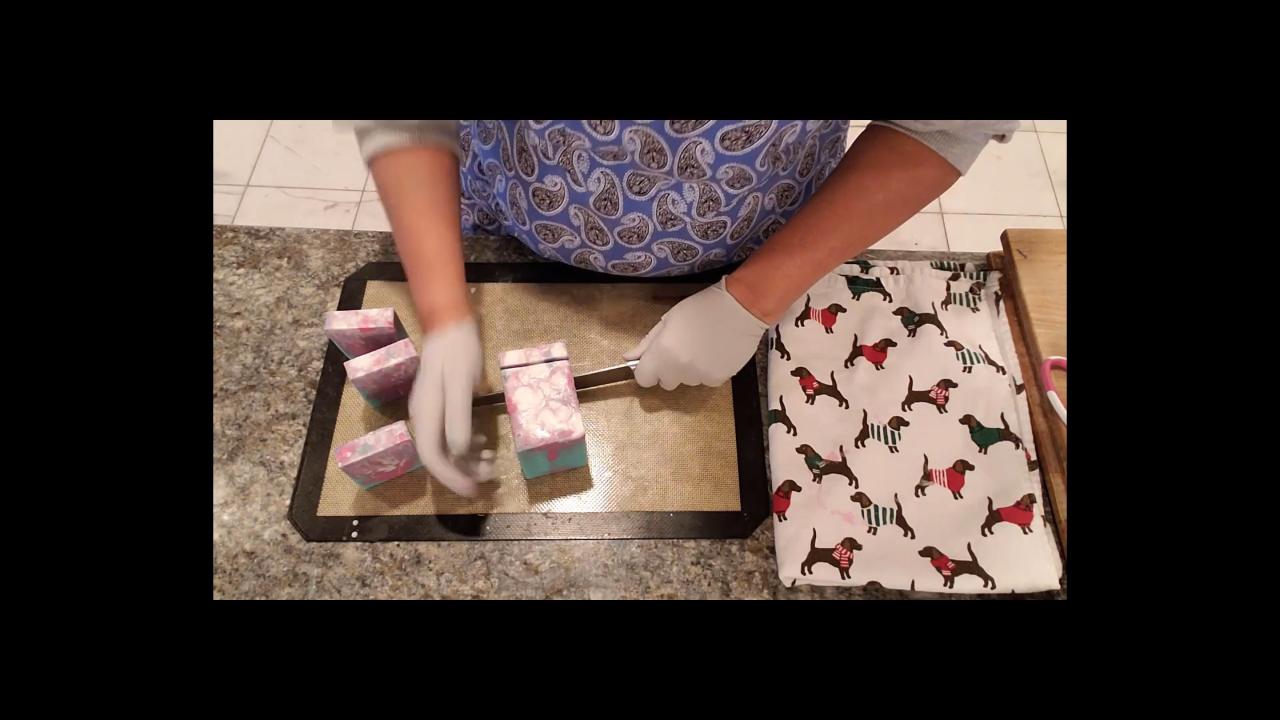
Let it set, then unmold and cut. A soft-sided mold may bow out, so prop the sides straight with books.
6. The Result
There’s some swirl, but the green and pink blended in places and turned a little purplish. I think it was still poured a bit too hot. One side looks like a waterfall, which is pretty, but three colors were hard to keep separate.
What Worked Better: 2 Colors
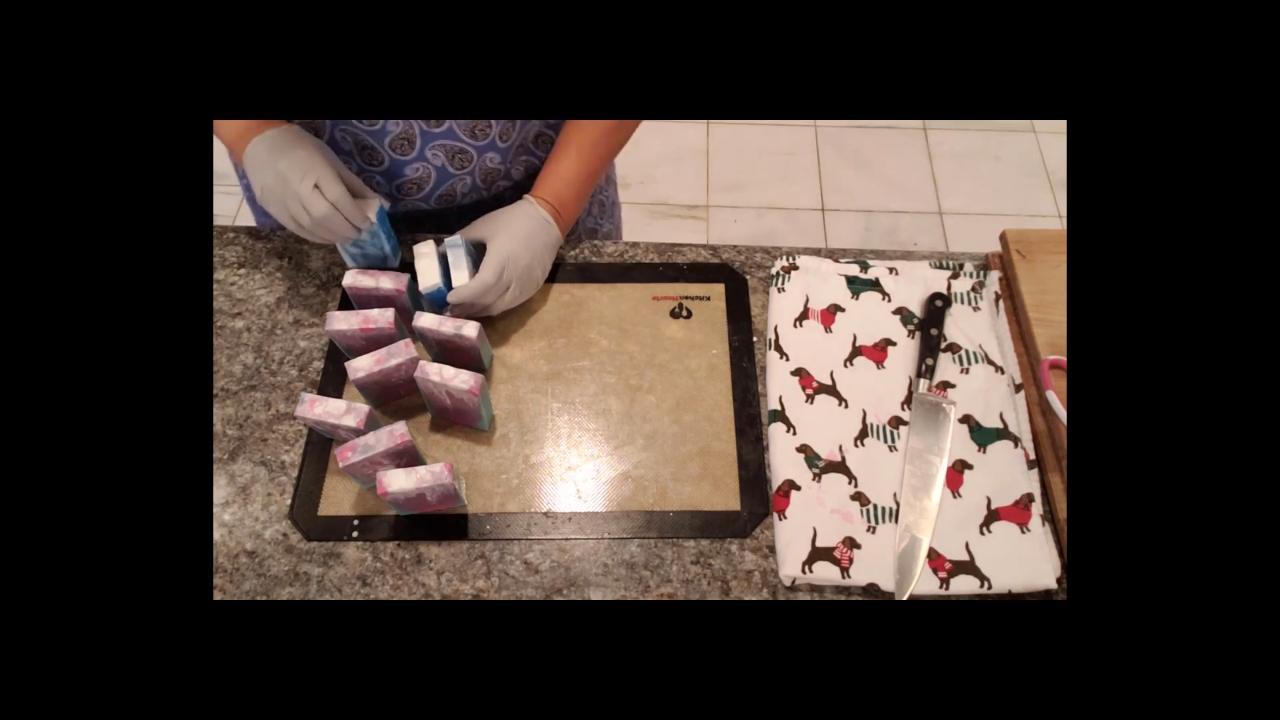
A blue and white version, made the same way, kept the colors much more distinct. If you’re new to swirls, start with two colors.
Tips & What I Learned
- Stick with two colors to start. Three colors are much harder to keep separate.
- Use the same base for every color. Clear base sinks below opaque base, so an all-clear soap avoids that.
- Pour cooler. Wait for a good skin on every cup.
- Don’t stir in the mold. It turns a swirl into a blend.
- Re-stir titanium dioxide. It settles to the bottom of the cup.
- Chilling makes unmolding harder. A fridge-cooled loaf can stick more.
Troubleshooting
The colors turned muddy. Pour cooler and stop stirring.
White specks in the soap. Blend titanium dioxide with alcohol and a frother before adding it.
The mold bows out. Prop the sides with books while it sets.
FAQ
Can you swirl melt and pour soap?
Yes. Pouring cool, thick soap from up high works well with two colors.
Why does clear base sink?
It’s heavier than opaque bases like goat’s milk, so it drops to the bottom when they’re poured together.
More Swirl Soap Ideas
- How to Swirl Melt and Pour Soap
- Holiday Swirl Melt and Pour Soap
- Alpine Frost Swirl Melt and Pour Soap
- Frosty Sunrise Melt and Pour Soap
- All my melt and pour soap tutorials on YouTube
If you make this, I’d love to see it! Tag me on Instagram or Pinterest, and subscribe on YouTube for new soap tutorials.
