
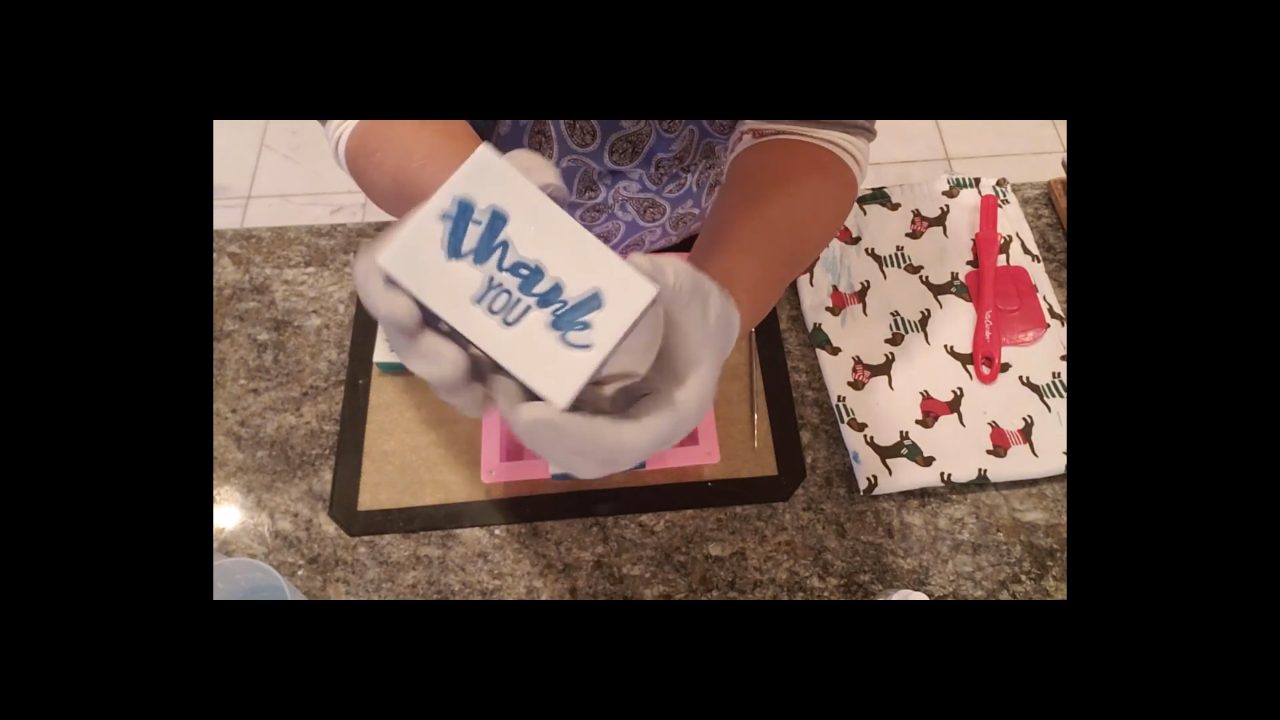
Can you use clear card-making stamps to decorate melt and pour soap? Yes! Silicone craft stamps set right into a silicone bar mold, and the soap picks up every detail, even tiny words like “thank you.” The soap doesn’t harm the stamps, either. Wash them afterward and they’re ready for paper crafts again. (I also tried a card embossing folder, but that didn’t work.)
As an Amazon Associate I earn from qualifying purchases. Some links in this post are affiliate links. They cost you nothing extra and help support Koala Soap.
Materials & Tools
Soap Bases
- Shea butter or goat’s milk melt and pour for the stamped white layer
- Clear melt and pour soap base for the colored back
Color & Scent
- A blue mica (I used Slushy Blue from Bramble Berry) or a color from a Stardust mica set
- Fragrance oil (I used a holiday almond scent)
Tools
- Clear silicone card-making stamps (here’s another set)
- Pink 6 cavity bar mold
- Small rubber spatula
- Pick tool for lifting out the stamps
- Funnel pour cups
- Spray bottle of 91% isopropyl alcohol
- Thermometer
Fragrance Amount
Use up to 5 ml of fragrance oil per 16 oz (1 lb) of soap base. You can always use less if you like a lighter scent, but don’t go over 5 ml per 16 oz.
How to Use Silicone Stamps in Melt and Pour Soap
1. Choose Stamps That Fit
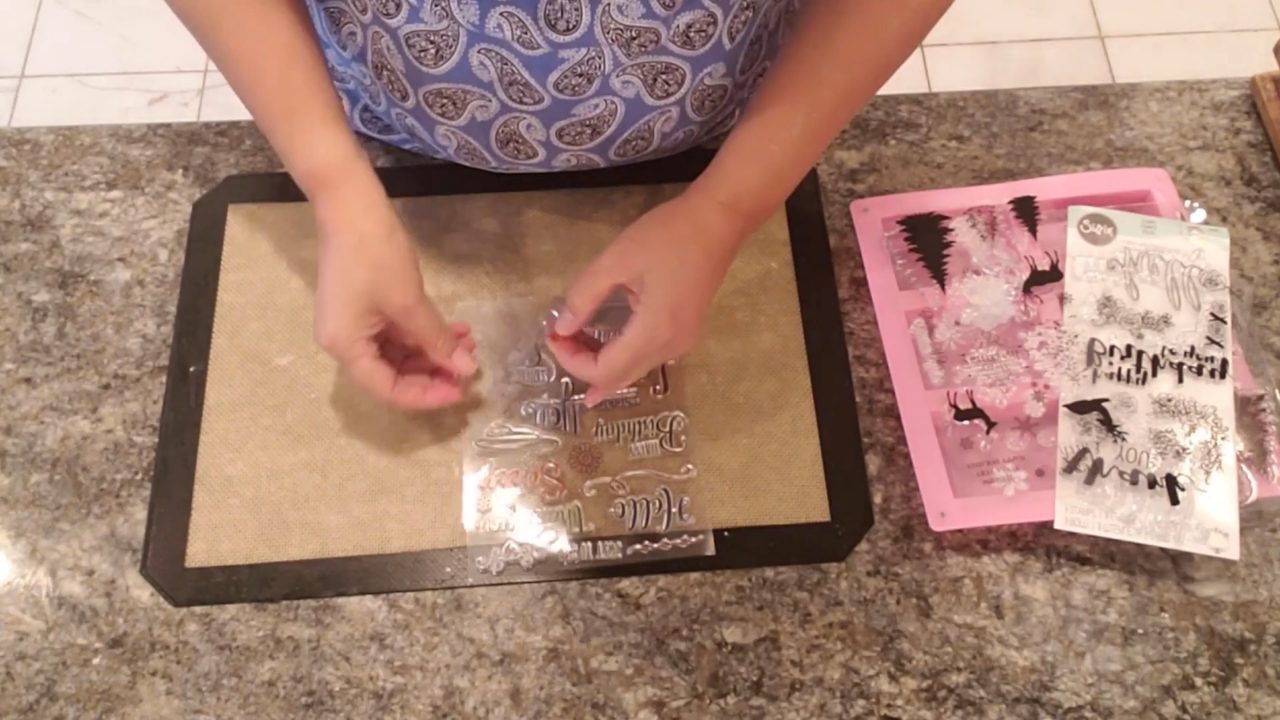
Clear craft stamps are made of silicone, and the words are already backward, so they read correctly on the finished soap. Bring a scrap of soap to the store, or check the stamp size online, to make sure it fits your mold. A silicone mold works best. In a larger mold, the stamp slides around.
2. Place the Stamps
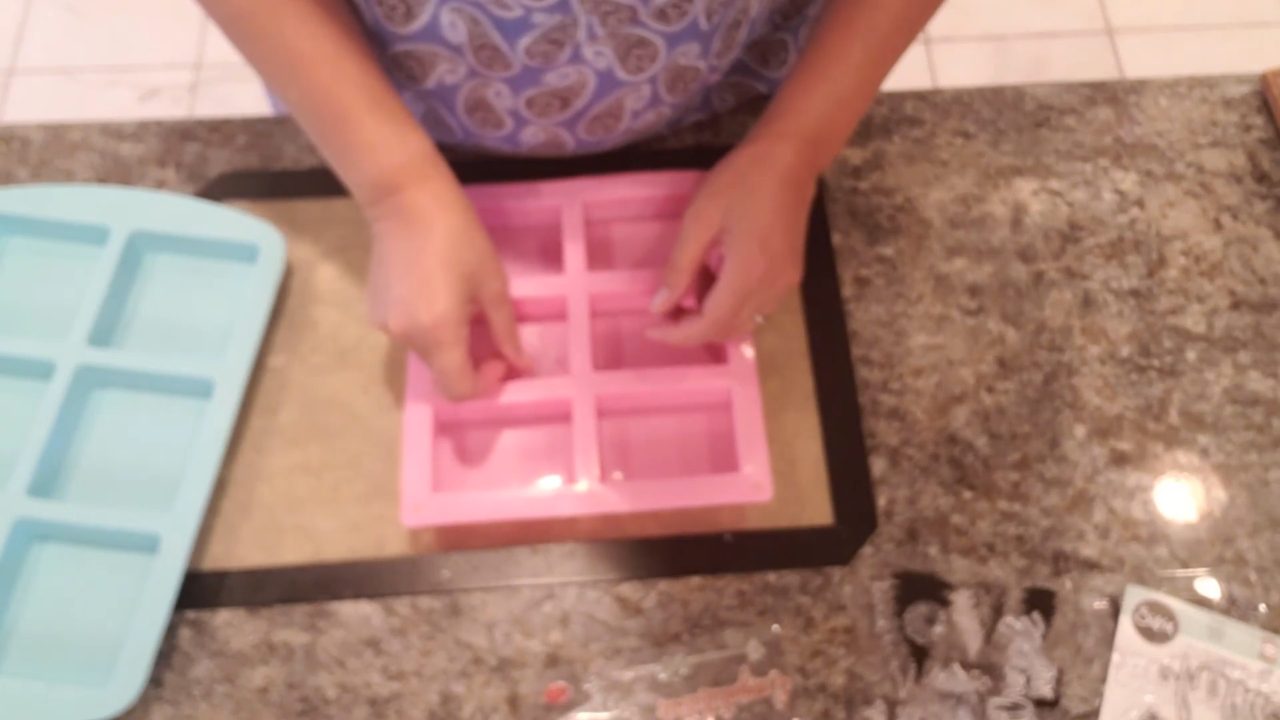
Peel the stamp off its sheet and press it flat into the bottom of the cavity, design side up. Keep it away from the edges. That makes it much easier to clean up and remove later.
3. Pour White Soap Over the Stamps
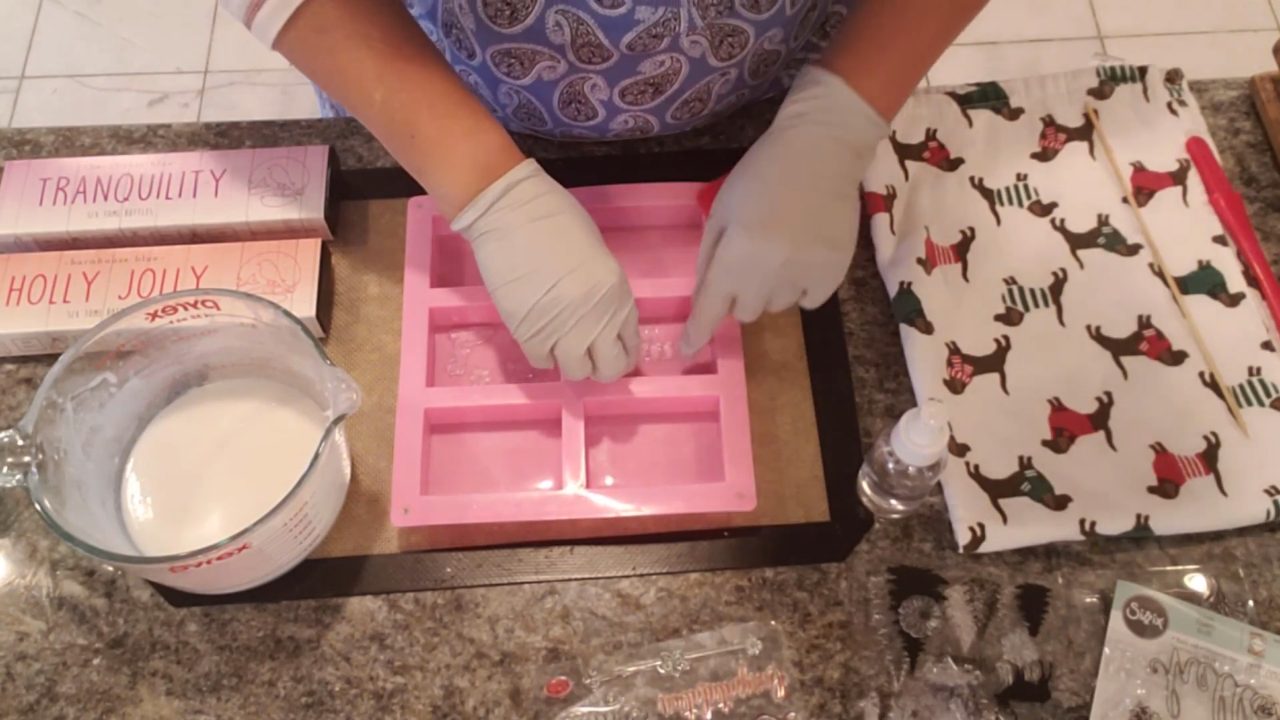
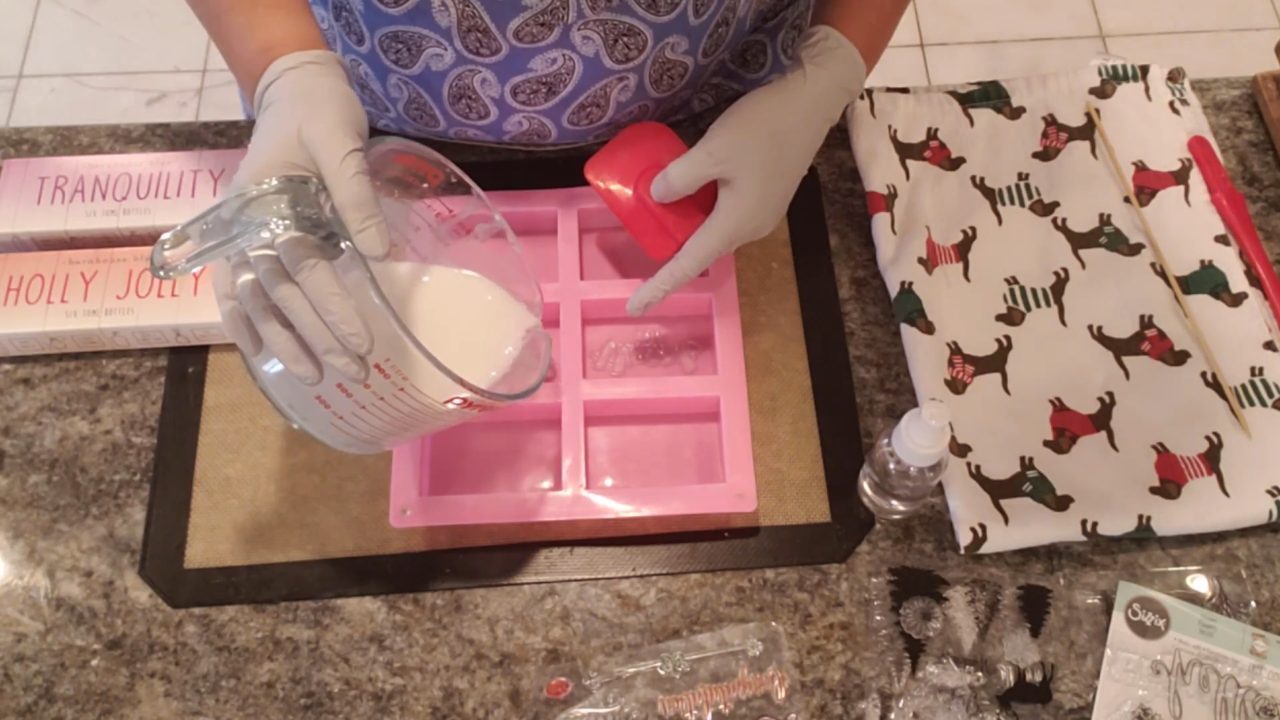
Melt the white base and add fragrance. Mine was about 150°F, and warmer soap is less likely to clump. Pour slowly, directly onto the stamp. It won’t hurt it. Squeegee the soap across with a small spatula so it fills every little crevice, then pour a thin white layer around the stamp without covering it much. Spray with alcohol.
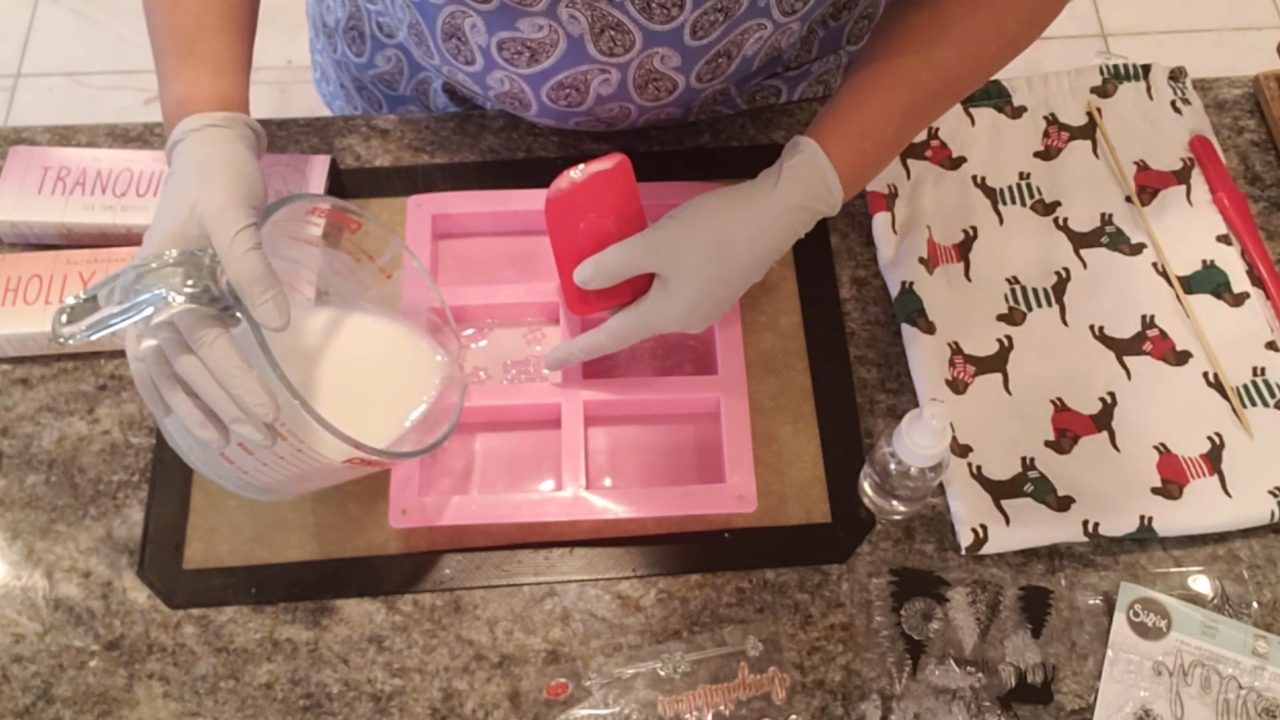
4. Clean Up the Design
If white soap covered parts of the design you want colored, spray it with alcohol and wipe it with a paper towel before the next layer.
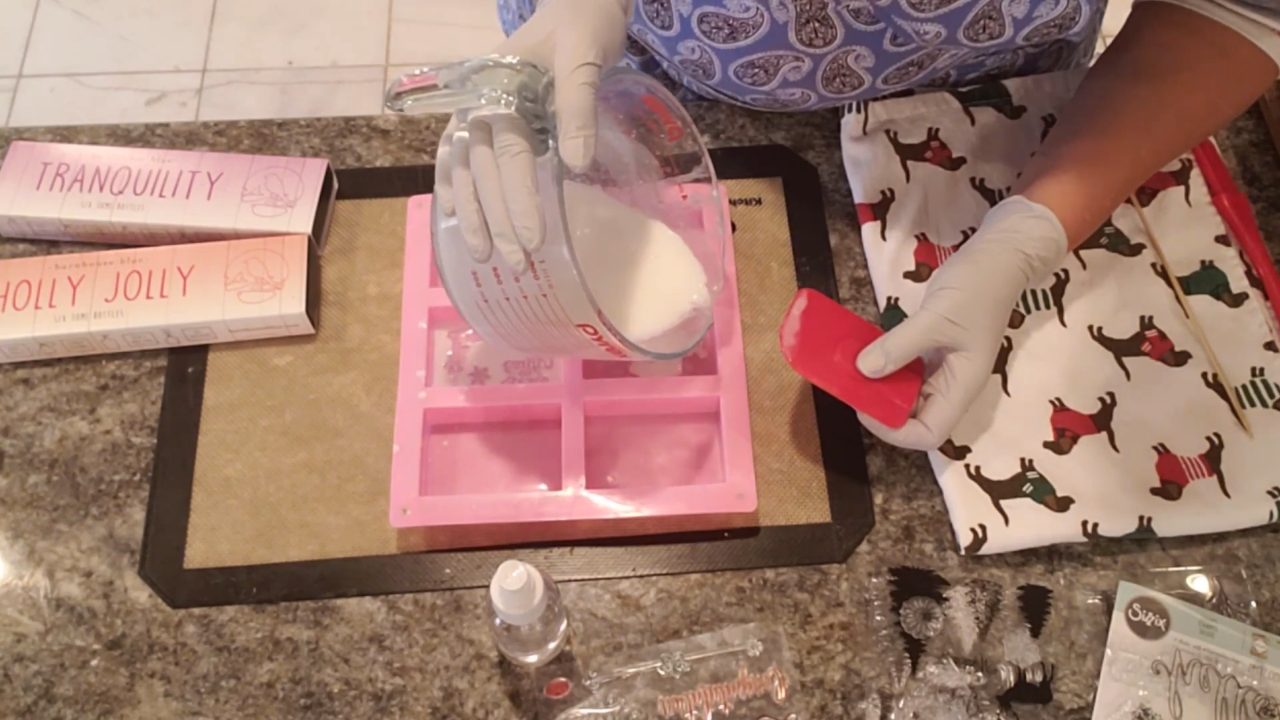
5. Pour the Colored Layer
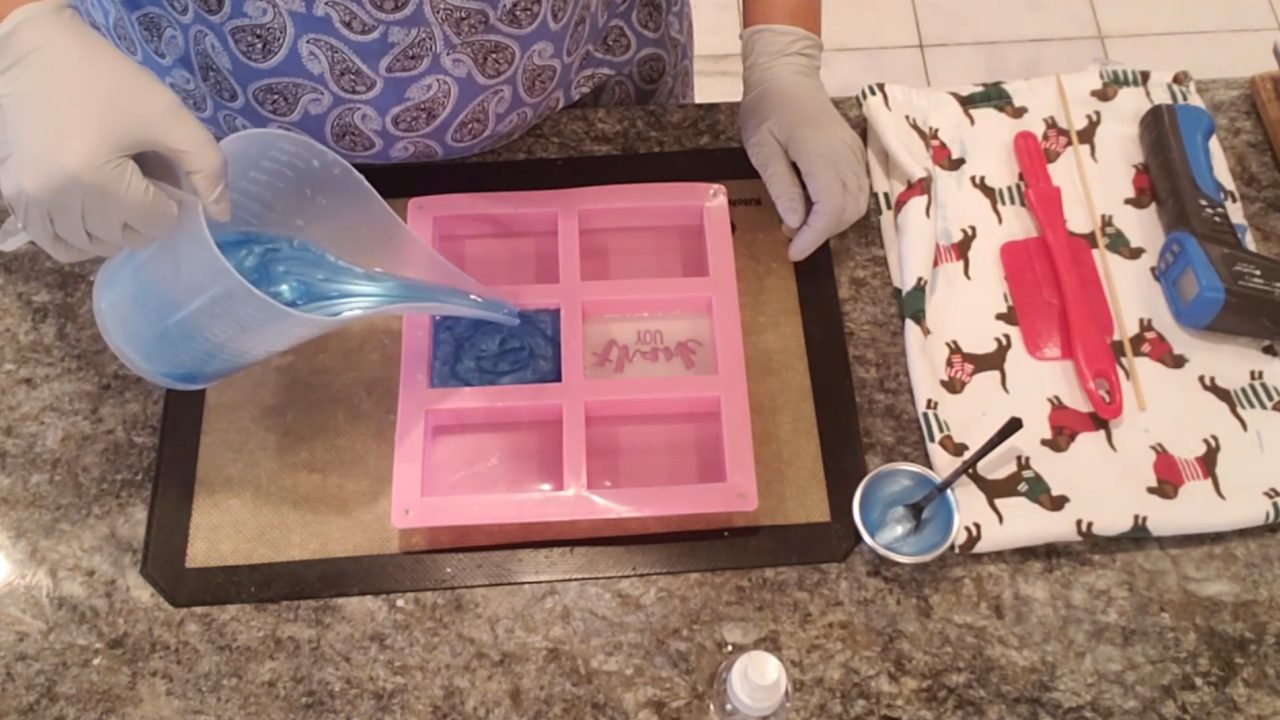
Mix blue mica with alcohol and stir it into clear base. Let it cool to about 135–138°F, so it doesn’t melt the white layer. Add a little more fragrance in the 140s°F. Lightly score the white layer (it’s thin, so don’t poke through), spray with alcohol and pour. Funnel cups make this much easier. Spray again and let it set.
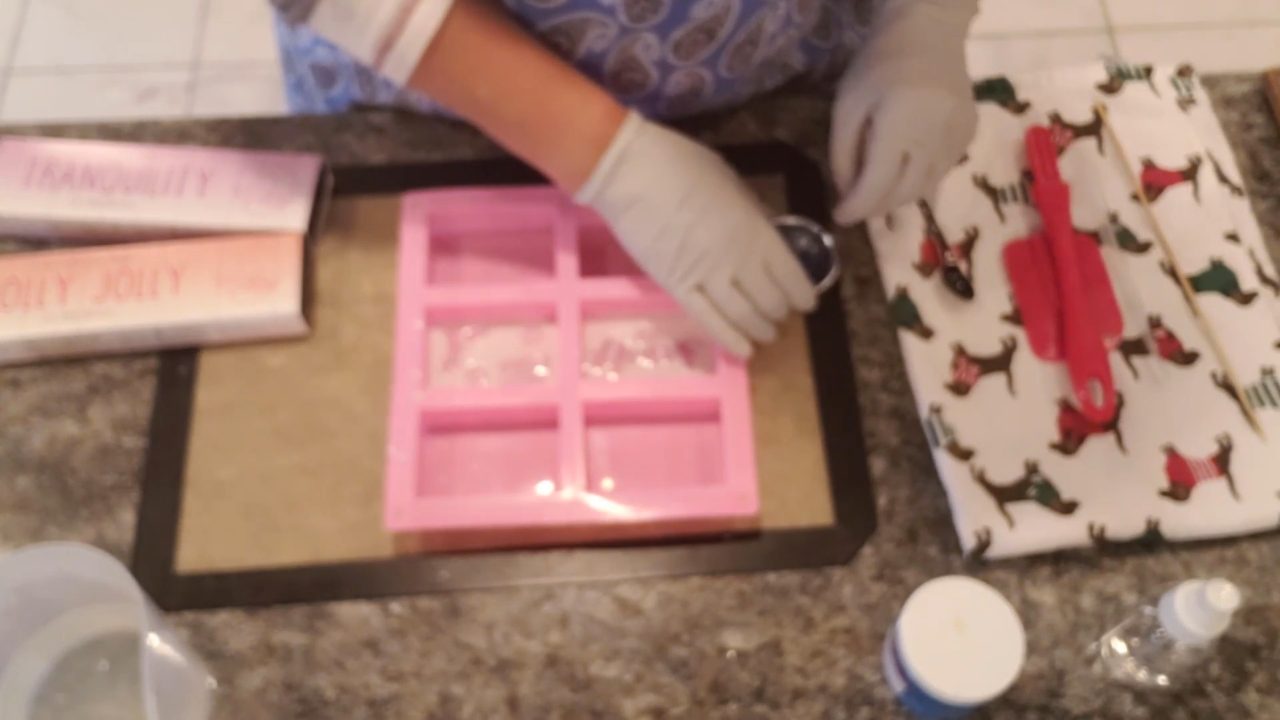
6. Unmold and Lift Out the Stamps
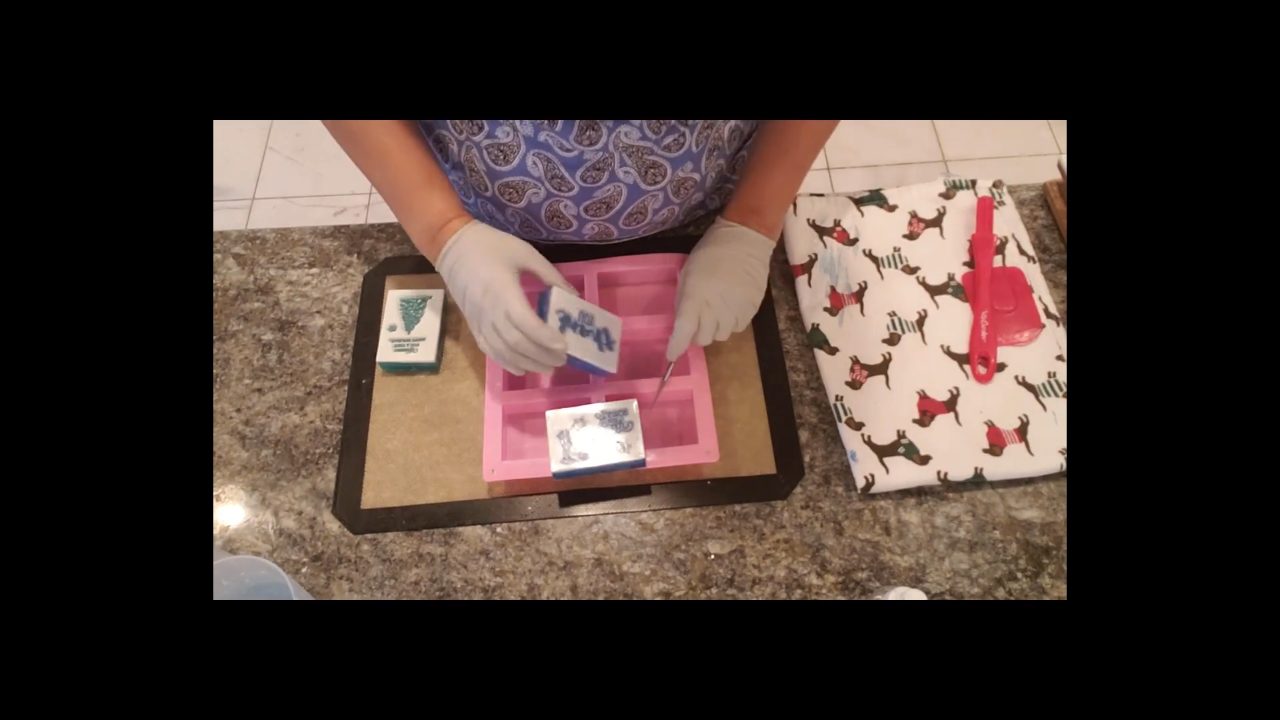
Unmold the bars. The stamp is set into the face of the soap, so use a pick tool to lift it out from the middle. Your fingernail can chip the soap.
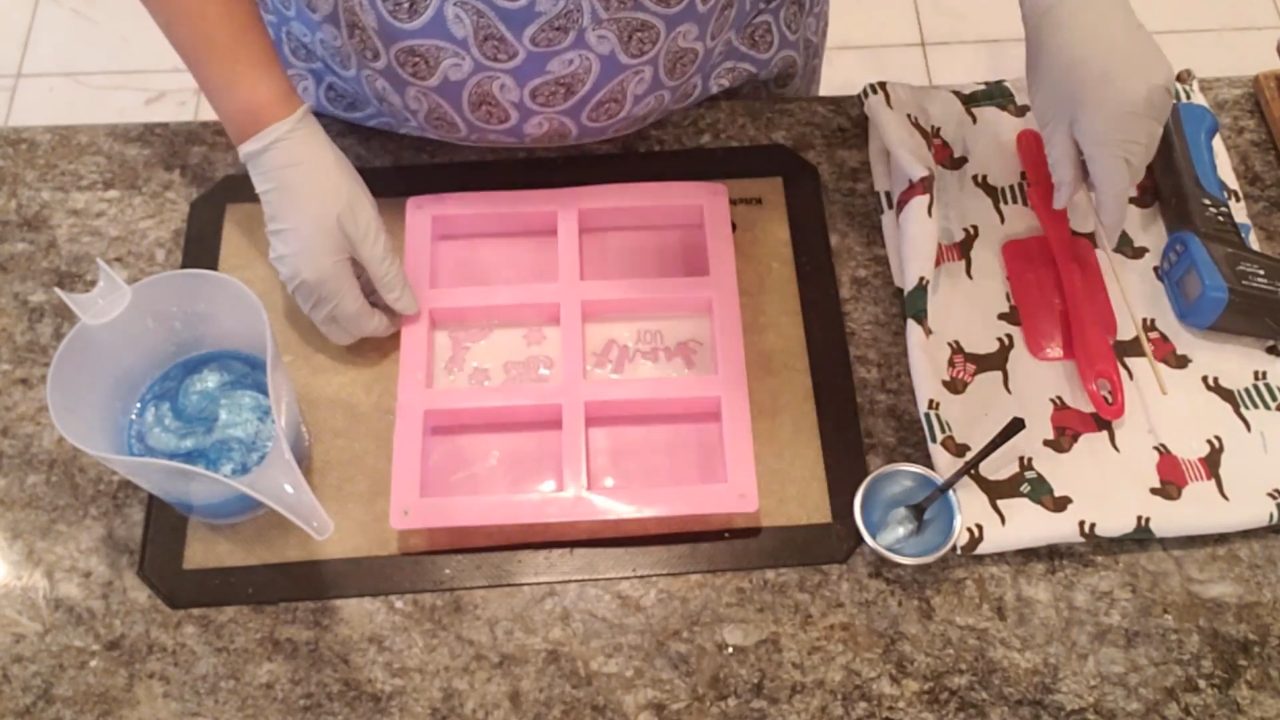
7. Wash the Stamps
Rinse the stamps, gently picking out any soap, and they’re ready for card making again.
Tips & What I Learned
- Clear stamps work, embossing folders don’t. The folder didn’t leave a design.
- Keep the stamp away from the edges. It’s easier to clean and remove.
- Squeegee the white layer. It fills fine details like small words.
- Use a pick tool. It lifts the stamp without damaging the soap.
- Hold it up to the light. With a clear back, light shines through the design.
Troubleshooting
The design is blurry.
Make sure the soap filled every crevice. Squeegee it in.
I chipped the soap removing the stamp.
Use a pick tool instead of your fingernail.
White soap covered the design.
Wipe it off with alcohol before pouring the color.
FAQ
How much fragrance oil should I use?
Up to 5 ml per 16 oz of soap base. You can always use less, but don’t use more than 5 ml per 16 oz.
Will soap ruin my craft stamps?
No. Just wash them afterward.
Where can I find these stamps?
Craft stores like Michaels and Hobby Lobby carry them, and so does Amazon.
More Stamped Soap Ideas
- How to Use Soap Embossing Stamps
- Flower and Lace Melt and Pour Soap
- Blue Ice Melt and Pour Soap with an Impression Mat
- Snowflake Bakery Picture Soap
- All my melt and pour soap tutorials on YouTube
If you make this, I’d love to see it! Tag me on Instagram or Pinterest, and subscribe on YouTube for new soap tutorials.
