
Snowflake Bakery melt and pour soap puts cute winter bakery pictures right inside the bar, using water soluble paper and crystal clear soap. A white layer makes the pictures pop, red and green layers finish the back, and I show how I trim and bevel the edges for a clean, professional finish. These make adorable holiday gifts for neighbors and craft fairs.
As an Amazon Associate I earn from qualifying purchases. Some links in this post are affiliate links. They cost you nothing extra and help support Koala Soap.
Materials & Tools
Soap Bases
- Premium crystal clear melt and pour soap base for the picture layer
- Shea butter melt and pour soap base for the white and colored layers
- About 14–16 oz in total for three bars
Color, Scent & Glitter
- Red Strawberry and Tail Green from individual Stardust micas
- Bio glitter (optional)
- Fragrance oil for the colored layers only (I used Grape Soda)
Picture Supplies
- Water soluble paper (Paper Solvy), printed on a regular inkjet printer
- Clip art sized to fit your mold (I bought mine on Etsy)
- A paper cutter (very helpful)
Tools
- Rectangle soap mold
- Skewers
- Wavy cutter and a soap beveler (optional)
- Spray bottle of 91% isopropyl alcohol
- Thermometer
Fragrance Amount
Never add fragrance, color or glitter to the clear picture layer. My fragrance had a yellow tint, so I also kept it out of the white layer and added it only to the red and green layers. Use up to 5 ml of fragrance oil per 16 oz (1 lb) of soap base. You can always use less, but don’t go over 5 ml per 16 oz.
How to Make Snowflake Bakery Picture Soap
1. Print and Cut the Pictures
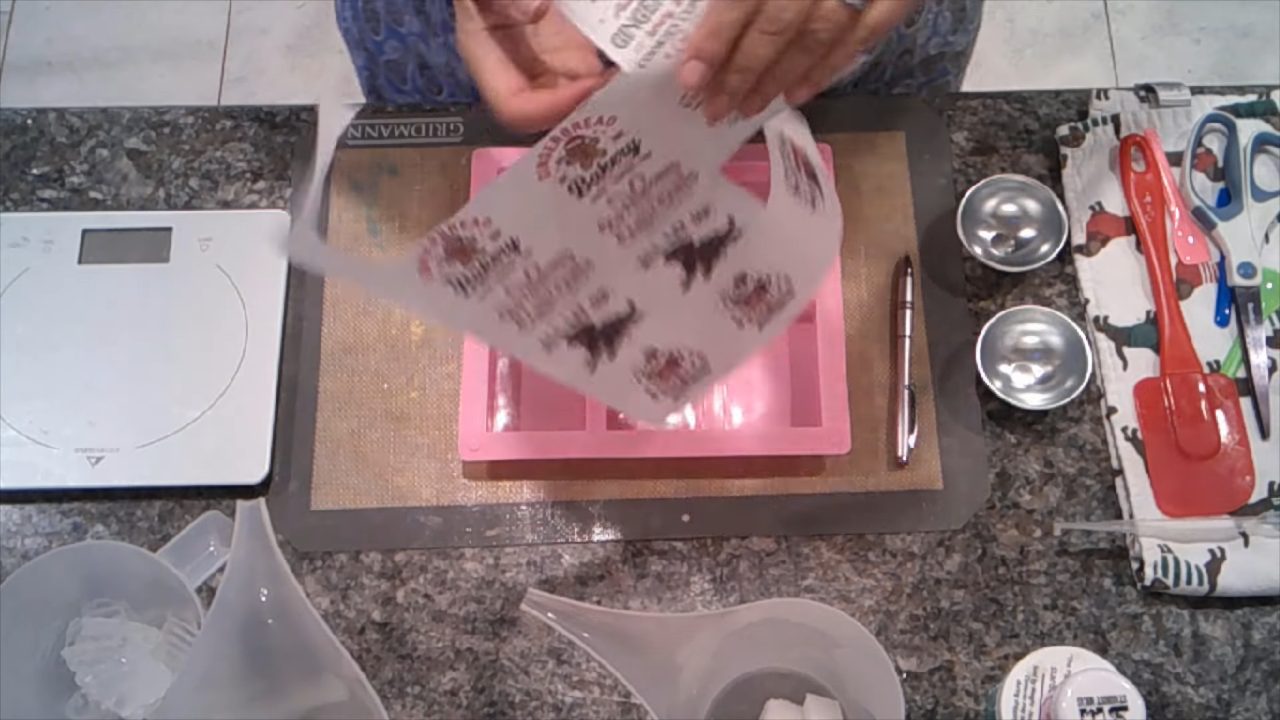
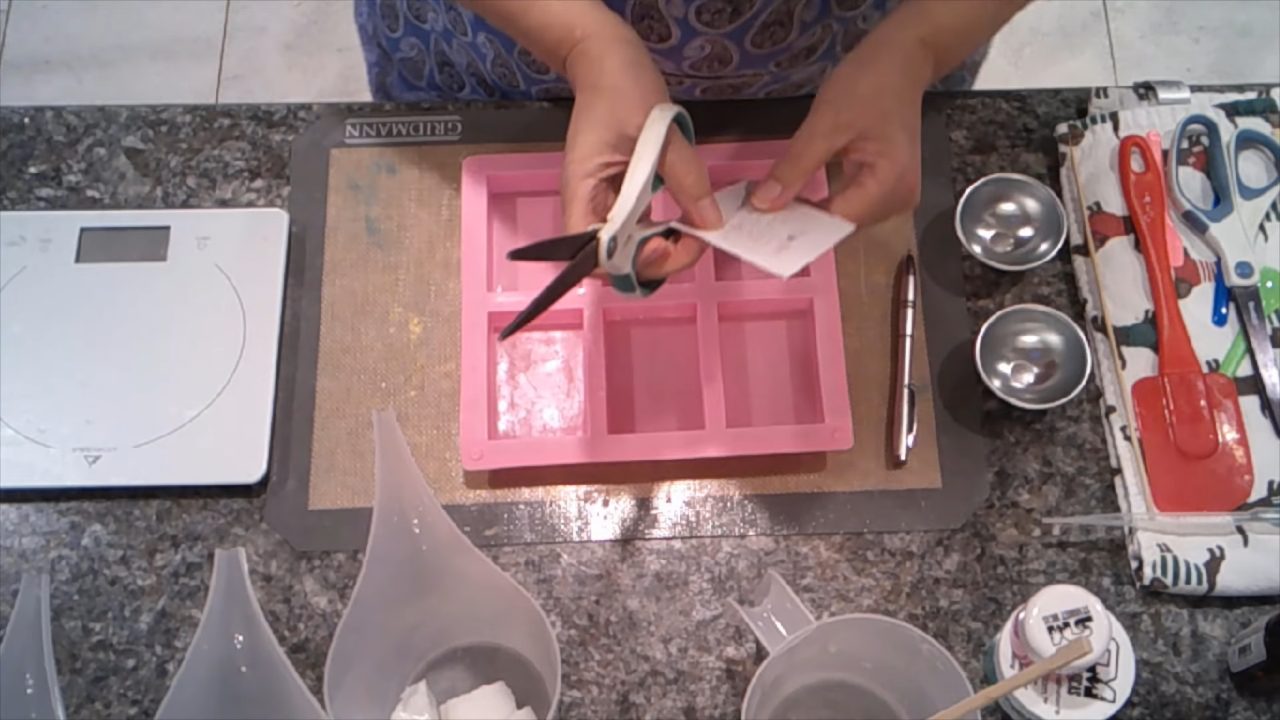
Size the images to fit your mold and print them on water soluble paper. With lots of red in a design, I let the printed sheet sit for about 24 hours first. Leave enough space between images so you don’t cut into the next one. Use a scrap of soap as a template to cut each picture, either close to the design or nearly the size of the bar.
2. Pour a Thin Clear Layer
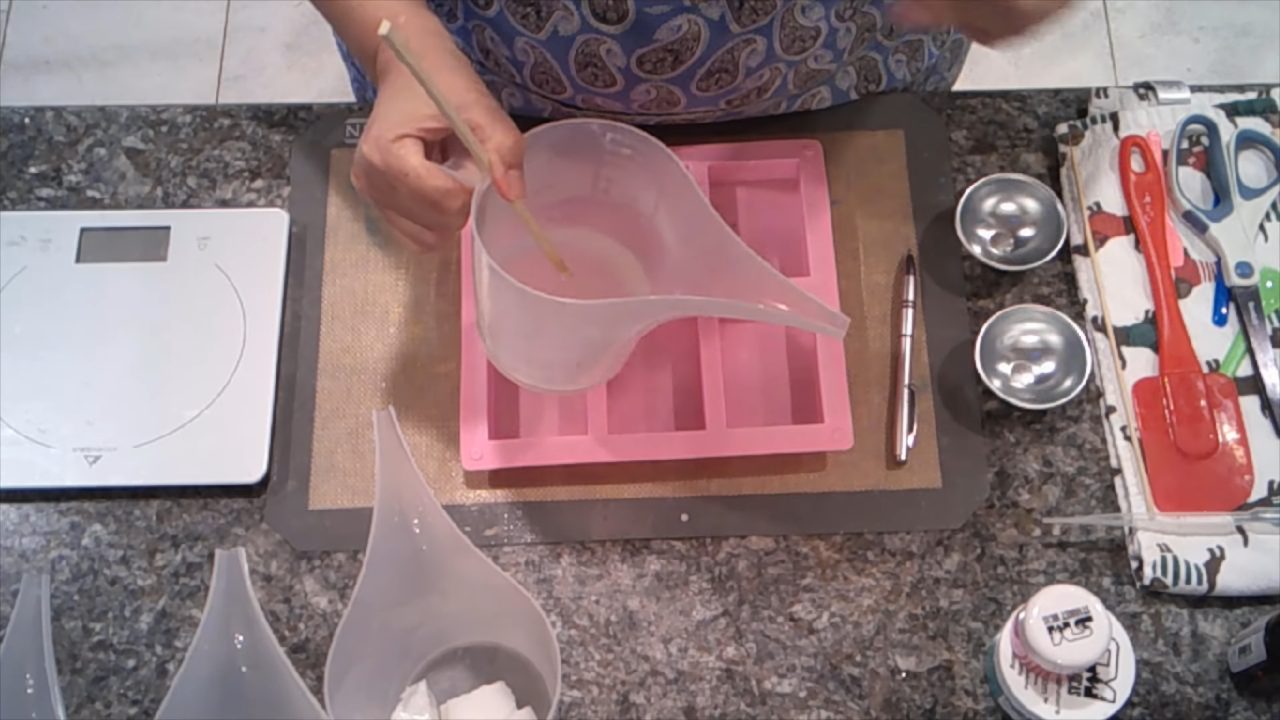
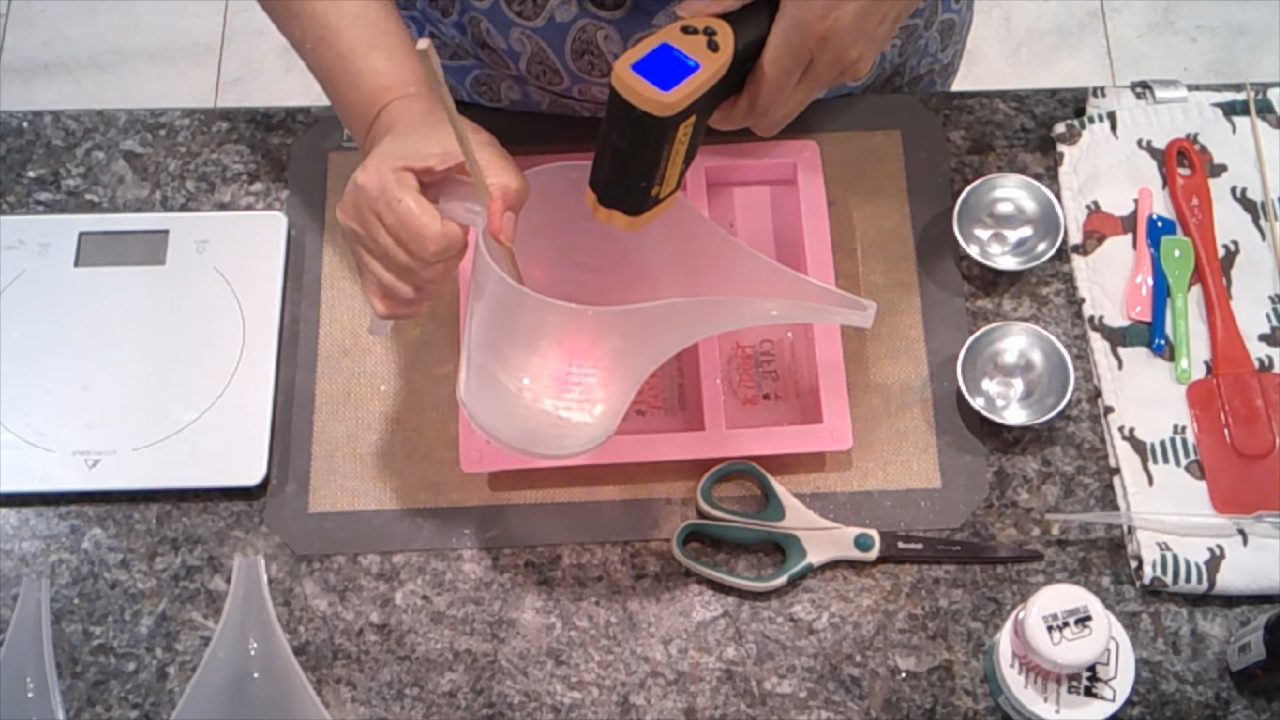
Melt the crystal clear base in 10-second bursts. Pour just enough to cover the bottom of each cavity. Spray with alcohol, then give it a moment so the alcohol evaporates before the paper goes in. You don’t want it to touch the ink.
3. Set the Picture
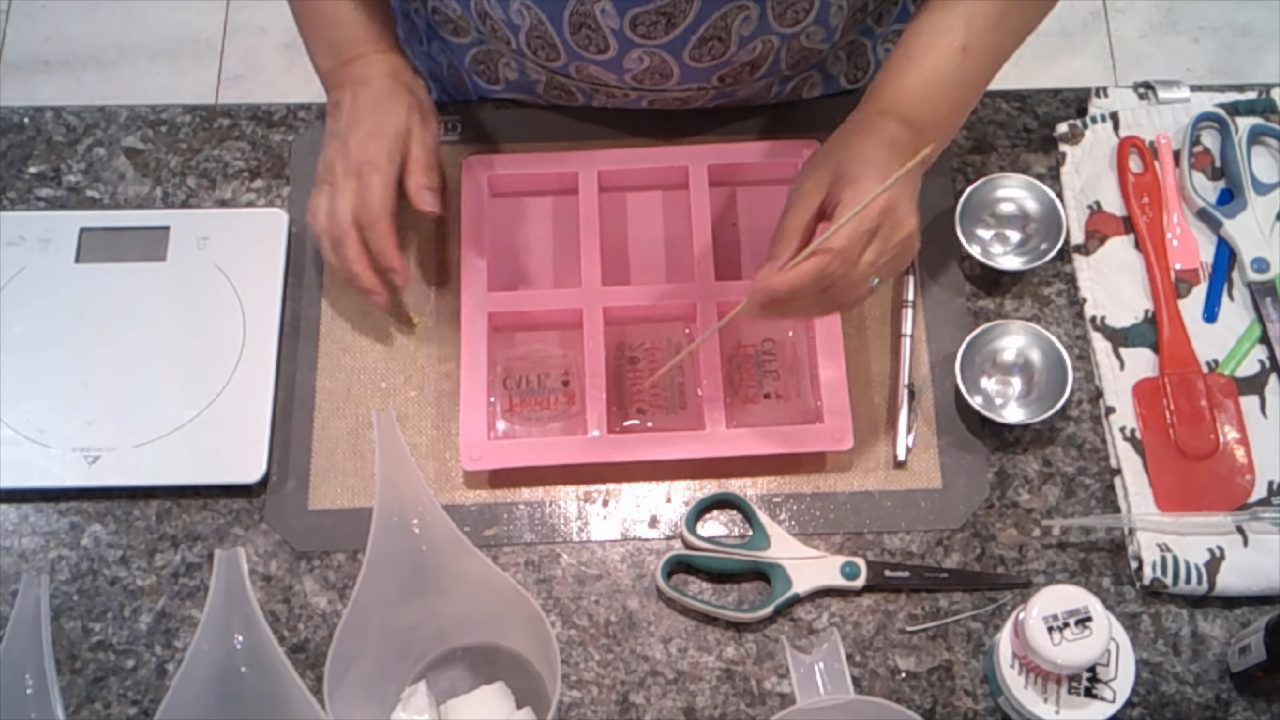
When the clear soap is around 133–134°F, slide each picture in face down. Use a skewer to tuck it under so it stays in the middle and isn’t touching the very bottom. Pour a tiny bit more clear soap on top to cover it.
4. Add a Little Glitter (Optional)
Wearing a glove, sprinkle a little bio glitter around the edges of the picture. Keep it light, or it can migrate behind the design.
5. Pour the White Layer
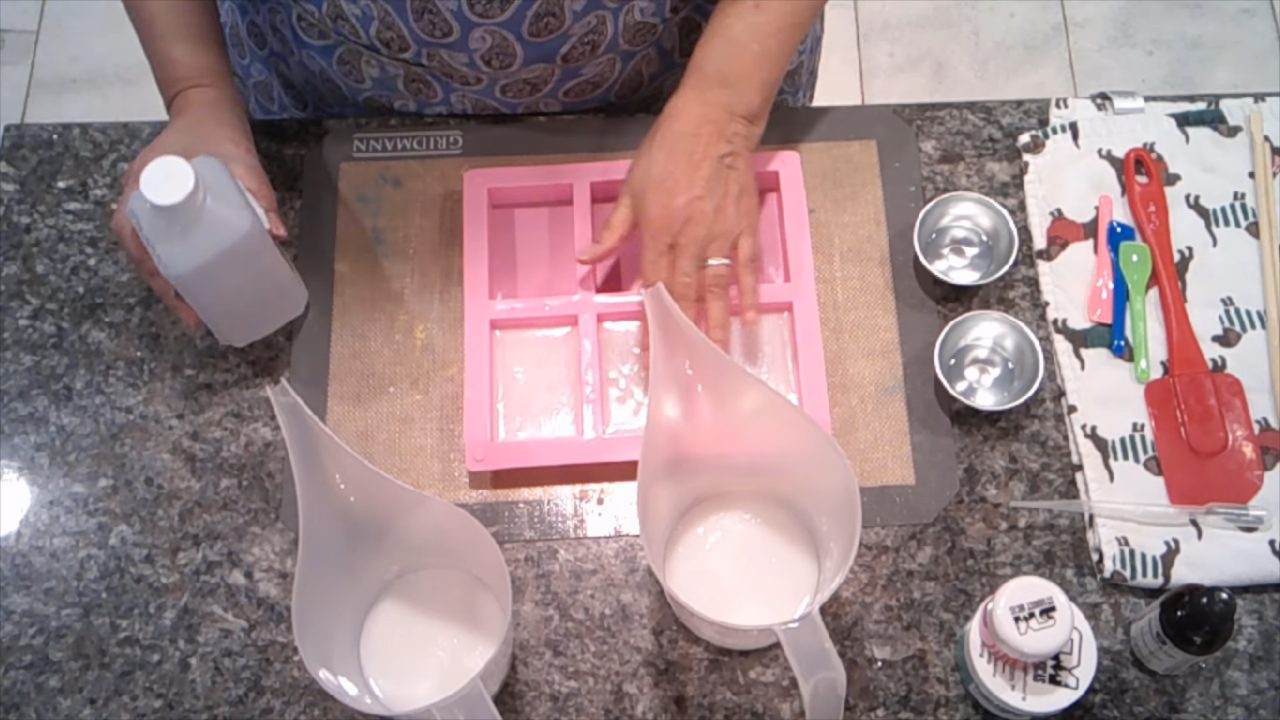
Once the clear layer has a skin, score hash marks behind the paper with a skewer, where they won’t show. Spray with alcohol and pour a white shea butter layer. The white is what makes the pictures show up.
6. Add Red and Green
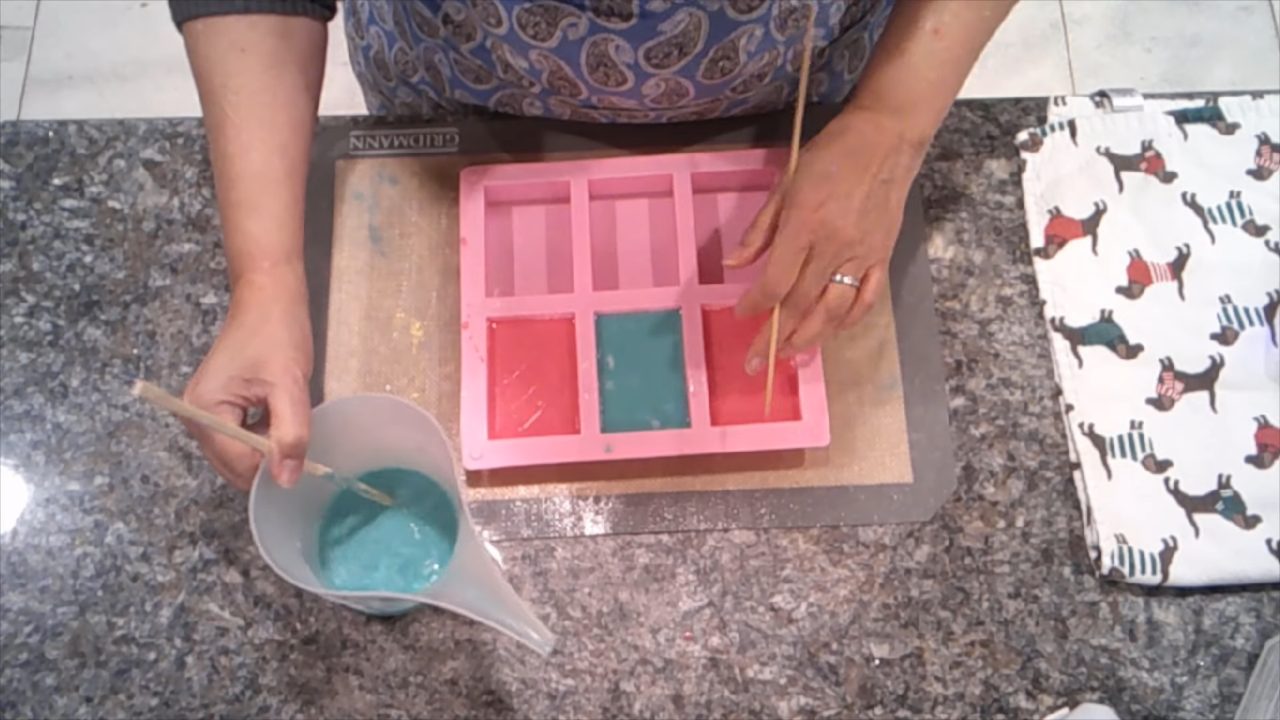
Score and spray again, then pour the red layer with your fragrance. Finish with a green layer, around 133°F, to fill any gaps. Let the bars set.
7. Unmold
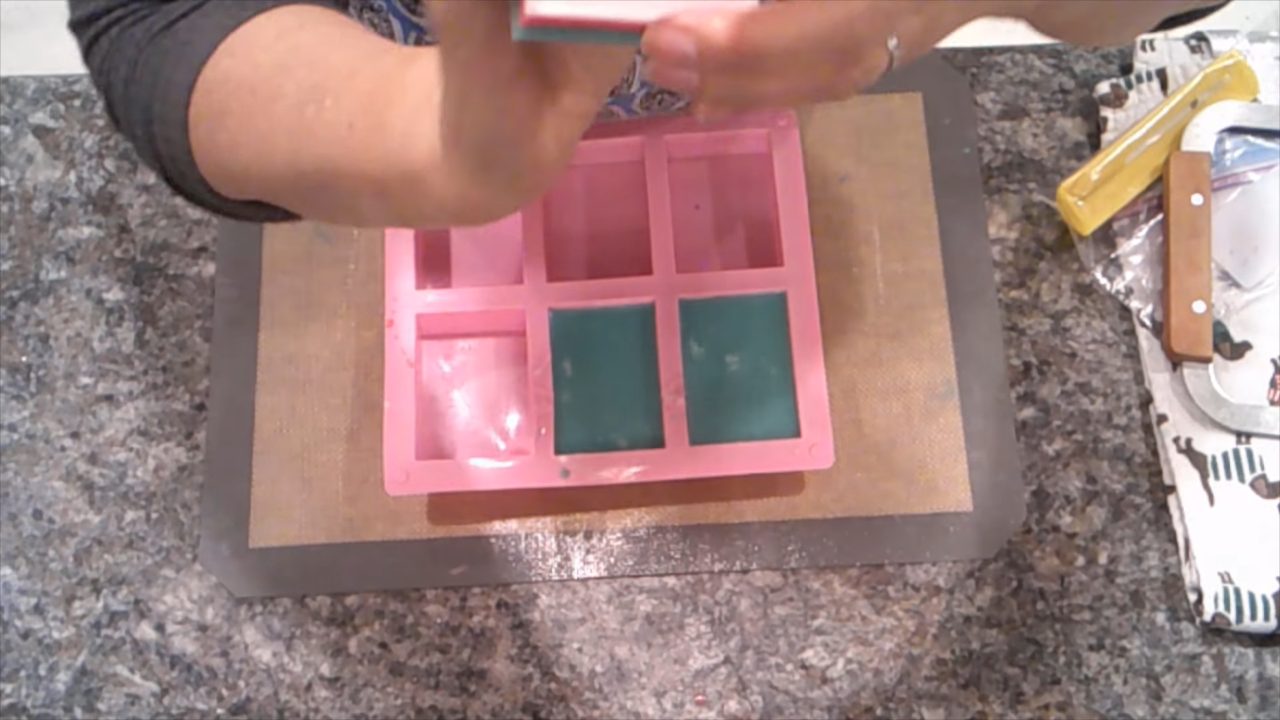
Pop the bars out. If you cut the paper short, you may see where it ends. Pictures cut nearly to the size of the bar hide the paper edges completely.
8. Trim and Bevel
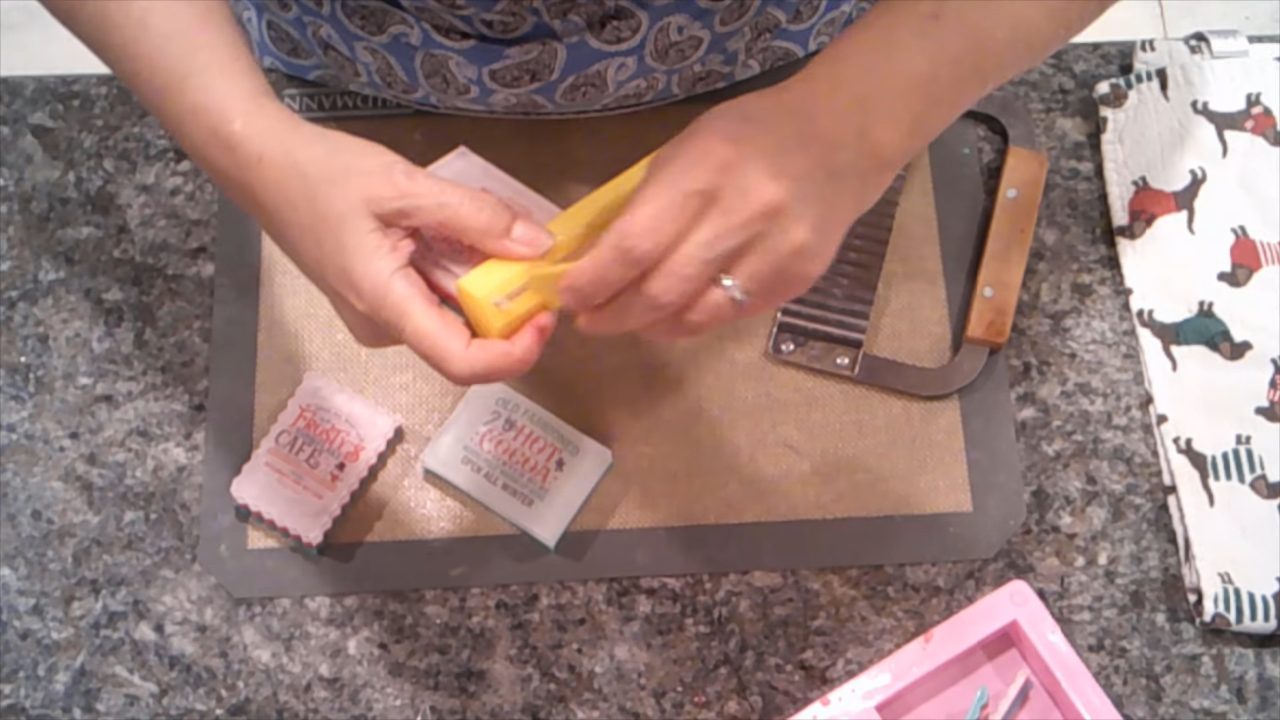
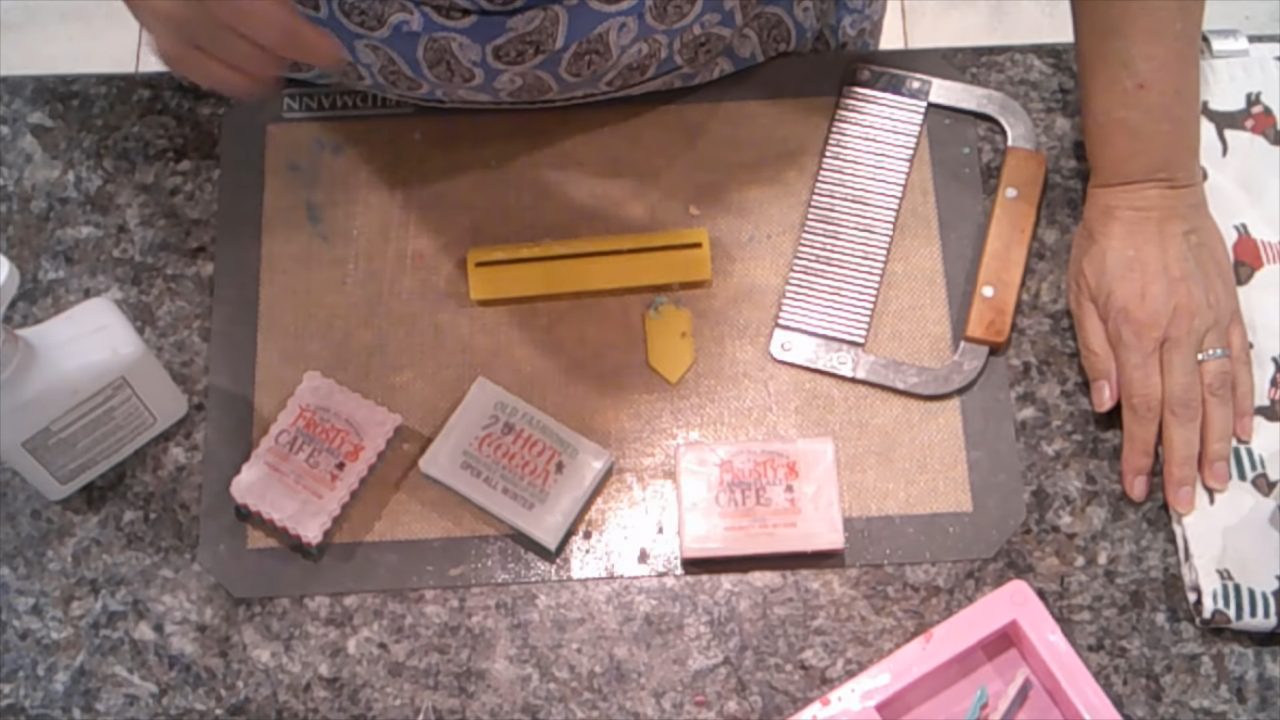
For a finished look, trim the ends with a wavy cutter, or run each edge along a soap beveler. It takes some practice, but it gives a nice professional edge. Wipe off any fingerprints with a little alcohol on a paper towel.
Tips & What I Learned
- Leave space between pictures when printing. It makes them easier to cut.
- Cut pictures to nearly the size of the bar. That hides the paper edges.
- Keep the clear layer plain. Anything added can cloud it or affect the ink.
- Let the alcohol evaporate before adding paper. That protects the ink.
- Score behind the paper. The hash marks won’t show from the front.
- The colors last. Pictures in my earlier picture soaps hadn’t run after six months.
Troubleshooting
I can see the edge of the paper.
Cut the picture closer to the size of the bar next time.
The picture floated to one side.
Tuck it into place with a skewer and add a little clear soap to lock it in.
Glitter ended up behind the picture.
Use less, and add it once the clear has started to set.
FAQ
How much fragrance oil should I use?
Up to 5 ml per 16 oz of soap base, only in the colored layers. You can always use less, but don’t use more than 5 ml per 16 oz.
Will the ink run?
In my experience, no. Pictures in my earlier picture soaps hadn’t run after six months.
Do I need a beveler?
No, but it gives a nice finished edge. A wavy cutter also makes the ends look great.
More Picture and Holiday Soap Ideas
- Nautical Picture Soap with Water Soluble Paper
- Making Melt and Pour Soap with Water Soluble Paper
- Christmas Tree Melt and Pour Soap
- Jolly Dots Melt and Pour Soap
- All my melt and pour soap tutorials on YouTube
If you make this, I’d love to see it! Tag me on Instagram or Pinterest, and subscribe on YouTube for new soap tutorials.
