
This sea sponge melt and pour soap has a small natural sea sponge set right into a bar of blue-swirled shea butter soap. The sponge gives gentle exfoliation, and the soap soaks into it, so it lathers up as you use it. It makes a lovely spa-style gift. I sent one of mine to my parents.
As an Amazon Associate I earn from qualifying purchases. Some links in this post are affiliate links. They cost you nothing extra and help support Koala Soap.
Materials & Tools
Soap Base
- Shea butter melt and pour soap base, about 3–4 oz per cavity
Color & Scent
- Ariel Blue (or Blue Lagoon) from this Stardust mica set
- A little distilled water for the swirl
- Cucumber Melon fragrance oil from Bramble Berry, or try Barnhouse fragrance oils
Tools
- Natural sea silk sponges (pre-cut, or cut a large one down to size)
- Oval 8 cavity soap mold
- Coil (flat) whisk
- 3 ml pipettes
- Thermometer
- Spray bottle of 91% isopropyl alcohol
Fragrance Amount
Use up to 5 ml of fragrance oil per 16 oz (1 lb) of soap base. You can always use less if you like a lighter scent, but don’t go over 5 ml per 16 oz.
How to Make Sea Sponge Melt and Pour Soap
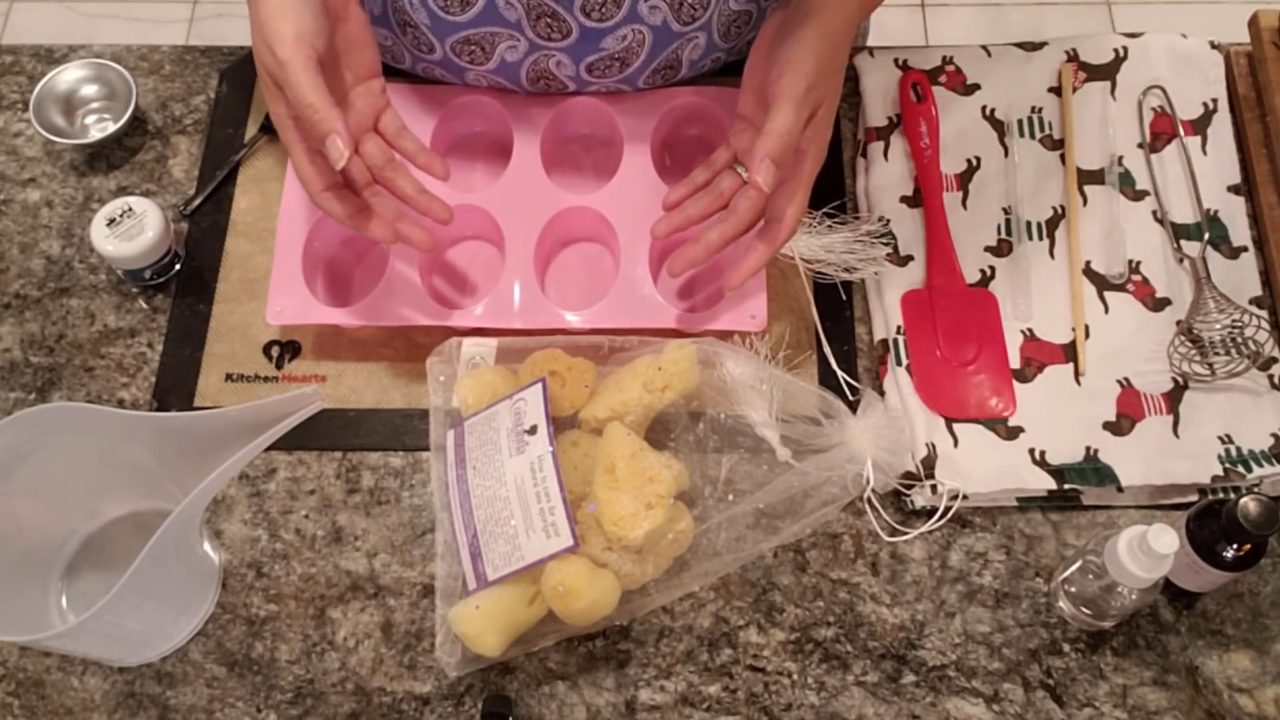
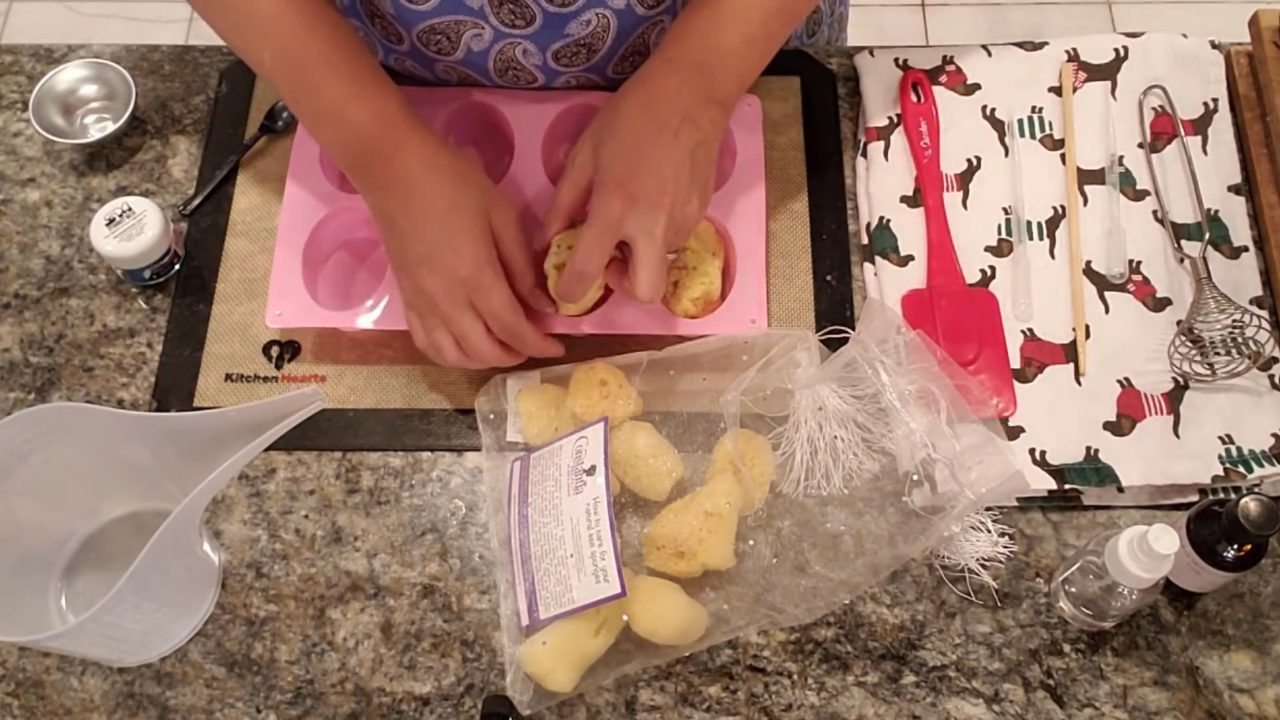
1. Size the Sponges
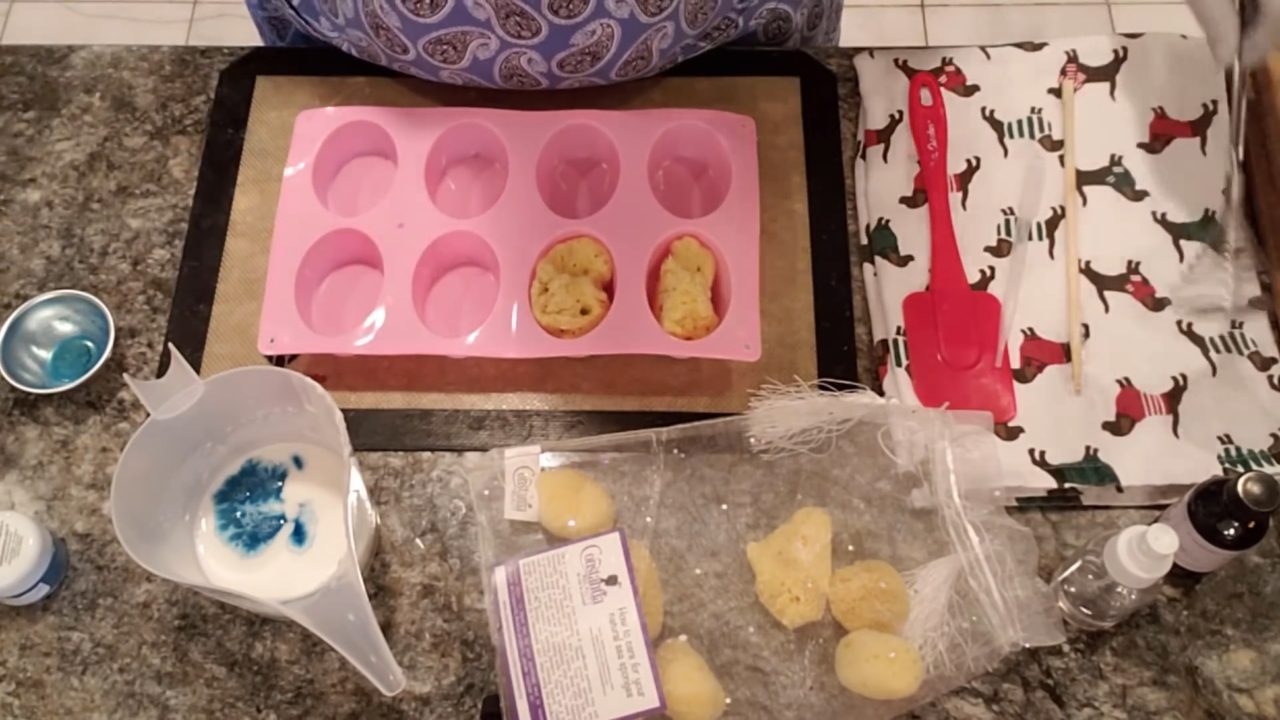
Set a sponge in each cavity. You want part of the sponge to stick up out of the soap, so nobody forgets there’s a sponge inside. If a sponge is small, use two together. I kept my bars small, about 3 oz, because sources vary on how long to keep using a sea sponge. Some say about 30 days, others say three to six months, so I erred on the side of caution.
2. Melt the Base and Mix the Color
Melt the shea butter base and add your fragrance. Mix a little Ariel Blue with distilled water instead of alcohol. Alcohol makes the color disperse through the whole bar, while water keeps it in swirls. Water-mixed color does make the soap take longer to set.
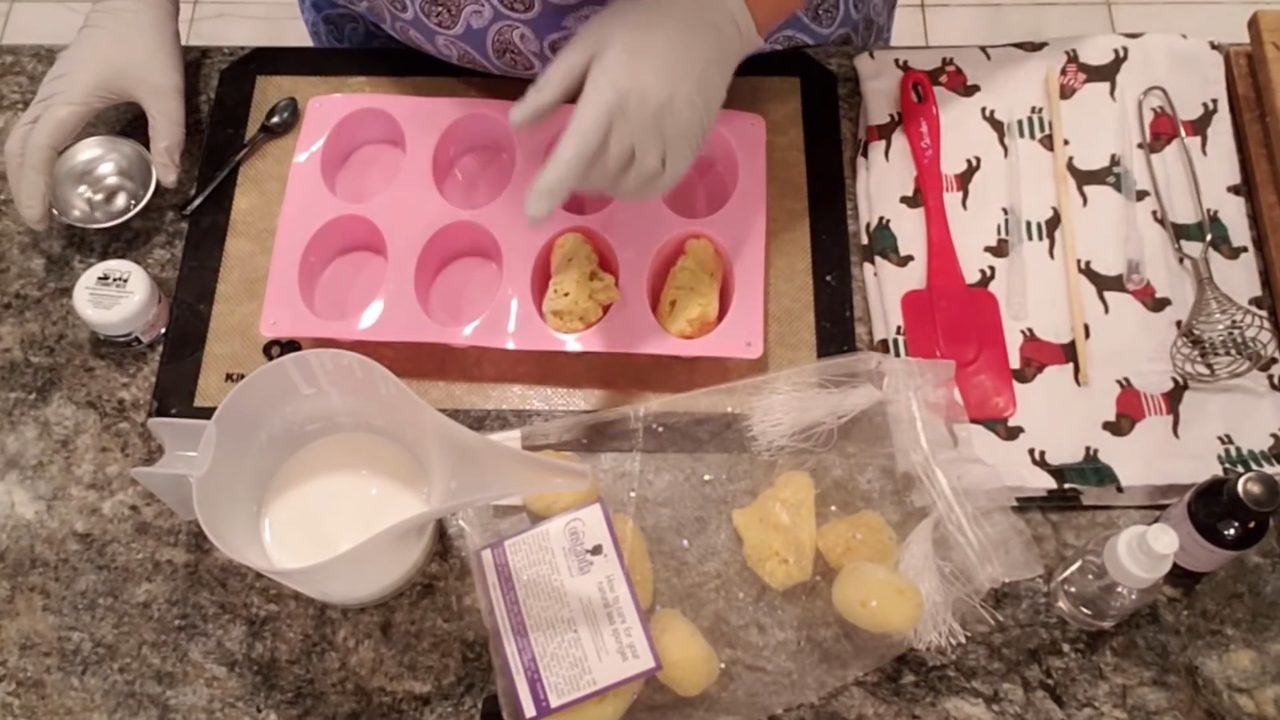
3. Cool Until Thick
Let the soap cool until it starts to thicken. Mine was about 119°F. If you don’t have a thermometer, stir with a skewer and watch for it to thicken or start to skin.
4. Swirl and Pour
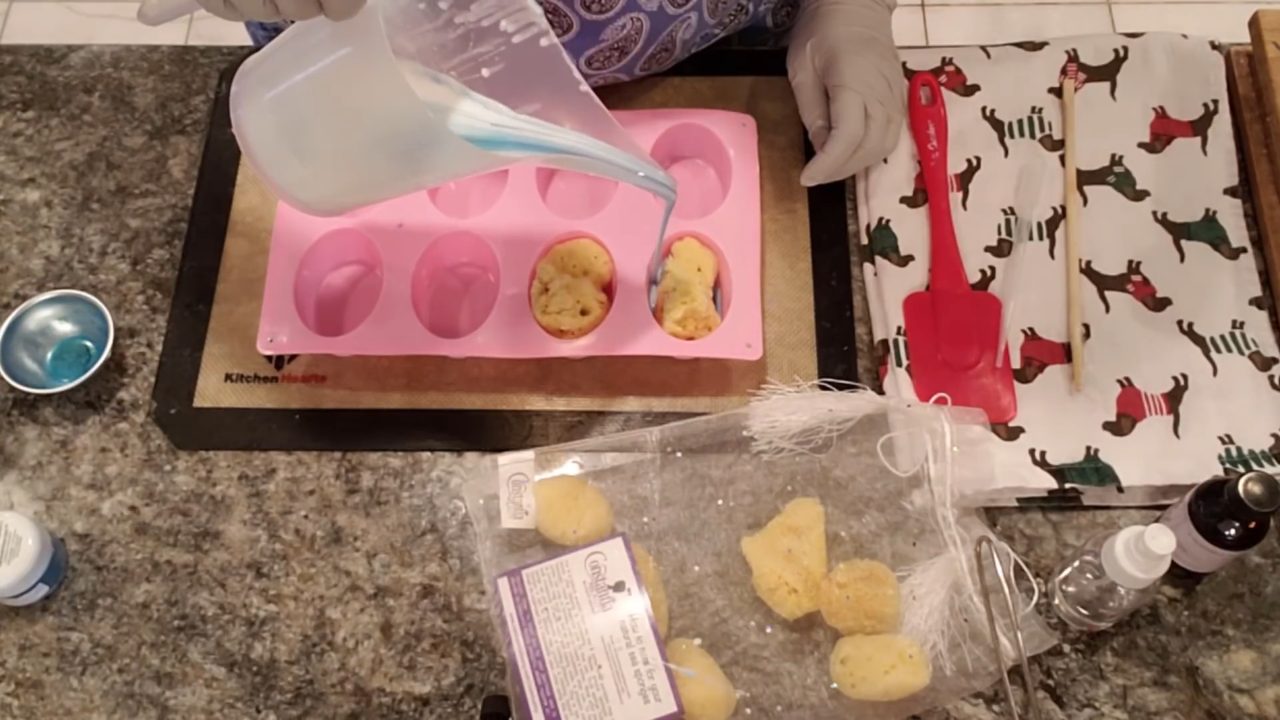
Spray the sponges with alcohol. Squirt about 2 ml of color hard into the soap, push the coil whisk down once and lift it out, then pour over the sponge. Repeat for the next bar. The sponges soak up quite a bit of soap, so you may want a little extra per cavity.
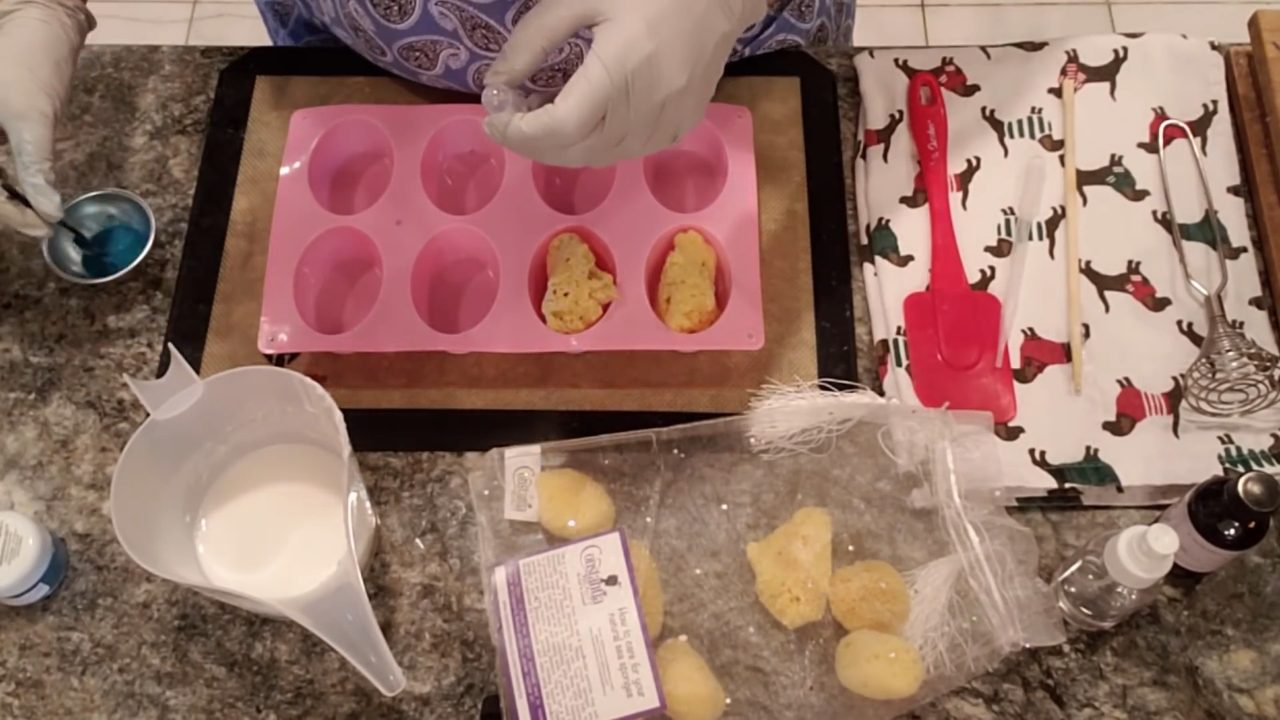
5. Let It Set
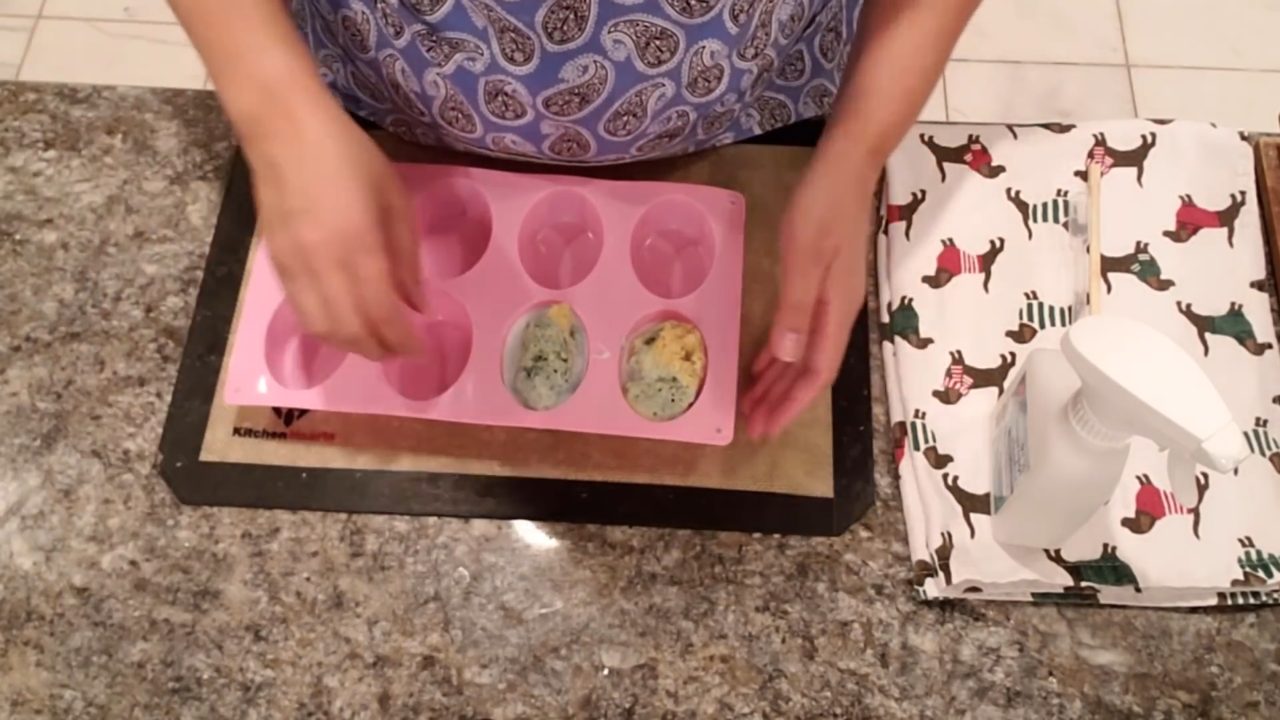
Spray lightly with alcohol and let the bars set. Because the color was mixed with water, mine took about an extra hour to harden.
6. Unmold
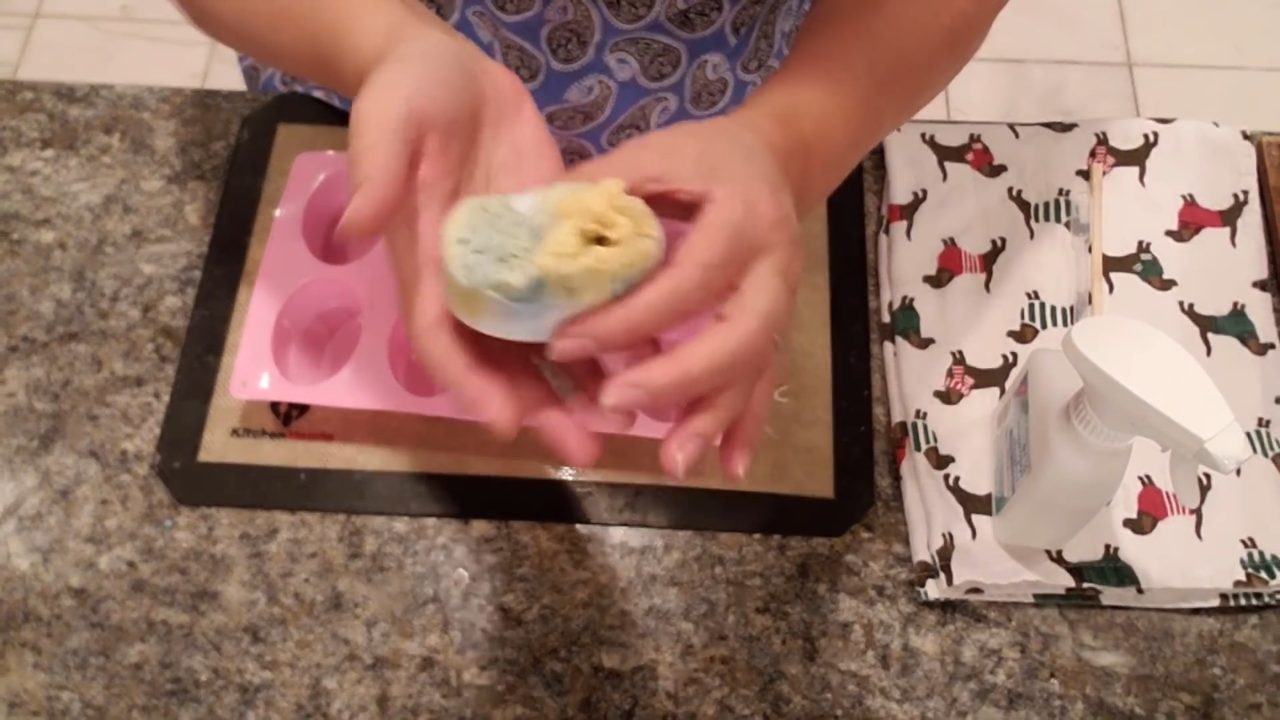
Pop the bars out. The sponge is hard where the soap soaked in and soft above it. As soon as it gets wet, the top softens up. Each bar has its own swirl.
Tips & What I Learned
- Leave the sponge sticking out. It reminds people there’s a sponge inside.
- Make small bars. A smaller bar gets used up while the sponge is still fresh.
- Use distilled water for the swirl. Alcohol makes the color disperse.
- Plan for extra soap. The sponge absorbs some of it.
- Buy a big sponge and cut it. That lets you size the pieces exactly.
Troubleshooting
The swirl disappeared.
The color was mixed with alcohol, or the soap was too hot. Use water and pour when it’s thick.
The bars are taking forever to set.
Water-mixed color slows setting. Give them an extra hour.
The sponge is too small for the mold.
Use two small pieces together.
FAQ
How much fragrance oil should I use?
Up to 5 ml per 16 oz of soap base. You can always use less, but don’t use more than 5 ml per 16 oz.
How long can you use a sea sponge soap?
Sources vary from about 30 days to three to six months. I like to make smaller bars and err on the cautious side.
Can I use clear base instead?
Yes, though shea butter gives a creamy look that shows off the blue swirl.
More Spa Soap Ideas
- Soap on a Rope with a Shower Sponge
- Coconut Mango Jojoba Bead Soap
- Flower Swirl Melt and Pour Soap
- Himalayan Salt Melt and Pour Soap
- All my melt and pour soap tutorials on YouTube
If you make this, I’d love to see it! Tag me on Instagram or Pinterest, and subscribe on YouTube for new soap tutorials.
