
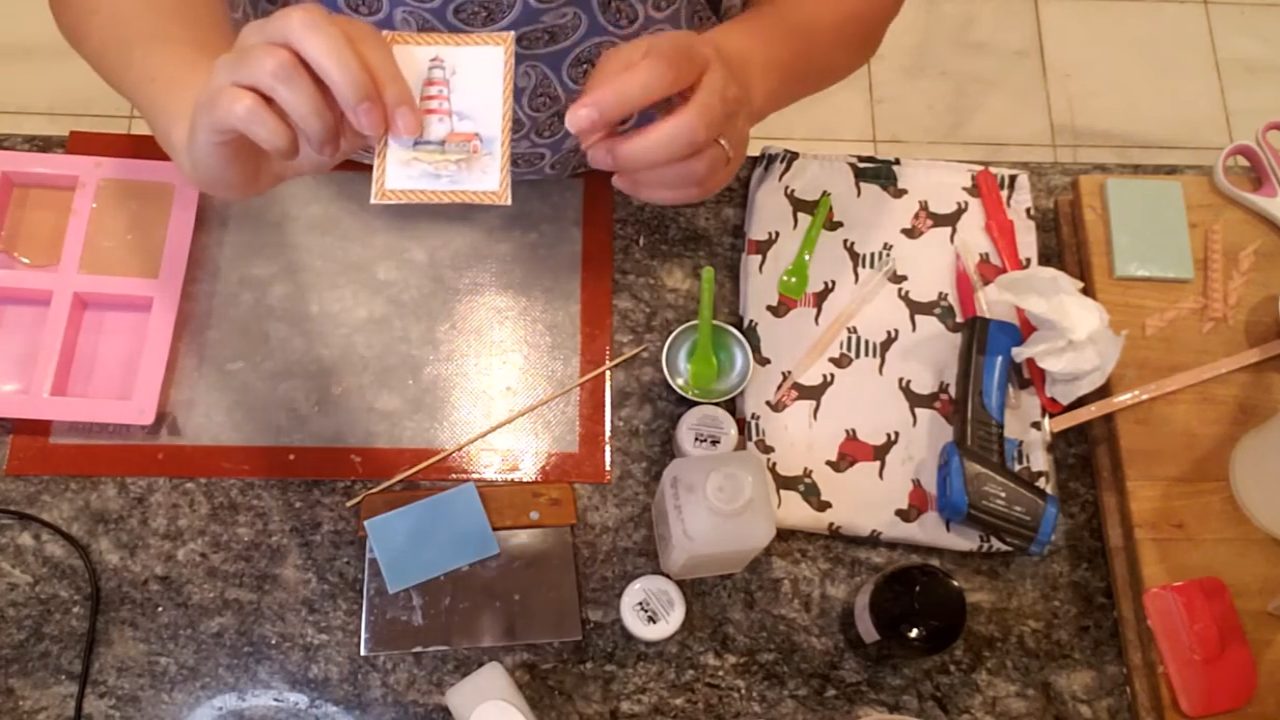
This nautical picture soap shows a lighthouse, a ship’s wheel and other nautical images right inside the bar, using water soluble paper and crystal clear melt and pour soap. I also show an optional bronze soap rope frame that makes each bar look like a little framed picture. If you’ve wanted to put pictures in soap, this updated, slower tutorial walks through every step.
As an Amazon Associate I earn from qualifying purchases. Some links in this post are affiliate links. They cost you nothing extra and help support Koala Soap.
Materials & Tools
Soap Bases
- Premium crystal clear melt and pour soap base for the picture layer
- Shea butter melt and pour soap base for the white and blue background and the rope frame
Color & Scent
- Ariel Blue and Bronze Age from this Stardust mica set or individual Stardust micas
- Fragrance oil for the shea butter layers only (I used Energy)
Picture Supplies
- Water soluble paper
- High-quality images with a white background (I use stock photo sites)
- Any photo editing program and an inkjet printer
Tools
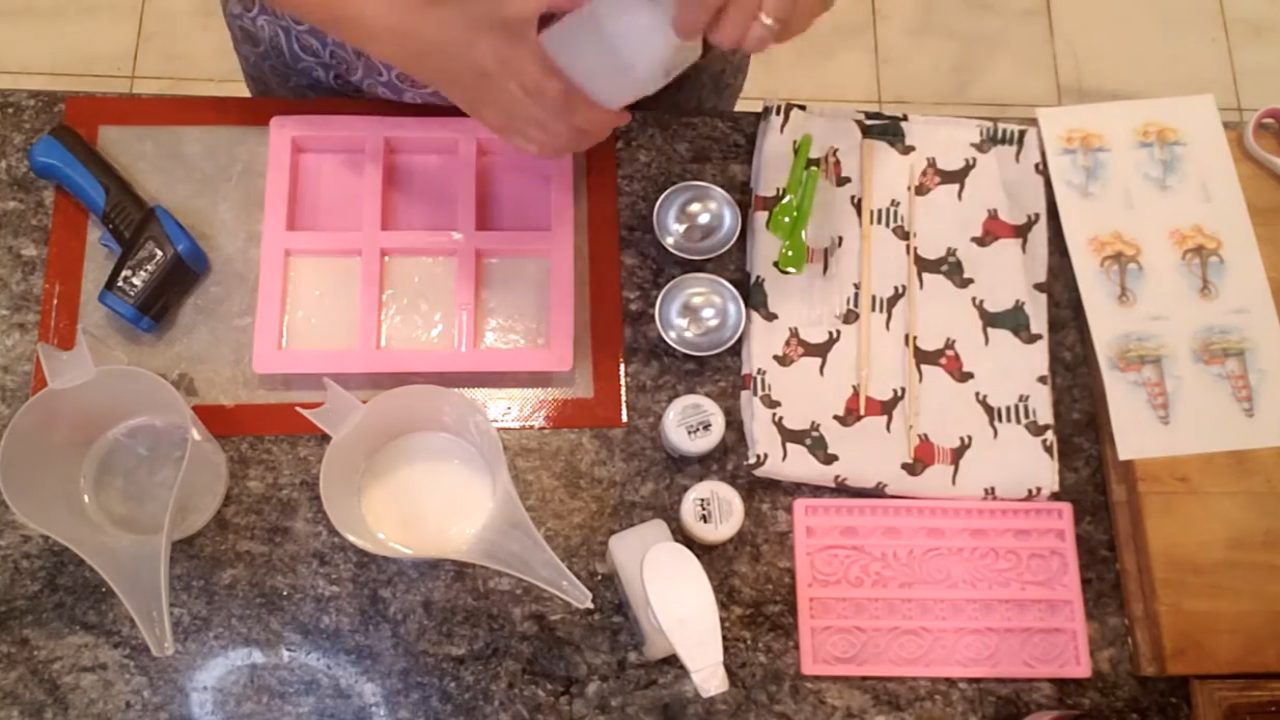
- Pink rectangle soap mold
- A rope border fondant mold (optional, for the frame)
- A flexible spatula, skewers, a pencil and a ruler or soap cutter
- Pipettes
- Spray bottle of 91% isopropyl alcohol
- Thermometer
Fragrance Amount
Never add fragrance or color to the clear picture layer. In the shea butter layers, use up to 5 ml of fragrance oil per 16 oz (1 lb) of soap base. You can always use less, but don’t go over 5 ml per 16 oz.
How to Make Nautical Picture Soap with Water Soluble Paper
1. Choose and Size Your Images
Pick high-quality images with a white background. Set up a letter-size (8½ × 11 inch) page in any photo editor and size each image to fit your mold. Mine were just under 3¼ × 2¼ inches. You can fit about eight images on one sheet if you plan it well. Print a test on regular paper first to check the size.
2. Print and Prep the Paper
Print the page on water soluble paper and let it dry. Some people recommend letting it sit for 24 hours. Cut out each picture so it fits comfortably in the mold, leaving a little gap around the edges so the soap layers can bond to each other around the paper.
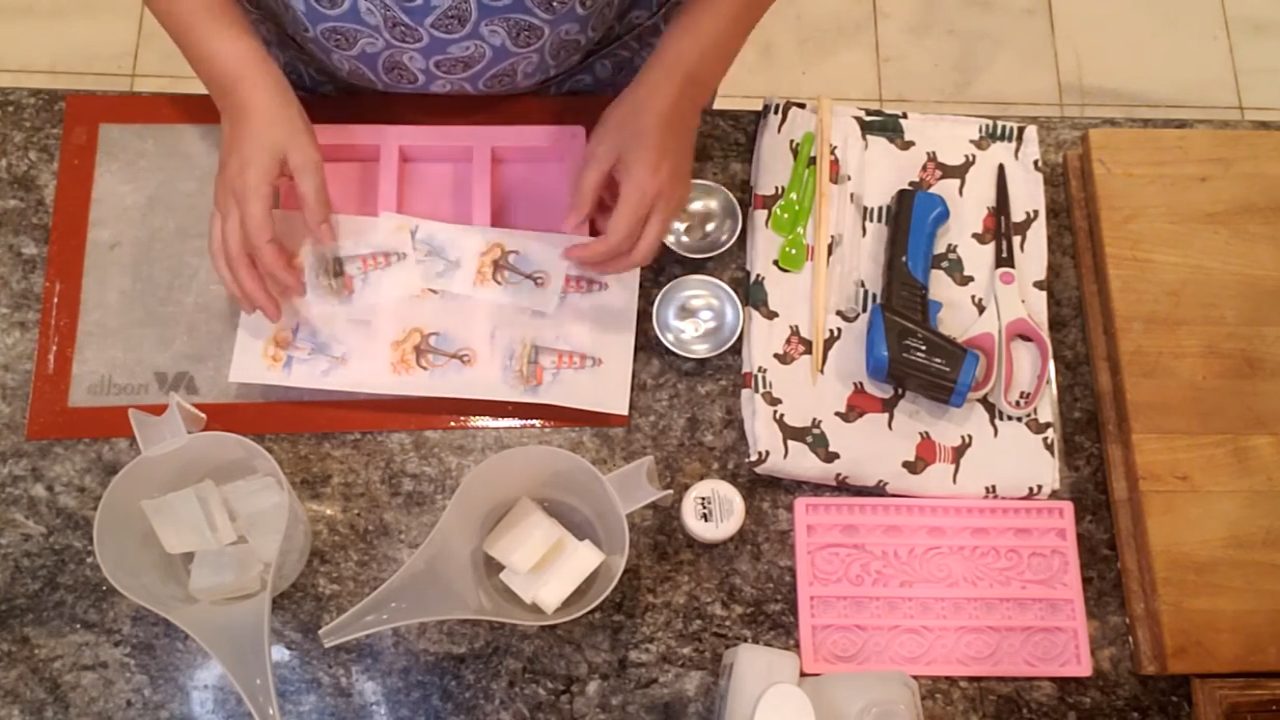
3. Pour a Thin Clear Layer
Melt the clear base in 10–20 second bursts, since overheating can make it cloudy. Mine was about 183°F. Pour a very thin layer, about ⅓ of the way, into each cavity and spray with alcohol. Don’t add anything to this layer. It needs to stay as clear as possible.
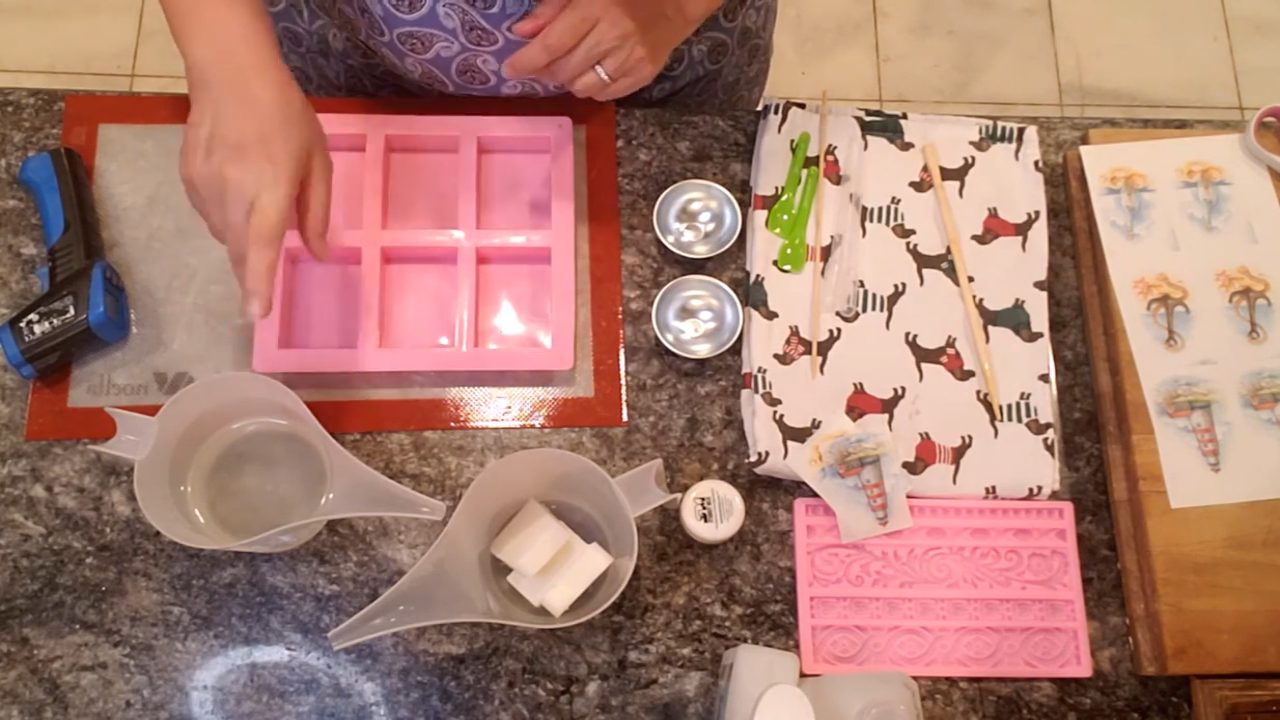
4. Place the Picture Face Down
Let the clear soap cool to the high 130s°F. If it’s too hot, it can make the inks run. Clear base skins over at a higher temperature than shea butter, so watch it closely. Place the picture face down and tap out any bubbles with a skewer. Spray with alcohol and pour another thin clear layer.
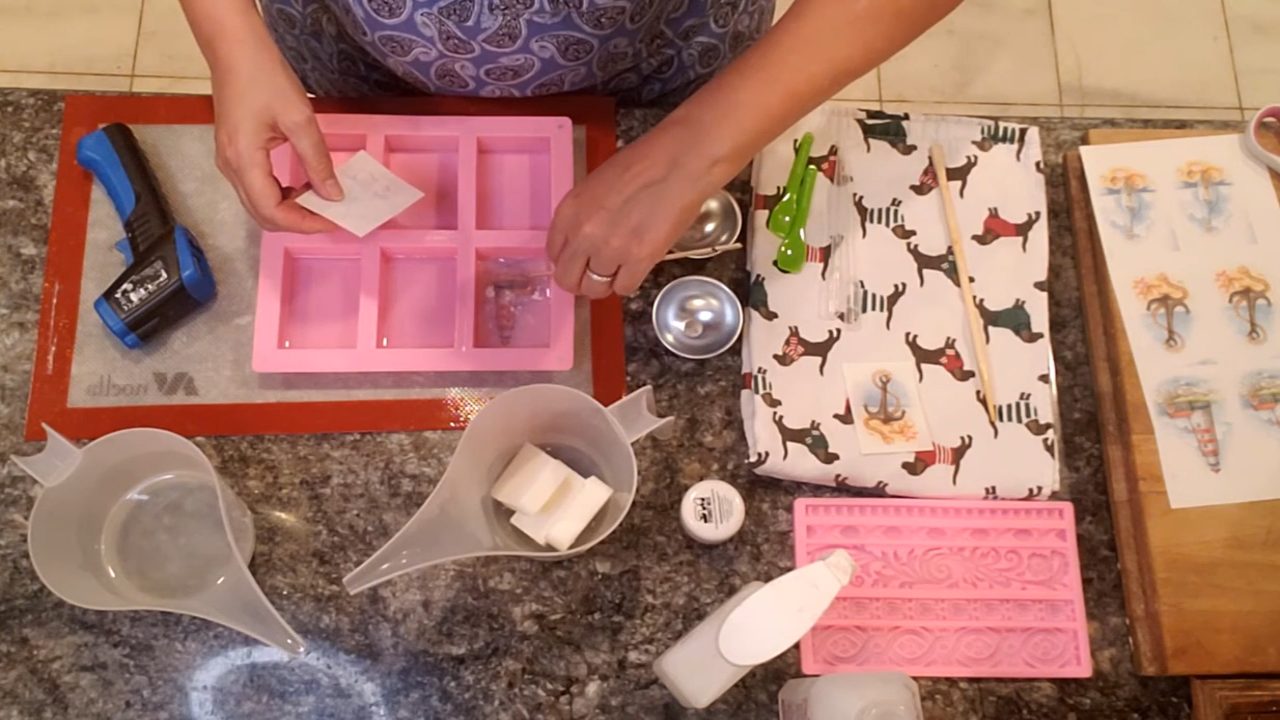
5. Pour a White Background
Melt shea butter base and add your fragrance. When the clear layer is just bouncy, score it with a skewer. The paper hides the hash marks. Let the shea butter cool to 130°F or below, spray with alcohol and pour a white layer. A white background makes the picture show up best.
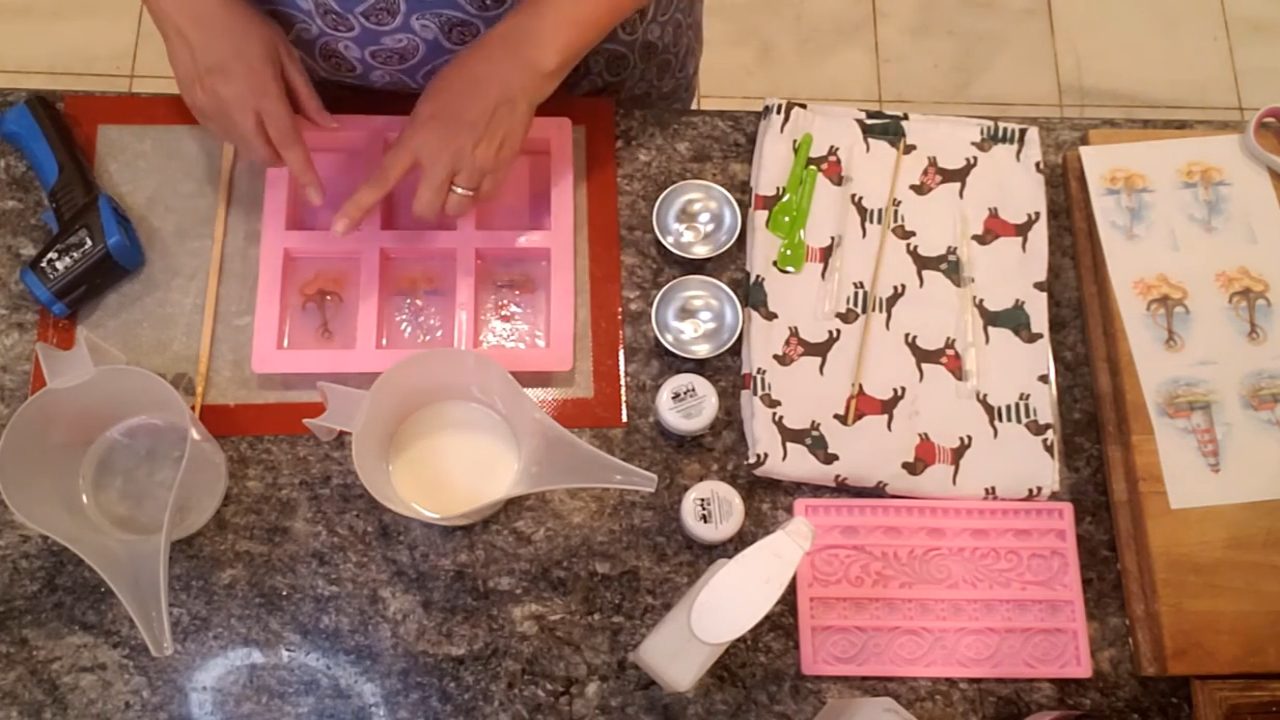
6. Add a Colored Layer (Optional)
Once the white sets, you can add a colored layer behind it. I used Ariel Blue in shea butter. Let the bars set, then unmold.
7. Make a Soap Rope Frame (Optional)
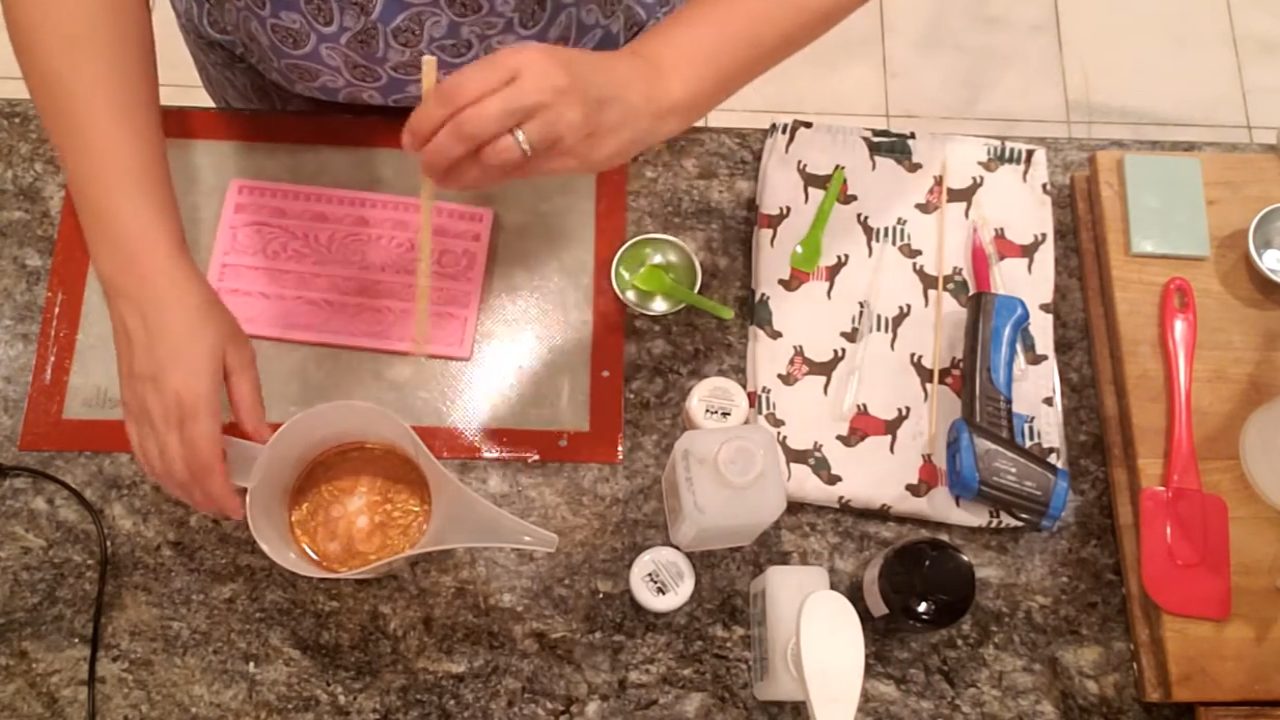
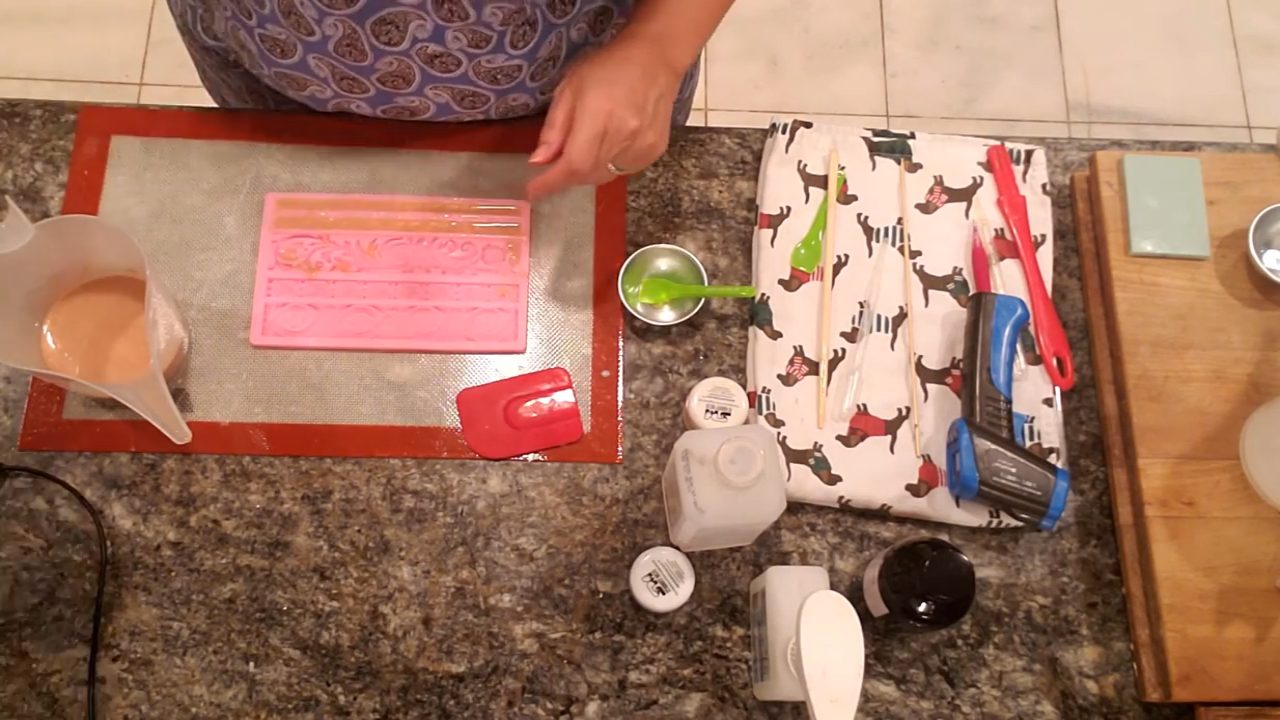
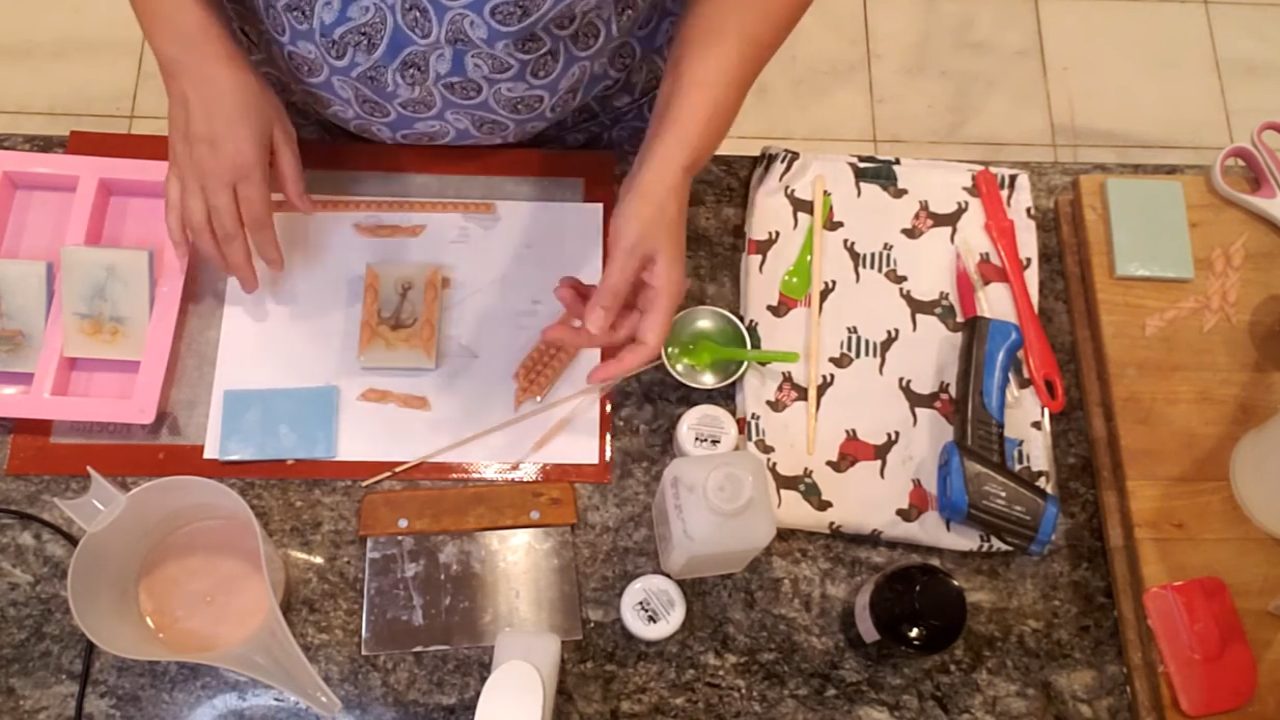
Mix Bronze Age into shea butter with a little fragrance and pour it over a rope border fondant mold. Use a flexible spatula to scrape off the extra so only the rope is filled.
8. Cut and Attach the Frame
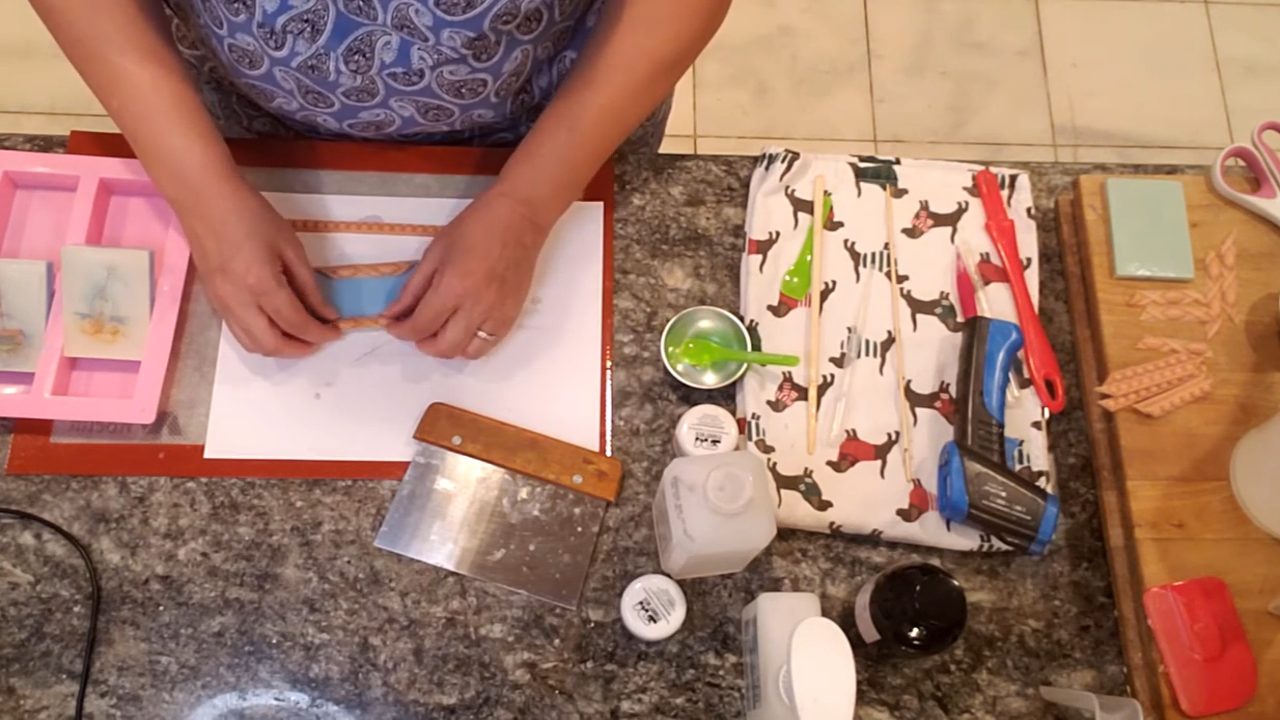
Draw a template on a scrap of soap with a pencil (a pen will transfer to your soap), with lines extending past the corners. Line up each rope piece with the guide lines and cut it with a knife or soap cutter. Remelt a little bronze soap, score the bar, then use a dropper to glue the rope pieces around the picture. This part is tedious, but it looks great.
Tips & What I Learned
- Keep the clear layer plain. No fragrance, color or glitter, or it won’t stay clear.
- Don’t pour too hot over the paper. Aim for the high 130s°F so the ink doesn’t run.
- Leave a gap around the paper. It lets the soap layers bond.
- Use a white background. Pictures look brightest against white.
- Try a printed frame. Instead of a soap rope, you can add a rope border to the image before printing.
Troubleshooting
The ink ran.
The clear soap was too hot. Let it cool to the high 130s°F first.
The clear soap is cloudy.
It was overheated, or something was added. Melt in short bursts and keep it plain.
The layers separated.
Score the clear layer, spray with alcohol, and leave a gap around the paper.
FAQ
How much fragrance oil should I use?
Up to 5 ml per 16 oz of soap base, only in the shea butter layers. You can always use less, but don’t use more than 5 ml per 16 oz.
What is water soluble paper?
A special paper that dissolves in water. As the soap is used, the paper washes away.
Do I need Photoshop?
No. Any photo editor that lets you size images on a letter-size page will work.
More Picture and Decorated Soap Ideas
- Making Melt and Pour Soap with Water Soluble Paper
- How to Package Melt and Pour Soap
- Flower and Lace Melt and Pour Soap
- Soap Embossing Stamps in Melt and Pour Soap
- All my melt and pour soap tutorials on YouTube
If you make this, I’d love to see it! Tag me on Instagram or Pinterest, and subscribe on YouTube for new soap tutorials.
