
Making melt and pour soap with water soluble paper
This has to be one of the most interesting projects that I have done with melt and pour soap. This process uses a special paper called water soluble paper that you print on either your laser printer or your inkjet printer at home. Your imagination will be your only limit with this type of soap design.
It is very easy to make, and it only uses a couple extra steps in making these specialized soap bars.
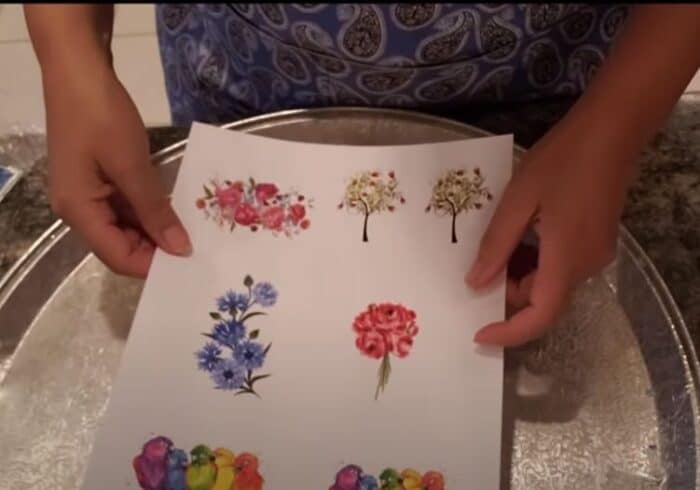
The first step is to find a design that you want to put into the soap. I would suggest a design with a white background. Once you find some designs that you like size them to the size of your soap and print out as many as you can on one sheet of paper, so that you don’t waste any of this special paper. I find that I can usually fit 8-12 designs depending on the size.
Once you print out your design it is best to wait 24 hours before placing it into the soap. This will just make sure that the ink is dry and will not bleed into your clear melt and pour base that you will be using.
What I have done when I first started using this technique is to take a small amount of clear melt and pour base and place it in the mold.
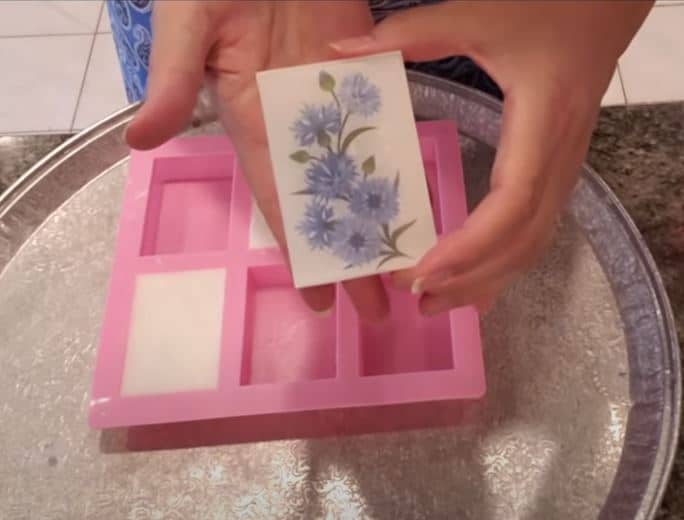
I use the basic pink rectangular mold for this project, but you can use any mold that gives you a flat surface.
Place a small amount of clear melt and pour into the mold. Allow to set and pull it out so that this can be your template for cutting around the water-soluble paper with your design on it. It is best to keep your background white on these soaps.
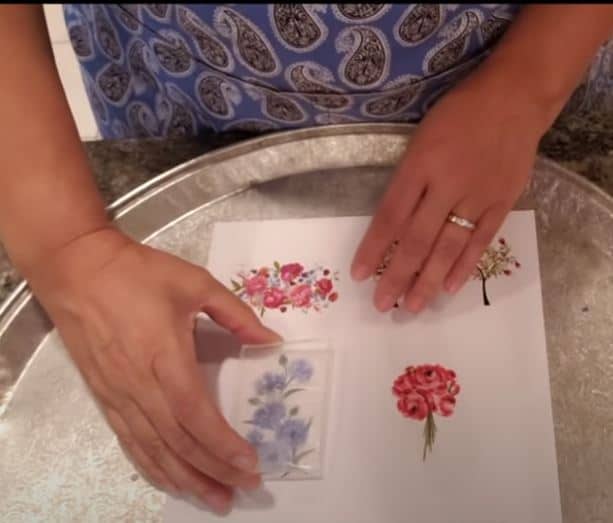
Cut the design or designs out of your soluble paper then set aside.
Next, pour a small amount of clear melt and pour into your soap mold. Allow the melt and pour base to cool slightly. Once cooled, spritz with alcohol, and place your design on the water-soluble paper face down into the mold. You can push it down slightly with a chopstick or a skewer if necessary, spritz with alcohol and allow to set.
Once set, place some hatch marks in the melt and pour base and spray with alcohol. This will allow the next layer to adhere better.
Pour white melt and pour base into the mold. You can add soap and skin safe fragrance to this layer as it will not cloud up this layer. Wait for it to harden.
Pull the soap out of the mold and you should have a unique design that will dissolve with use.
You can watch the You Tube Video below to see how it is made.
