
Epsom salt melt and pour soap is an easy, spa-style soap you can make in minutes. The salt gives each bar a pretty sparkly, speckled look. I tried two methods in this video, and one worked much better than the other, so I’ll show you both and tell you which to use.
As an Amazon Associate I earn from qualifying purchases. Some links in this post are affiliate links. They cost you nothing extra and help support Koala Soap.
Materials & Tools
- Clear melt and pour soap base, about 4 oz per oval cavity
- Epsom salt
- Stardust Violet Purple and Tail Green mica, plus a pink or red (from this Stardust mica set)
- Fragrance oil (I used Daisy Chain; Barnhouse fragrance oils are another favorite)
- Oval 6 cavity soap mold (I love its decorative lip for a spa look)
- Pour cups and a sturdy spoon
- Spray bottle of isopropyl alcohol
- Thermometer
Fragrance Amount
I use 5 ml of fragrance oil per 16 oz of soap base. You can always use less, but I wouldn’t go over 5 ml per 16 oz.
How to Make Epsom Salt Melt and Pour Soap: Step by Step
1. Melt, Color and Scent
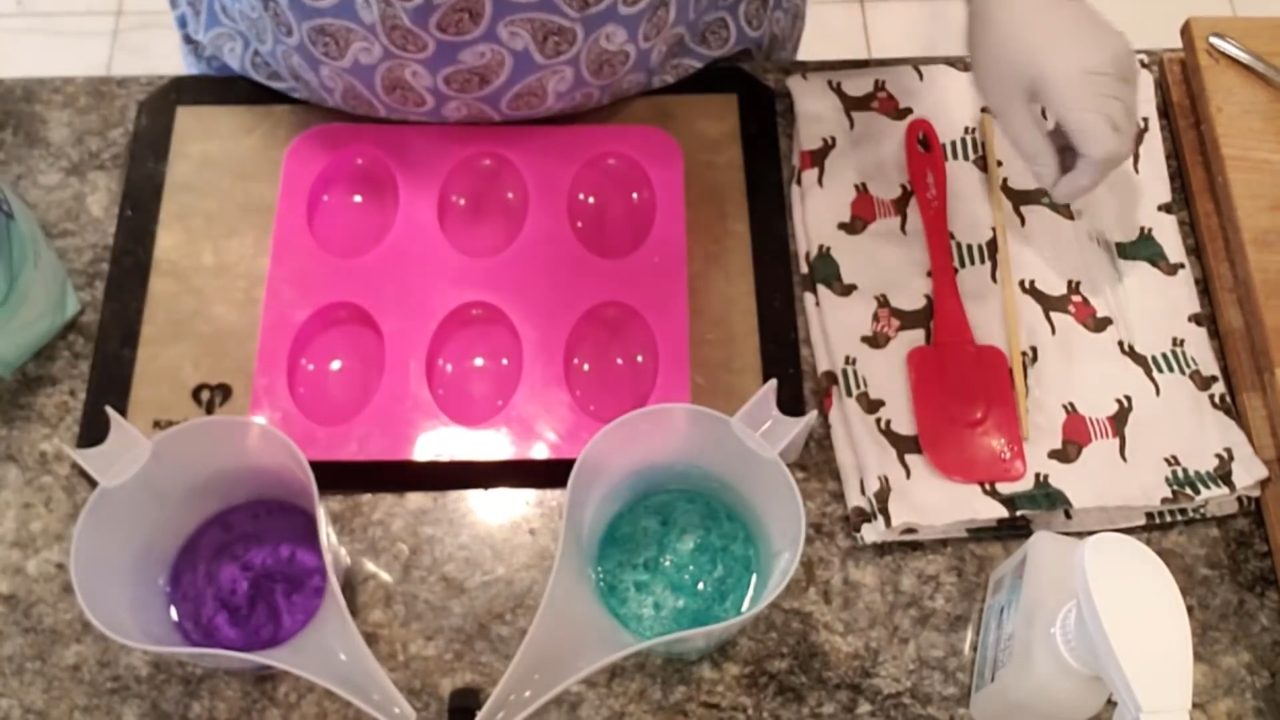
Melt the clear base (mine was about 138°F), add fragrance, and color each cup with mica. I used Violet Purple and Tail Green. These colors are dark enough that you don’t need a white background layer.
2. Method 1: Salt in the Mold First (Not Recommended)
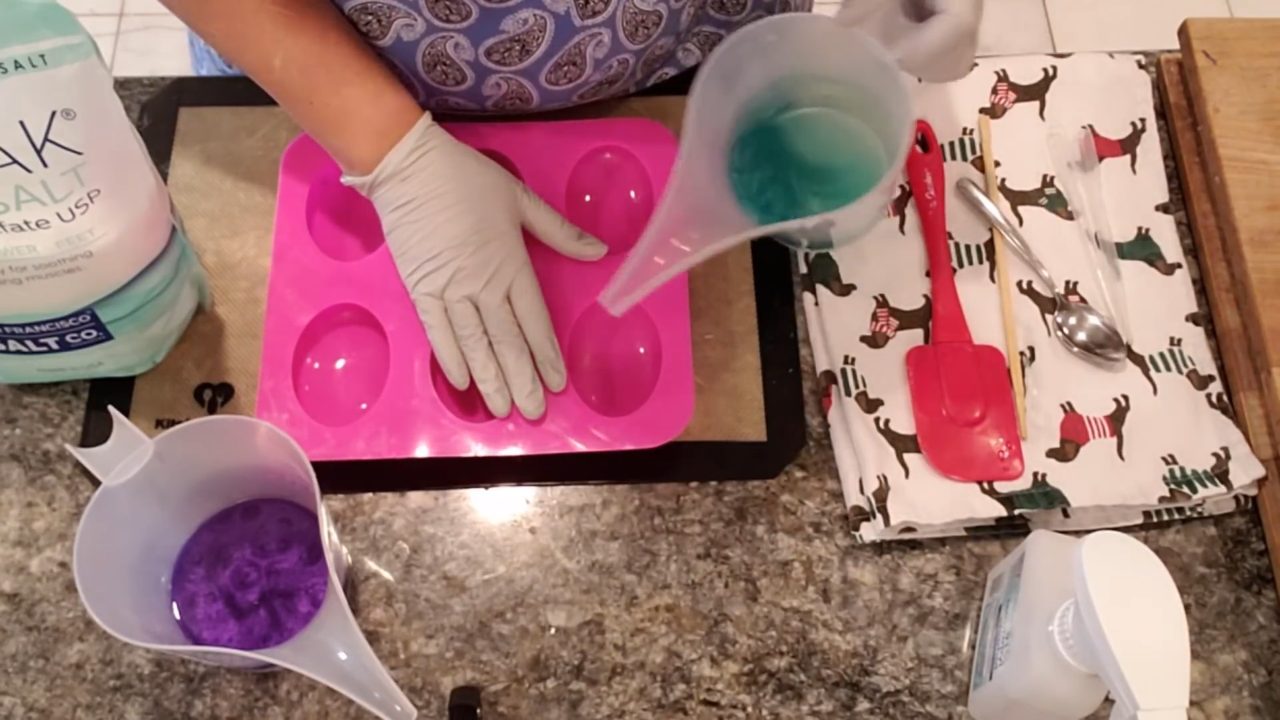
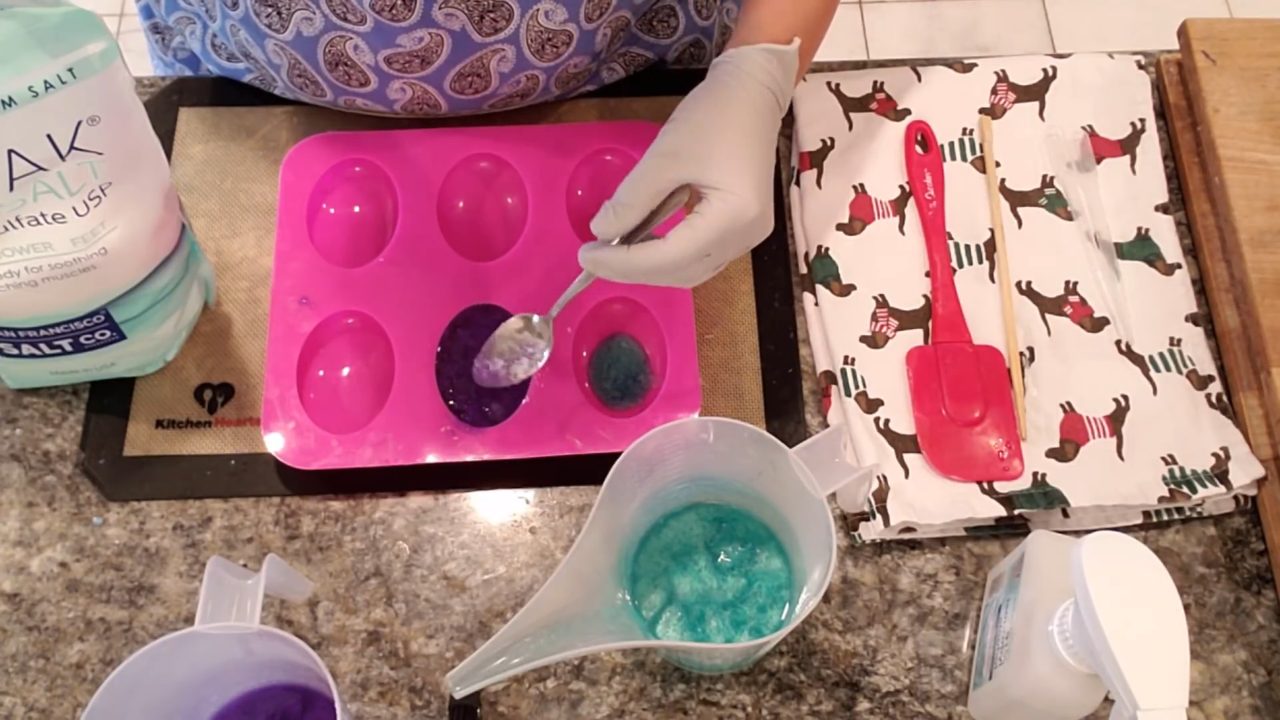
For my first bars, I put a layer of Epsom salt in the mold, poured soap over it, and stirred it together in the mold until it felt like wet sand. It works, but it’s messy and harder to mix evenly. This bar ended up with an air pocket and some loose salt on the surface.
3. Watch for Skin
Clear base can start forming a skin around 135°F. If your soap starts to thicken before you’ve finished, warm it up briefly and keep going. The salt won’t melt.
4. Method 2: Mix the Salt in a Cup First (Best)
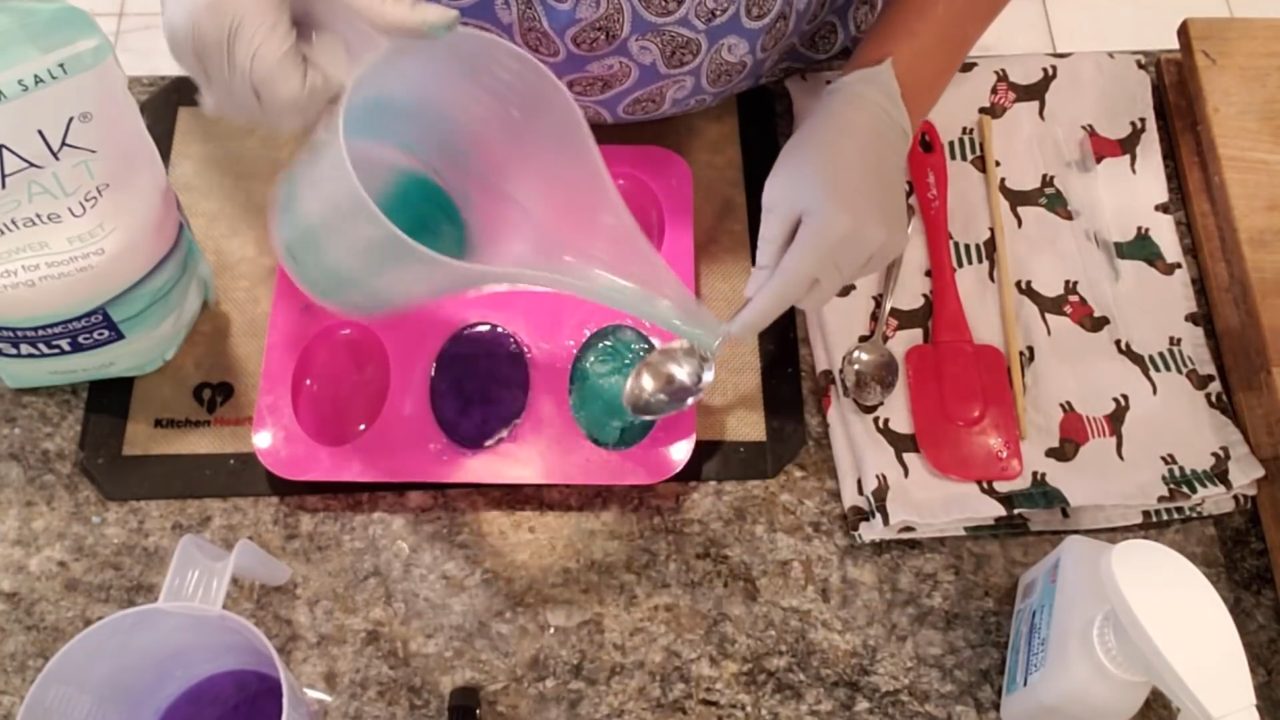
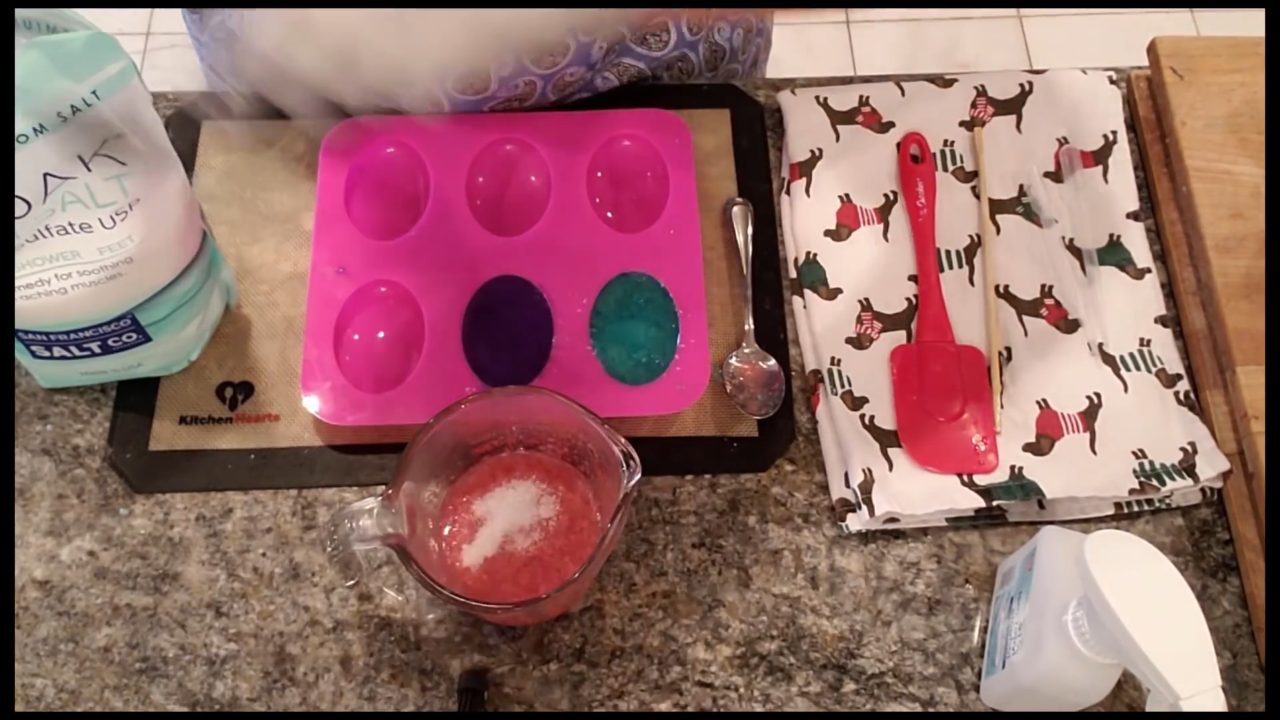
This is the way to do it. Start with warm soap (mine was about 150°F), because the salt cools it quickly. Add Epsom salt a scoop at a time and stir until the mixture looks like wet sand. A little salt may melt, which is fine.
5. Spoon Into the Mold
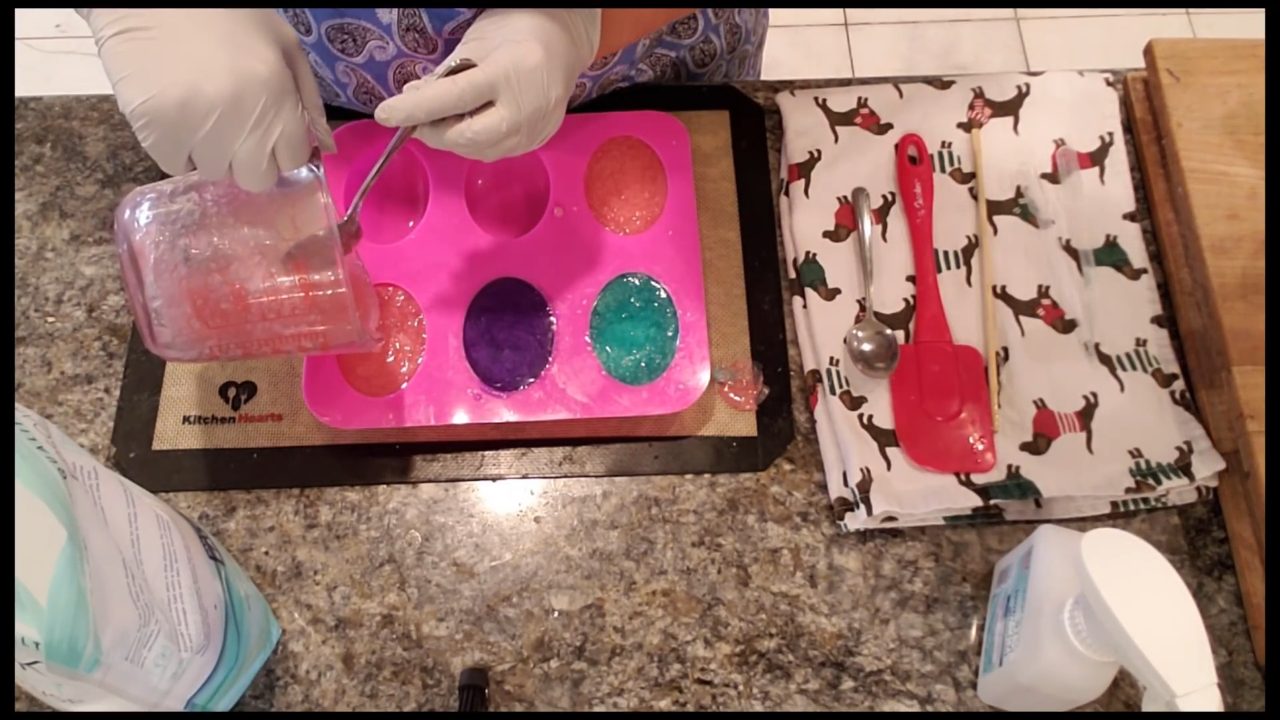
Spoon or pour the thick mixture into the mold and press it in so there are no gaps. It sets quickly. Spray with alcohol to pop any bubbles, then let it harden.
6. Unmold
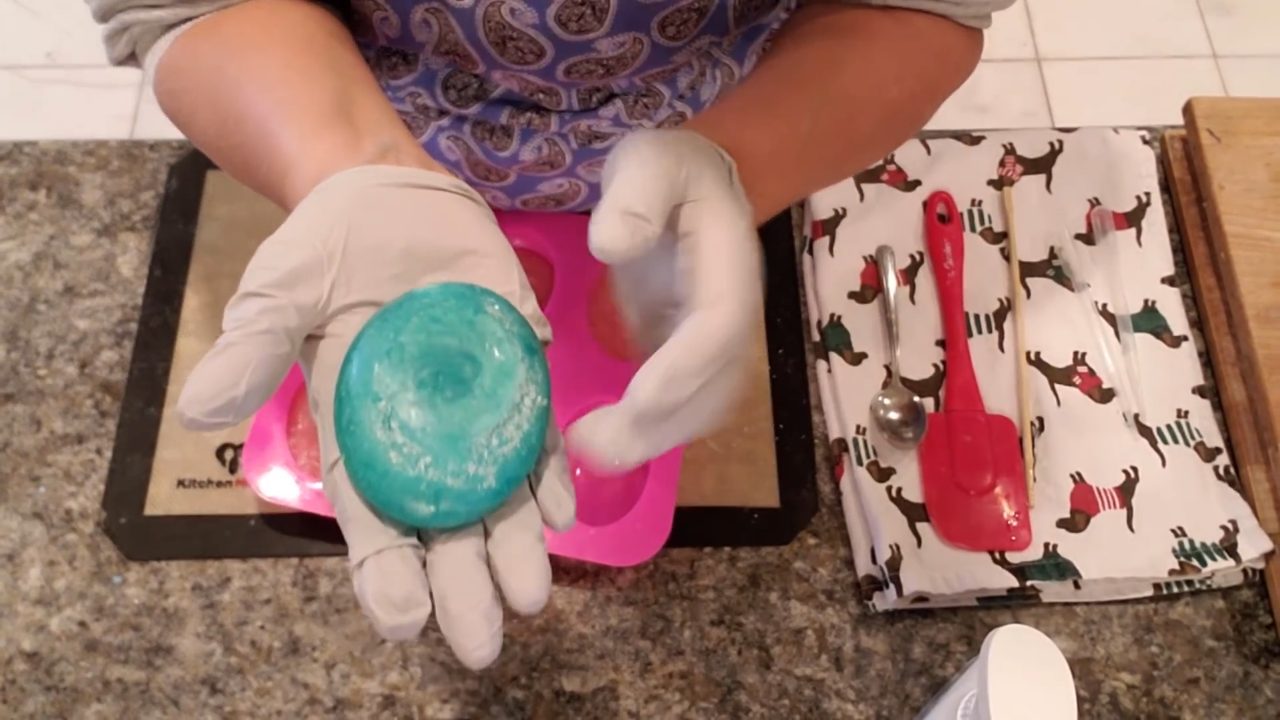
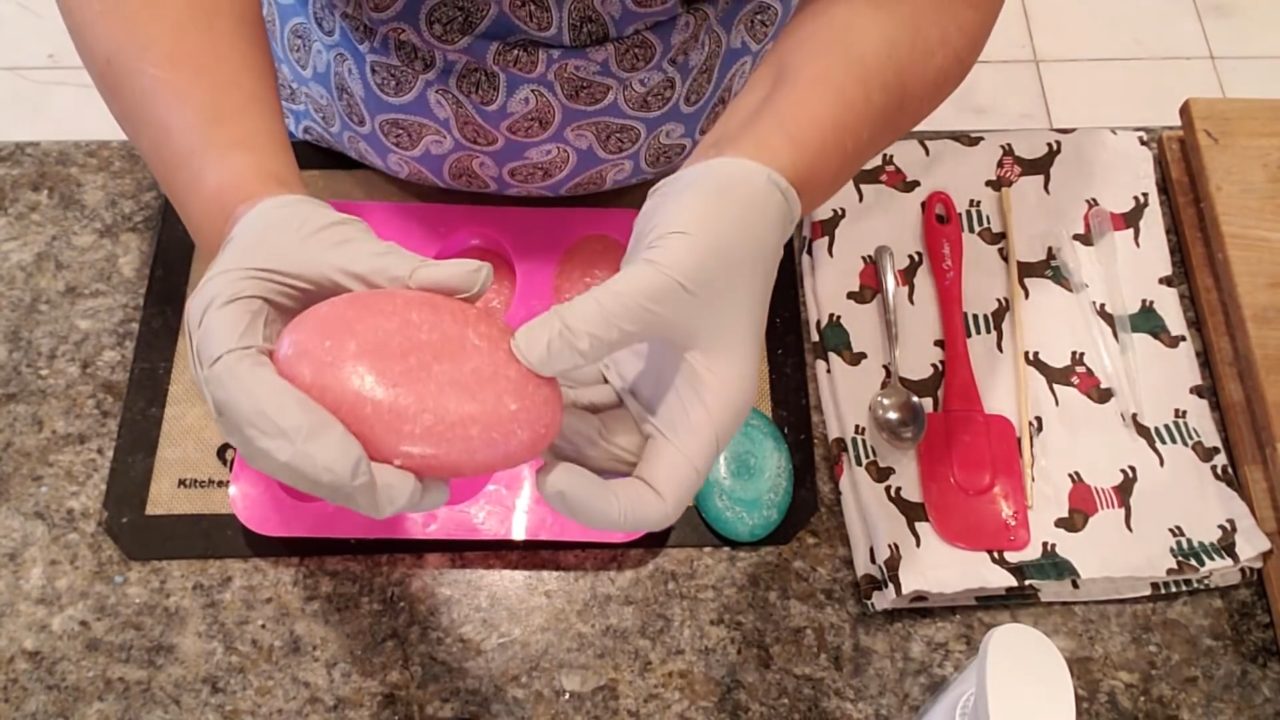
Pop the bars out carefully, because the oval mold’s lip can catch. The salt creates a pretty swirl-like pattern. If a bar has loose salt on the surface, just rinse or rub it off.
Tips & What I Learned
- Mix salt and soap in a cup first. You’ll get smoother bars with fewer air pockets.
- Aim for wet sand. That texture means you have enough salt.
- Start warm. Salt cools the soap fast, so begin around 150°F.
- Reheat if needed. A quick warm-up won’t melt the salt.
- Dark colors don’t need a white layer. Lighter colors may look see-through in clear base.
Troubleshooting
My bar has an air pocket.
The salt and soap weren’t mixed well. Mix them in a cup first, then press the mixture into the mold.
There’s loose salt on the surface.
Rinse or rub it off. Mixing in a cup first helps prevent it.
The soap set before I finished.
Warm it briefly in the microwave and stir.
FAQ
How much Epsom salt do I add?
Add it a scoop at a time until the mixture has a wet sand texture.
Will the Epsom salt melt in the soap?
A little may dissolve, but most of it stays as crystals.
Where can I find more Epsom salt soap ideas?
The Epsom Salt Council has more ideas.
How much fragrance should I use?
I use 5 ml per 16 oz of soap base. You can always use less, but I wouldn’t use more than 5 ml per 16 oz.
More Spa Soap Ideas
- Himalayan Salt Melt and Pour Soap
- Kaolin Clay Melt and Pour Soap
- Coffee Melt and Pour Soap
- All my melt and pour soap tutorials on YouTube
If you make this, I’d love to see it! Tag me on Instagram or Pinterest, and subscribe on YouTube for new soap tutorials.
