
Want to pipe melt and pour soap like frosting? Melt Whip & Pipe (MWP) makes it easy to get tall, fluffy ruffles on top of your bars. In this tutorial I swirl an orange and green creamsicle soap loaf, then pipe a blue soap frosting top and finish it with glitter.
As an Amazon Associate I earn from qualifying purchases. Some links in this post are affiliate links. They cost you nothing extra and help support Koala Soap.
Materials & Tools
Soap Loaf
- Clear melt and pour soap base (green)
- Goat’s milk melt and pour soap base (orange)
- Stardust Blood Orange mica and Aqua Pearl mica from Bramble Berry (or a Stardust mica set)
- Fragrance oil (I used Creamsicle)
- 10-inch loaf soap mold
- Spouted measuring cups
- A swirl tool (I bent a wire hanger to fit my mold)
Soap Frosting
- Melt Whip & Pipe, about 8 oz for a 10-inch loaf (get it from its creator here)
- Colorant for the frosting
- Hand mixer with whisk
- Piping bag and tip and a bag clip
- A plastic cup for melting
- Glitter and a small handheld strainer
- Spray bottle of isopropyl alcohol and a thermometer
Fragrance Amount
I scented the soap loaf and didn’t add extra fragrance to the frosting. I use 5 ml of fragrance oil per 16 oz of soap base. You can always use less, but I wouldn’t go over 5 ml per 16 oz.
How to Pipe Melt and Pour Soap with Melt Whip & Pipe: Step by Step
1. Melt and Color the Bases
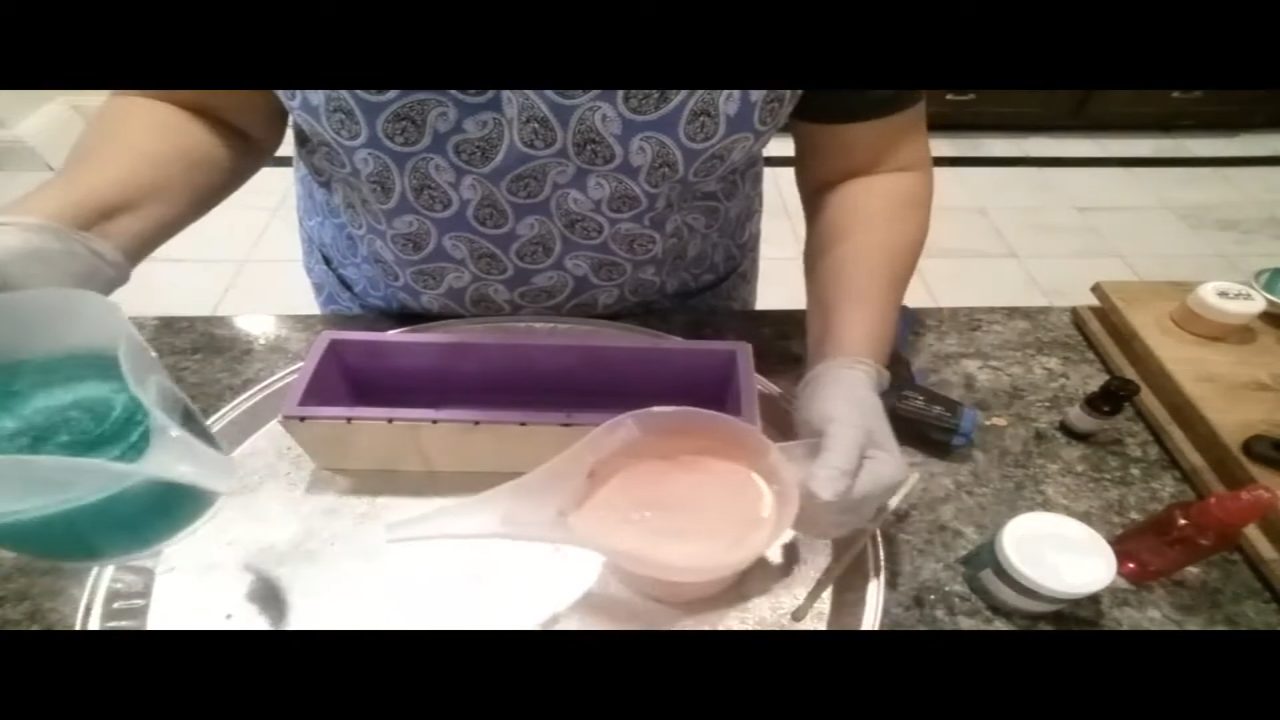
Melt the clear and goat’s milk bases separately. Mix each mica with a little alcohol and stir Blood Orange into the goat’s milk and Aqua Pearl into the clear. Add your fragrance.
2. Pour Both Colors Together
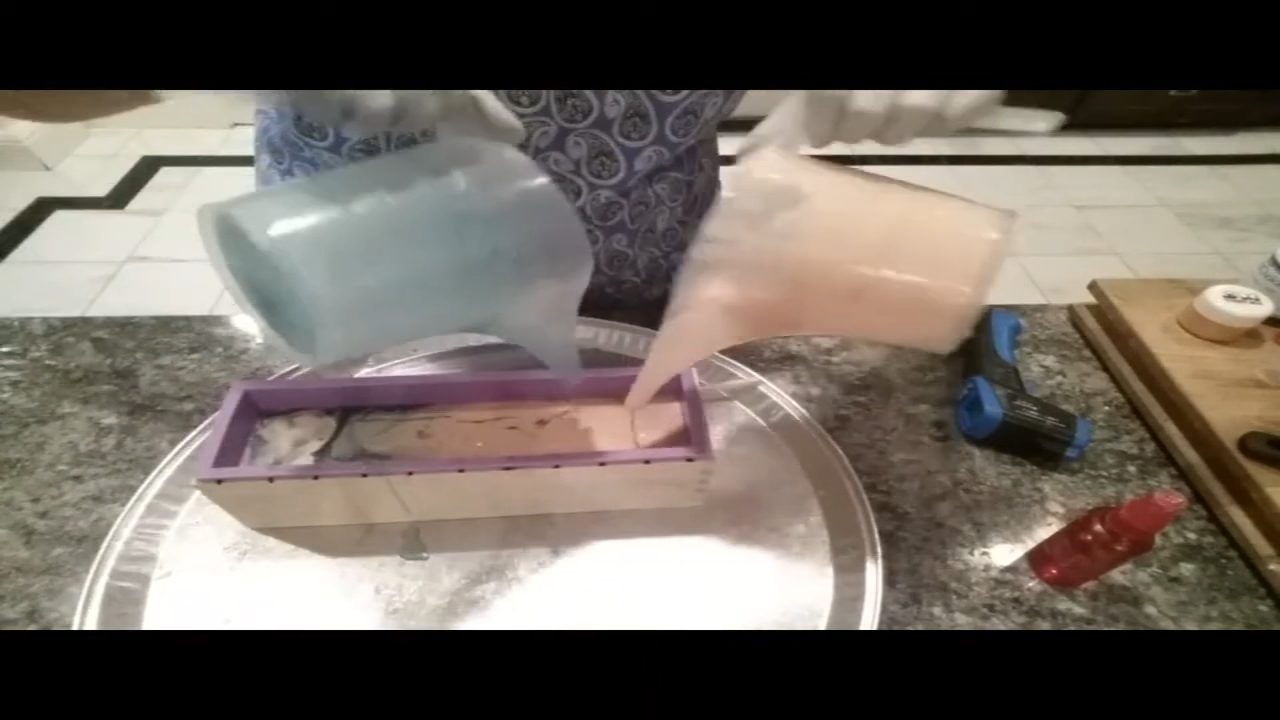
Let both colors cool. Mine started at 150°F and 170°F, which is too hot. At about 123–124°F, pour both colors into the loaf mold at the same time from spouted measuring cups.
3. Swirl Lightly
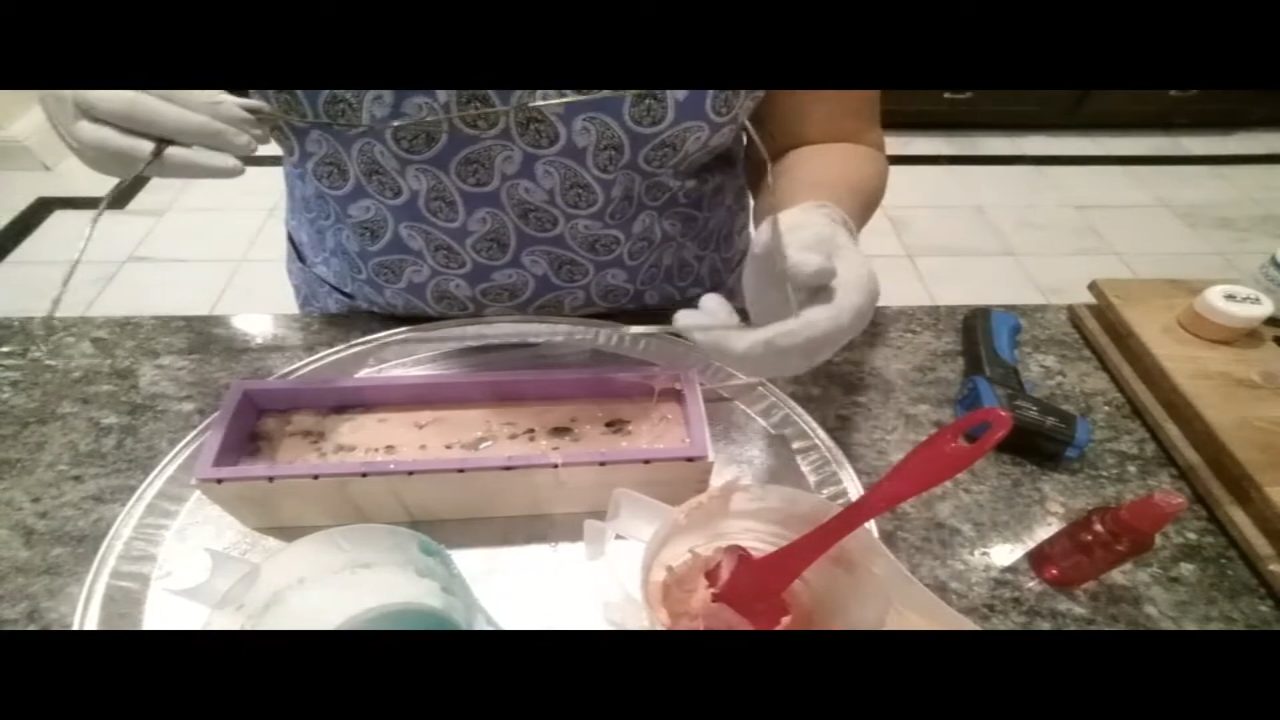
I didn’t want to spend $25 on a swirl tool, so I bent a wire hanger to fit my mold. At about 112°F, I ran it through the soap once, gently. Melt and pour doesn’t swirl as dramatically as cold process soap, and it’s easy to overdo it.
4. Melt and Whip the Frosting
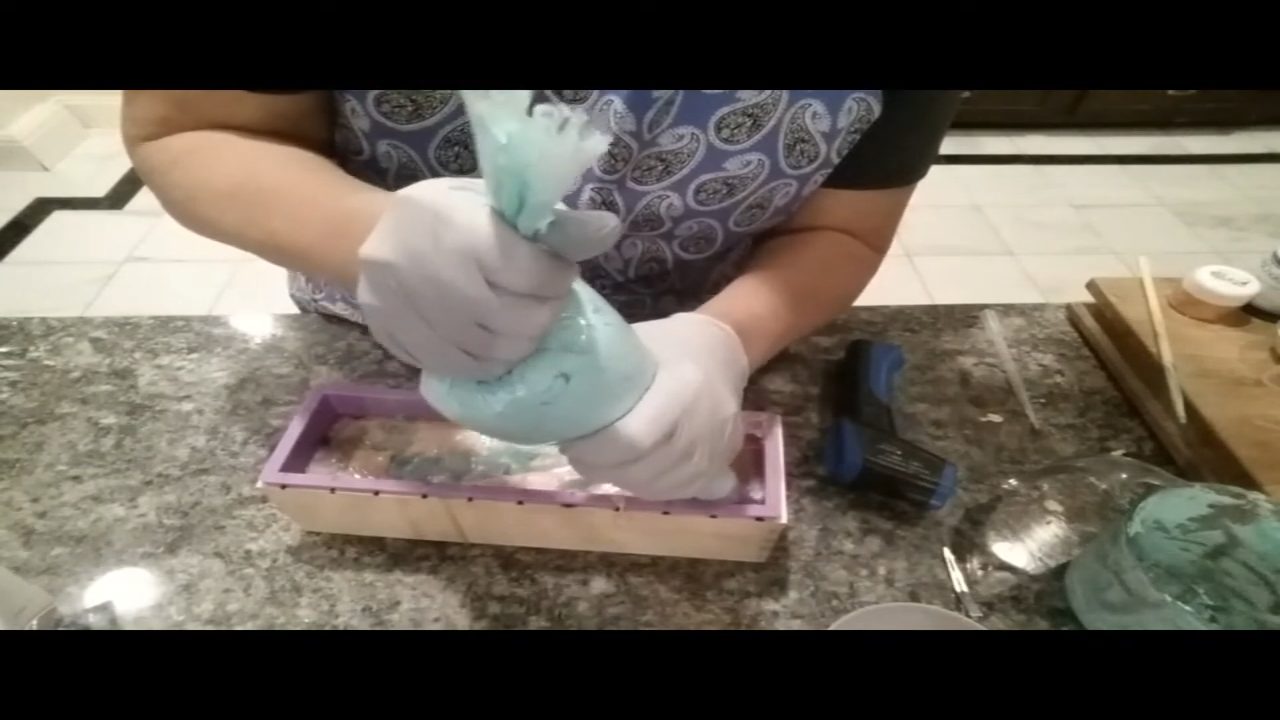
Put Melt Whip & Pipe in a plastic cup and melt it in the microwave in short 10–20 second bursts. Add colorant. The instructions say to whip it until it’s about 110–120°F. I found it easier to pipe at around 120°F, because it gets harder to squeeze as it cools. Load it into a piping bag and clip the top.
5. Pipe the Frosting
Spray the top of the loaf with alcohol, then pipe ruffles along the top. I used about 8 oz for a 10-inch loaf. A 2 lb bag should frost about four loaves. Go for a high top if you like. Squeeze firmly, but watch that the bag doesn’t burst.
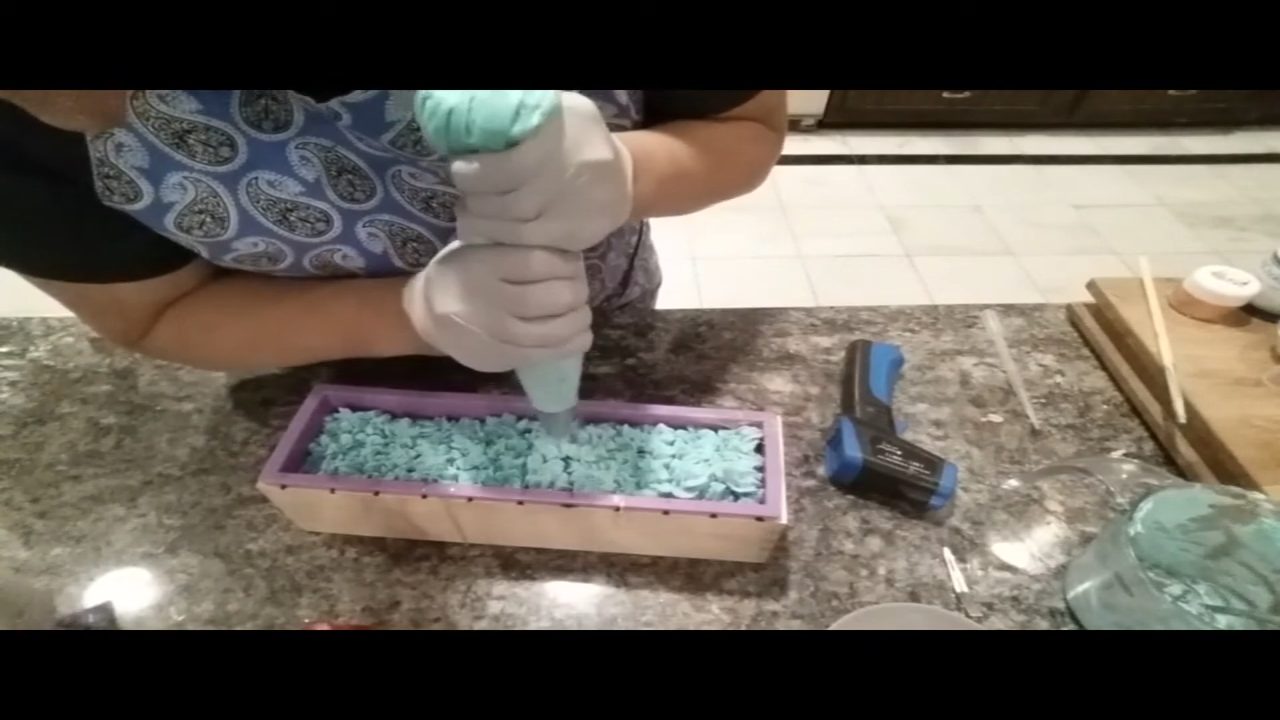
6. Add Glitter
Spray the frosting lightly with alcohol and dust glitter over it with a small handheld strainer. Spooning glitter on tends to leave a big glob in one spot.
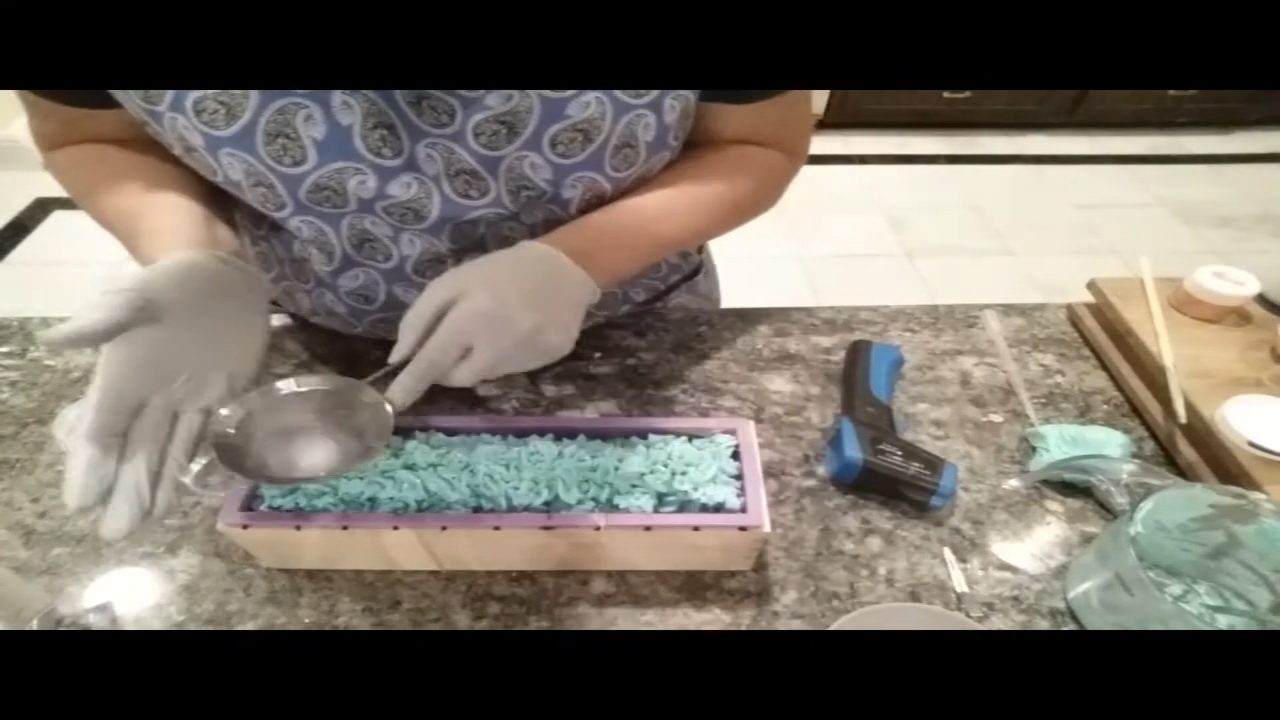
7. Let It Set and Cut
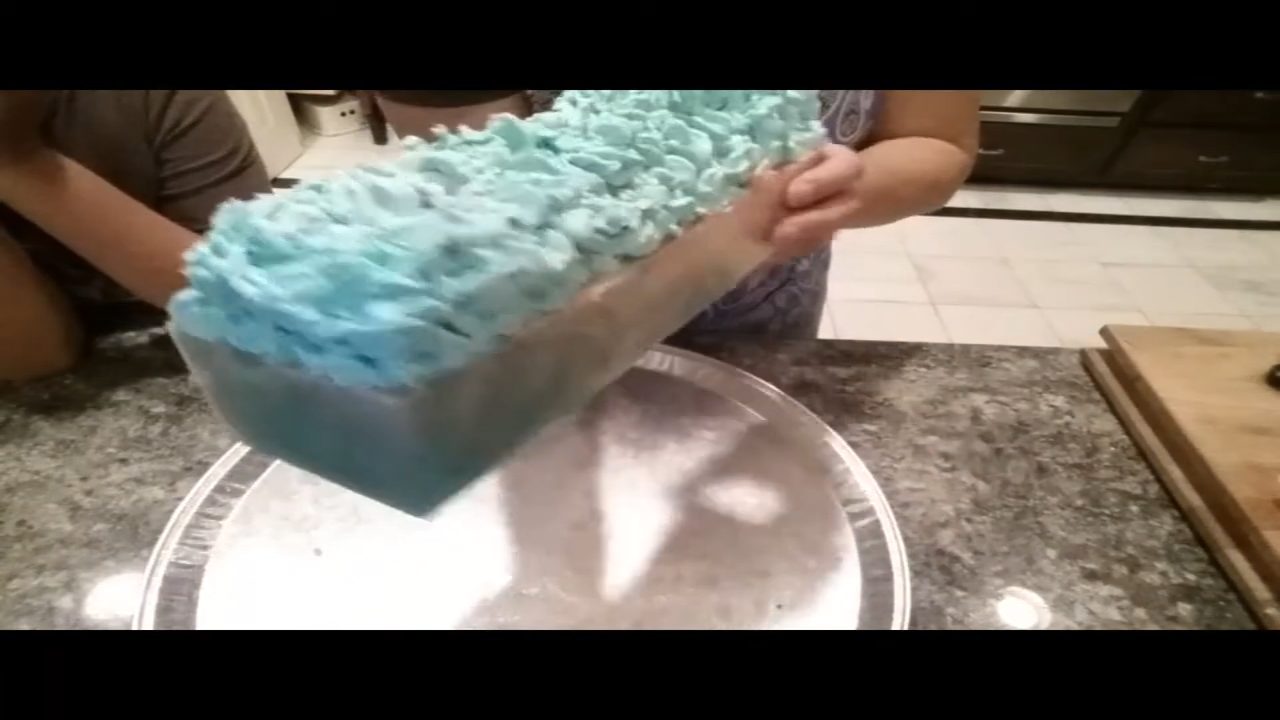
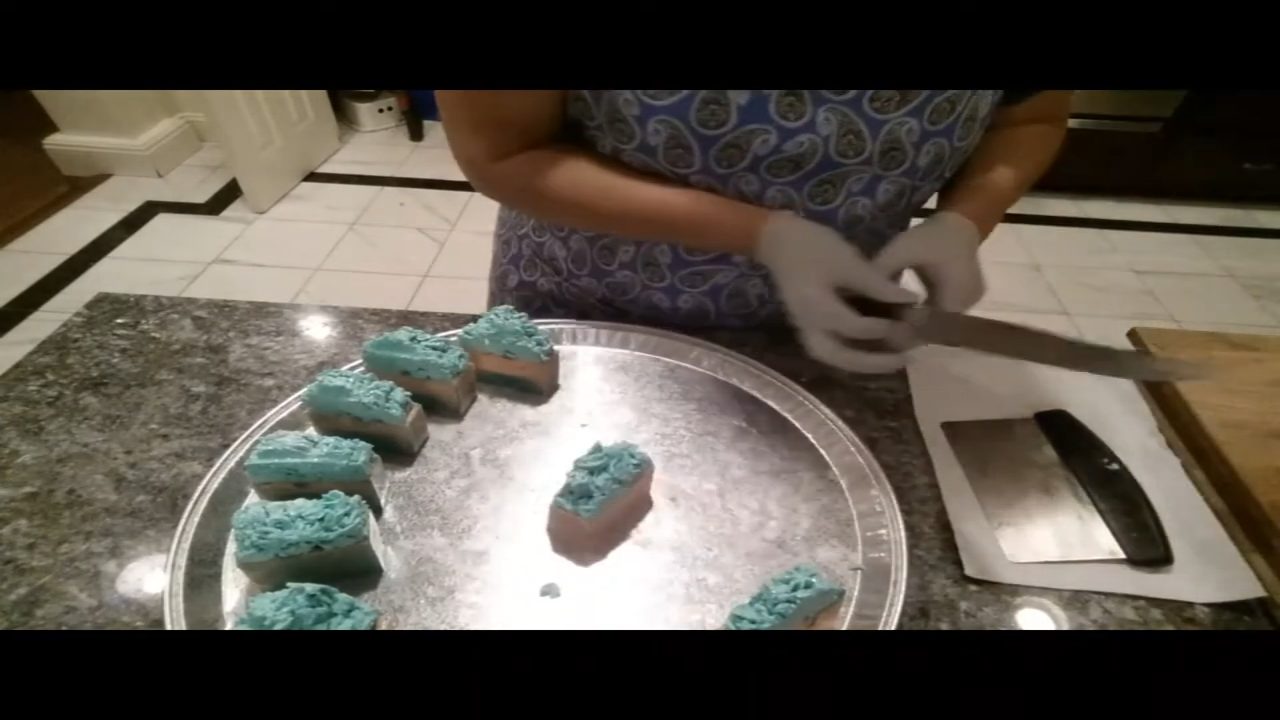
The frosting sets to a marshmallow-like texture. Check the Melt Whip & Pipe instructions for when it’s ready to cut and package. Unmold and slice into bars.
Tips & What I Learned
- Pipe while it’s still warm. Around 120°F was easier for me than 110°F.
- Use a sturdy piping bag. Thick frosting puts a lot of pressure on the bag.
- Balance your colors. I used more goat’s milk than clear, so the orange took over. Use equal amounts for more contrast.
- Swirl gently. One slow pass is plenty in melt and pour.
- Dust glitter with a strainer. It spreads evenly instead of clumping.
Troubleshooting
The frosting is too stiff to pipe.
It’s too cool. Warm it slightly, or pipe at around 120°F.
My swirl disappeared.
Melt and pour doesn’t swirl as much as cold process. Pour cooler and swirl only once.
One color took over.
Use about equal amounts of each color.
FAQ
What is Melt Whip & Pipe?
It’s a product made by another soap maker on YouTube for piping melt and pour soap like frosting. You can find it through her video.
How much frosting do I need?
I used about 8 oz to frost a 10-inch loaf.
How much fragrance should I use?
I use 5 ml per 16 oz of soap base. You can always use less, but I wouldn’t use more than 5 ml per 16 oz.
More Soap Frosting Ideas
- Peppermint Melt and Pour Soap with Soap Frosting
- Wave Embed Melt and Pour Soap
- Cupcake Melt and Pour Soap 3 Ways
- All my melt and pour soap tutorials on YouTube
If you make this, I’d love to see it! Tag me on Instagram or Pinterest, and subscribe on YouTube for new soap tutorials.
