
This dolphin melt and pour soap uses a detailed silicone mold with dolphins leaping over a wave. I made it from a soap that didn’t turn out the way I wanted, remelted into gray and aqua layers. It’s a quick, fun project and a great gift for kids and ocean lovers.
As an Amazon Associate I earn from qualifying purchases. Some links in this post are affiliate links. They cost you nothing extra and help support Koala Soap.
Materials & Tools
Soap Base
- Melt and pour soap in two colors. I remelted an old gray and aqua soap, or use clear or shea butter base colored with mica.
- A little whipped soap for a foamy wave (optional, see tips)
Scent
- If you remelt a scented soap, no extra fragrance is needed. I love the scent called Energy.
Tools
- Dolphin silicone soap mold (works for melt and pour or cold process)
- Spray bottle of 91% isopropyl alcohol
- Pour cups
Fragrance Amount
If you’re starting with fresh base, use up to 5 ml of fragrance oil per 16 oz (1 lb) of soap base. You can always use less, but don’t go over 5 ml per 16 oz.
How to Make Dolphin Soap
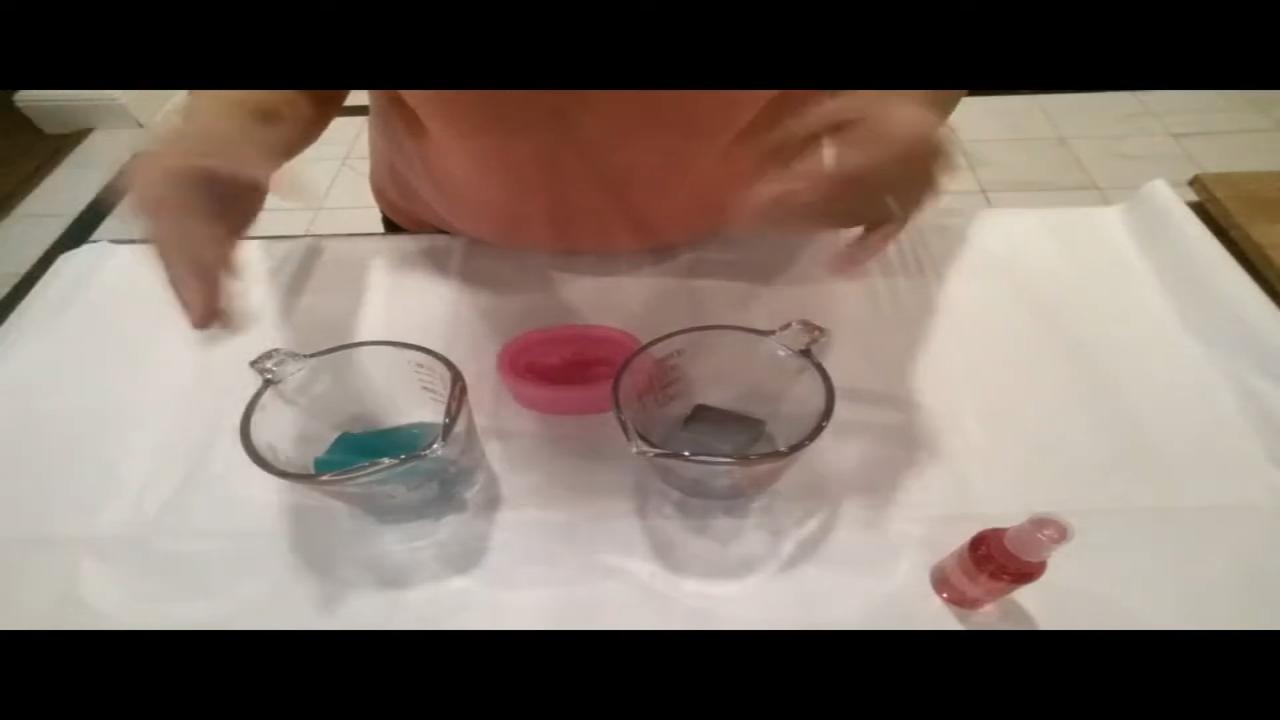
1. Melt the First Color
Melt the gray soap. The dolphins sit at the top of the mold design, so this color goes in first.
2. Pour the Dolphins
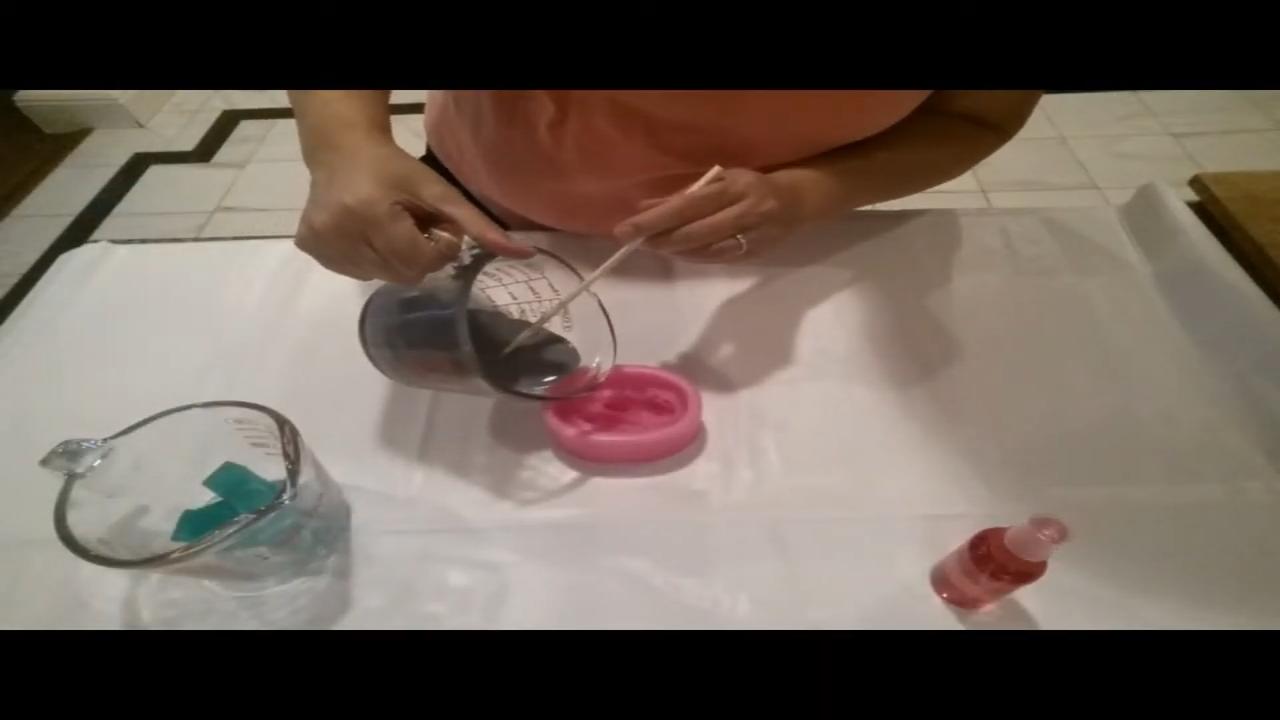
Pour the gray in until it fills the dolphins, about where they end in the mold. Spray with alcohol to pop the bubbles, and let it set completely.
3. Try a Whipped Wave (Optional)
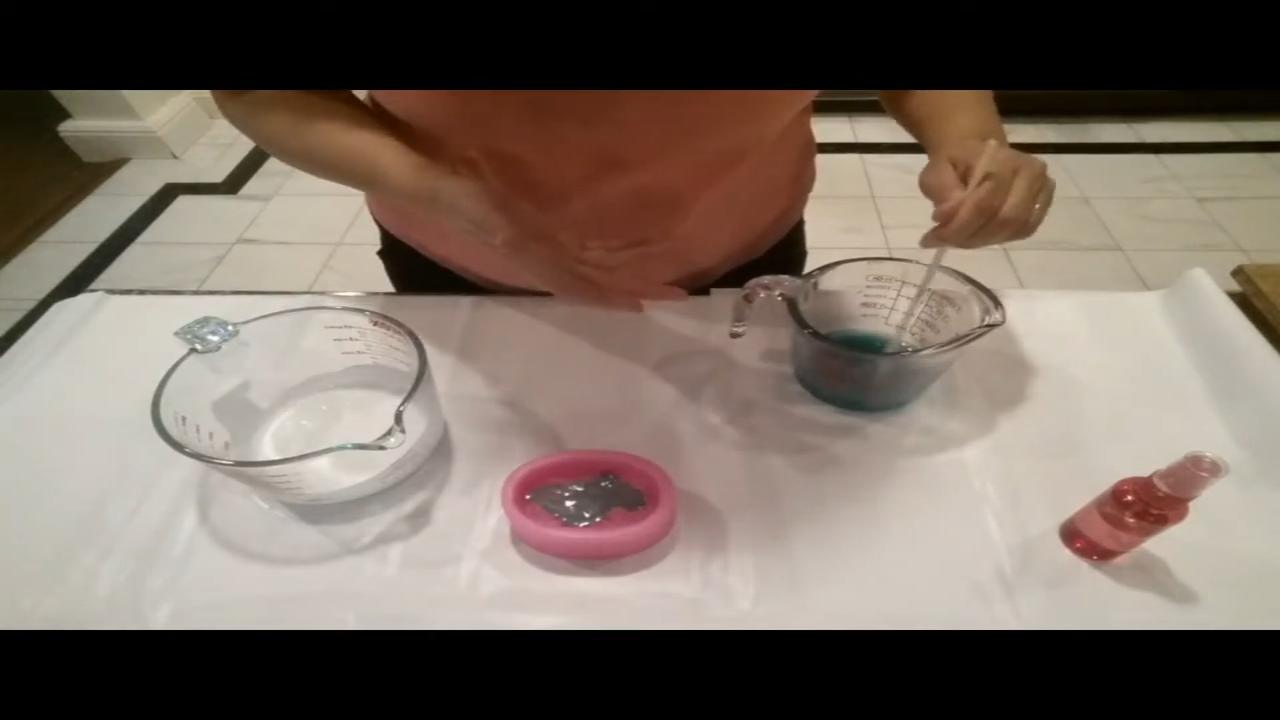
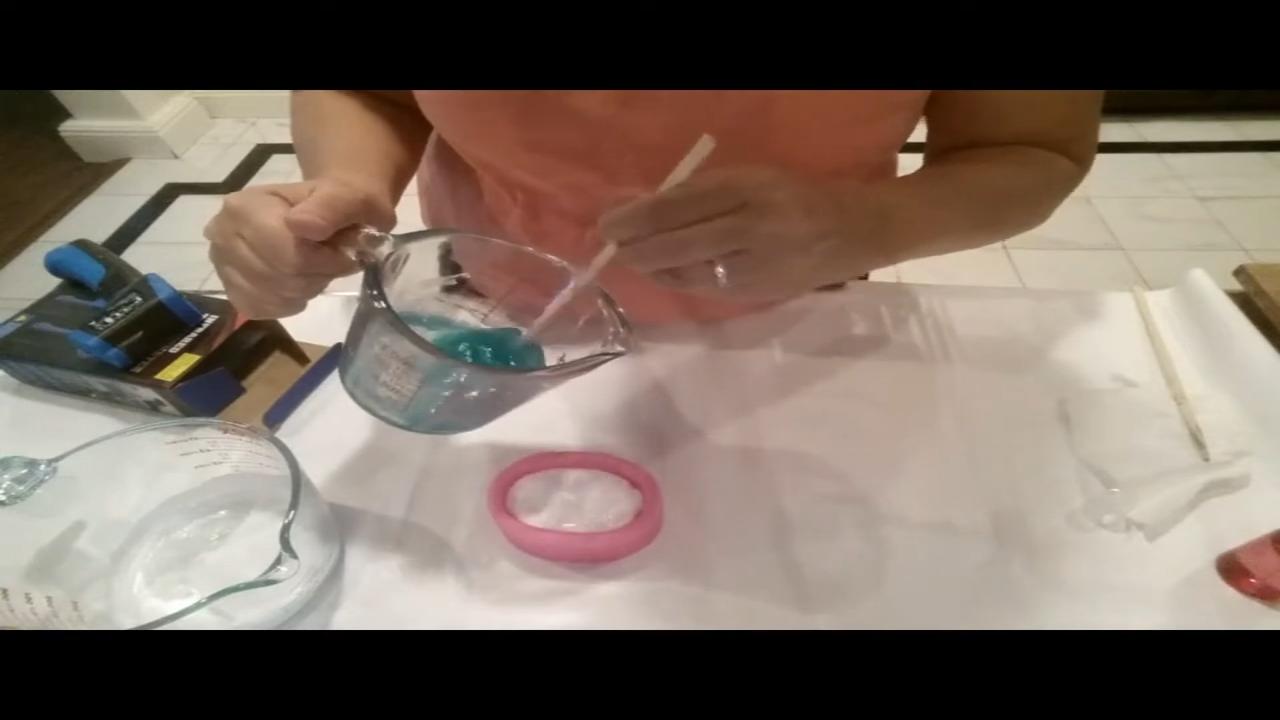
I added a little leftover whipped soap on top to look like breaking waves, then sprayed it with alcohol. It was a fun experiment, but next time I’d skip it.
4. Pour the Water Color
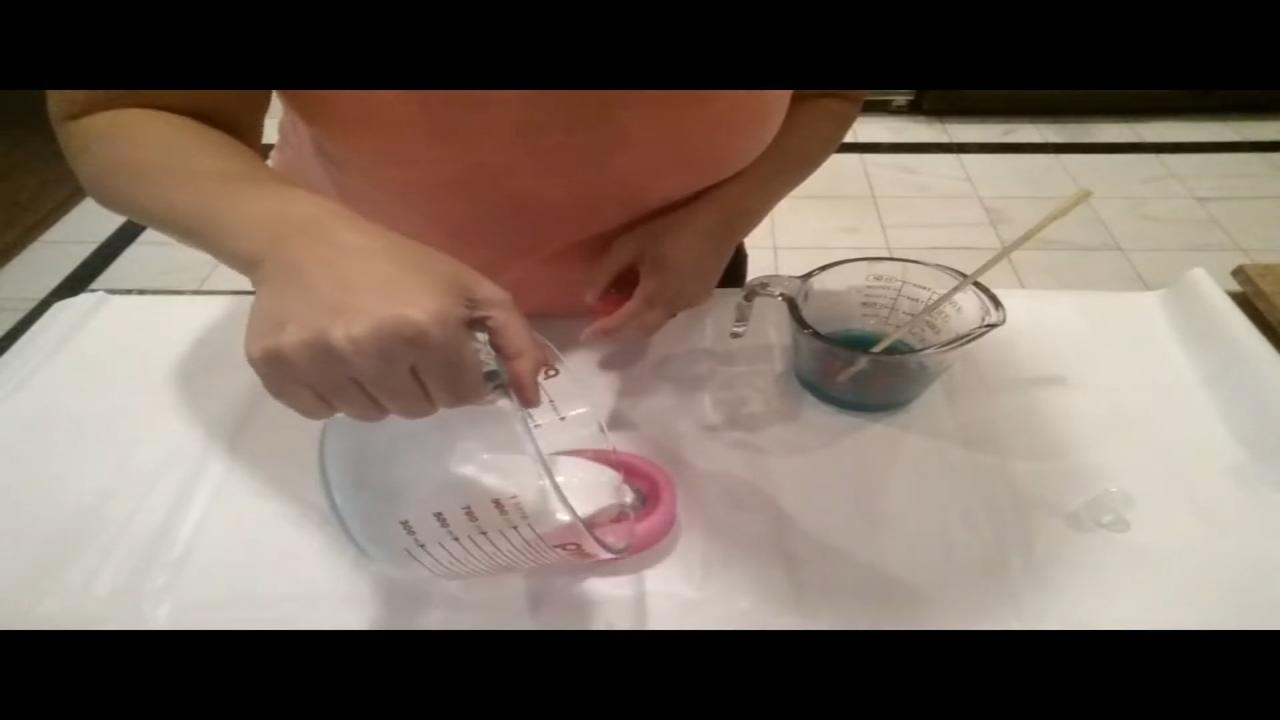
Once the first layer has set, pour the aqua soap over it. Spray with alcohol and let it set.
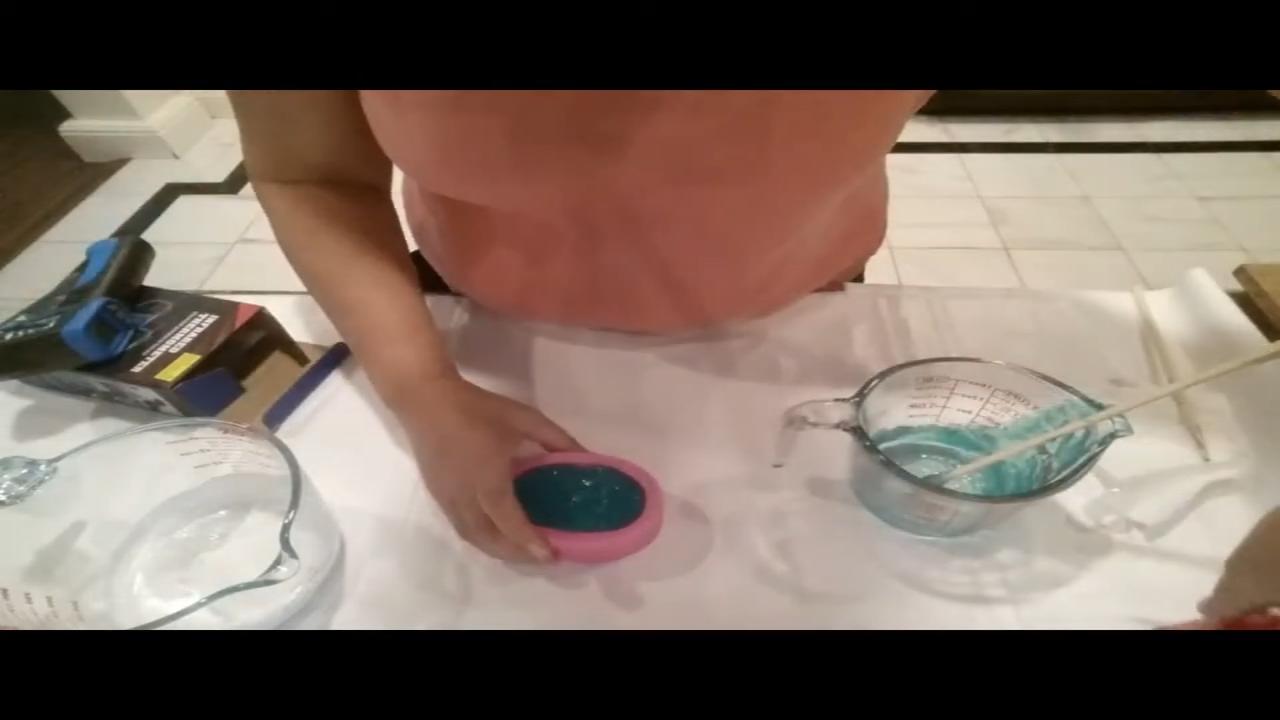
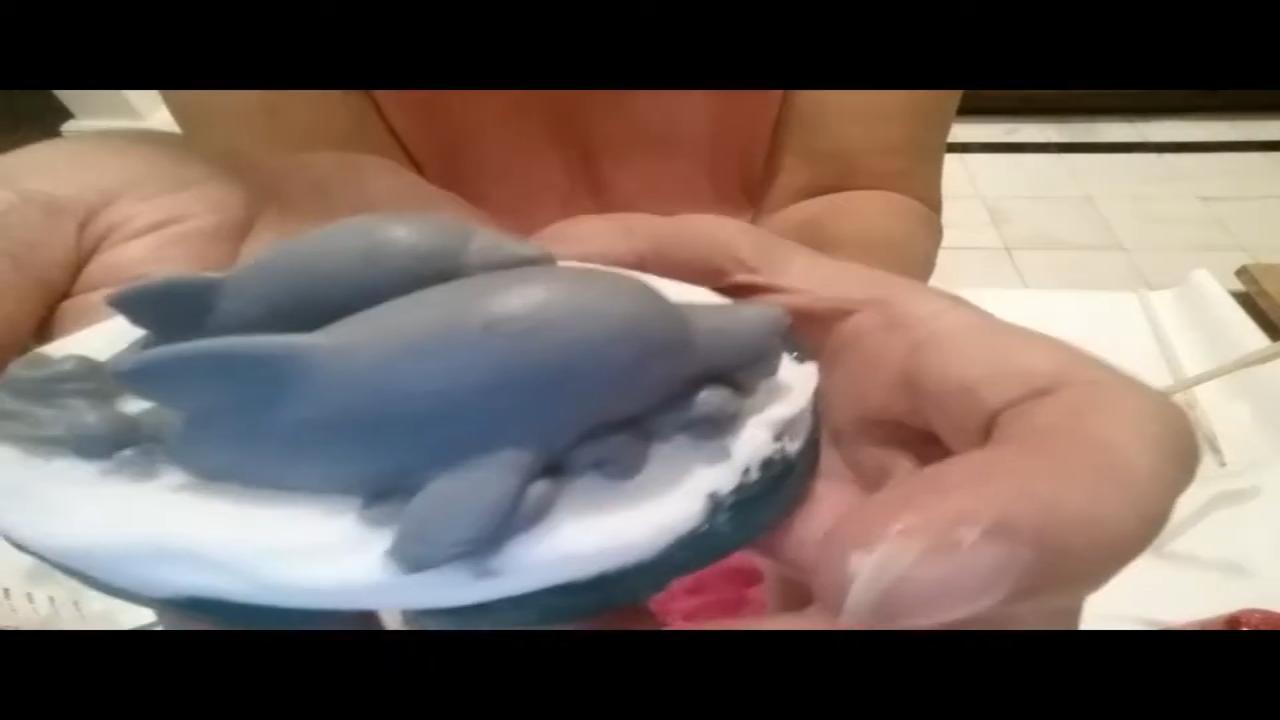
5. Unmold
This mold releases easily and shows lots of detail. Fill it all the way for a thicker bar.
6. Simpler Two-Color Version
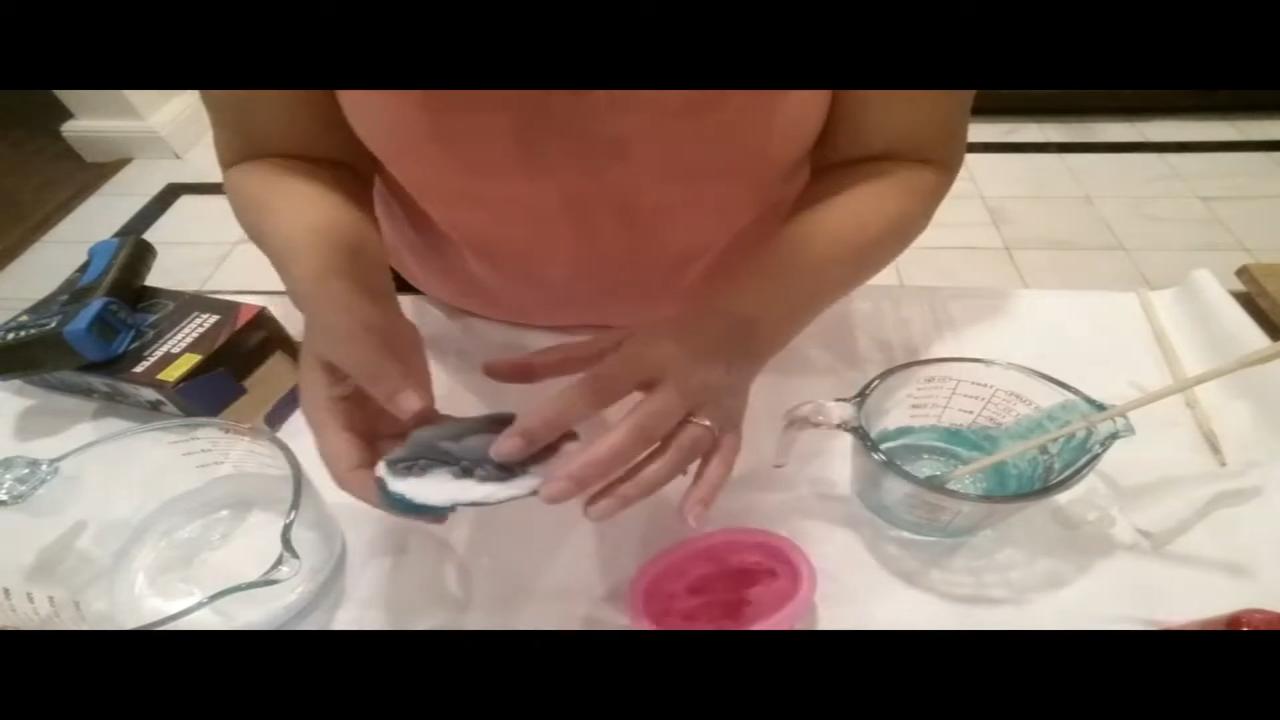
I remade it with just two colors and no whipped layer, and it looks cleaner.
Tips & What I Learned
- Pour the dolphin color first. The dolphins are at the bottom of the mold, which becomes the top of the soap.
- Let each layer set. It keeps the colors crisp.
- Skip the whipped layer. Two colors looked better.
- Fill the mold all the way. You’ll get a nicer, thicker bar.
- Recycle old soap. Remelted scraps work perfectly.
Troubleshooting
Bubbles in the dolphins. Spray with alcohol right after pouring.
The layers separated. Spray the first layer with alcohol before pouring the second.
The bar is thin. Fill the mold to the top.
FAQ
Can I use this mold for cold process soap?
Yes. It works for both melt and pour and cold process.
What colors work best?
Gray or white dolphins with blue or aqua water look great.
More Ocean Soap Ideas
- Wave Embed Melt and Pour Soap
- Coral Lagoon Melt and Pour Soap
- Sea Sponge Melt and Pour Soap
- Blue Waves Melt and Pour Soap
- All my melt and pour soap tutorials on YouTube
If you make this, I’d love to see it! Tag me on Instagram or Pinterest, and subscribe on YouTube for new soap tutorials.
