
A subscriber asked if my tie dye melt and pour technique would work in a bigger loaf mold. I wondered the same thing, so I tried it. The short answer is no. The colors mixed into the soap and almost disappeared. But I saved it with a piped cobblestone top that turned out adorable, so here’s how both parts went.
As an Amazon Associate I earn from qualifying purchases. Some links in this post are affiliate links. They cost you nothing extra and help support Koala Soap.
Materials & Tools
Soap Base
- About 20 oz of shea butter melt and pour soap base, melted in two 10 oz batches, plus a little extra for the top
Color & Scent
- Purple, teal green and pink mica (I used Stardust Violet Petal, Teal Green and Pink Watermelon from a Stardust mica set, also sold individually)
- A light fragrance oil (I used Apricot Freesia)
Tools
- Square silicone soap mold (18–20 oz)
- Plastic pipettes
- Skewers
- Soap cutter
- Spray bottle of 91% isopropyl alcohol
- Thermometer
- Pour cups
Fragrance Amount
Use up to 5 ml of fragrance oil per 16 oz (1 lb) of soap base. You can always use less if you like a lighter scent, but don’t go over 5 ml per 16 oz.
What I Tried
1. Mix the Colors
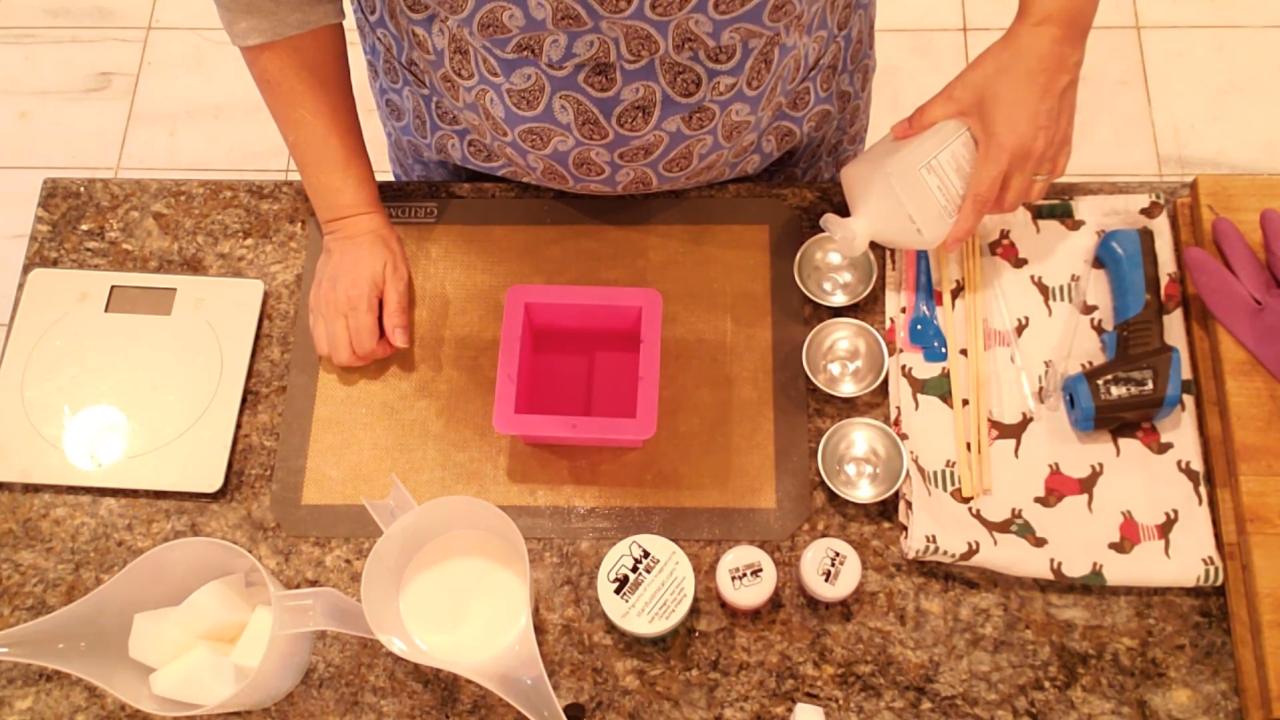
Mix each mica with alcohol in its own cup until it’s thin enough to pick up with a pipette. Add more alcohol if it’s too thick.
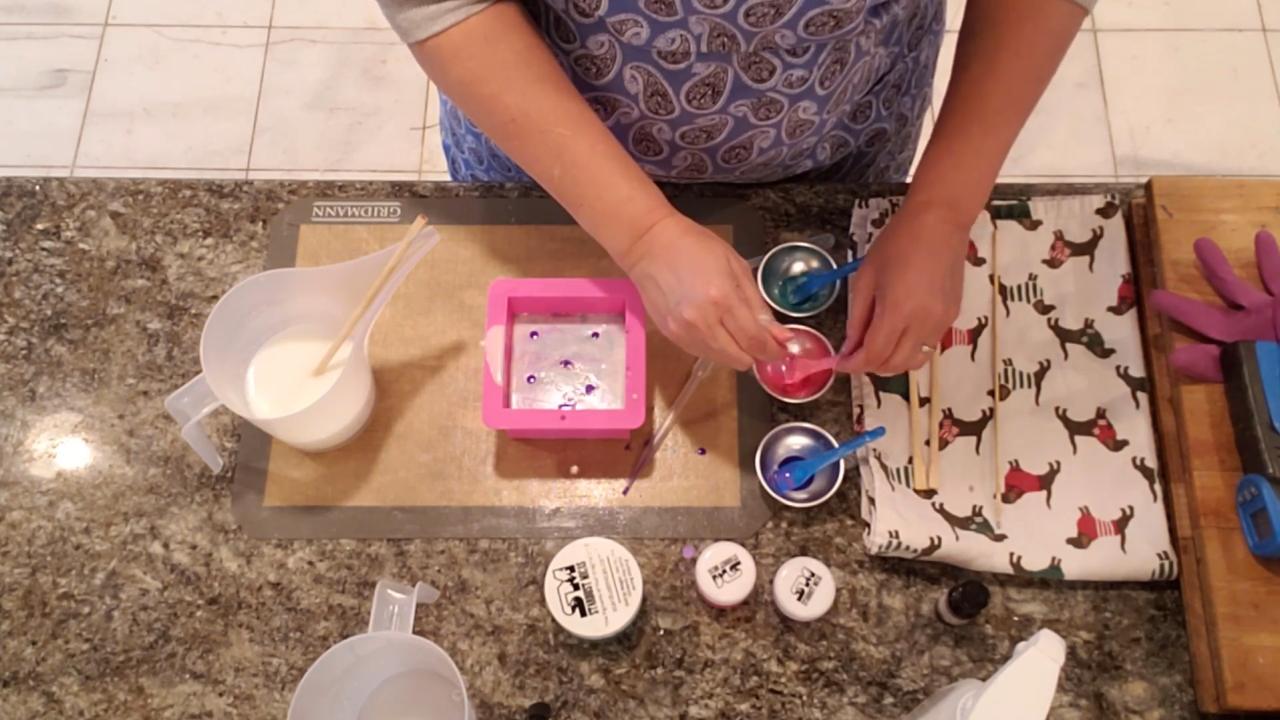
2. Drop Color in the Mold
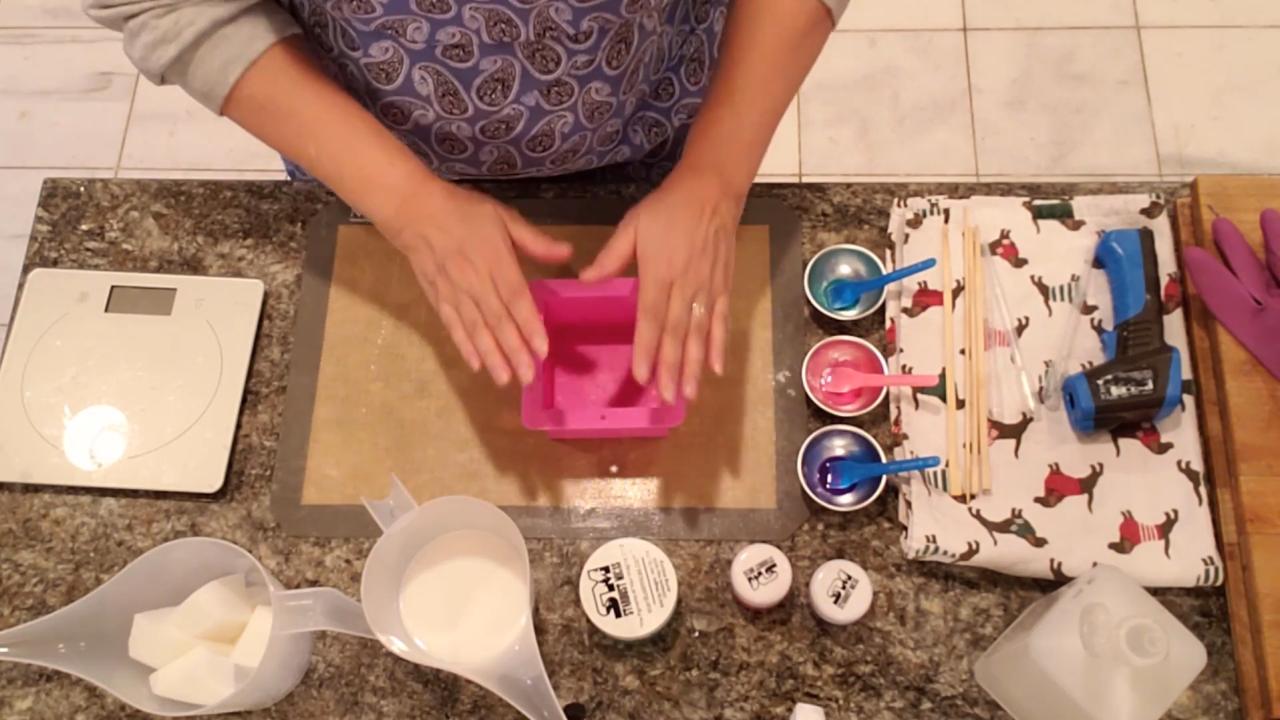
Drop random dots of each color into the empty mold with a pipette. Don’t overthink it.
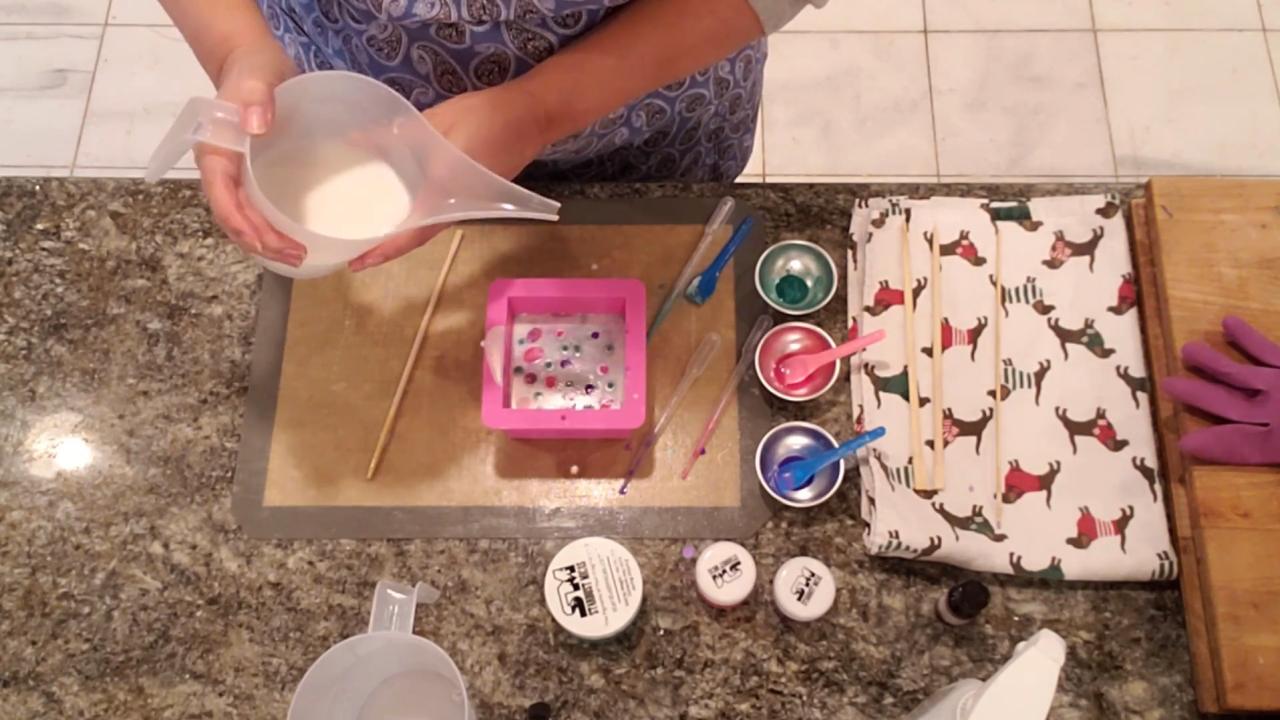
3. Pour the First Layer
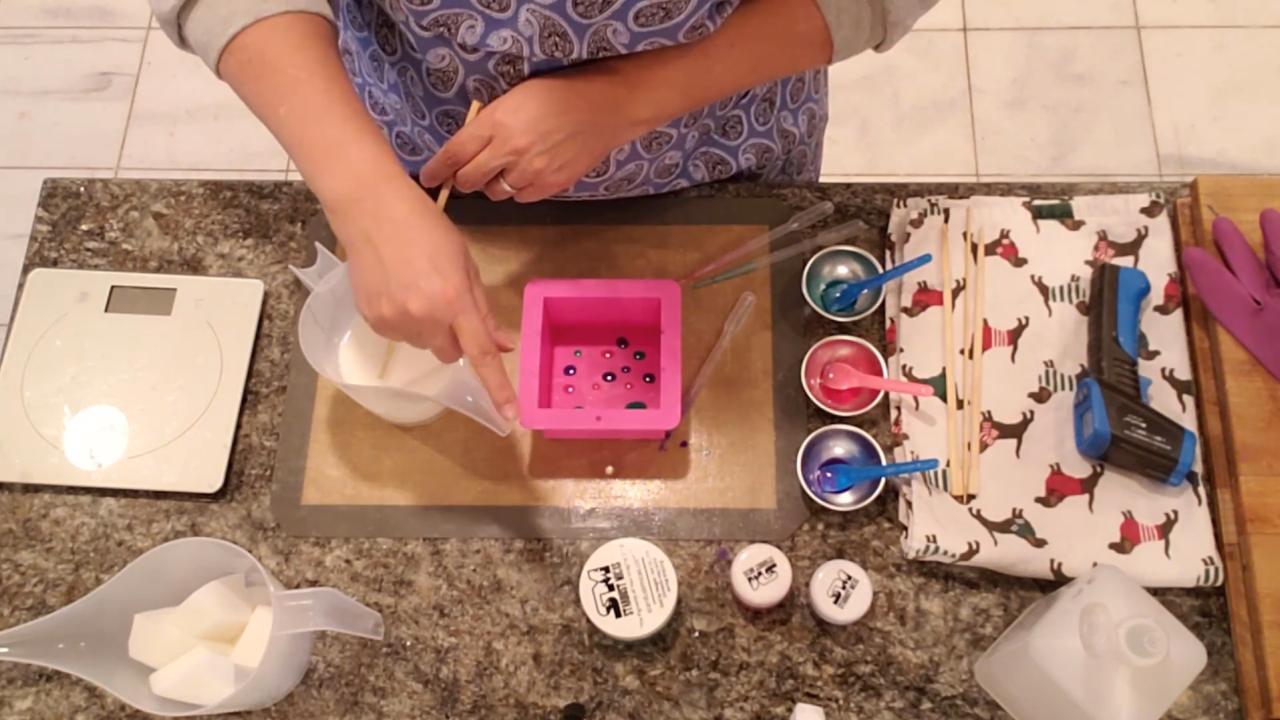
Pour 10 oz of hot shea butter (about 160°F) straight onto the color drops so they spread instead of clumping at the bottom. Swirl in a circle, then run a skewer along the bottom to loosen any color stuck there.
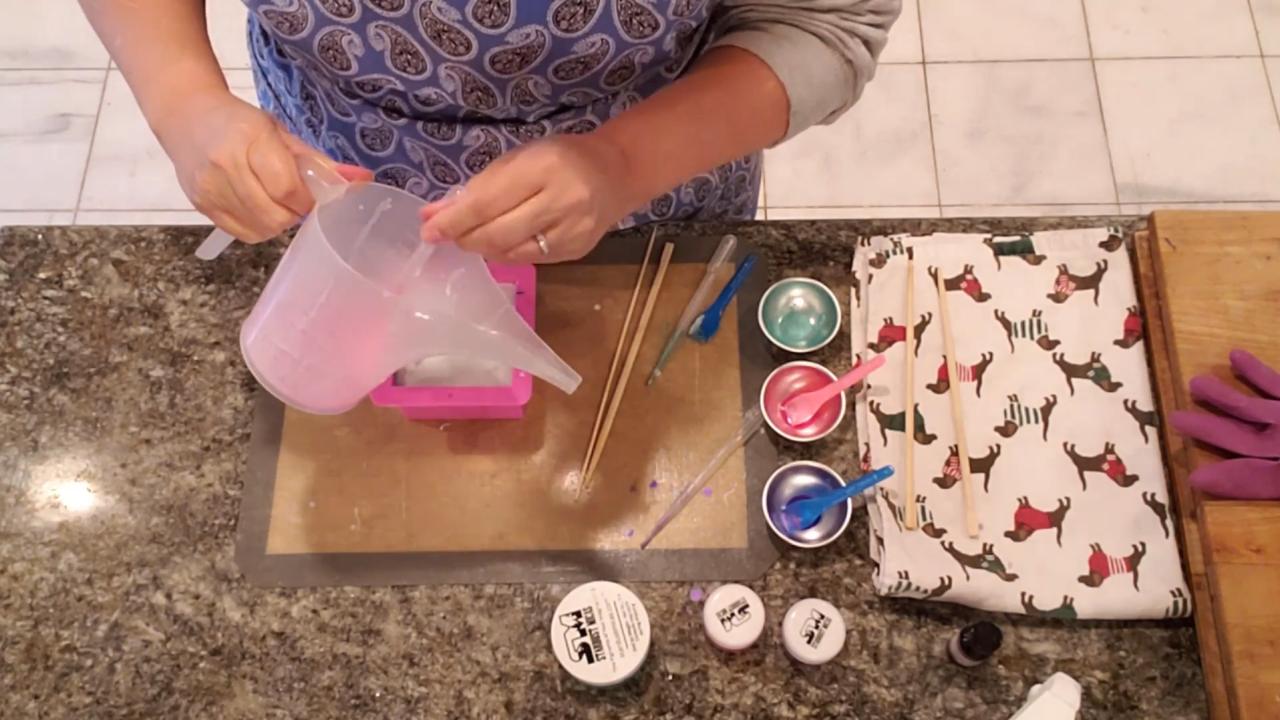
4. Add More Color and a Second Layer
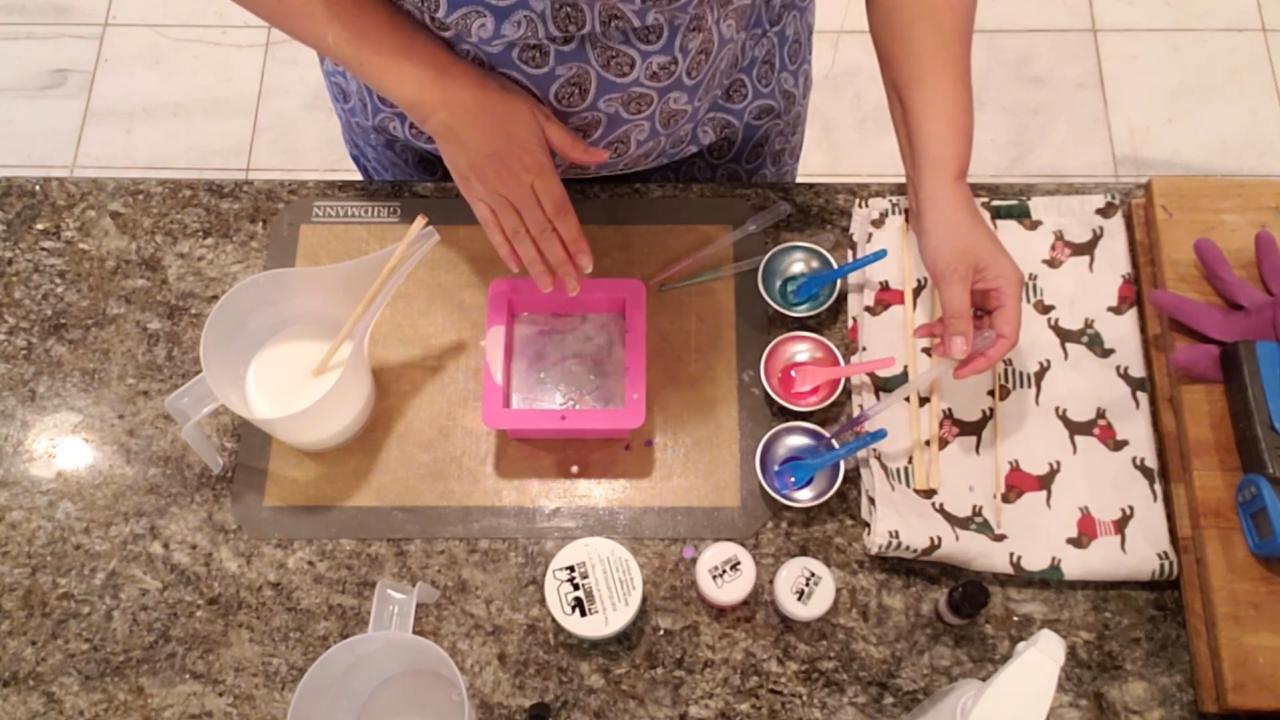
Once the first layer had a light skin, I added more drops on top and poured the second 10 oz at about 140°F all over the drops, then zigzagged a skewer through.
How I Saved It: Piped Cobblestone Top
5. Pipe Little Dots
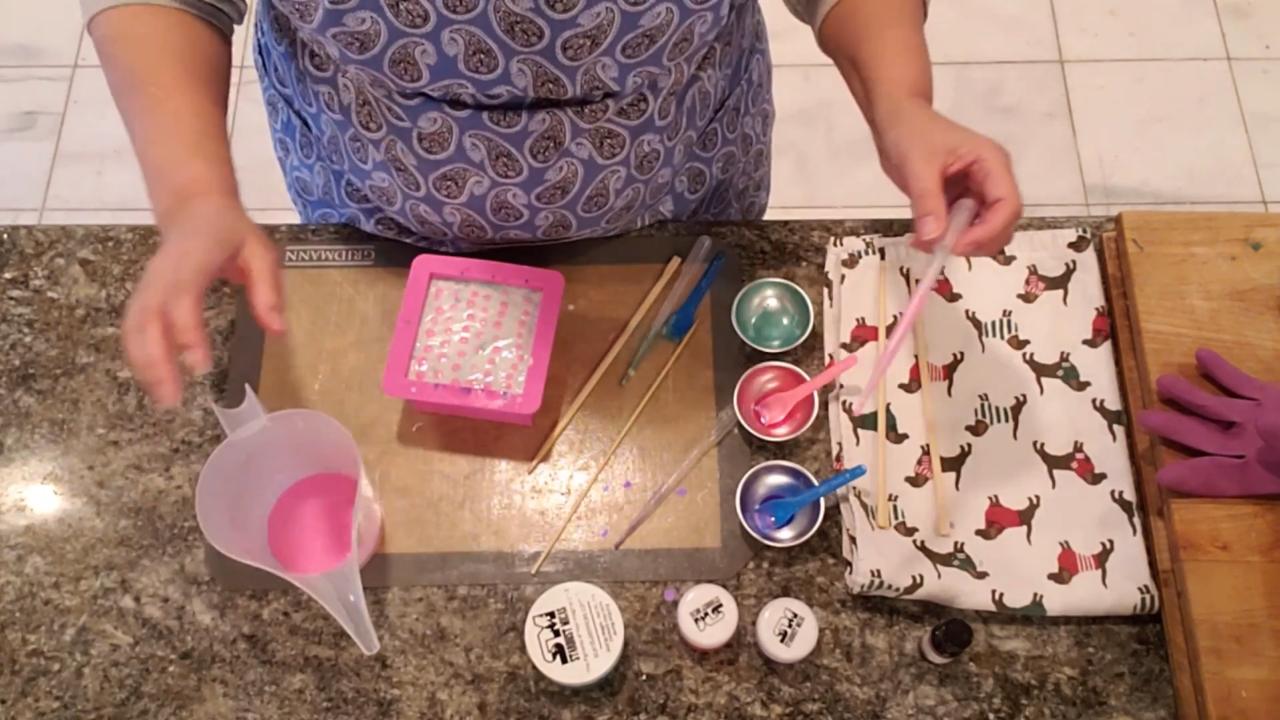
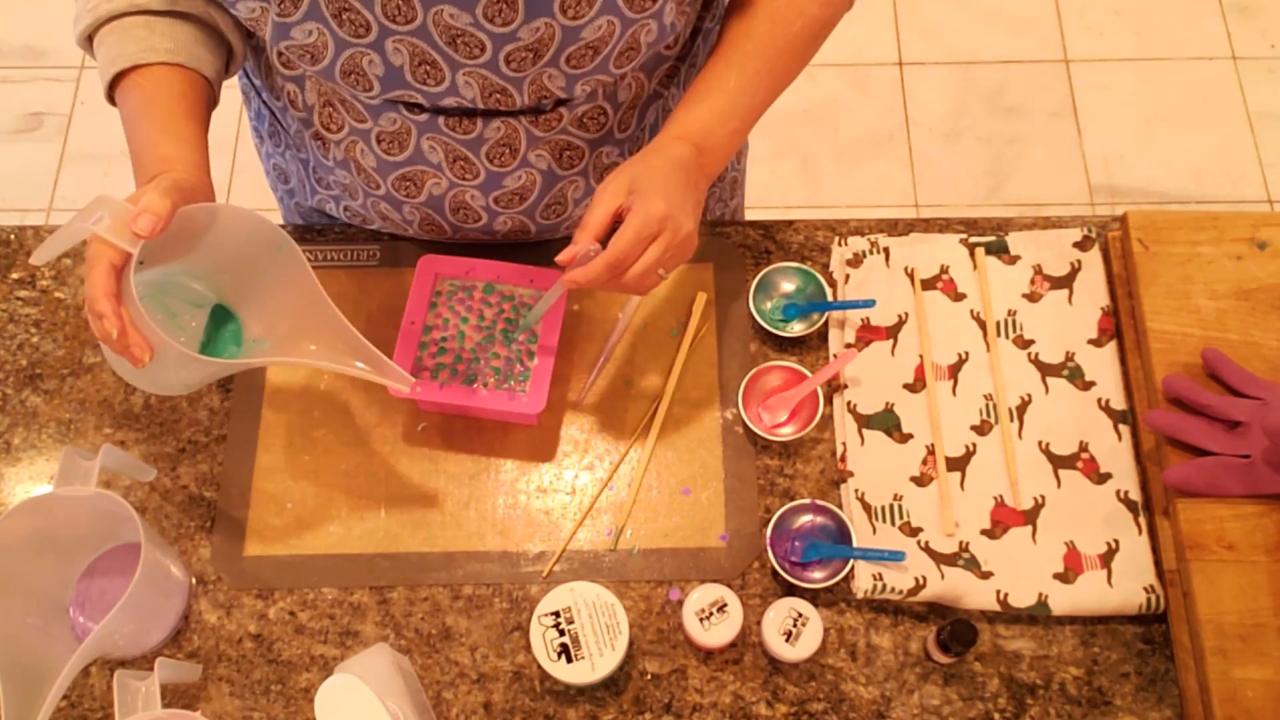
Mark the top in 1-inch sections for cutting. Draw a light squiggly guide line with a skewer. Remelt a little colored soap, pull it up into a pipette while it’s warm, and pipe little dots all over the top.
6. Layer More Colors
Melt a bit more base, color it purple and then green, and keep piping dots. They pile up and look like cobblestones. Rinse pipettes in warm water right away if you want to reuse them.
7. Unmold and Cut
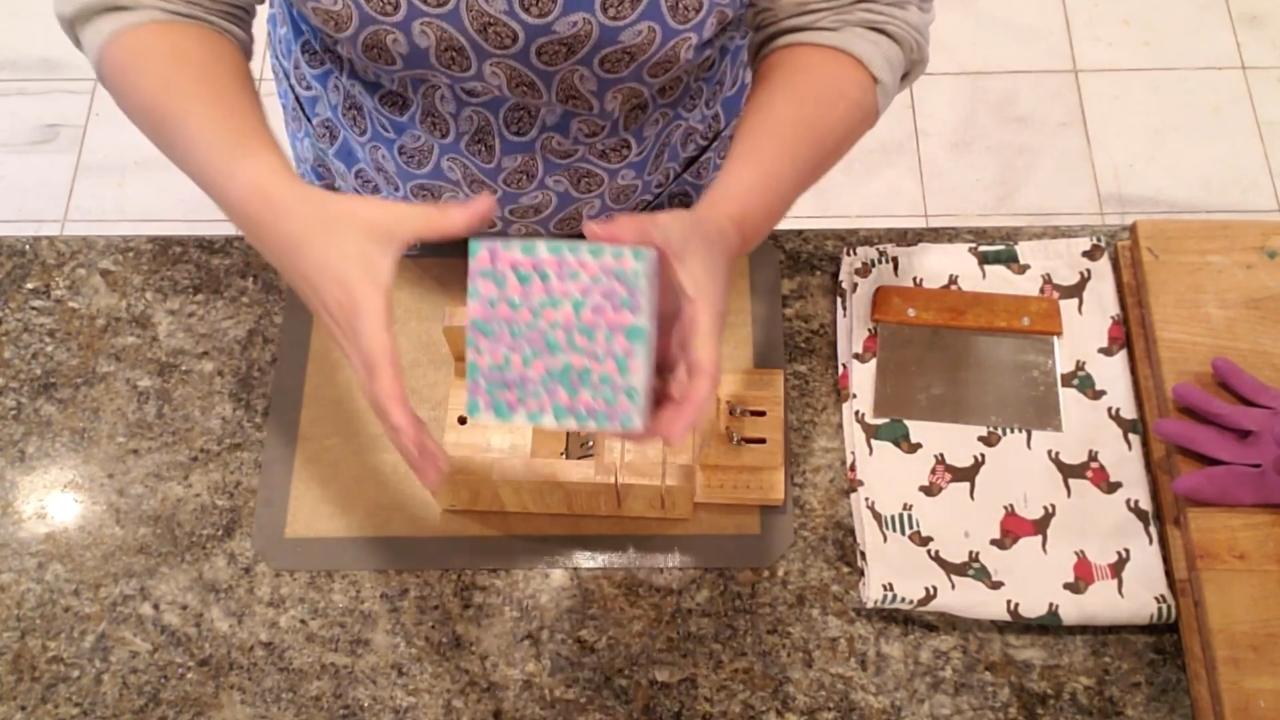
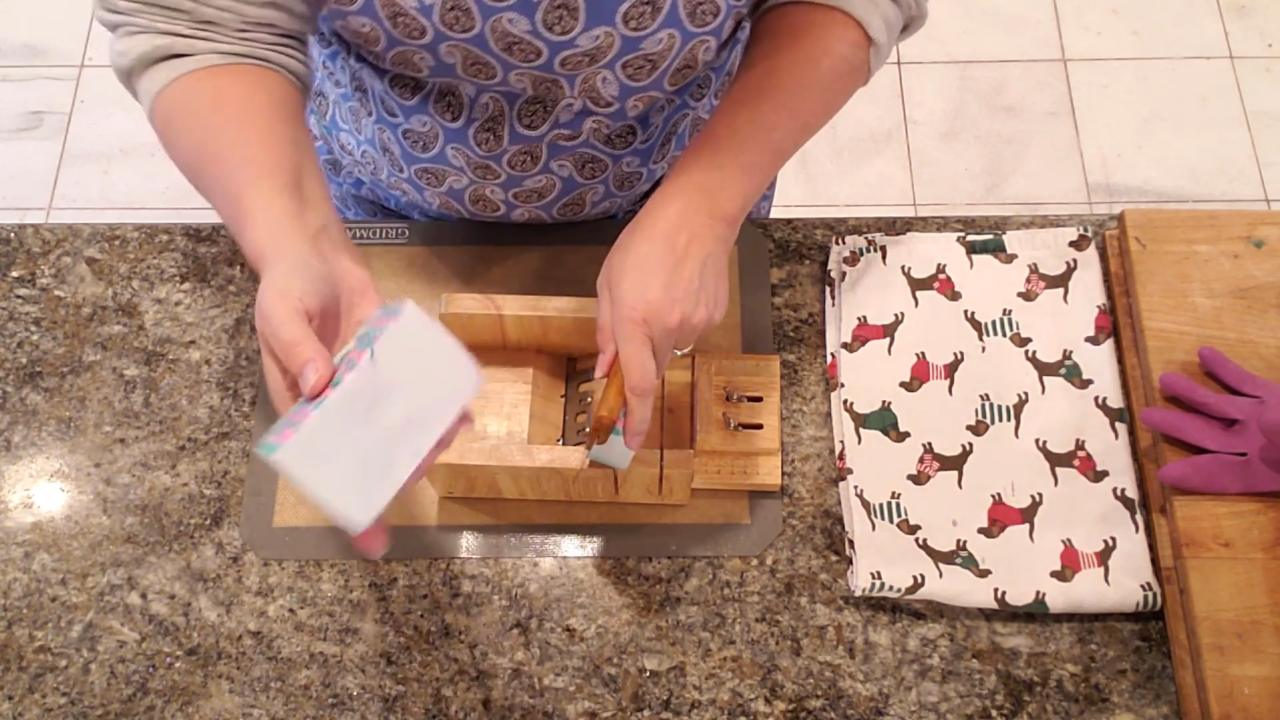
The top looked great, but inside there was little to no color. A loaf just has too much soap for the tie dye drops to show.
8. Add Embeds (Optional)
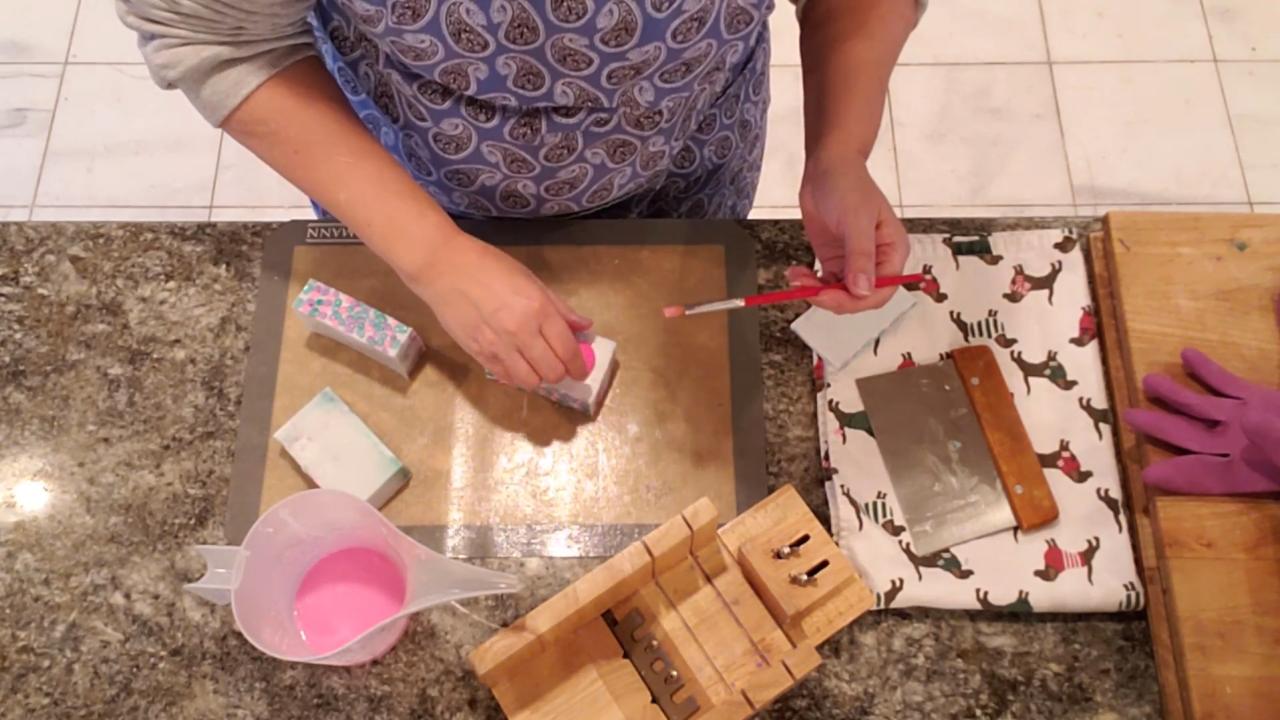
To dress it up more, I sprayed the top with alcohol and pressed small embeds on with a little melted soap. Smaller embeds would look better than the large ones I used.
Tips & What I Learned
- Tie dye doesn’t work in a loaf mold. There’s too much soap and the colors disappear. Stick with small cavity molds.
- A pretty top saves a plain soap. Piped dots, embeds or whipped soap all work.
- Pipe warm soap. Cooler soap clogs the pipette.
- Use smaller embeds. Large ones look too heavy on top.
- Next time try shavings. Colored soap shavings would show inside a loaf.
Troubleshooting
The colors vanished inside. Use smaller molds for tie dye, or use embeds or shavings in a loaf.
The pipette clogged. Rewarm the soap and pipe faster.
The alcohol spread my dots. Spray lightly, or cover the spot with more dots.
FAQ
What happened to this soap?
I later cut it up and recycled it into white embeds. See my Recycled Soap Embeds post.
Can I use this cobblestone top on other soaps?
Yes. It works on any loaf or bar and is a fun way to decorate gift soaps.
More Soap Ideas
- Tie-Dye Melt and Pour Soap: Mica Water vs Alcohol
- Tie-Dye Soap from Leftover Shavings
- Melt and Pour Soap Fail and Fix
- Jolly Dots Melt and Pour Soap
- All my melt and pour soap tutorials on YouTube
If you make this, I’d love to see it! Tag me on Instagram or Pinterest, and subscribe on YouTube for new soap tutorials.
