
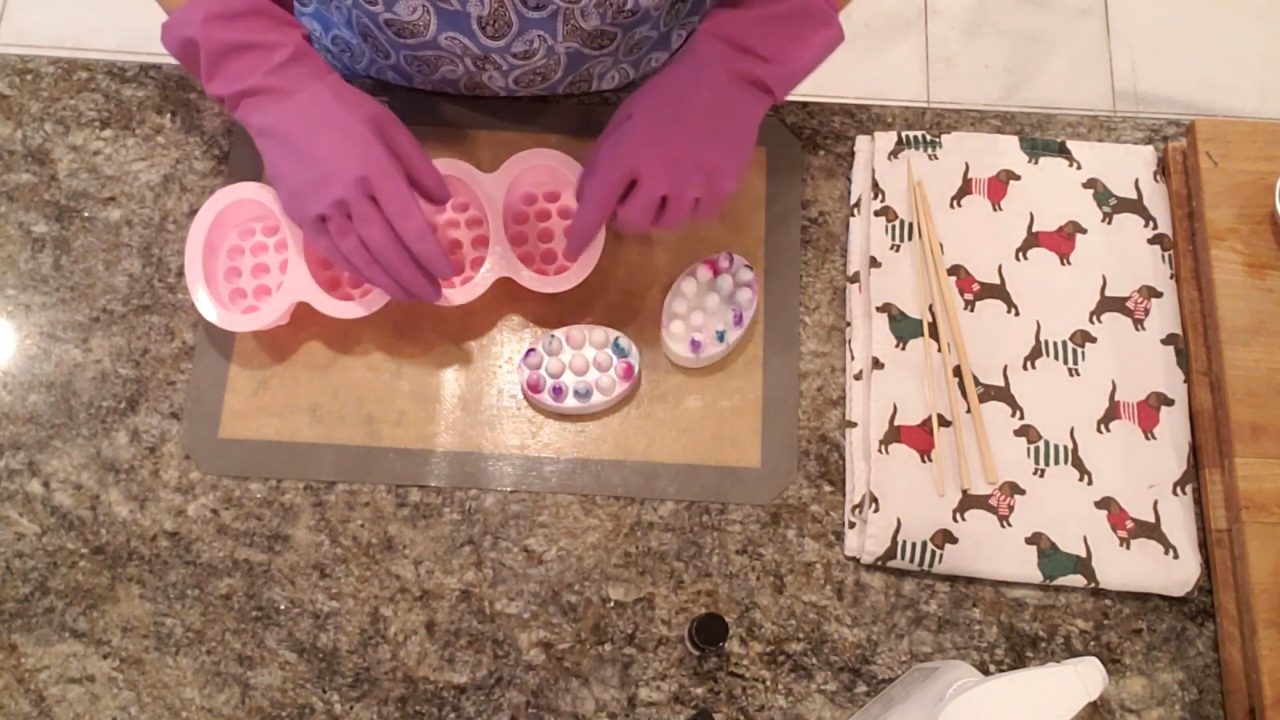
These massage bar melt and pour soaps are made in a silicone massage bar mold with little raised nubs on one side, so the bar gives a gentle massage while you wash. I dropped purple, blue and pink mica into the holes before pouring white shea butter base, for colorful bursts on the massage side. It’s a quick, fun project, and these were snapped up before I could even decide who to give them to.
As an Amazon Associate I earn from qualifying purchases. Some links in this post are affiliate links. They cost you nothing extra and help support Koala Soap.
Materials & Tools
Soap Base
- About 8.6 oz shea butter melt and pour soap base for two bars (each cavity holds about 4.3–4.4 oz)
Color & Scent
- Violet Petal, Blue Lagoon and Sunset Pink from this Stardust mica set or individual Stardust micas
- Fragrance oil (I used Crisp Cotton from Bramble Berry’s sampler kit; Barnhouse fragrance oils are another option)
- 91% or 99% isopropyl alcohol for mixing the mica
Tools
- Silicone massage bar molds (they come two to a set)
- Digital scale
- Pipettes or droppers
- Small cups and spoons for mixing mica
- Thermometer
Fragrance Amount
I used 2½ ml for about half a pound of soap. That’s right at the maximum of 5 ml of fragrance oil per 16 oz (1 lb) of soap base. You can always use less, but don’t go over 5 ml per 16 oz.
How to Make Massage Bar Melt and Pour Soap
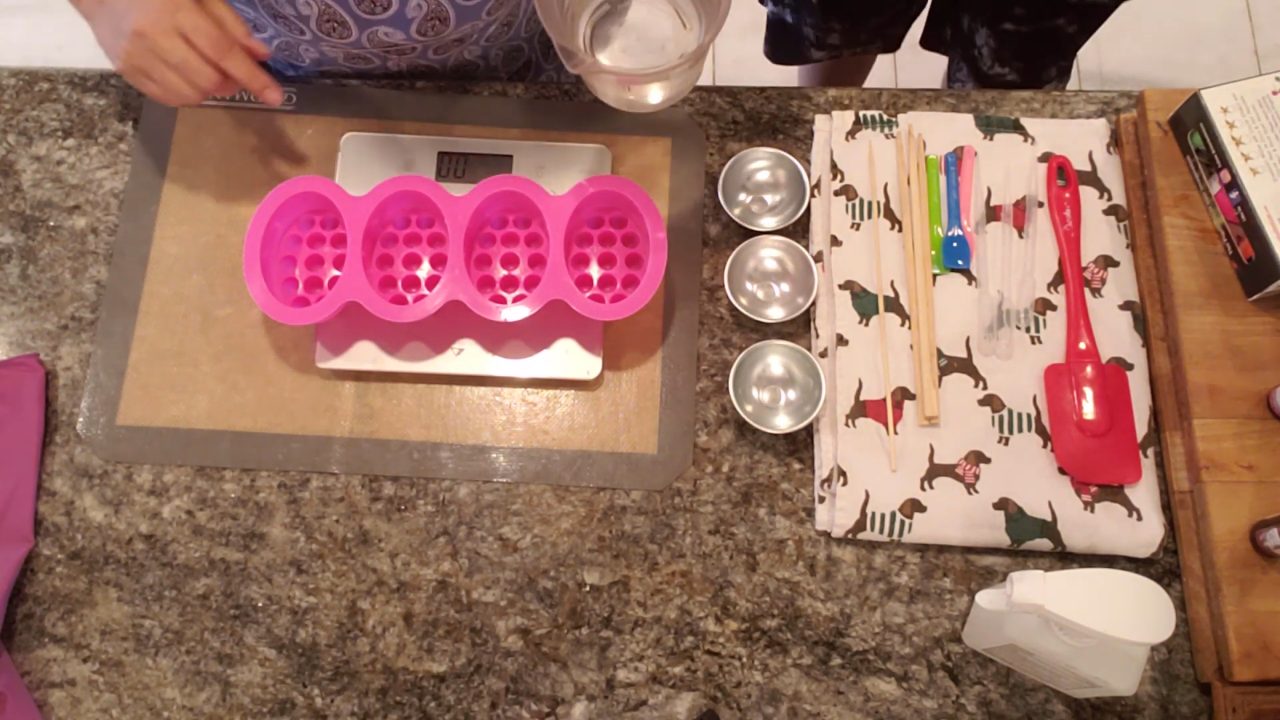
1. Measure the Mold with Water
When you get a new mold, wash it, set it on a scale, zero it and fill it with water. That tells you roughly how much soap it takes, so you don’t melt too much. My massage bar cavities each held about 4.2–4.3 oz of water, and I’d plan on about 4.4 oz of soap.
2. Melt the Base and Add Fragrance
Melt about 8.6 oz of shea butter base for two bars. Mine was around 170°F. Add the fragrance once it cools a bit.
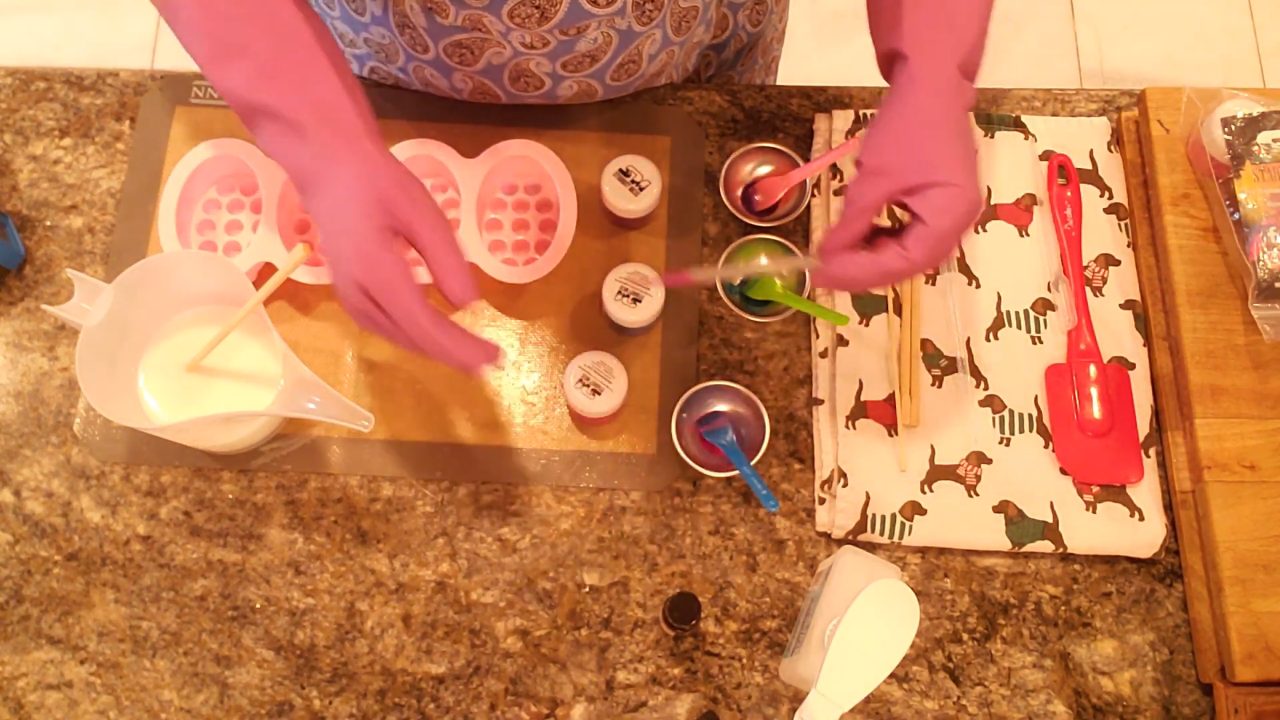
3. Mix the Micas
Mix each mica with a little alcohol in its own cup until it’s runny enough to go through a dropper. If you want layers to stick later, 99% alcohol works better than 91%.
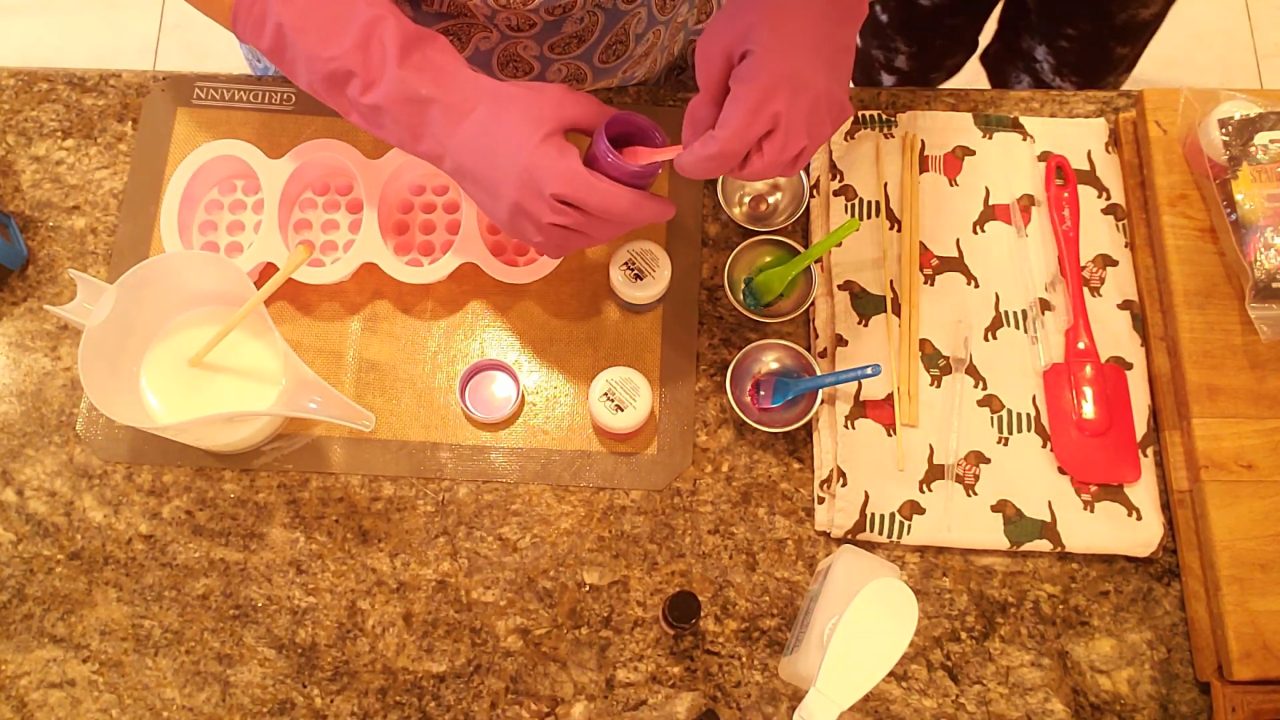
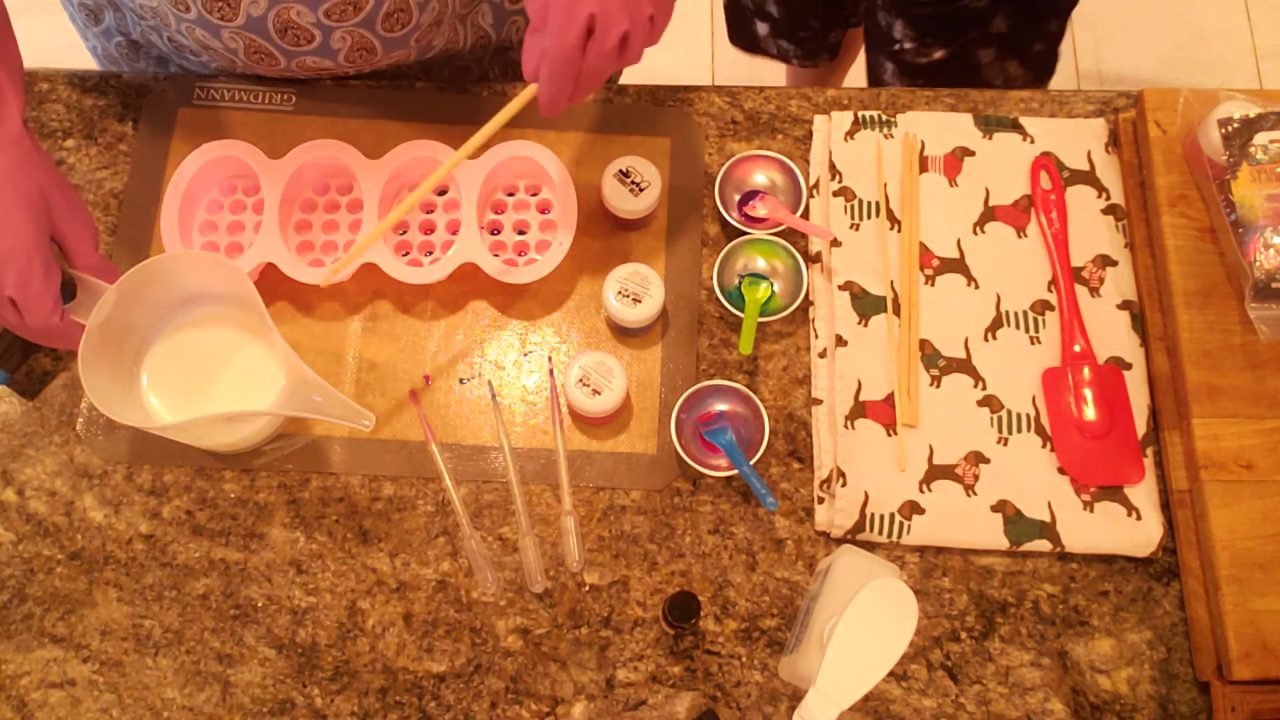
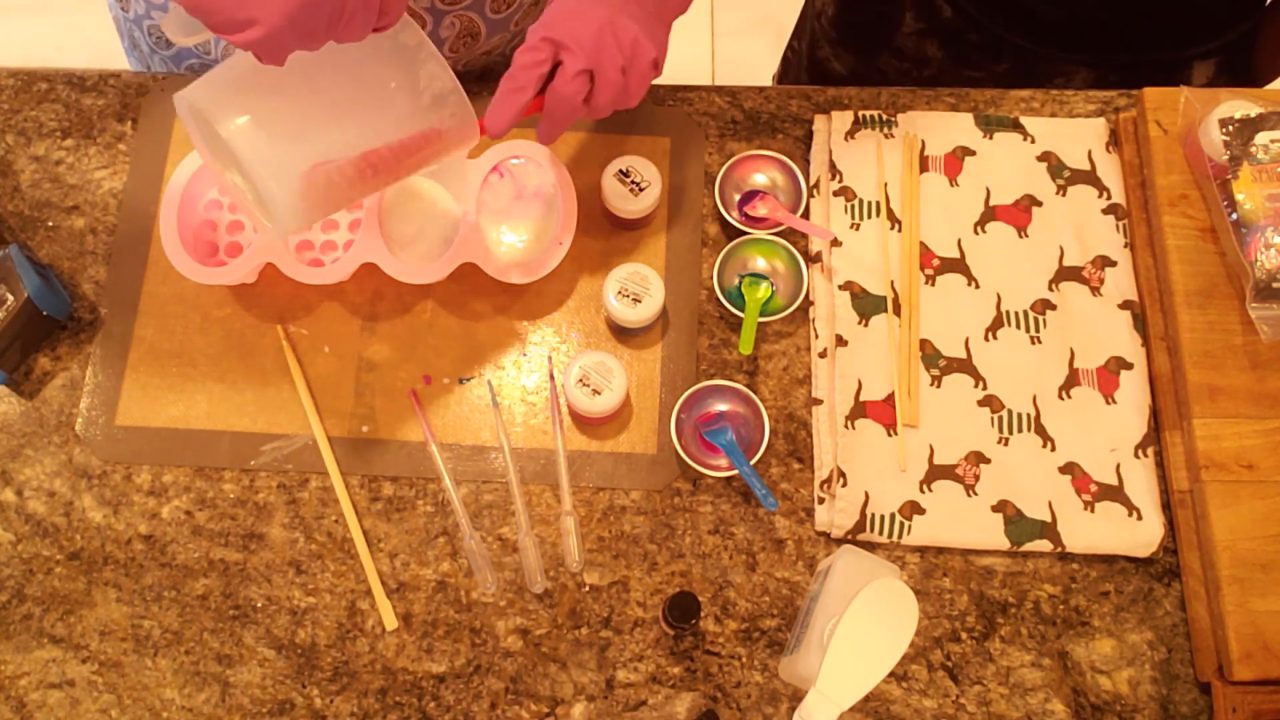
4. Drop Color into the Holes
Use a dropper to put a drop or two of each color into random holes in the massage side of the mold. Next time I’d put color in every hole and use a little more than a drop or two.
5. Pour from Up High
When the soap is around 156°F, pour it directly on top of the colors from up high, so it disturbs them a little for a swirl. Fill each cavity, then spray with alcohol to pop air bubbles and let the bars set.
6. Unmold
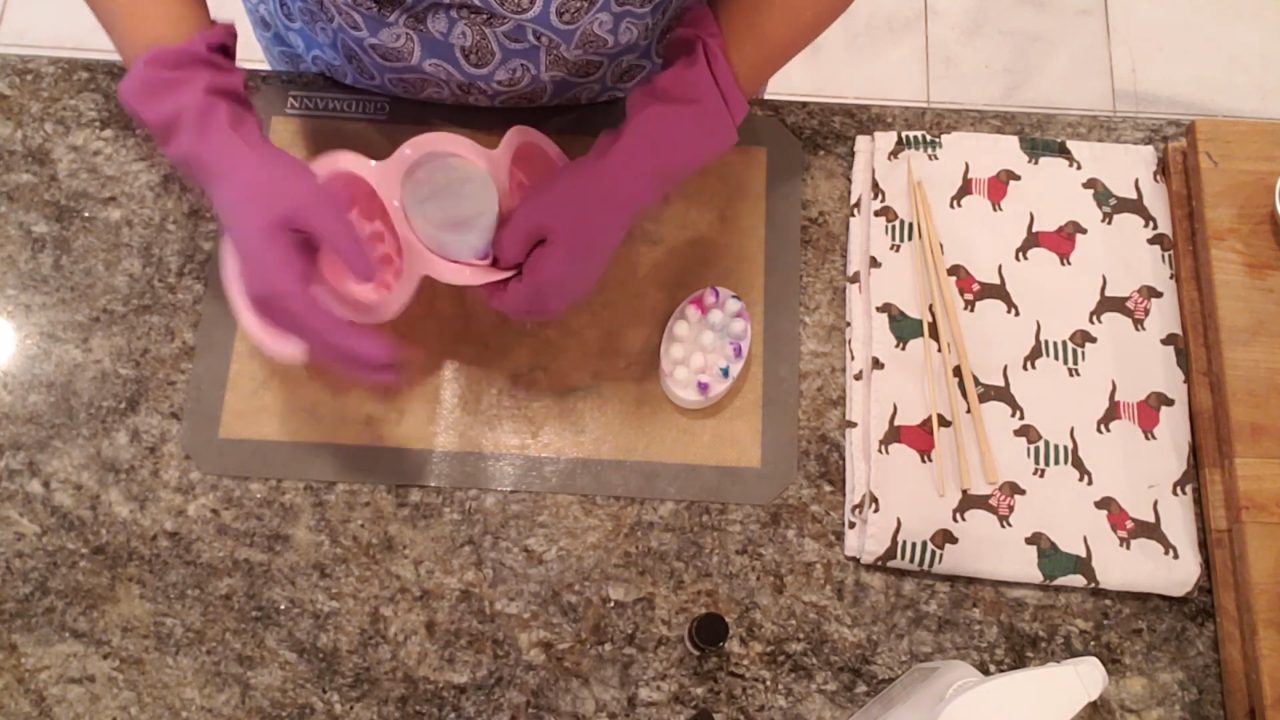
Loosen the edges and pop the bars out. The colors gather in the middle of the massage side. These molds grip the little nubs tightly, so work slowly.
Tips & What I Learned
- Measure new molds with water. It’s an easy way to avoid melting too much soap.
- Use more color. Fill every hole with a few drops for a bolder look.
- Use 99% alcohol for layers. If you want different colors in the nubs and a separate layer on top, spray with 99% alcohol so the layers stick.
- Pour from up high. It swirls the color slightly.
Troubleshooting
The colors are faint.
Add more mica to each hole, or put color in every hole.
The layers separated.
Spray with 99% alcohol between layers so they bond.
The bar is hard to get out of the mold.
The mold grips the nubs tightly. Loosen the edges and work it out slowly.
FAQ
How much fragrance oil should I use?
Up to 5 ml per 16 oz of soap base. You can always use less, but don’t use more than 5 ml per 16 oz.
How big is each bar?
About 4.4 oz. It fits nicely in your hand.
Is this a massage bar or a soap?
This is a melt and pour soap made in a massage bar mold. The nubs give a gentle massage while you wash.
More Easy Soap Ideas
- Soap on a Rope with a Shower Sponge
- Cloud Wave Silicone Mold Melt and Pour Soap
- Oatmeal and Kaolin Clay Melt and Pour Soap
- How to Swirl Melt and Pour Soap
- All my melt and pour soap tutorials on YouTube
If you make this, I’d love to see it! Tag me on Instagram or Pinterest, and subscribe on YouTube for new soap tutorials.
