
A cloud wave silicone mold gives melt and pour soap a beautiful rippled top, and a simple swirl of color makes the waves stand out even more. In this easy swirl soap I tried my new cloud wave mold, coloring each bar differently and swirling the color in with a dropper and with curved dental syringes, which give you a lot more pressure.
As an Amazon Associate I earn from qualifying purchases. Some links in this post are affiliate links. They cost you nothing extra and help support Koala Soap.
Materials & Tools
Soap Base
- Goat’s milk melt and pour soap base, about 4 oz per cavity
Color & Scent
- Three micas (I used a green, an amethyst purple and a slushy blue, mostly from Bramble Berry). A Stardust mica set gives you lots of choices.
- A little distilled water to mix the mica
- Fragrance oil
Tools
- Cloud wave silicone soap mold (each cavity holds about 3.75–4 oz)
- Curved dental syringes
- 3 ml pipettes
- Small cups for mixing the colors
- Spray bottle of 91% isopropyl alcohol
- Thermometer
Fragrance Amount
Use up to 5 ml of fragrance oil per 16 oz (1 lb) of soap base. For four 4 oz bars, that’s up to 5 ml in total. You can always use less if you like a lighter scent, but don’t go over 5 ml per 16 oz.
How to Make a Cloud Wave Swirl Melt and Pour Soap
1. Measure the Mold
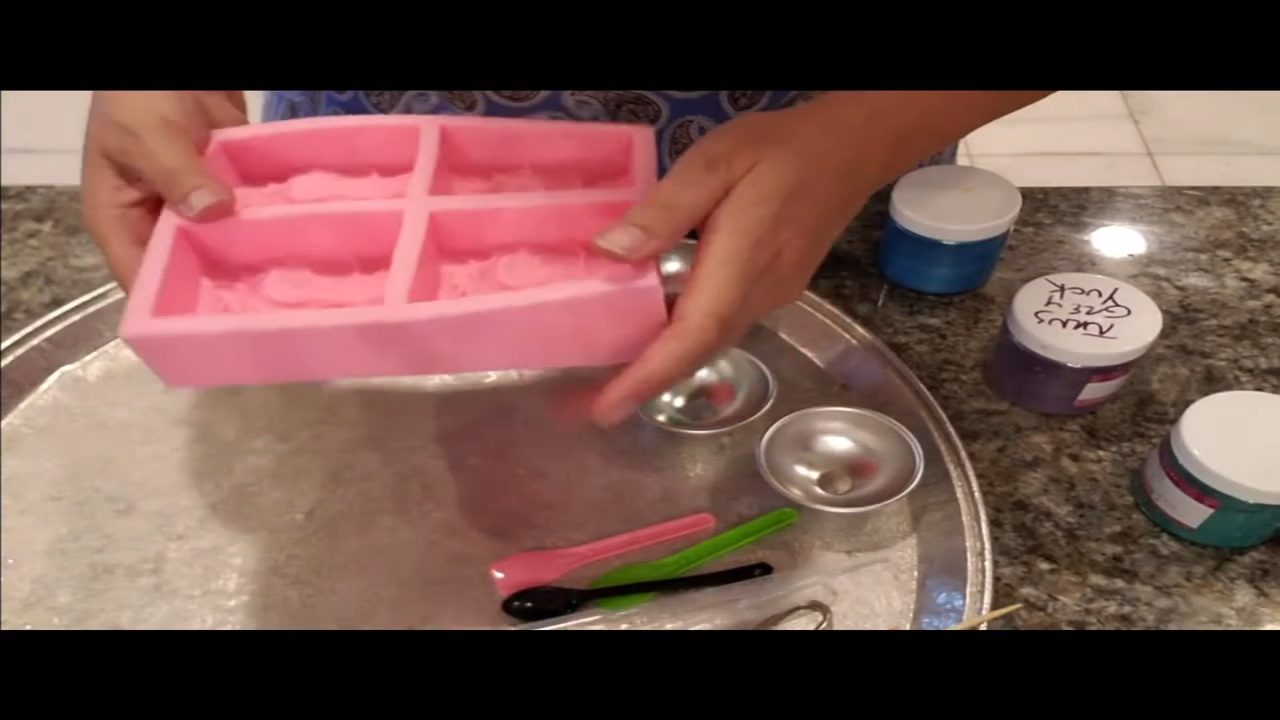
Fill one cavity with water and measure it so you know how much soap to melt. Each cavity of my mold holds about 3.75–4 oz, so I melted 4 oz of goat’s milk base for each bar and added fragrance.
2. Mix the Colors
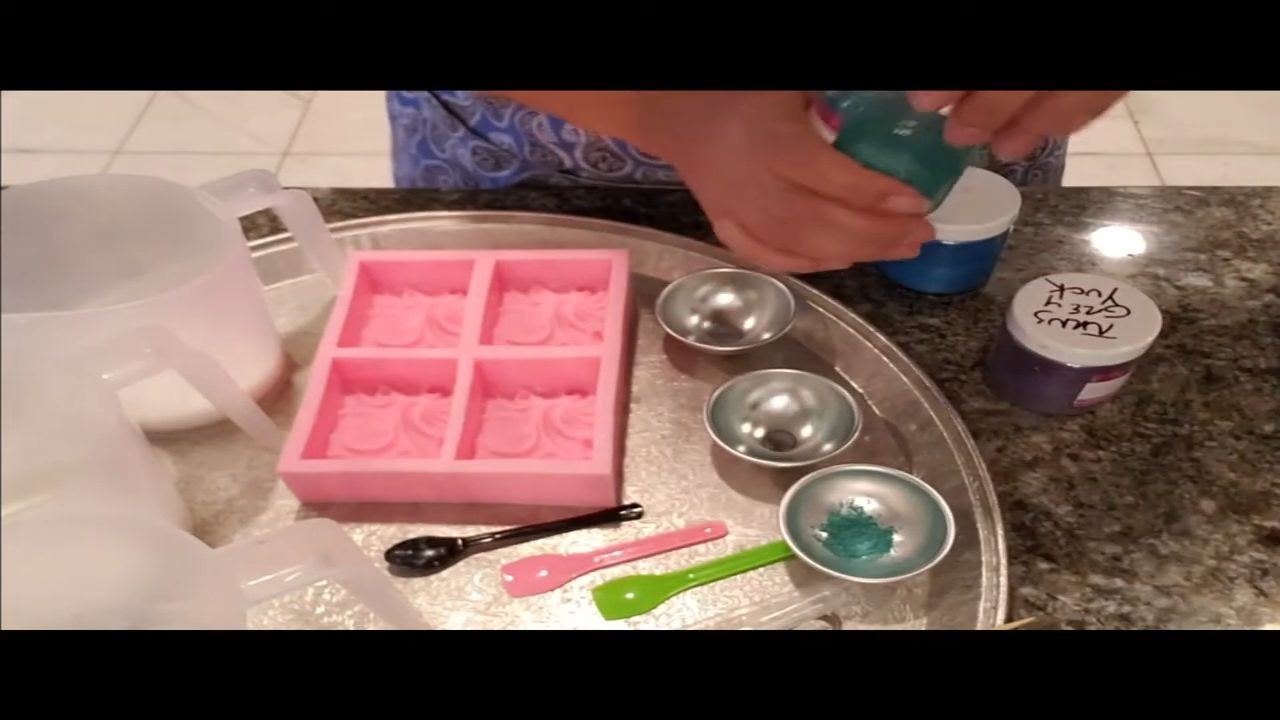
Put a small spoonful of each mica in its own cup and add a little distilled water, about 2 ml from a pipette. Don’t add too much water, because extra water makes the soap take longer to set. Give each color its own pipette.
3. Cool and Pour the Base
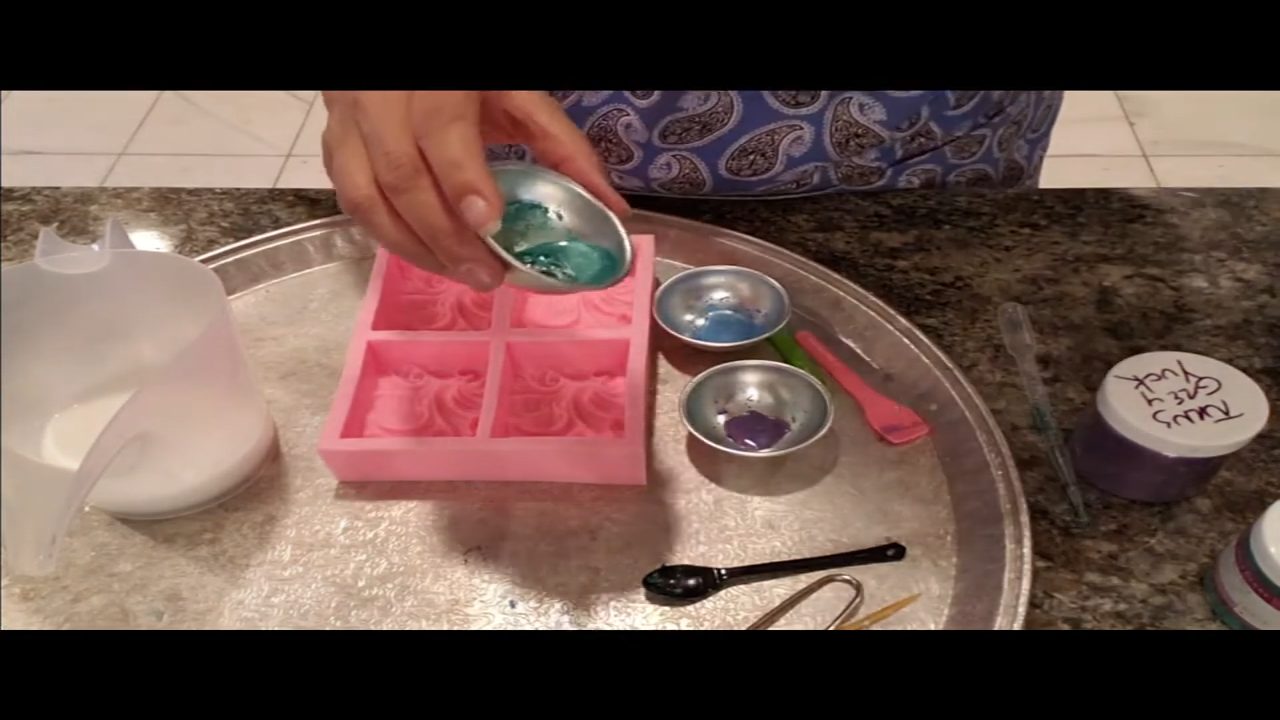
The soap needs to cool to the 110s°F before you swirl. At 130–140°F, it’s too hot. Pour the first bar once it’s around 119°F. Stir out any skin first.
4. Add the Color
For the first bar, I squirted the green color into the soap with a pipette. Wait a moment before spraying alcohol, so the color has time to settle into a swirl.
5. Swirl with a Dental Syringe
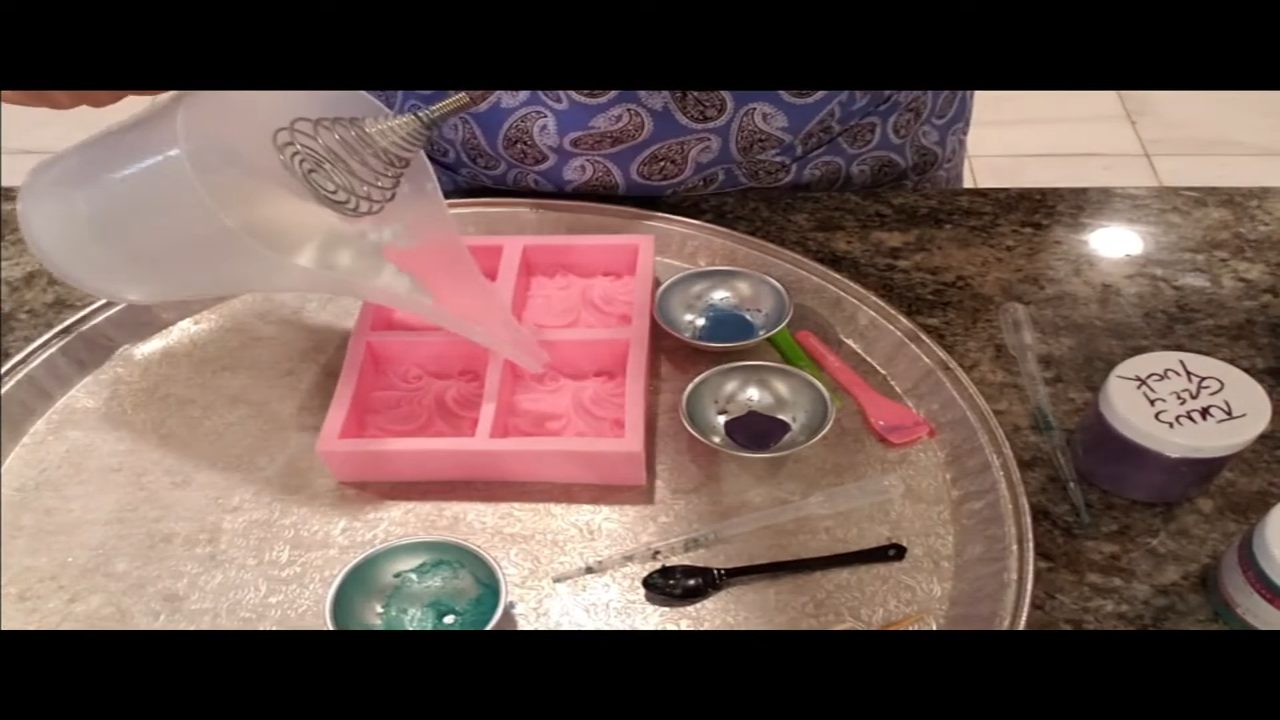
For the purple bar, I used a curved dental syringe. It picks up small amounts of color much better than a dropper, and it shoots it in with more pressure. Squirt the color in hard, give it one swirl, then pour the soap. Wait a minute before spraying with alcohol.
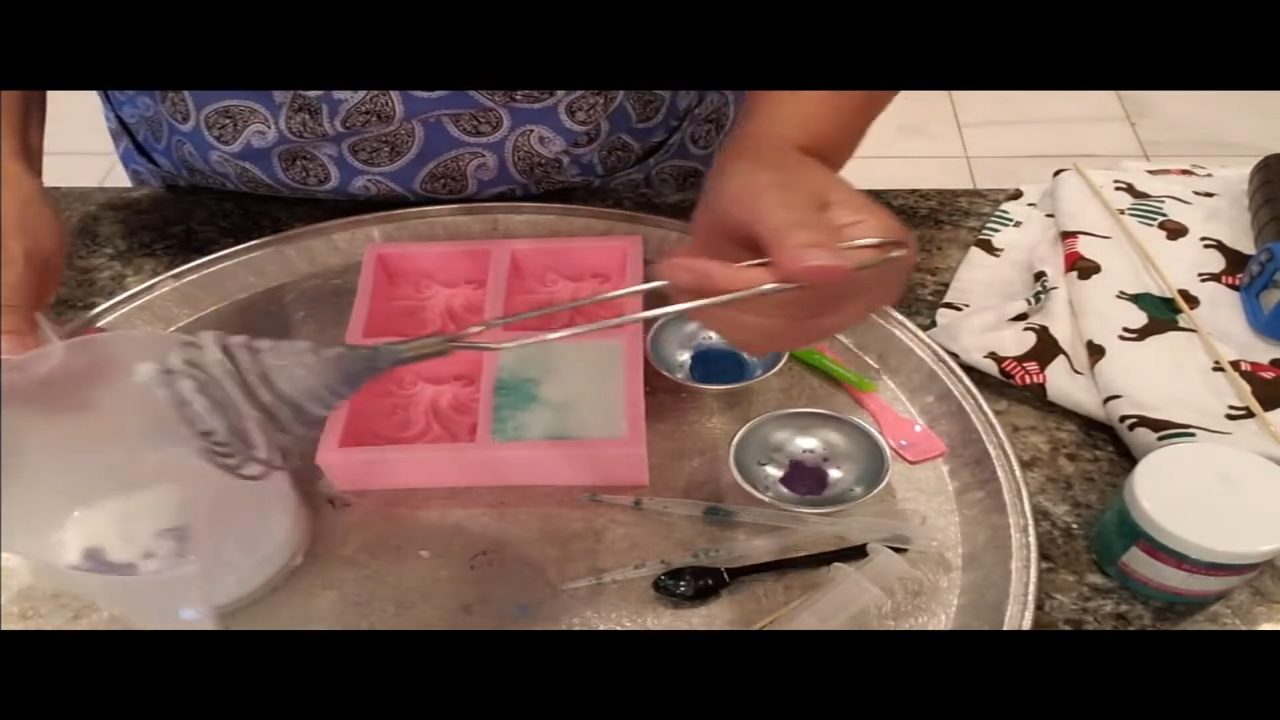
6. Repeat with Blue
Rinse out the syringe and do the same with the blue, pouring when the soap is around 113–118°F. One quick swirl is all you need.
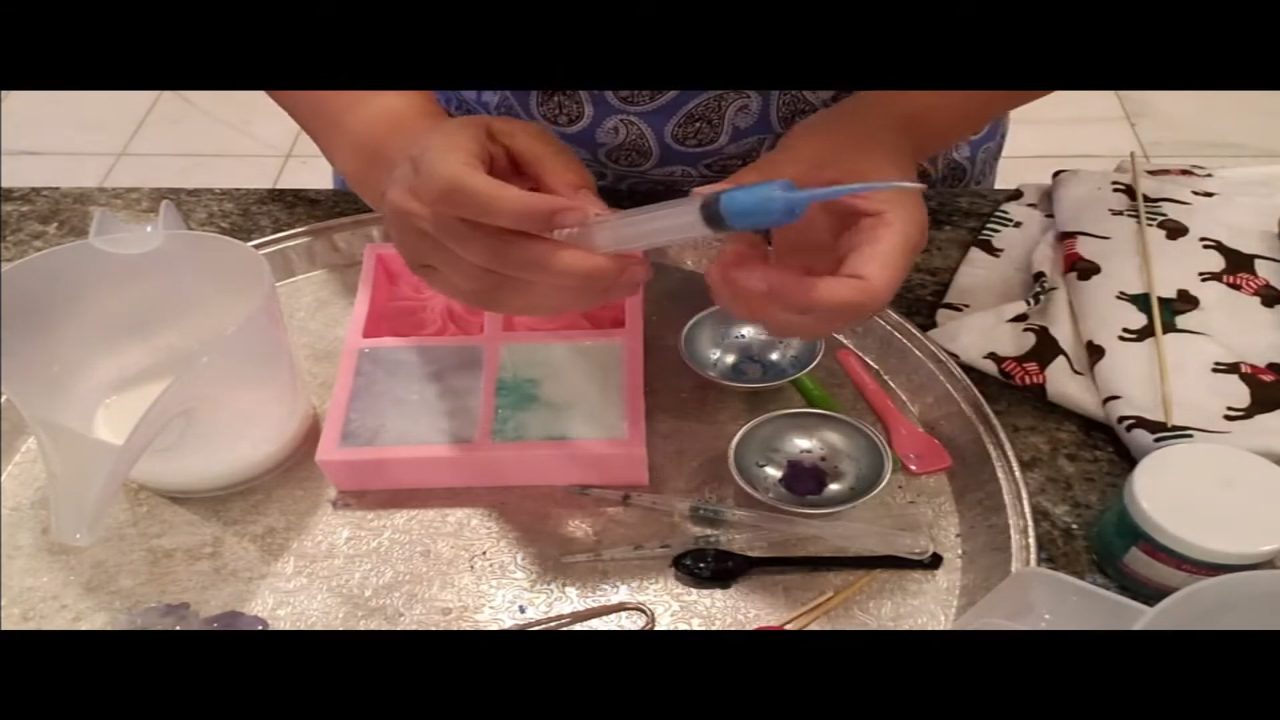
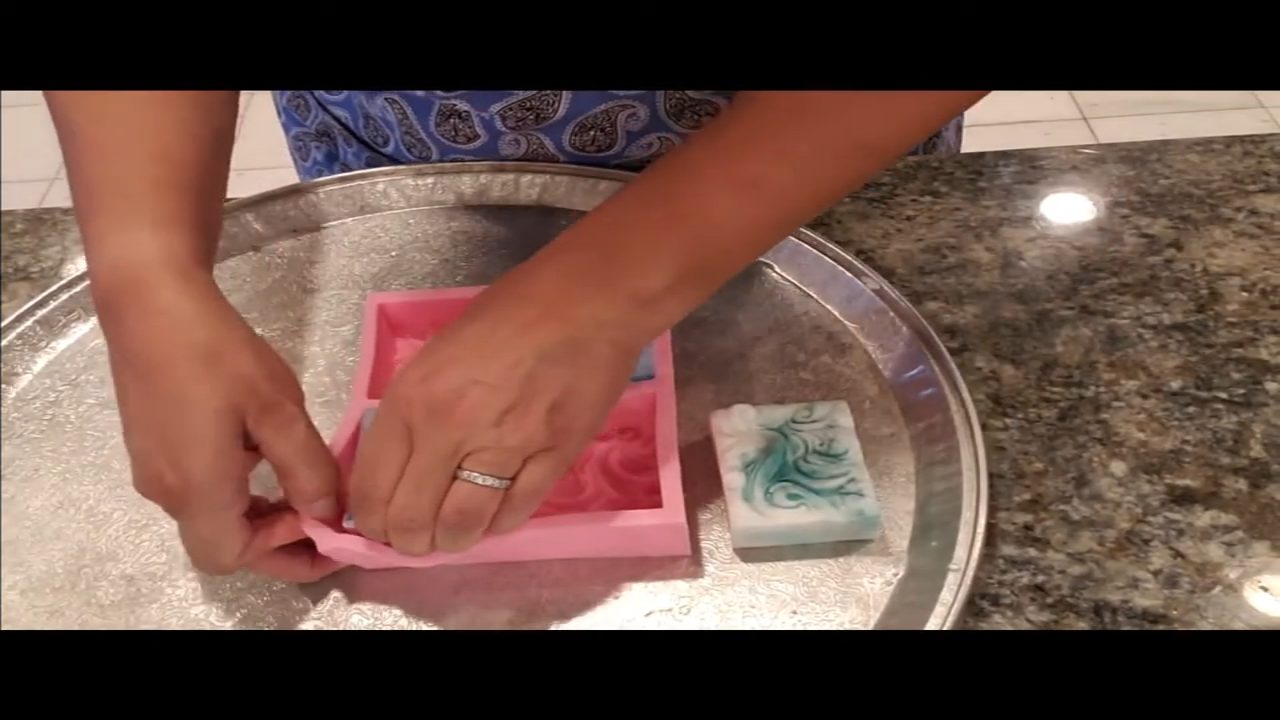
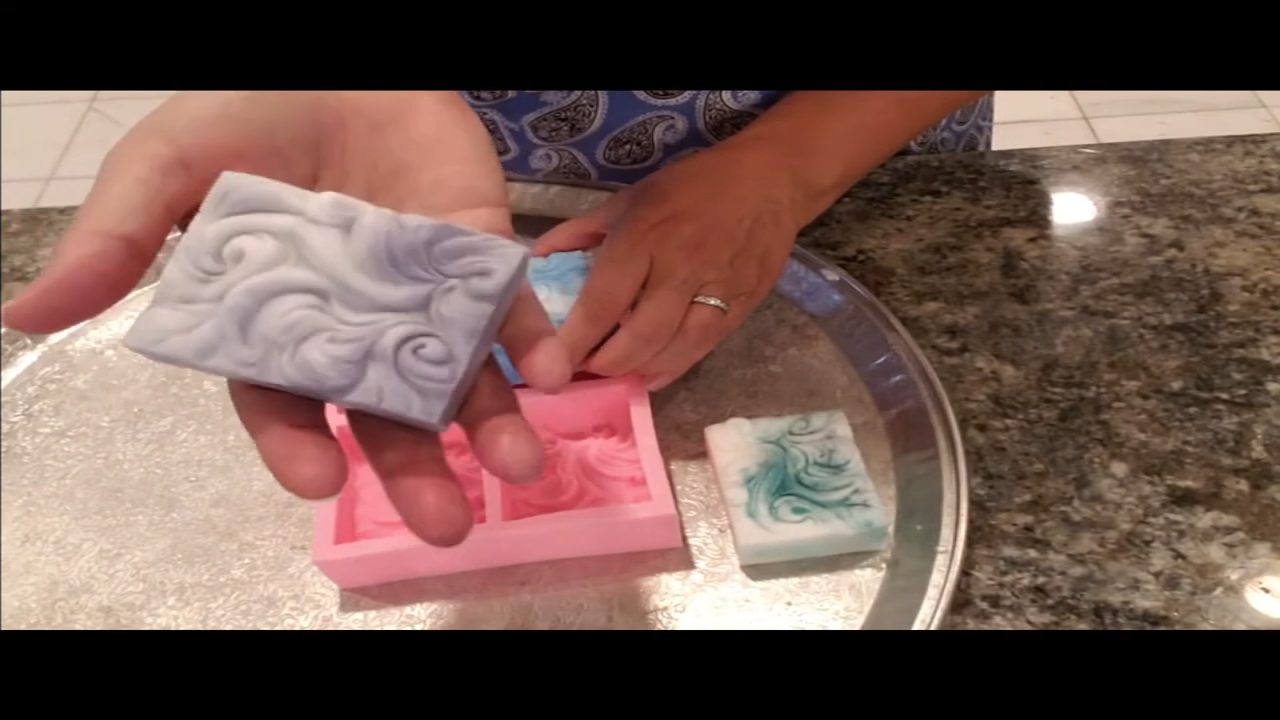
7. Unmold
Let the soaps set, then unmold. The bars come out about 3.75–4 oz each, which is a nice guest soap size.
Tips & What I Learned
- Pour in the 110s°F. Hotter soap won’t hold the swirl.
- Use dental syringes for small amounts. They pick up the last bit of color and give a stronger swirl.
- Go easy on the water. Too much water in the color slows down setting.
- Wait before spraying alcohol. Give the color a moment to swirl first.
- Add glitter next time. A little bio glitter would make the waves sparkle.
Troubleshooting
My swirl disappeared.
The soap was too hot. Let it cool to the 110s°F.
The soap is taking a long time to set.
There may be too much water in the color. Use only about 2 ml.
The dropper won’t pick up the color.
Try a dental syringe. It handles small amounts much better.
FAQ
How much fragrance oil should I use?
Up to 5 ml per 16 oz of soap base. You can always use less, but don’t use more than 5 ml per 16 oz.
Where do I find dental syringes?
Search for curved dental syringes on Amazon.
Can I use other micas?
Yes. Some purples can turn gray in cold process soap, but they usually look great in melt and pour.
More Swirl Soap Ideas
- How to Swirl Melt and Pour Soap
- Kaolin Clay Melt and Pour Soap (Cloud Mold)
- Cloud Wave Melt and Pour Soap
- Irish Swirl Melt and Pour Soap
- All my melt and pour soap tutorials on YouTube
If you make this, I’d love to see it! Tag me on Instagram or Pinterest, and subscribe on YouTube for new soap tutorials.
