
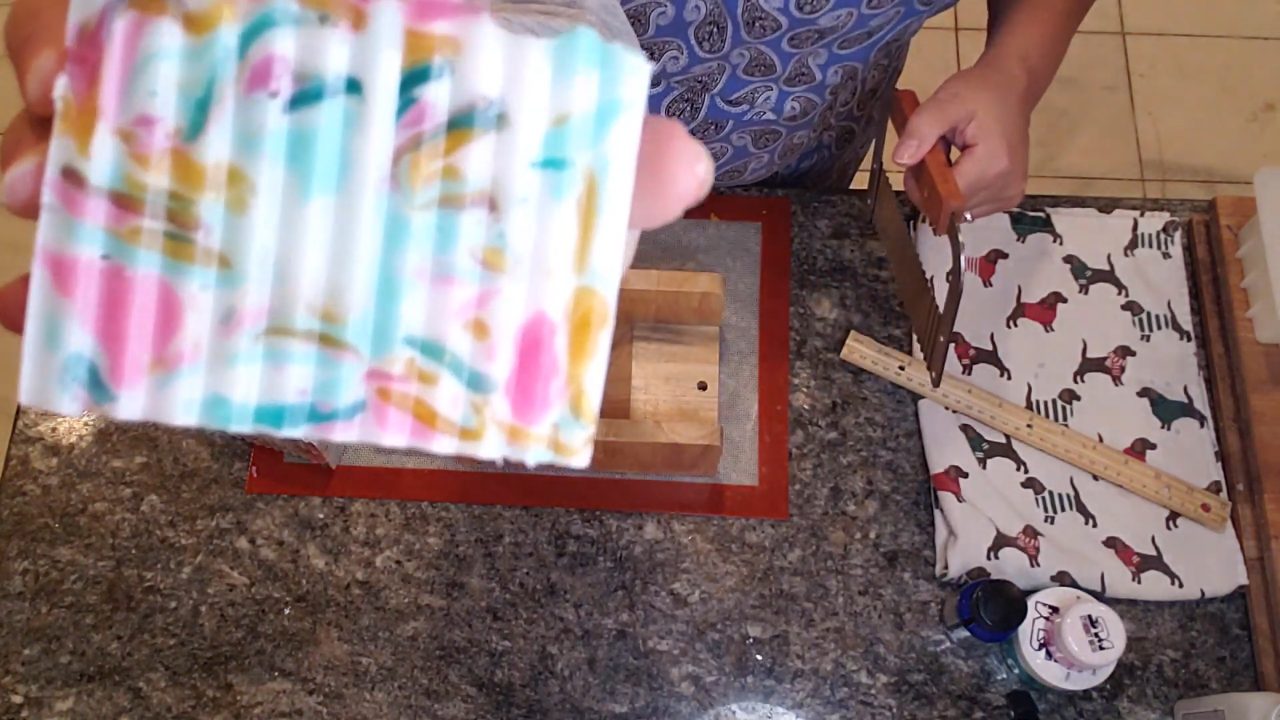
This Christmas embed melt and pour soap started as a way to use up leftover red, green and gold soap from earlier holiday projects, and it almost turned into a disaster. The layers set up faster than I wanted, so I mashed everything into a ball, pressed it into the mold and poured hot white shea butter around it. The result is a colorful, festive “mod podge” bar, and nothing went to waste.
As an Amazon Associate I earn from qualifying purchases. Some links in this post are affiliate links. They cost you nothing extra and help support Koala Soap.
Materials & Tools
Soap Bases
- Leftover clear soap scraps and embeds from other projects (mine were red, green and gold)
- Premium clear melt and pour soap base if you need more clear soap
- Shea butter melt and pour soap base for the colored layers and about 8 oz for the final pour
- About 1½ lb of soap in total for a 20–22 oz mold
Color, Scent & Glitter
- Gold Rush, Tail Green and Red Strawberry from this Stardust mica set or individual Stardust micas
- Peppermint fragrance oil
- Bio glitter for the top
Tools
- Rigid square soap mold (mine holds about 20–22 oz)
- Silicone tray or mat for pouring the layers
- Spouted pour cups and pipettes
- A chopstick for poking holes
- Spray bottle of 91% isopropyl alcohol
- Thermometer
- Digital scale
Fragrance Amount
Use up to 5 ml of fragrance oil per 16 oz (1 lb) of soap base. For about 1½ lb of soap, that’s up to roughly 7 ml in total. You can always use less if you like a lighter scent, but don’t go over 5 ml per 16 oz. Add it between 140°F and 150°F so it doesn’t burn off. My leftover soap was already scented with peppermint, so I stuck with the same scent.
How to Make Christmas Embed Melt and Pour Soap from Leftover Soap
1. Gather Your Leftovers
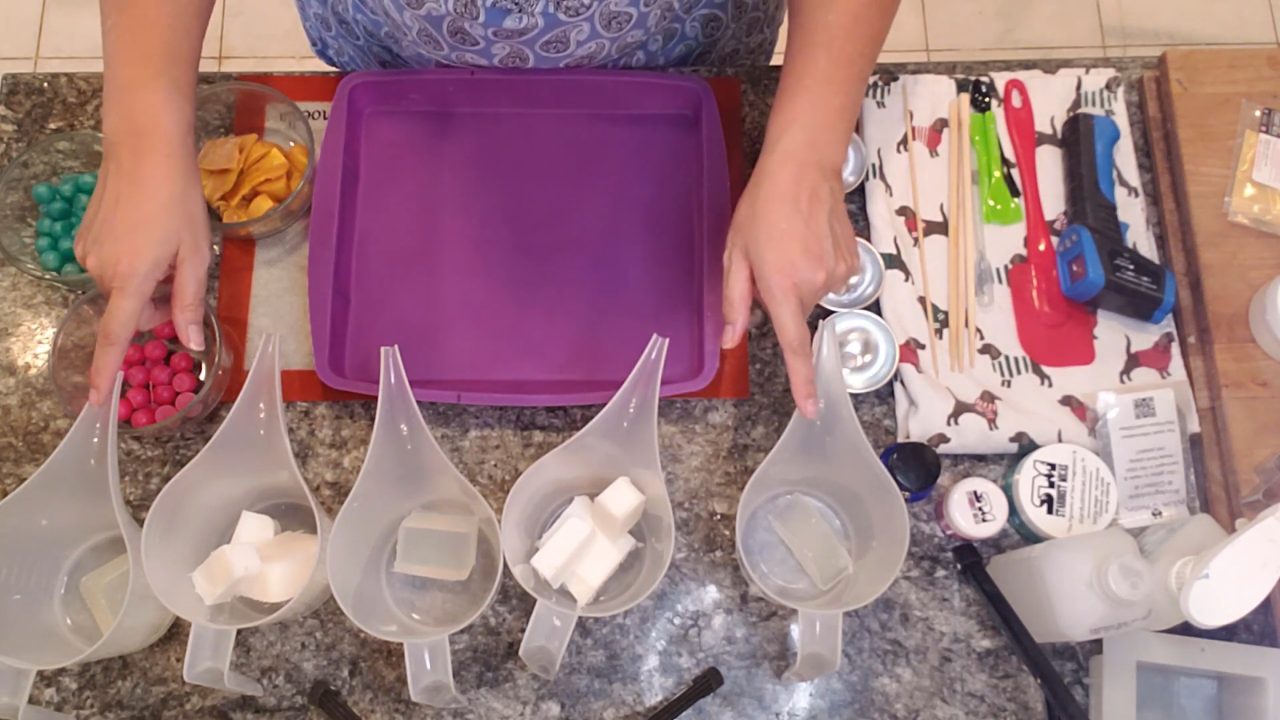
Collect leftover soap scraps and old embeds. I had light bulb soap remnants and little red and green balls. Keep clear (glycerin) scraps with clear soap and opaque scraps with opaque soap.
2. Remelt and Color
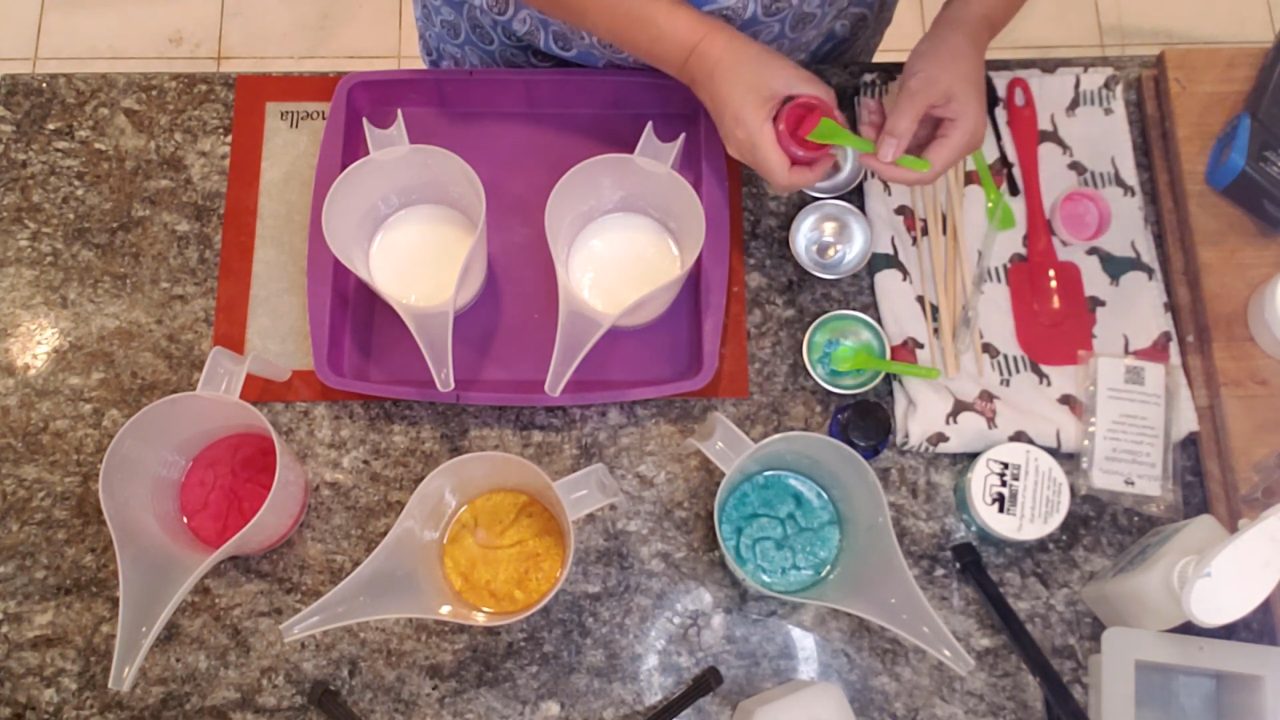
Remelt the clear scraps by color. Add a little Gold Rush to one cup. Melt shea butter base and color some with Tail Green and some with Red Strawberry. Red looks pink in a white base, so go light. The micas also help cool the soap down a bit. Add fragrance to each cup once it’s between 140°F and 150°F.
3. Pour Short Layers
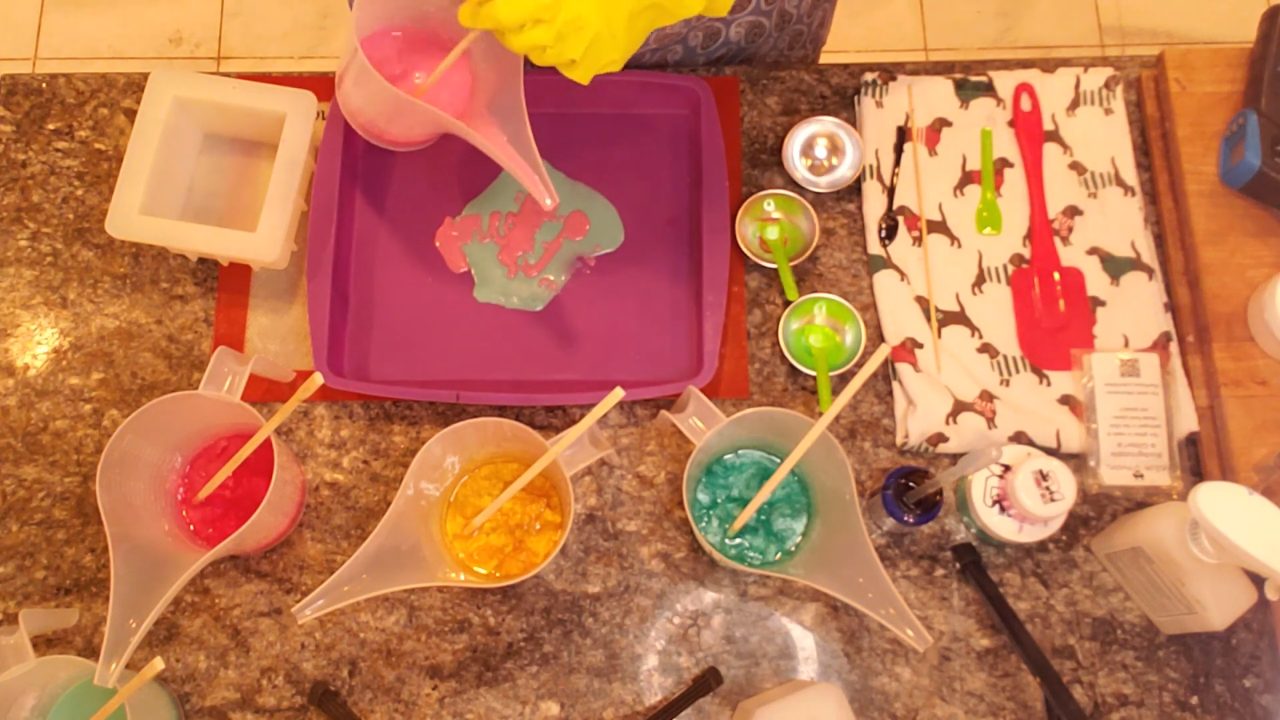
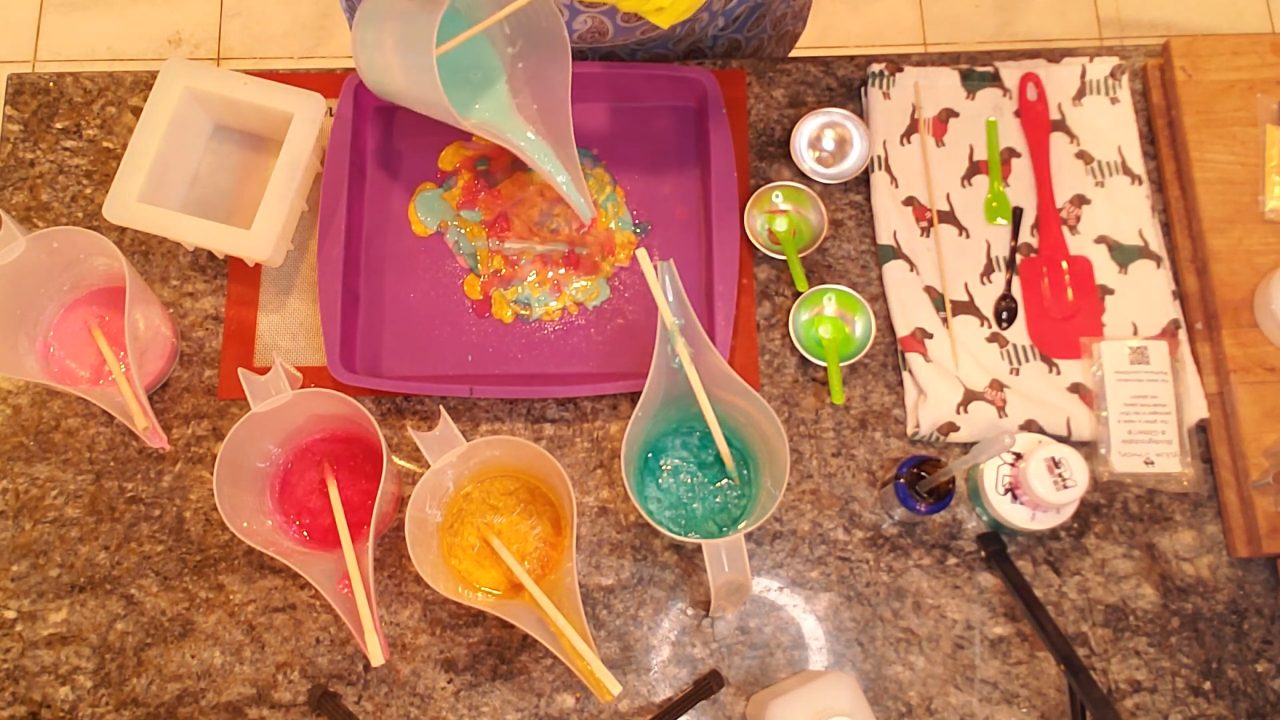
Pour the colors onto a silicone tray in short layers, one on top of another. Let each one form a skin first. If you’re not sure the next color will break through, pour a little on the edge and slowly work it over the top. Opaque soap takes longer to cool and set than clear.
4. Save the Design
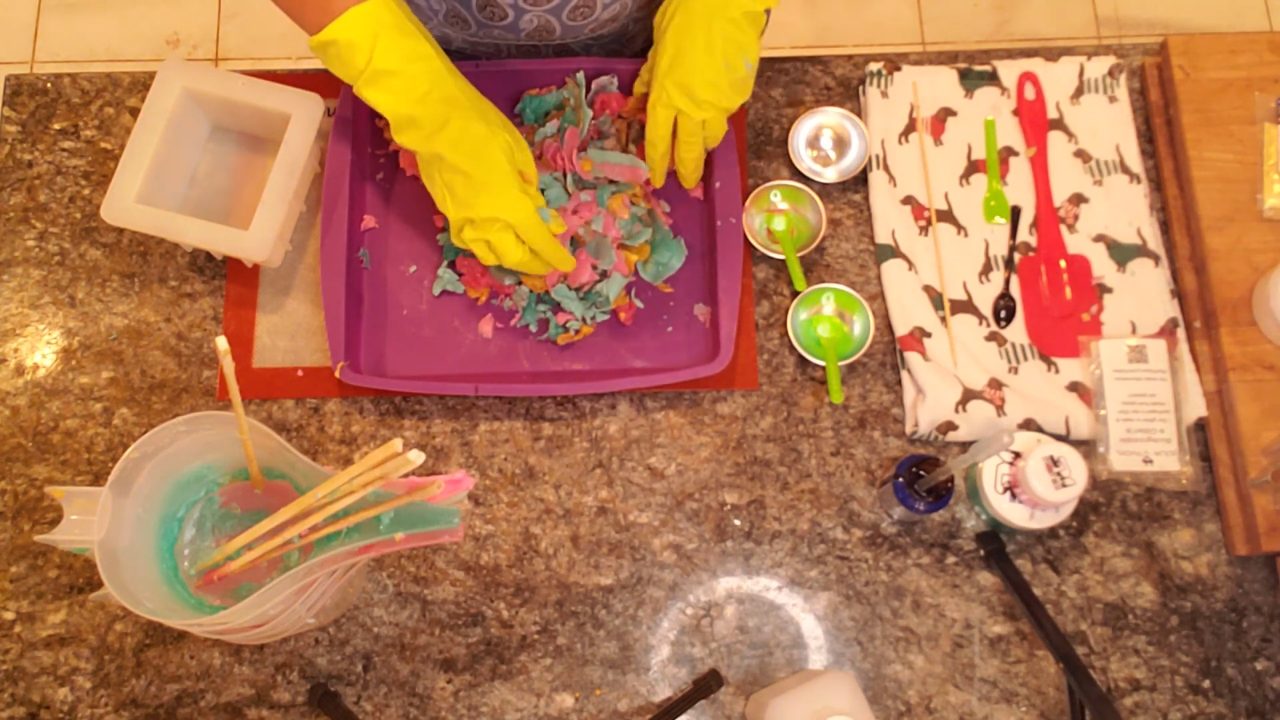
This is where it almost went wrong. The soap set up faster than I wanted. Instead of fighting it, mash all the layers and skin into a ball. It’s messy, but the colors stay distinct.
5. Press It Into the Mold and Weigh It
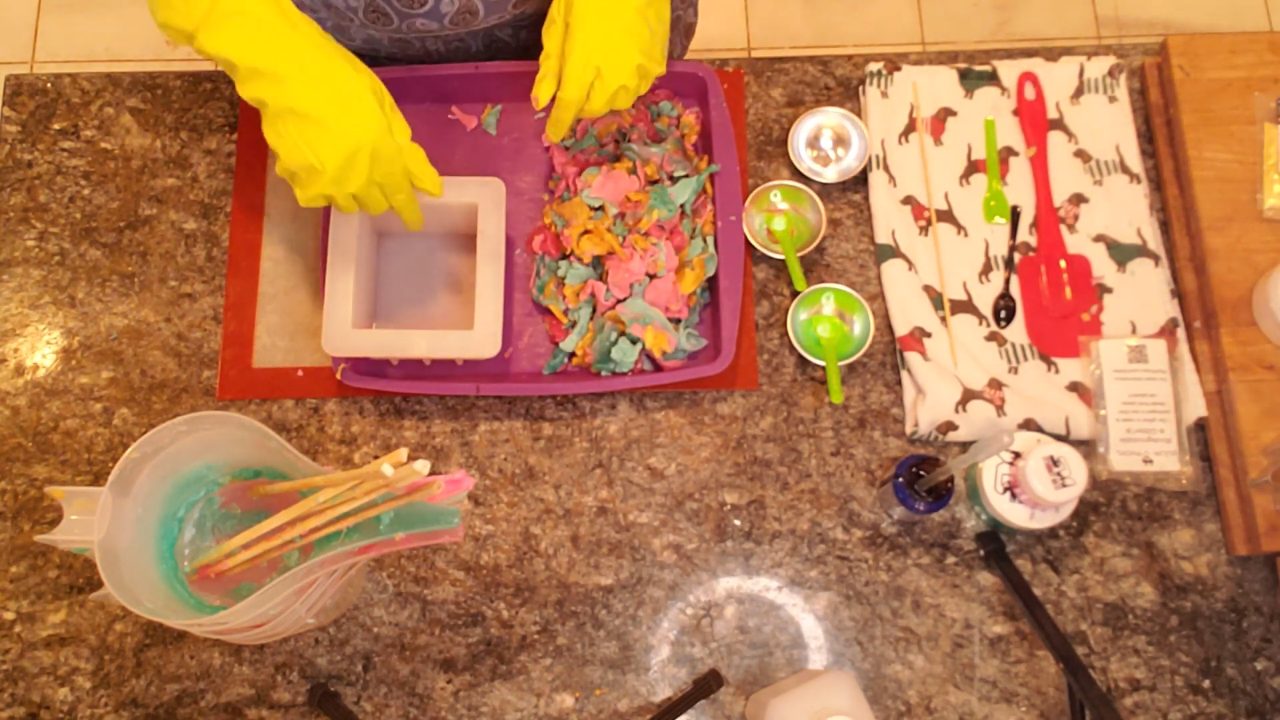
Press the soap into the square mold. Weigh the filled mold and subtract the empty mold weight to figure out how much shea butter you need. My mold needed about 8 oz, more than it looked, because of all the air between the pieces.
6. Poke Holes
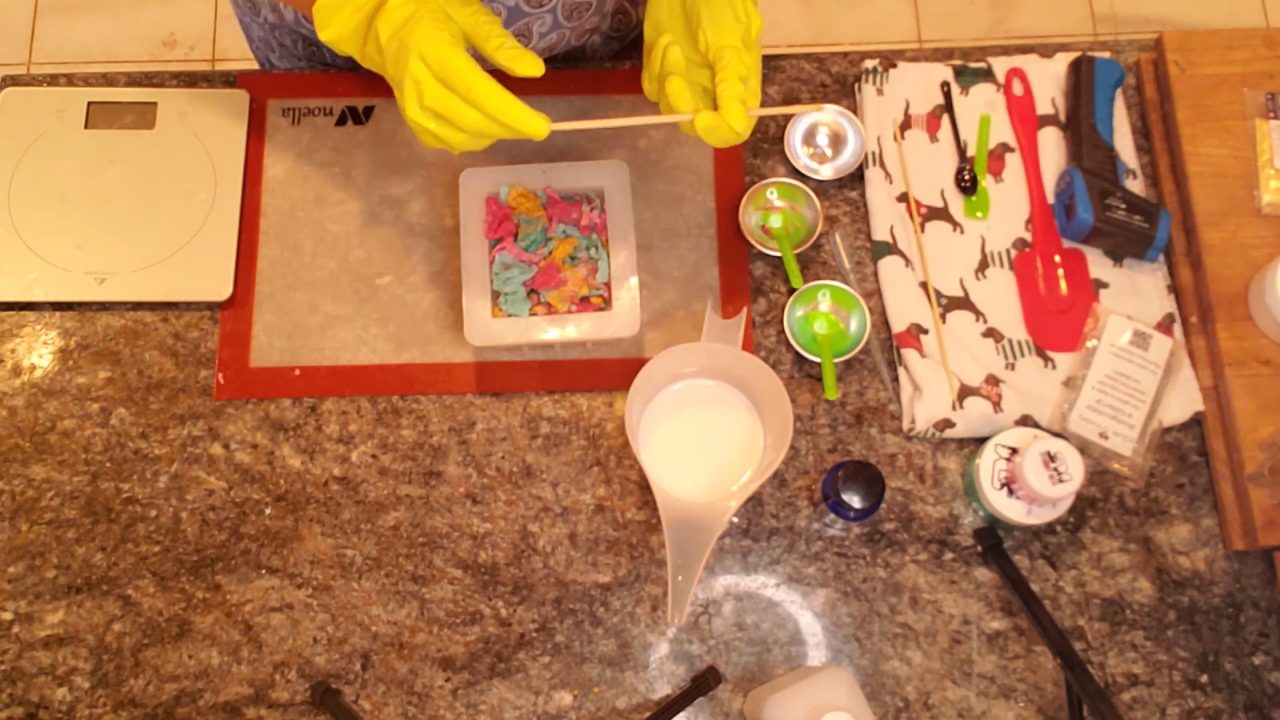
Poke plenty of holes with a chopstick. Its larger diameter lets the shea butter flow all the way down.
7. Pour Hot Shea Butter
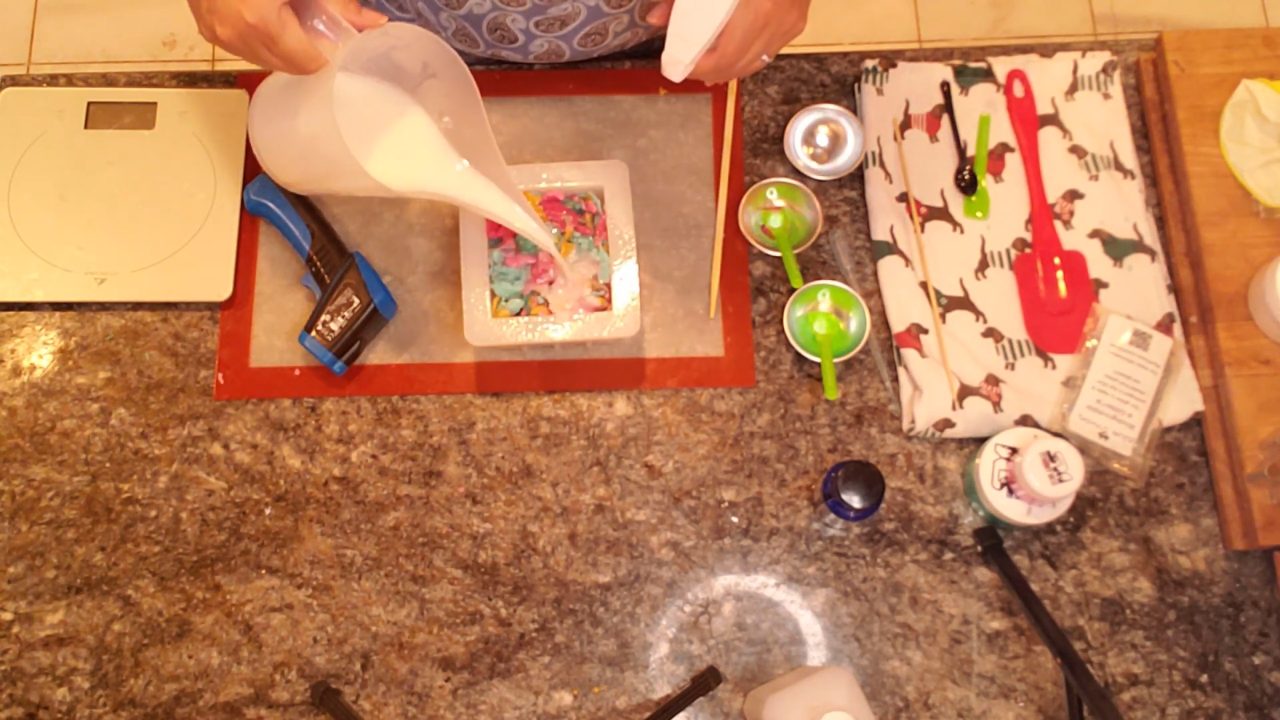
Melt the white shea butter base and heat it to 170–180°F so it blends into the colored pieces. Because it’s poured so hot, leave the fragrance out of this part. The colored layers carry the scent. Spray with alcohol and pour into the holes. Work the soap gently so the shea butter gets in between, but don’t pack it so tight that it can’t flow. Melt a little more if you run short.
8. Add Glitter, Unmold and Cut
Once the top is around 149°F, spray with alcohol and sprinkle on a little bio glitter, wearing gloves. Let the loaf set, then unmold and cut your bars.
Tips & What I Learned
- Don’t waste leftovers. Scraps and old embeds make a fun, colorful soap.
- Add fragrance at 140–150°F. Hotter soap burns off the scent.
- Weigh the mold. Subtract the empty weight to know how much base to melt.
- Pour the final base hot. 170–180°F helps it melt into the pieces.
- Use gloves with glitter. Oils from your hands can make it clump.
Troubleshooting
My layers set up too fast.
Mash them into a ball and use the pour-around method instead.
I didn’t melt enough shea butter.
There’s more air between the pieces than you think. Melt a little extra.
The red looks pink.
Red mica looks pink in a white base. Use more mica, or use red in clear base.
FAQ
How much fragrance oil should I use?
Up to 5 ml per 16 oz of soap base. You can always use less, but don’t use more than 5 ml per 16 oz.
Can I mix scents in leftover soap?
It’s best to keep one scent. My leftovers were already peppermint, so I used peppermint for the new soap too.
Can I use any leftover soap?
Yes. Just keep clear and opaque soaps separate when remelting.
More Holiday Soap Ideas
- Jolly Dots Melt and Pour Soap
- Holiday Bulb Melt and Pour Soap
- Holiday Shreds Melt and Pour Soap
- Peppermint Melt and Pour Soap with Soap Frosting
- All my melt and pour soap tutorials on YouTube
If you make this, I’d love to see it! Tag me on Instagram or Pinterest, and subscribe on YouTube for new soap tutorials.
