
These Easter egg melt and pour soaps have little colorful egg embeds suspended in crystal clear soap, with a glittery green “grass” layer on the back. The last time I tried this, years ago, the embeds melted into a mess. This time the key was making sure the embeds were completely cool and pouring the clear soap low.
As an Amazon Associate I earn from qualifying purchases. Some links in this post are affiliate links. They cost you nothing extra and help support Koala Soap.
Materials & Tools
Soap Base
- A little shea butter melt and pour for the egg embeds
- About 4 oz of crystal clear melt and pour soap base for the egg layer
- About 3½ oz more clear base for the green back
Color & Scent
- Neon orange, neon pink and yellow mica, plus Teal Green, from a Stardust mica set or individually. Mix pale colors with a little white.
- Bio glitter for the green layer
- Fragrance oil in the green layer only (I used Love Spell)
Tools
- A small egg-shaped embed mold
- A shallow egg-shaped soap mold, or a round cavity mold
- Skewer for scoring
- Spray bottle of 91% isopropyl alcohol
- Thermometer
- Pour cups
Fragrance Amount
Use up to 5 ml of fragrance oil per 16 oz (1 lb) of soap base. For a 3½ oz back layer, that’s only about 1 ml. Keep fragrance out of the clear egg layer so it stays crystal clear.
How to Make Easter Egg Soap
1. Make the Egg Embeds
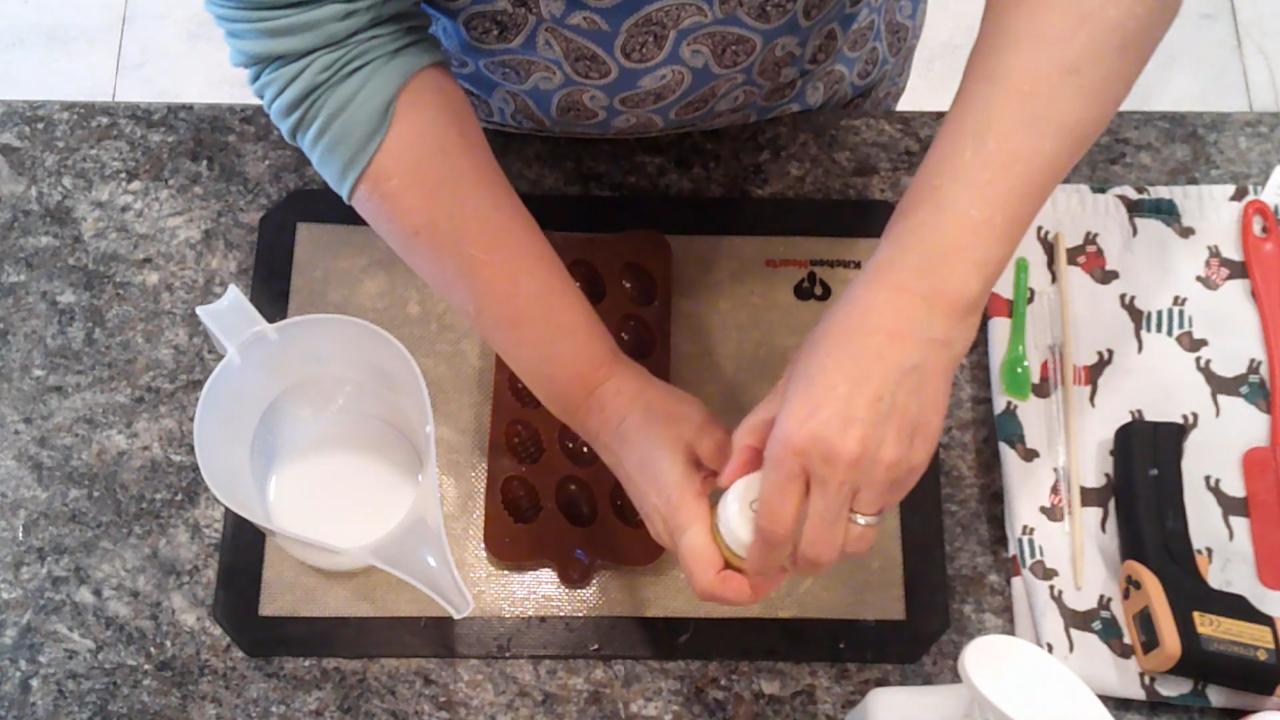
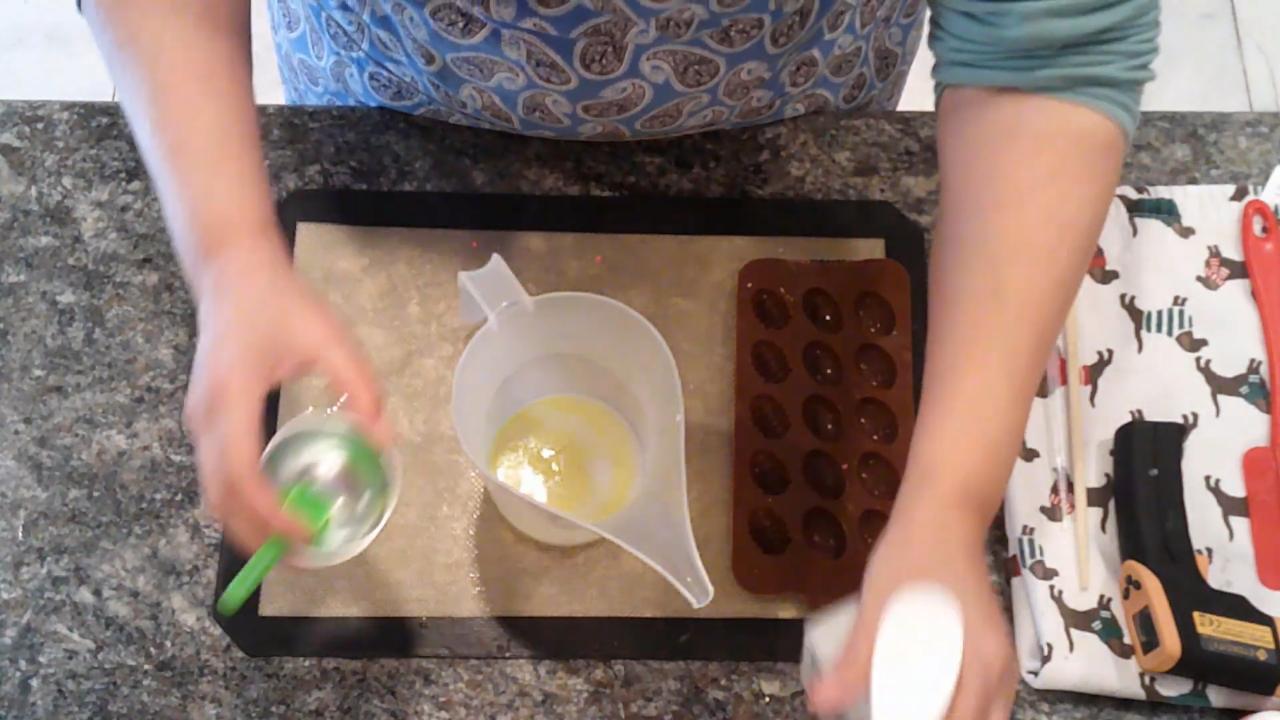
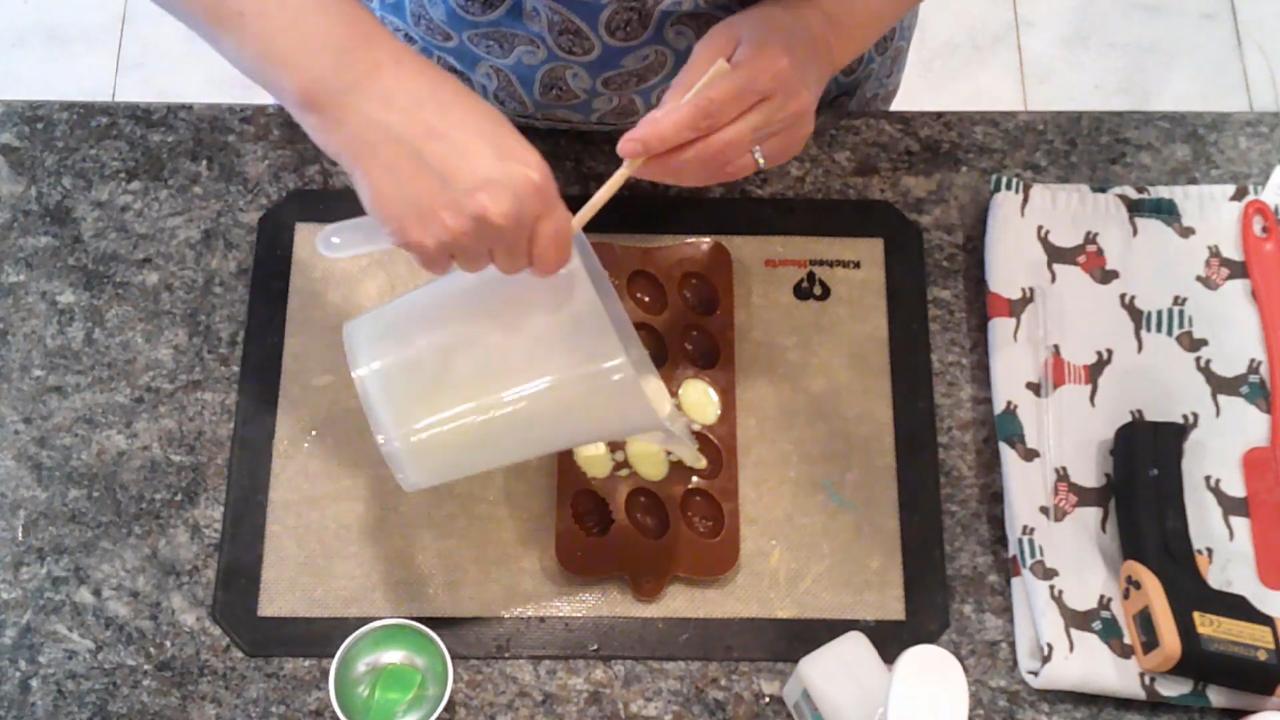
Melt a little shea butter base, color small batches with mica (mix pastels with white), and pour into a small egg embed mold. Leave these unscented.
2. Let the Embeds Cool Completely
This is the most important step. Let the eggs sit for a couple of hours at room temperature. Even if they feel cool, warm centers will melt into the clear soap.
3. Pour a Thin Clear Layer
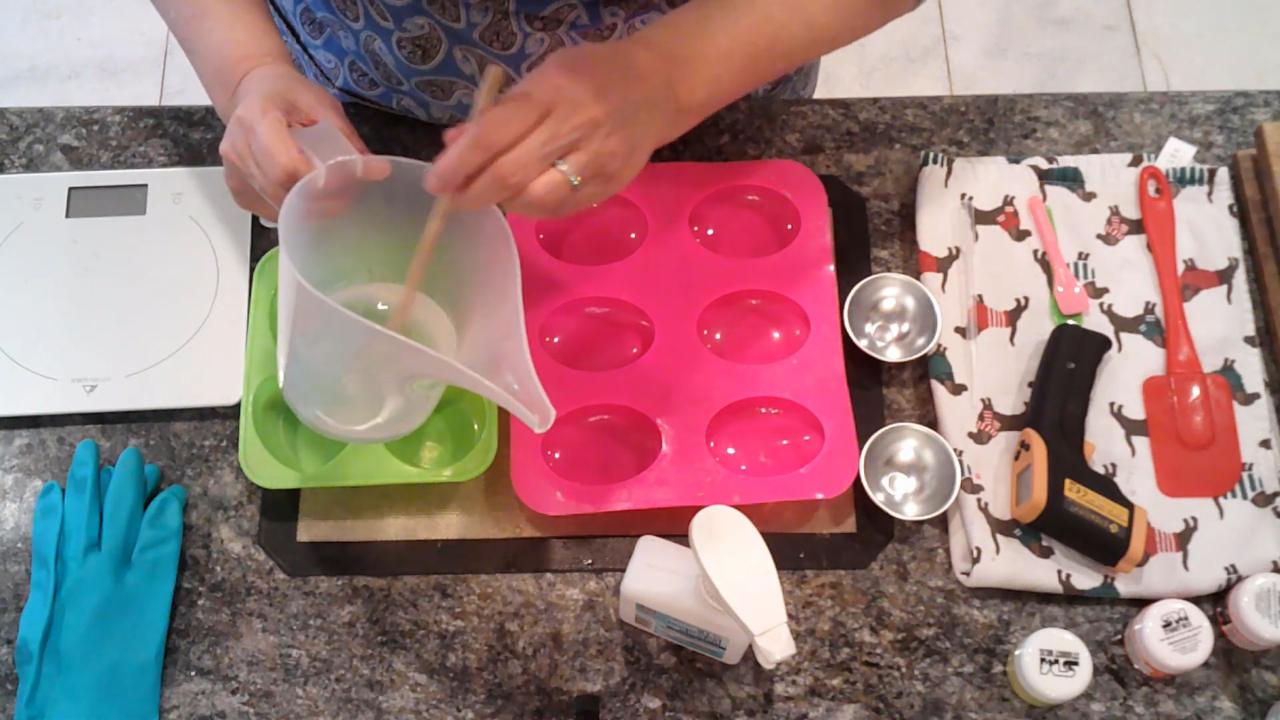
Melt the crystal clear base slowly in 10-second bursts so it doesn’t overheat and cloud. Stir out any small lumps instead of reheating. Pour a thin layer into the bottom of the mold and spray with alcohol.
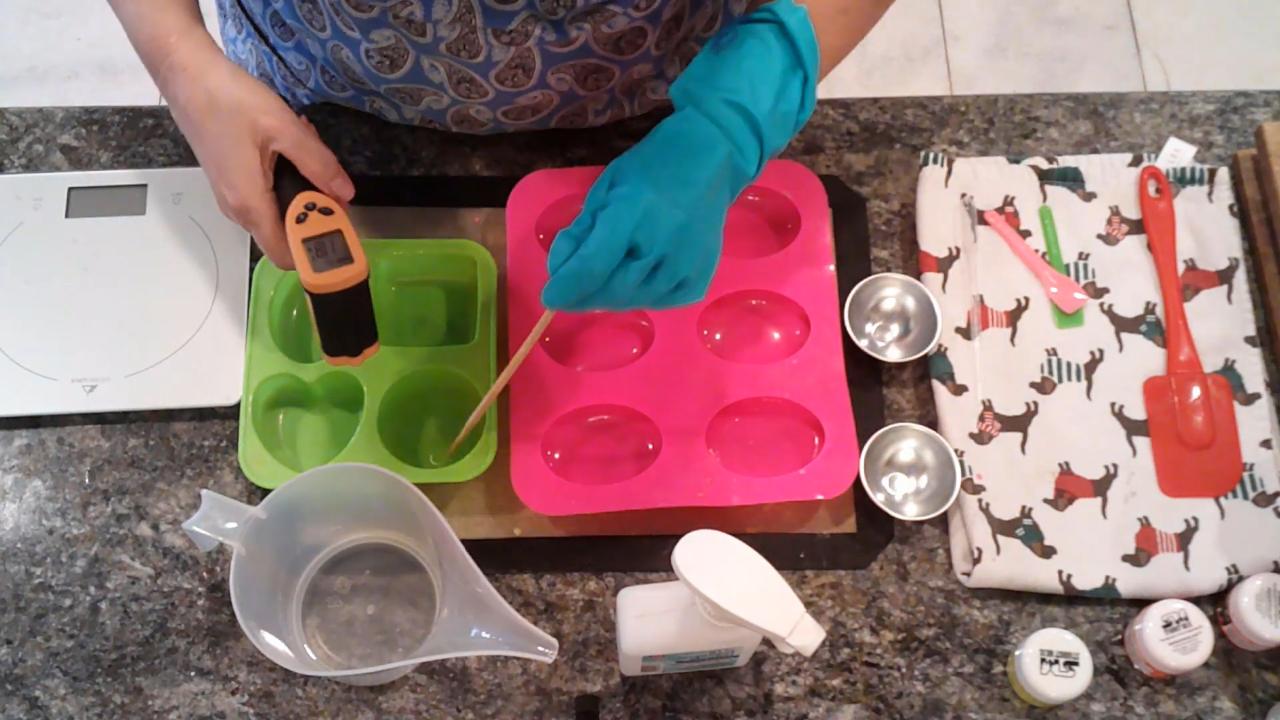
4. Add the Eggs
Wait until the clear soap is in the 120s or 130s, never over 140°F. Spray the eggs with alcohol and set them in. Pour a little more clear soap to hold the next layer of eggs, spraying as you go. Move any skins off to the side of your cup.
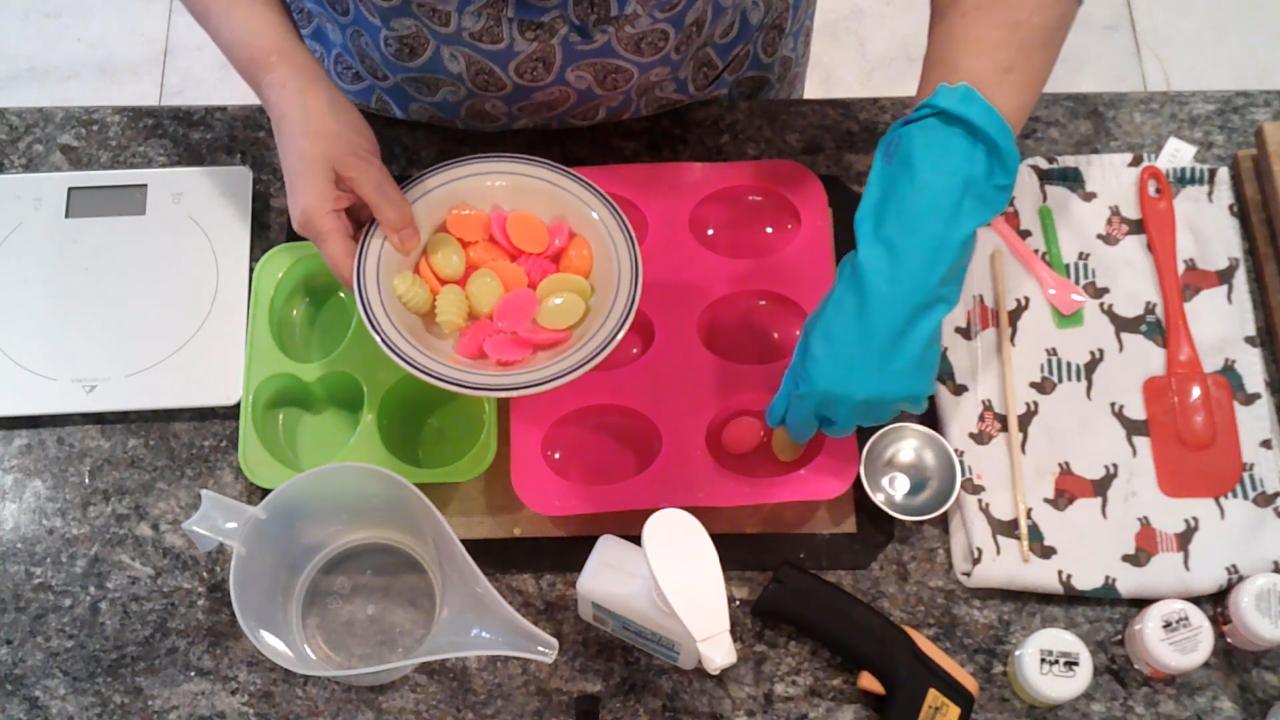
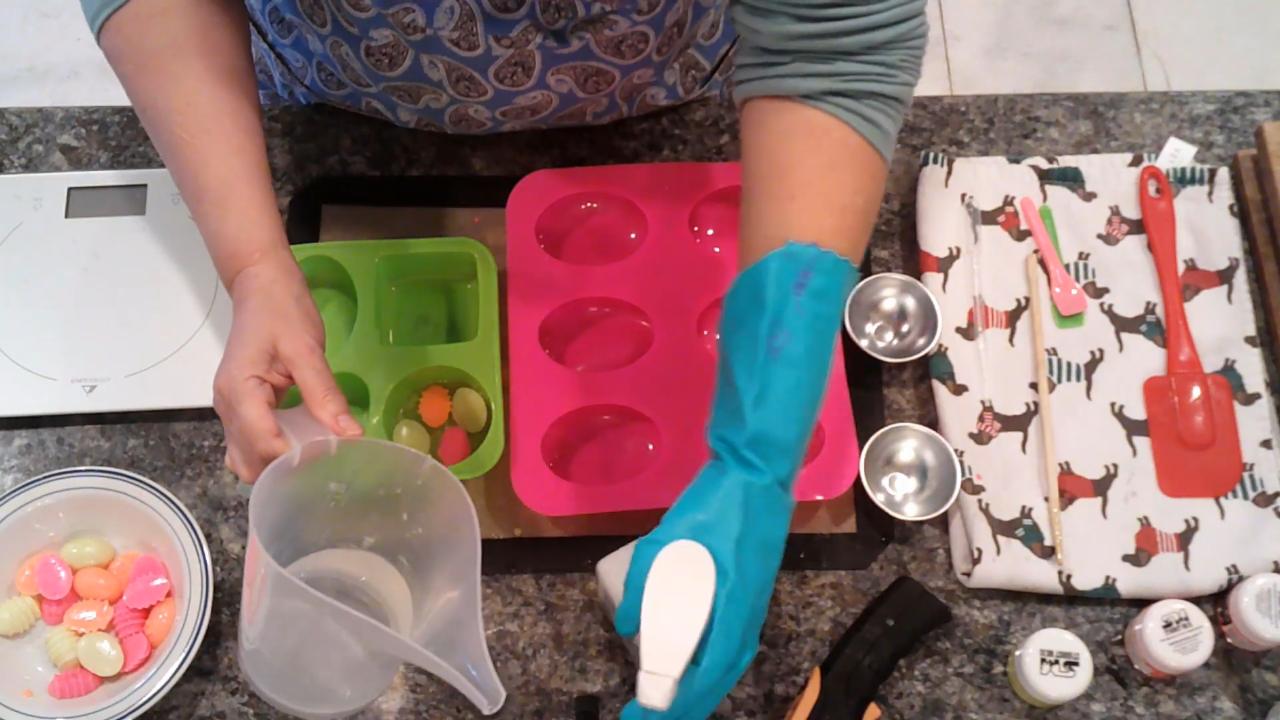
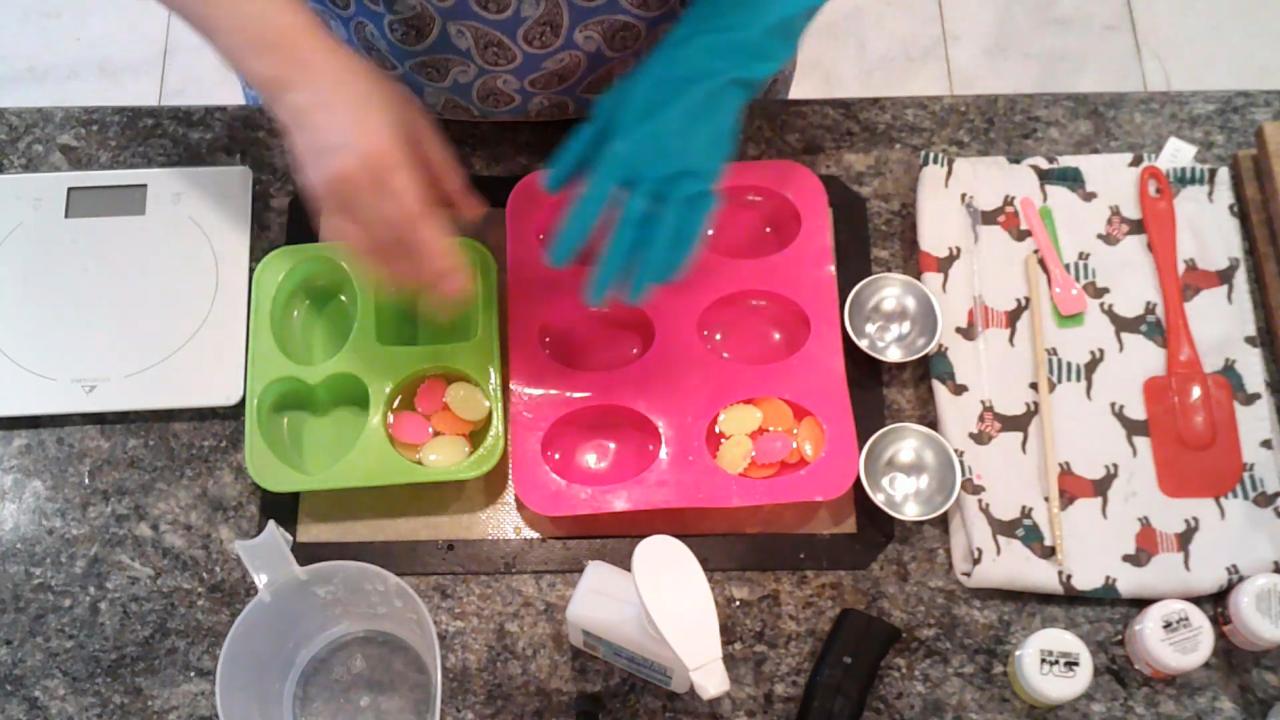
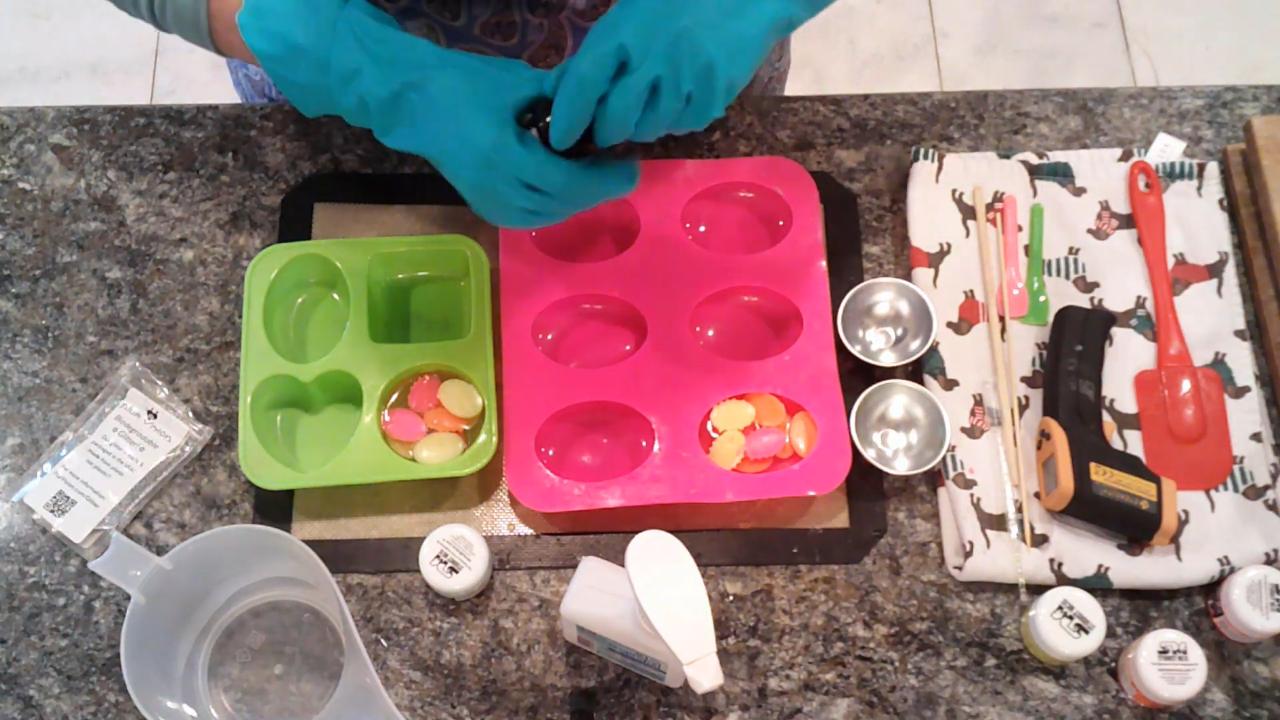
5. Score and Pour the Green Back
Once set, score the clear layer with a skewer, behind the eggs so it won’t show. Melt about 3½ oz of clear base, add a little fragrance, Teal Green mica and bio glitter. Pour it at about 127°F, under 140°F so it doesn’t melt through.
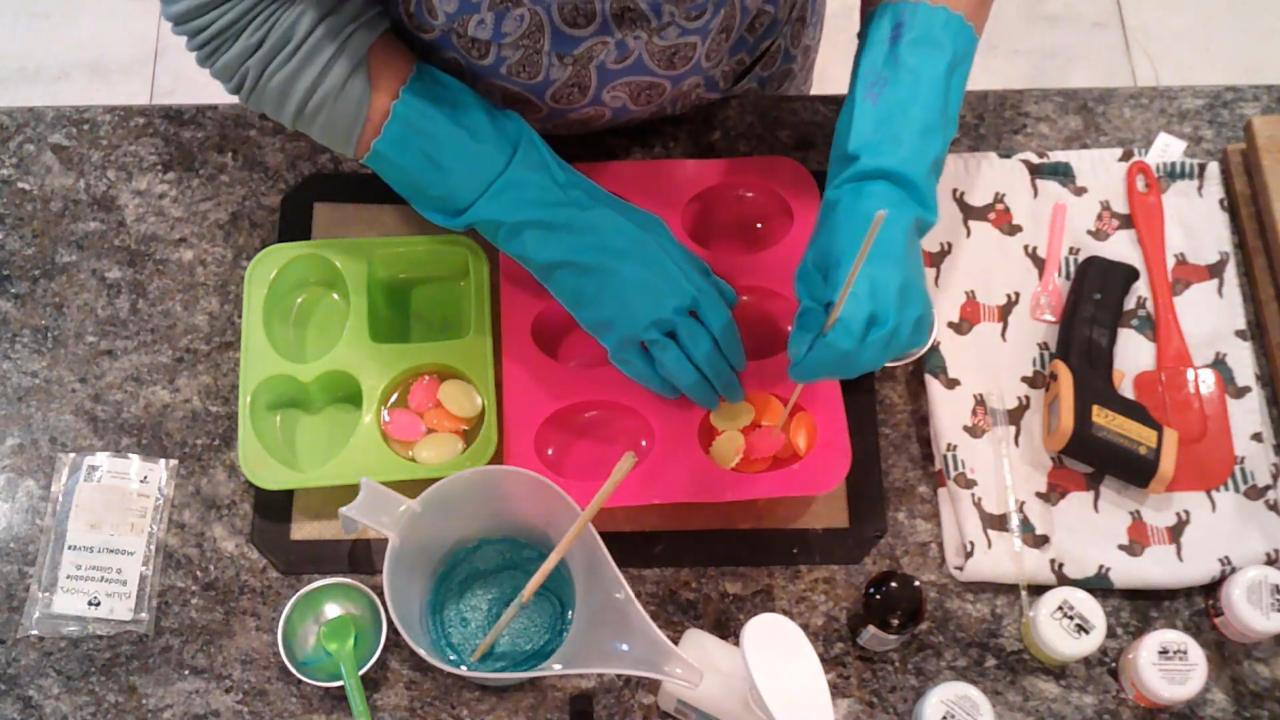
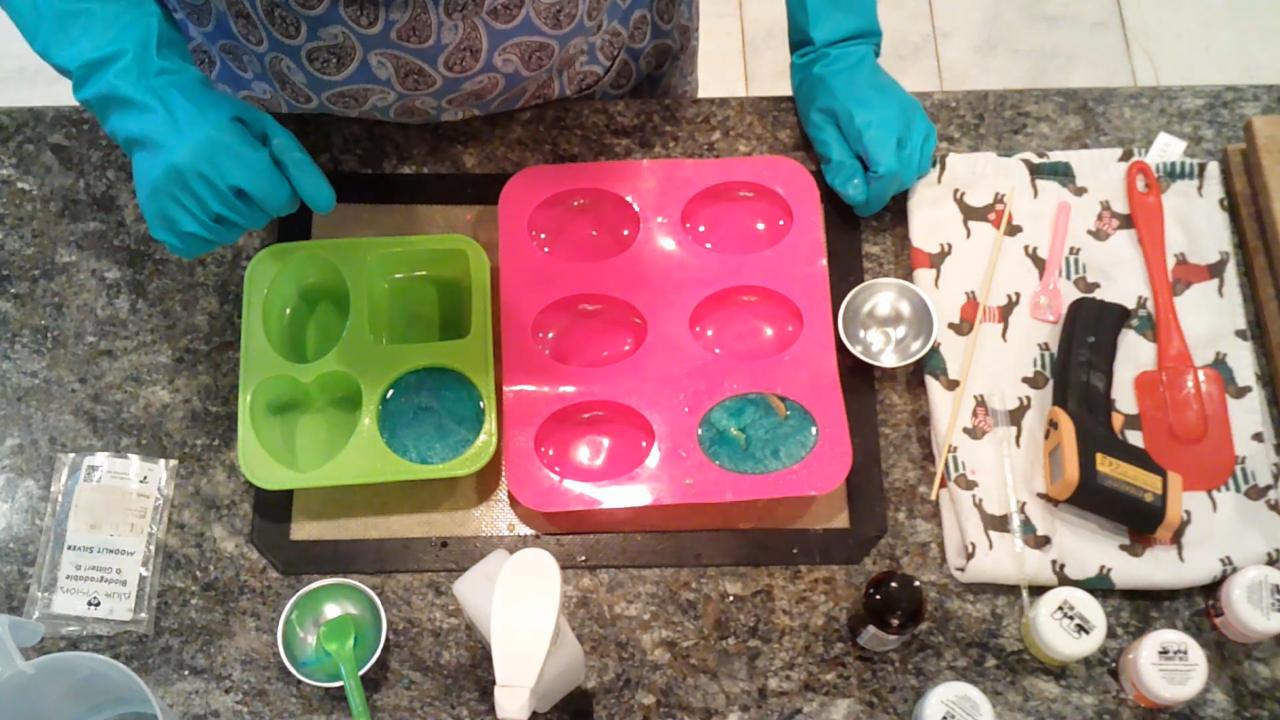
6. Unmold
Let it set, then unmold. The eggs show through the clear front, and the glitter sparkles on the green back.
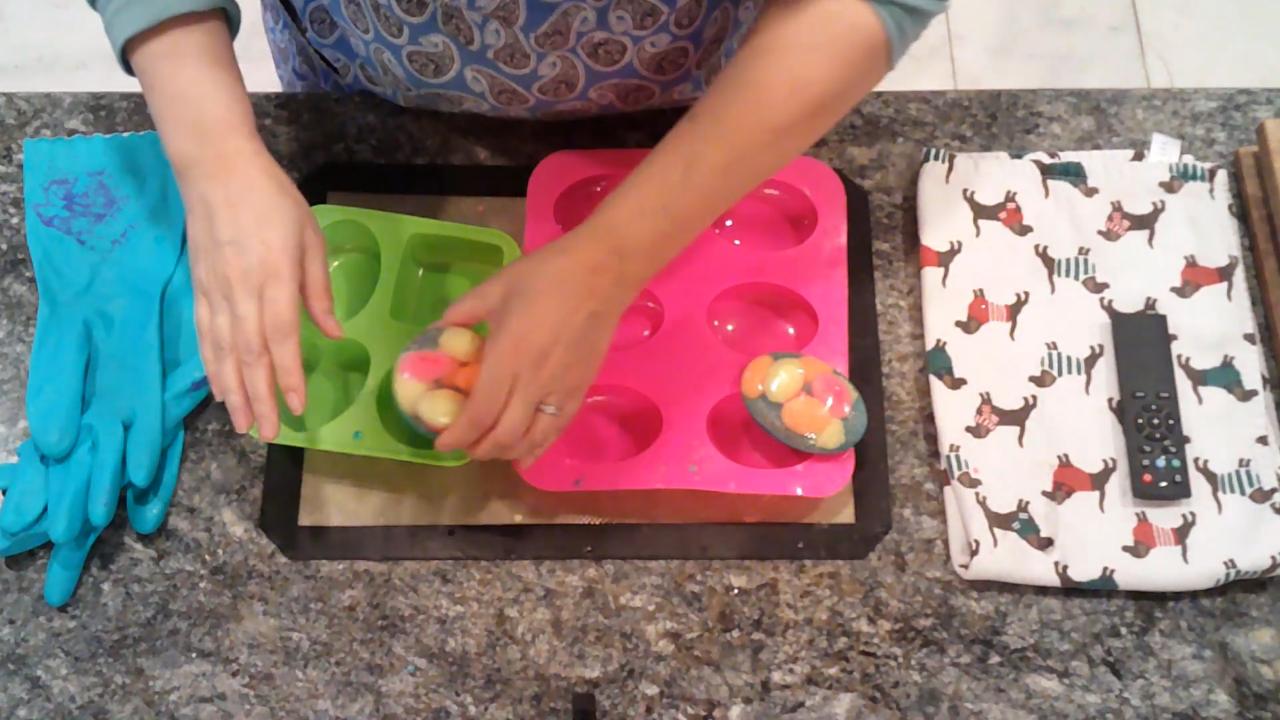
Tips & What I Learned
- Cool the embeds completely. It’s the difference between crisp eggs and a melted mess.
- Melt clear base slowly. Overheating clouds it.
- No fragrance in the clear layer. It keeps the soap crystal clear.
- Pour under 140°F. Aim for the 120s.
- Score behind the eggs. The marks won’t show from the front.
Troubleshooting
The eggs melted. They were still warm inside, or the clear soap was too hot.
The clear soap is cloudy. It was overheated. Melt in short bursts.
An embed pokes out the back. Trim it flat or cover it with a little more soap.
FAQ
Can I use a blue background instead?
Yes. Blue looks like sky, and green looks like grass.
Can I scent the egg embeds?
You can, but I left them unscented so leftovers can be used in any soap.
More Spring Soap Ideas
- Butterfly Melt and Pour Soap
- Recycled Soap Embeds Melt and Pour Soap
- Clearest Melt and Pour Soap Base Comparison
- Sphere Embed Melt and Pour Soap
- All my melt and pour soap tutorials on YouTube
If you make this, I’d love to see it! Tag me on Instagram or Pinterest, and subscribe on YouTube for new soap tutorials.
