
Getting a nice looking swirl in melt and pour soap can be hard. I found a way to make to make your melt and pour soap colors distinct in this fun process.First grab your funnel cups and mold that you will be using. I would suggest using a silicone mat or silicone cake pan for this project.
Divide the melt and pour soap base that you will be using into equal parts.

Add the micas to your bases. When the melt and pour soap base is at around 150 degrees, add in your fragrance oil. I use approximately 5mL per pound of of soap.
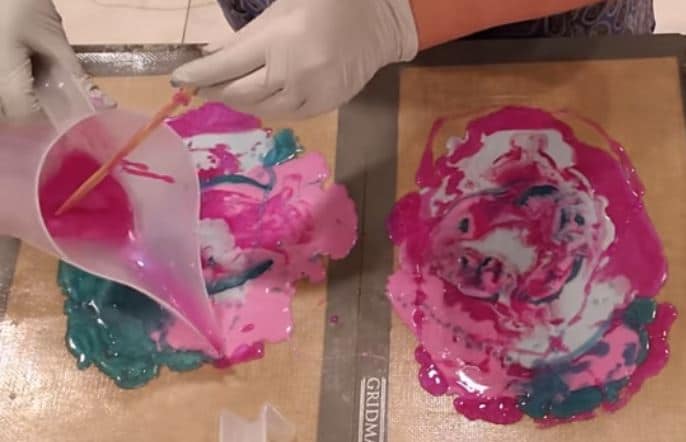
Pour the soap on the mat. Allow to cool and develop a skin before pouring the next color, you do not want them to mix on you. It is best to pour cooled soap base on top of soap that already has a thick skin.
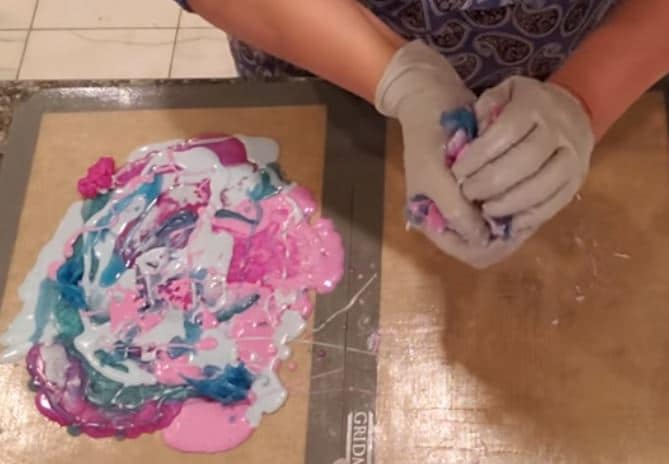
Once all the soap has hardened, start to roll it up and twist it up into a ball.
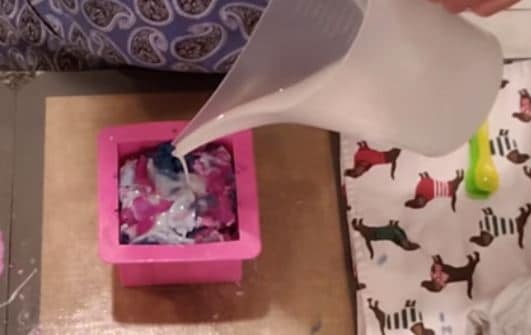
Place the ball of soap into the soap mold that you will be using.
You will now need to melt some more soap and pour at around 160-170 degrees so that it melts into the soap ball.
Tap the soap to let the air bubbles float up. They will float up as the hotter soap finds its way into the soap ball.
Spray with alcohol to dissolve the air bubbles and wait for the soap to harden.
Once soap has cooled and hardened completely, unmold and cut.
