
Originally published as a video tutorial on the Koala Soap YouTube channel
Have you ever admired the intricate designs on fondant mats and wondered how to incorporate them into your soap making? Today I’m sharing a technique I first explored six years ago, but with an exciting twist – we’re going to create stunning two-color effects that showcase these delicate patterns beautifully.
Why Use Fondant Mats for Soap Making?
Fondant mats offer incredibly detailed designs that can transform ordinary melt and pour soap into artistic masterpieces. While they can be challenging to work with due to their thin, delicate nature, the results are absolutely worth the effort. The key is learning the right techniques to work with them effectively.
What You’ll Need
Materials:
- Silicone fondant mat with intricate design
- 6 cavity pink mold (approximately 4 oz capacity each)
- 8 oz shea butter melt and pour soap base
- Colorants:
- Violet Petal mica powder
- Blue colorant
- Fragrance: Nature’s Oil Love Spell (1.5 ml per mold)
- 99% isopropyl alcohol in a spray bottle
- Infrared Thermometer
Tools:
- Large scissors for initial cutting
- Small, sharp scissors for detail work
- Flexible spatula
- A regular pen for marking
- Weeding tool or fingernail for removal
- Small butter knife
- Vegetable peeler for edge cleanup
YouTube Tutorial
Step-by-Step Instructions
Phase 1: Preparing Your Fondant Mat
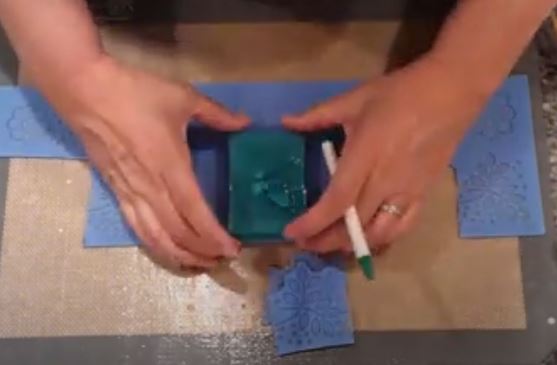
1. Plan Your Design
- Place your soap base on the fondant mat to visualize where you want the design positioned.
- Look for natural focal points like leaves or flowers that will create attractive midpoints.
- Use a regular pen to mark cutting lines (avoid Sharpies to prevent color transfer)
2. Cut the Mat
- Use large scissors to make initial straight cuts following your pen marks
- Try two different approaches:
- Option A: Cut intricately close to the design details
- Option B: Leave a straight edge with some gap from the design
Pro tip: After testing both methods, I recommend Option B – the straight edge approach works better and is easier to clean up later.
3. Fine-Tune the Fit
- Use smaller, sharp scissors for detail work
- Test fit your cut pieces in your soap molds
- Trim any excess that prevents the mat from laying flat
Phase 2: Creating the White Base Layer
1. Melt Your Soap Base
- Melt approximately 4 oz of shea butter melt and pour soap per cavity
- Heat to optimal pouring temperature (170-176°F)
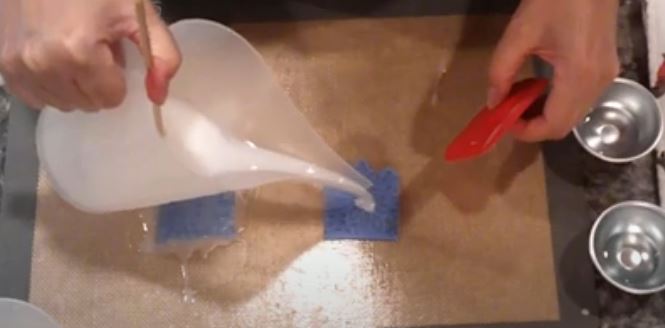
2. Pour the Base Layer
- Pour the hot soap to ensure it gets into all the nooks and crannies of the delicate design
- The higher temperature is crucial for capturing fine details
- Wipe away excess soap base with flexible spatula
- Spray lightly with alcohol to eliminate any surface bubbles
3. Cool and Set
- Allow the white layer to cool.
- For extra security with thin mats, place them in the refrigerator for 10 minutes
- Clean up any excess soap around the edges while waiting
Phase 3: Adding Color Layers
1. Prepare Your Colors
- Create two separate colored soap mixtures:
- Purple using Violet Petal mica
- Blue using your chosen blue colorant
- Keep colors pastel for the best contrast with the white base
2. Add Fragrance
- Once the soap cools to 140-135°F, add 1.5 ml of Love Spell fragrance in each base
- Mix thoroughly but gently
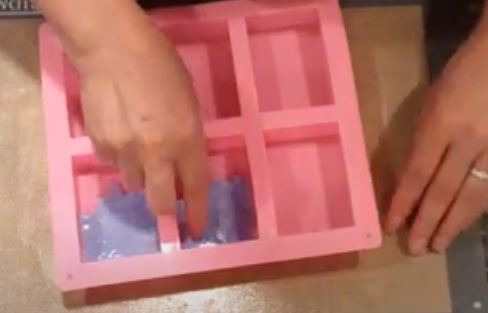
3. Secure the Mat Pieces
- Place cut fondant mat pieces in position
- Use a small dab of colored soap as “glue” to prevent floating
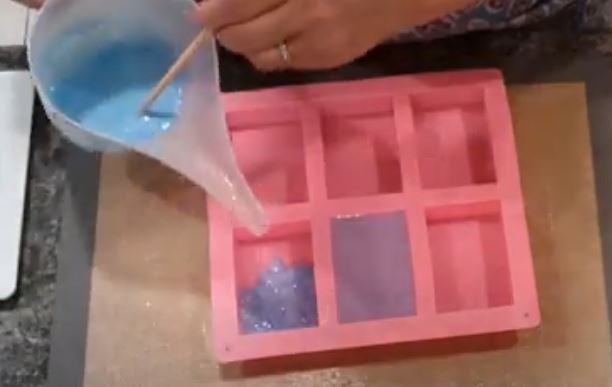
- Pour colored soap carefully to avoid disturbing the white base layer
Phase 4: Finishing Touches
1. Cooling and Setting
- Allow soaps to cool completely
- Temperature should be around 120-130°F for final pour
2. Demolding Process
- Carefully remove soaps from molds
- Use a weeding tool or fingernail to grab and lift the fondant mat pieces
- Work slowly to preserve the delicate design
3. Clean-Up and Refinement
- Use a small butter knife to gently remove any excess soap from edges
- Employ a vegetable peeler for final edge cleanup
- Trim any imperfections for a professional finish
Pro Tips for Success
Temperature Management
- Hot pour (170-176°F): For the white base layer to capture fine details
- Medium pour (140-150°F): For colored layers to avoid disturbing the base
Design Considerations
- White on pastels creates the most striking contrast
- Straight-edge cutting is more forgiving than intricate cutting
- Pastel colors work better than dark, bold colors for this technique
Troubleshooting Common Issues
- Mat floating: Use soap “glue” and proper temperature control
- Color bleeding: Pour at appropriate temperatures and allow proper cooling time
- Design loss: Ensure hot enough initial pour to capture details
Variations to Try
This technique works beautifully with different color combinations:
- Classic: White base with blue and purple
- Romantic: White base with pink and lavender
- Natural: White base with green and brown earth tones
- Bold: White base with contrasting bright colors
Final Results
The finished soaps showcase intricate, professional-looking designs that would be perfect for:
- Special occasion gifts
- Wedding favors
- Boutique soap sales
- Personal luxury items
Each soap becomes a unique piece of functional art, with the delicate fondant mat design preserved beautifully in the soap structure.
Conclusion
While cutting up silicone fondant mats might seem wasteful, these pieces can be reused multiple times, making this technique both economical and versatile. The two-color approach adds depth and visual interest that single-color designs simply can’t match.
The key to success is patience, proper temperature control, and not being afraid to experiment with different cutting approaches and color combinations.
For more soap making tutorials and techniques, visit koalasoap.com or subscribe to our YouTube channel. Links to all materials and tools mentioned in this tutorial can be found in our supplies section.
Ready to try this technique? Start with a simple design and work your way up to more complex patterns as you master the temperature and timing requirements.
